Creating Spot Purchase Orders
Users can create spot purchase orders (POs). Spot POs do not require a contract or approved vendor list (AVL), as opposed to a regular PO which requires both a contract and AVL.
Complete the following steps to create spot purchase orders:
Log in to the ONE system.
Click Menus/Favs > Order Mgmt > New Spot Purchase Order.
The New Spot PO screen displays.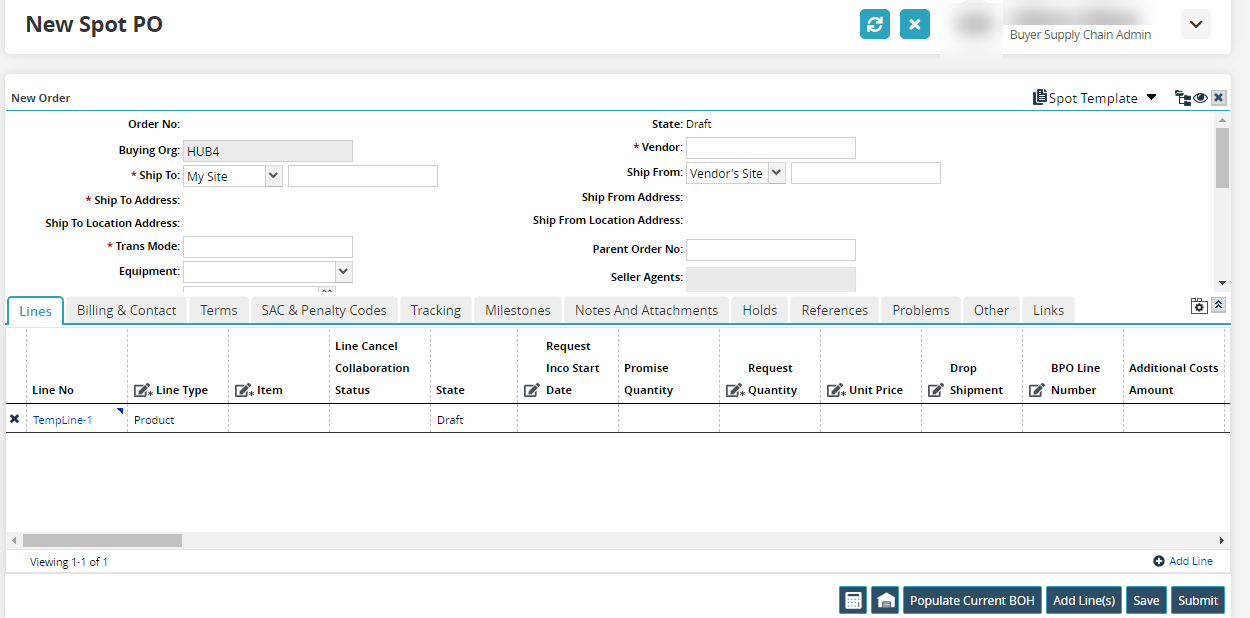
Tip
You can order generic items in place of specific items. For example, you might want ten 40" televisions but do not care about the manufacturer. To order using generic items, you must select the Generic Item Order Template. For more information on generic items, see the "Generic Item Orders" section in the Online Help.
Note
You can add duplicate items to multiple lines on the same order if the Duplicate Items on Order feature is enabled. Contact One Network support to enable or disable this feature. If the Duplicate Items on Order feature is enabled, items are identified by both item name and line number throughout the system. This eliminates the possibility of any confusion which may result from having duplicate items with the same name on the same order.
Click inside the Ship To Site box and type characters to automatically match ship-to sites that will appear in a list below the box. Click a ship-to site from the list.
Using the procedure described in step 2, select Ship To Partner, Vendor, Ship From Partner, Ship From Site, Trans Mode, FOB Code, and Payment Terms.
Note
The Vendor should be listed on the Vendor Master.
Select the Req Delivery Date and the Req Ship Date.
To add purchasing address details for the purchase order, in Purchasing Address, click the edit button and type the address information into the dialog box.
Using the procedure described in step 5, type the Remit to Address and Bill To Address details.
To relax the minimum order quantity, select the Min Order Qty Relaxed check box.
To expedite the purchase order, select the Expedite check box.
As required, in the Ship To Comment box, type a comment about this purchase order.
In the Ship To Location box, type the ship to location.
In the Priority list, select a priority option: 100, 200, 300, 400, or none.
Add Lines to a Spot Purchase Order
To add lines to a spot purchase order:
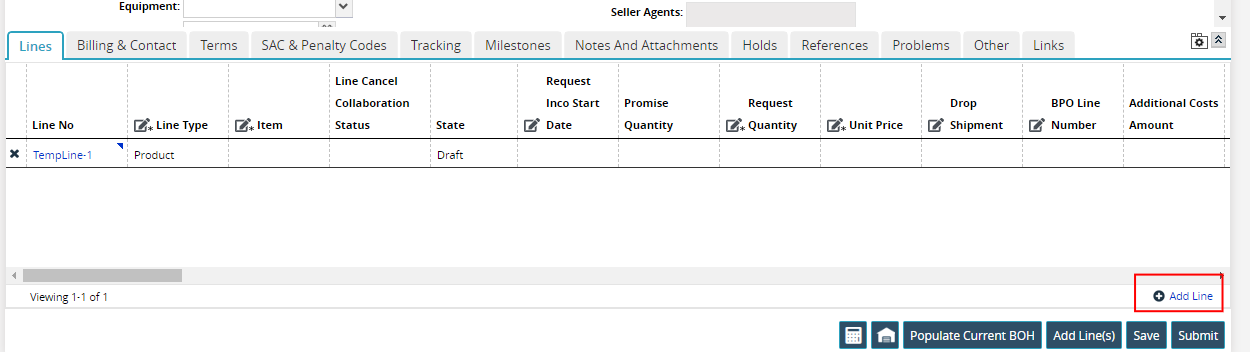
Click the Add Line link to add a line to the purchase order.
Note
You can add duplicate items to multiple lines on the same order if the Duplicate Items on Order feature is enabled. Contact One Network support to enable or disable this feature. If the Duplicate Items on Order feature is enabled, items are identified by both item name and line number throughout the system. This eliminates the possibility of any confusion resulting from having duplicate items with the same name in the same order.
A new order line appears.
As required, double-click inside cells labeled with pencil icons and type or select new information or edit existing information.

Repeat the previous steps for each new line you are adding to the order.
After all necessary order details have been entered, click Save.
A success message appears.
Add Buyer or Vendor Notes and Attachments
As required, you can add Buyer or Planner notes. Double-click the Buyer Notes or Planner Notes button.
Click inside the text box, type information for the note.
The Buyer Notes or Planner Notes dialog box appears. Note 1 appears with blank text.If a note can be viewed by the Vendor, select the Public check box. Select the Print check box if this note should be printed on the PO.
As required, add more notes by clicking the Add Note button and then repeating steps 2 and 3.
Note 1 is saved, and Note 2 appears in the Notes list.To delete a selected note, click the Delete button.
To save all the buyer notes, click the Save and Close button.
Approving a Spot Purchase Order
A Spot Purchase Order must be approved before sending it to a Vendor.
Locate and open the Spot PO you are confirming. See "Search Purchase Orders" in the Online Help for more information on searching for purchase orders.
Verify the order information is correct.
Click the Approve.
A success message appears.