Creating TOSX Configuration Policies
Users can create various scenarios called TOSX Config Policies to use in running the Load Consolidation TOSX engine.
Complete the following steps to create new TOSX configuration policies:
L og in to the ONE system.
Click Menus/Favs > Planning > Policies > TOSX Config Policy. In the NEO UI, users can click on the Menus/Favs icon on the left sidebar and type in the name of the screen in the menu search bar. For more information, see "Using the Menu Search Bar."
The TOSX Config Policy screen appears.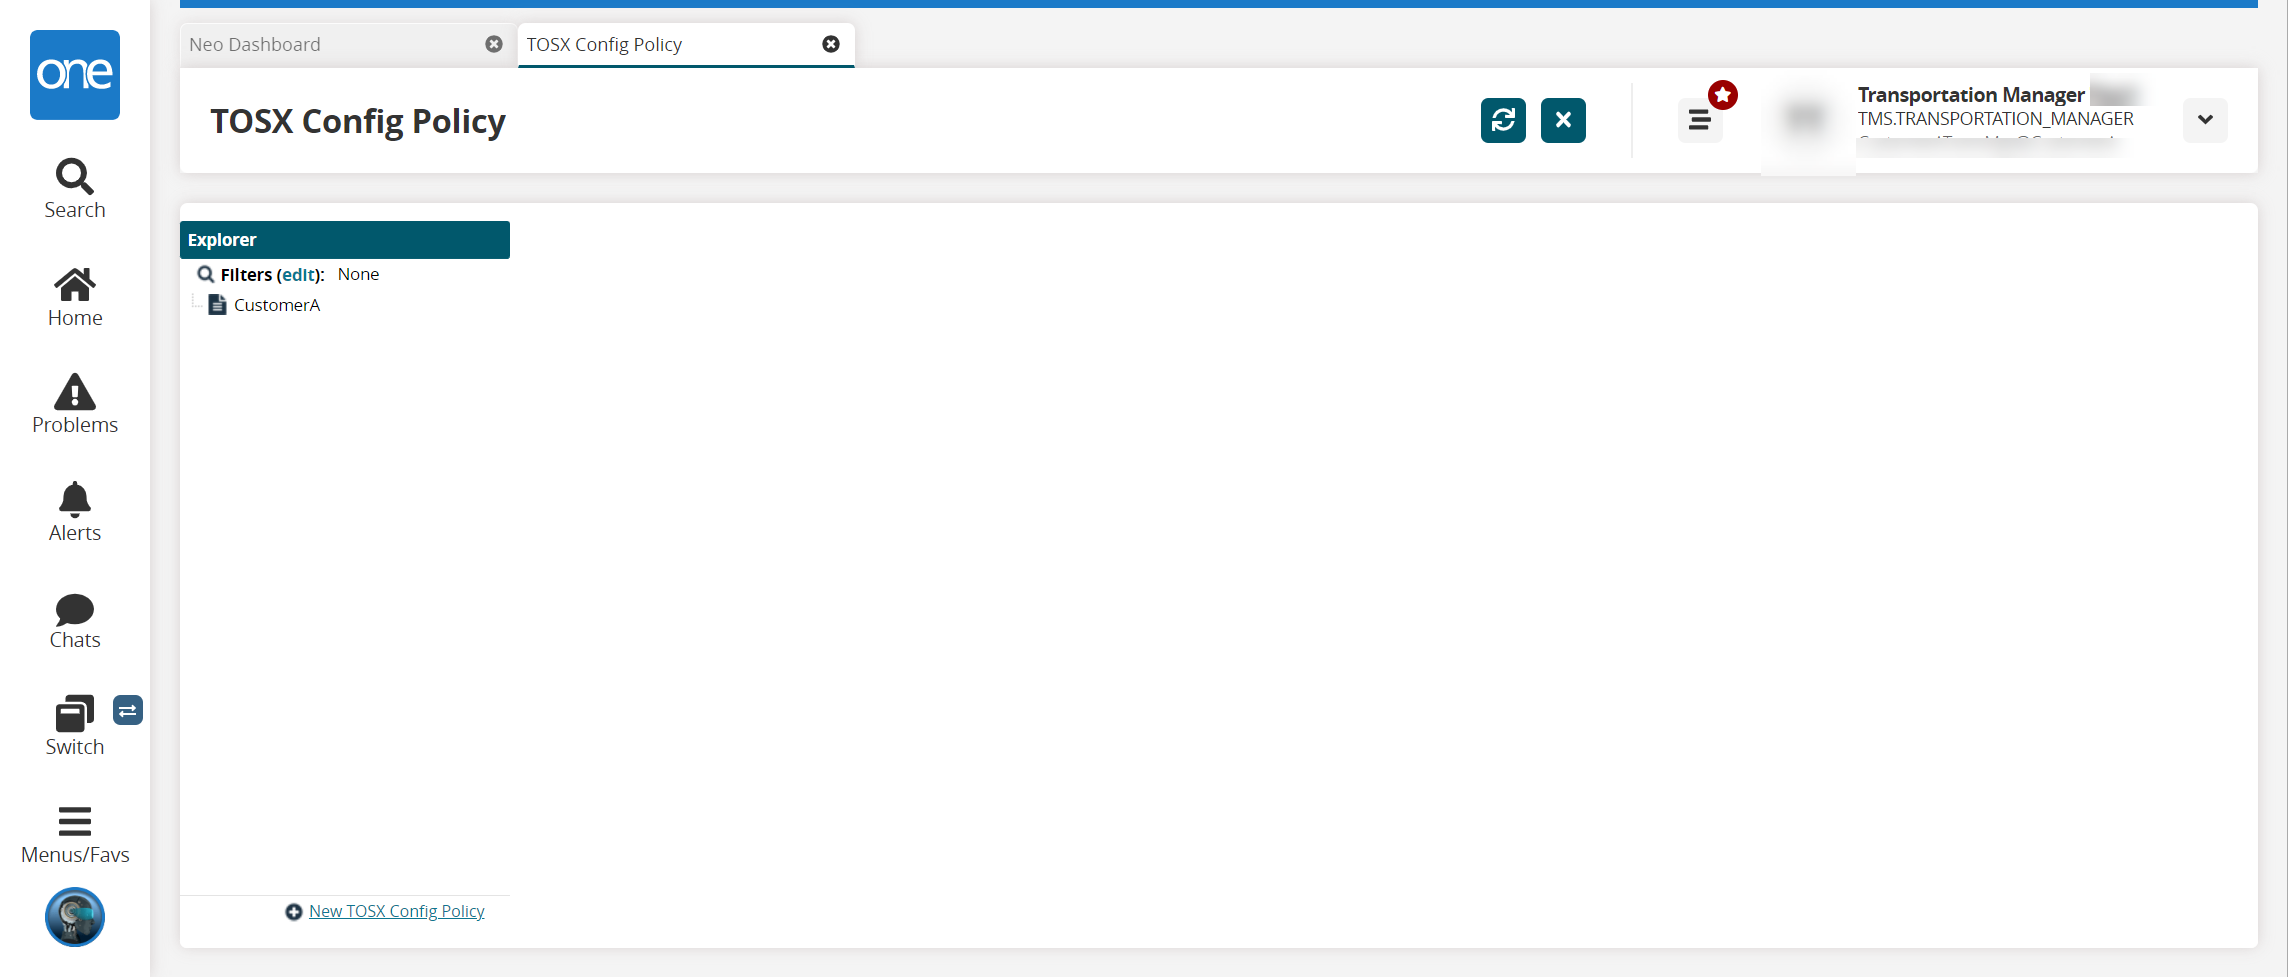
Click the +New TOSX Config Policy link at the bottom of the screen.
The Details pane displays fields for the new policy.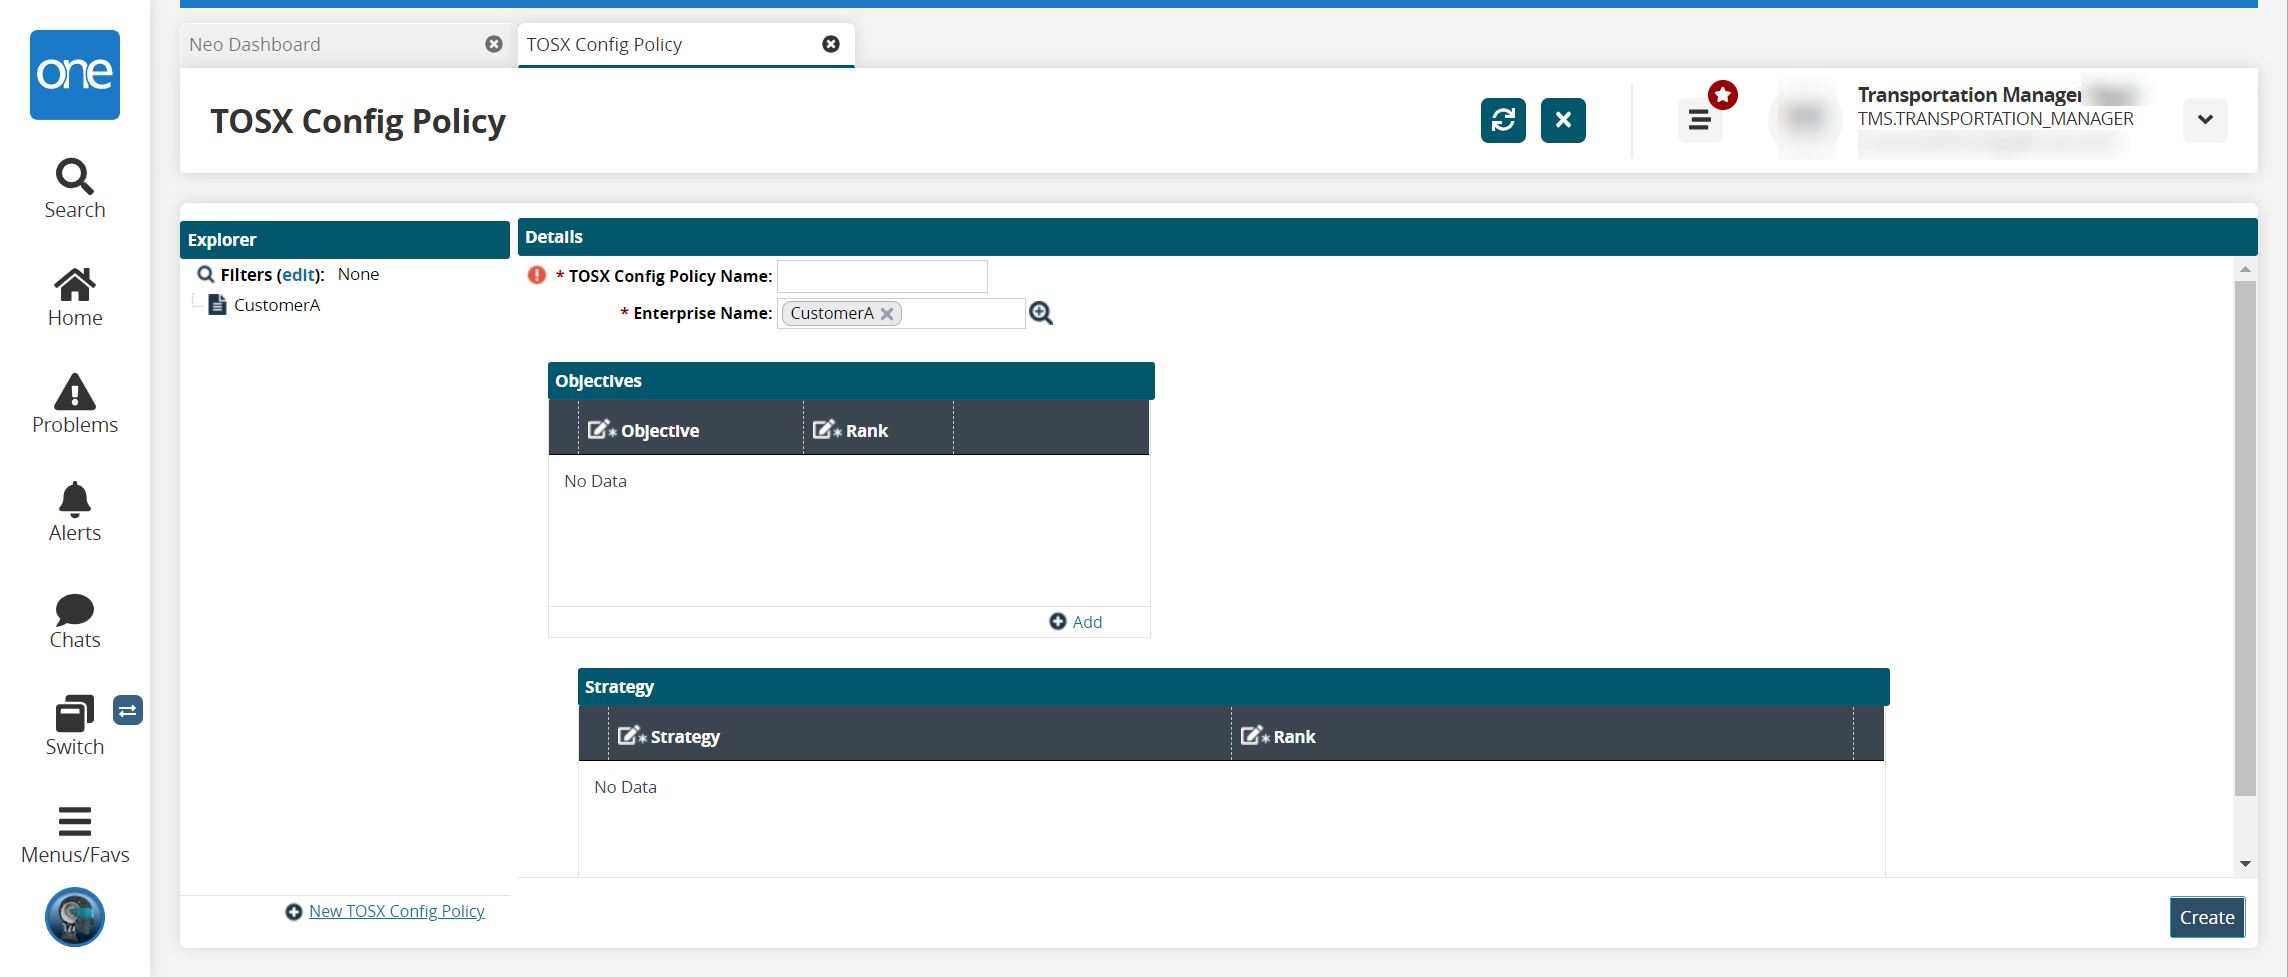
Enter a name for the new policy In the * TOSX Config Policy Name field. Fields with an asterisk ( * ) are required.
Click the picker tool to select an enterprise in the * Enterprise Name field.
Click the +Add link in the Objectives section.
A new row displays.
Select an objective from the dropdown list in the *Objective column.
Click inside the field in the *Rank column, and enter a rank for that objective. The rank determines the priority for that objective in the engine-run sequencing.
Click the +Add link as required until all desired objectives are added.
Click the +Add link in the Strategy section.
A new row displays.
Select a strategy from the dropdown list in the *Strategy column.
Click inside the field in the *Rank column, and enter a rank for that strategy. The rank determines the priority for that strategy in the engine-run sequencing.
Click the +Add link as required until all desired strategies are added.
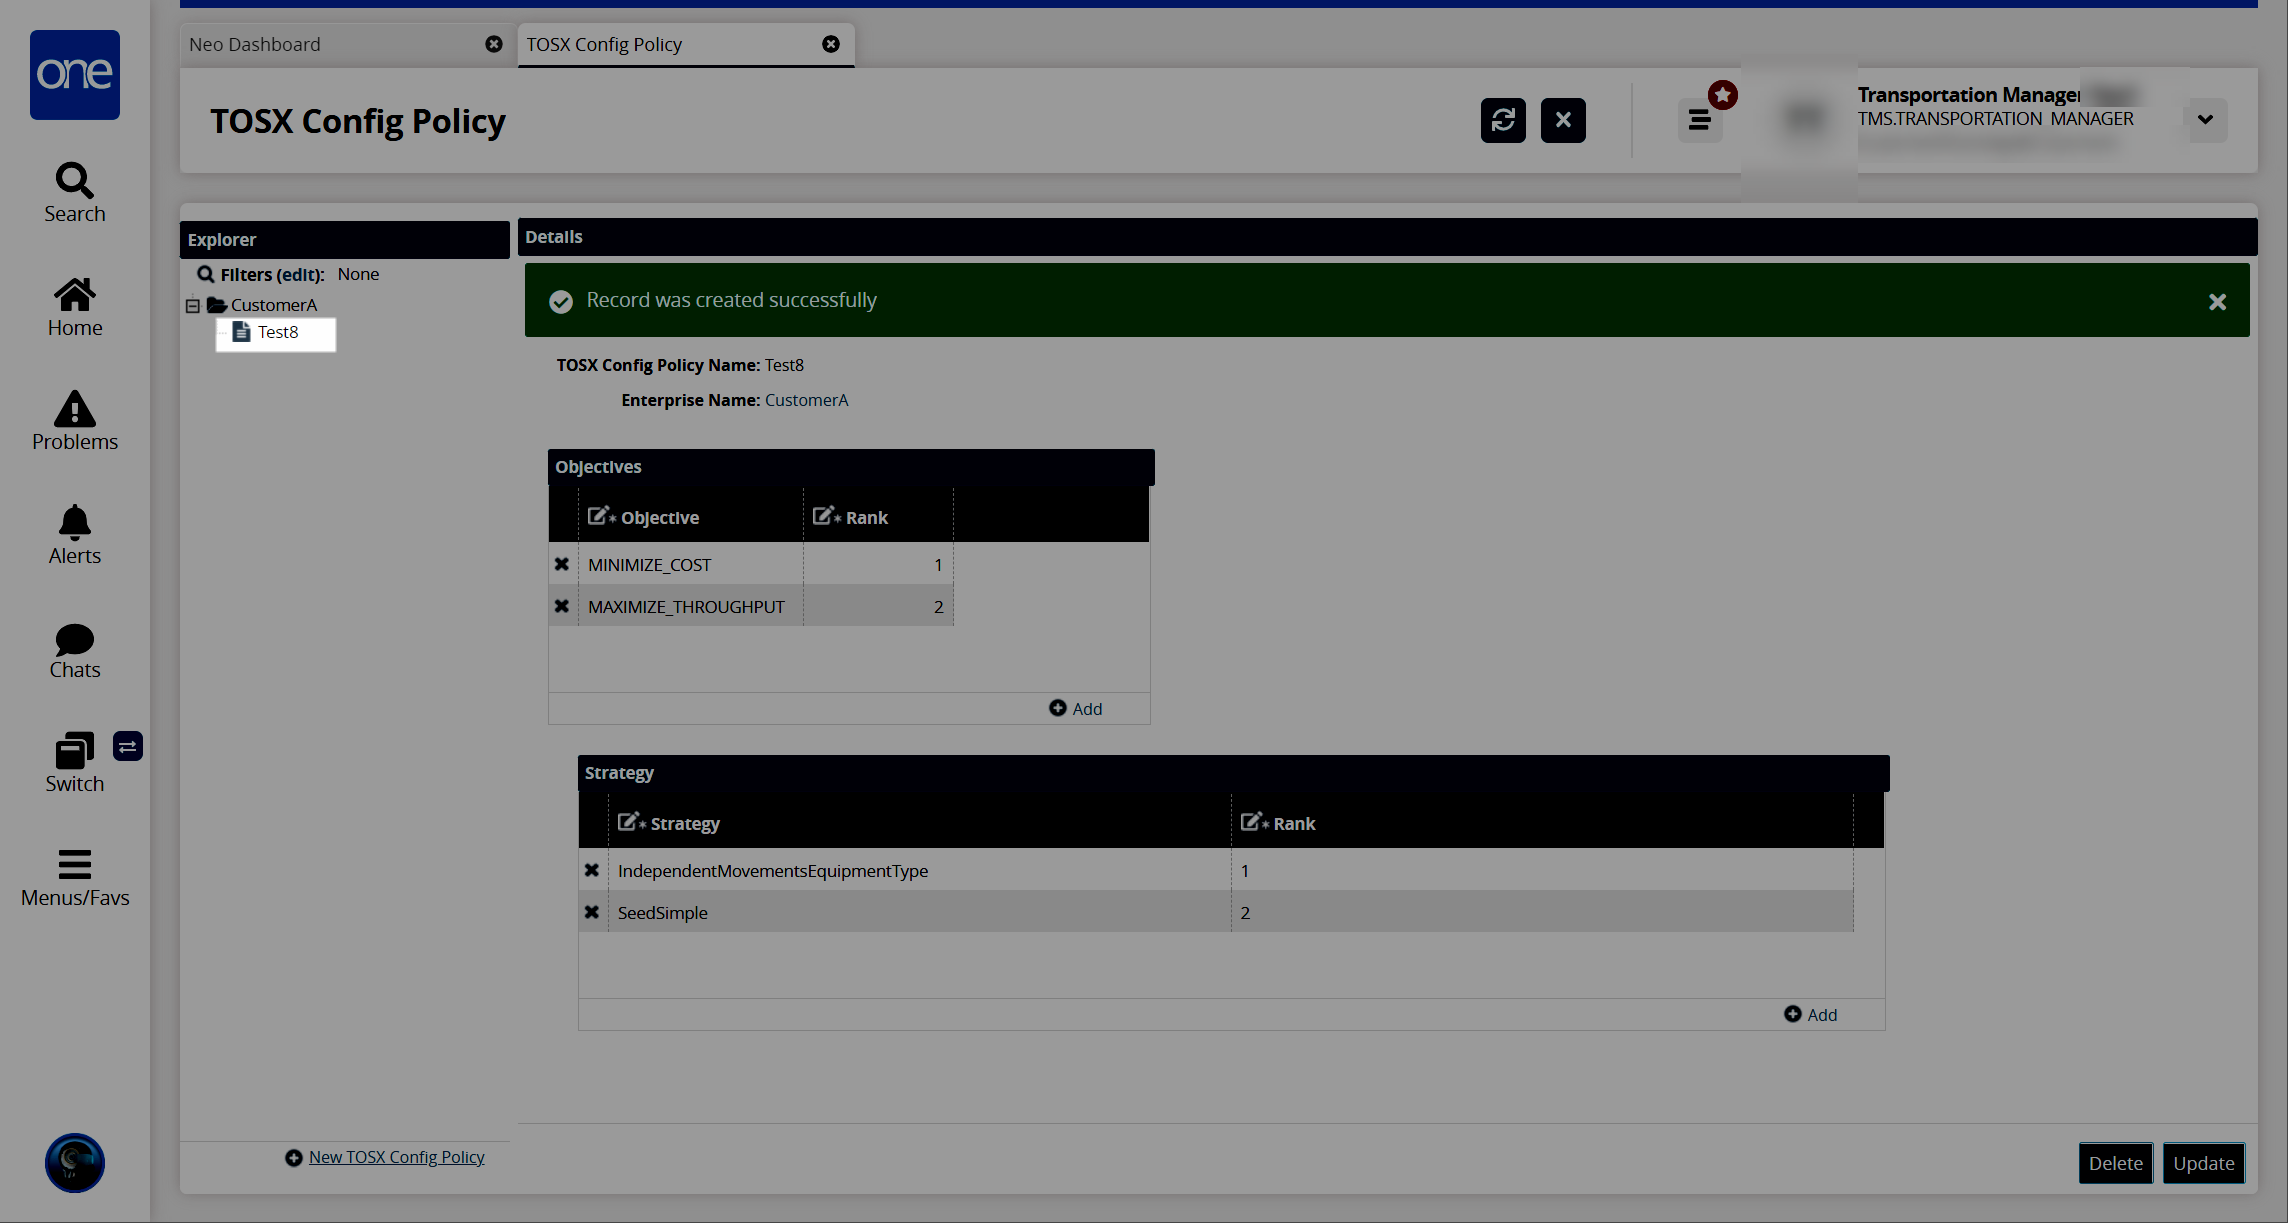
Click the Create button.
The new TOSX Config Policy name appears in the Explorer pane on the left, and a success message displays.