Customizing the Dashboard Layout
Users can customize the layout of dashboards using a Columnar Layout or a Fixed Layout. Many widgets only display in one layout or the other; only a few widgets display in both layouts.
Complete the following steps to customize the NEO dashboard layout:
To customize the NEO UI dashboard layout, click the Edit the Dashboard button.

The Add Columnar Layout and Add Fixed Layout buttons appear at the bottom of the screen.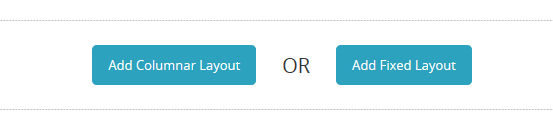
To add a columnar layout, click the Add Columnar Layout button.
A new layout section appears. In the example below, this layout has three columns. Each column has an Add a widget button.
See "Adding a Widget" for more instructions.
Click the double arrows up or down to move the layout section up or down on the dashboard. The arrows will be grayed out and inactive if there are no other layout sections.

Click the Column Layout button to choose a different column layout.

The button will expand to show all possible columnar layouts. Click on the layout desired.
Enter a title for the layout section in the Layout title field.
Click the Duplicate layout button to duplicate this layout again on the dashboard.

A new layout section displays below with the same layout and widgets.Click the Collapse layout button to collapse the layout section.

The section collapses and widgets in that section no longer display.Click the Delete layout to remove the layout section from the dashboard.

A popup box appears to confirm that you want to delete the section.Click Yes.
Click the Add Fixed Layout button to add a fixed layout section to the dashboard.
A new layout section appears. Once a widget is added, a grid appears and the widget can be moved into place on the grid.
Click the Save the Dashboard button to save the layout changes.
