Databot Explorer
You can view a list of existing databots on the Databot Explorer screen. You can also navigate to Databot Builder or upload databot details to create new databots.
Complete the following steps to view the Databot Explorer:
L og in to the ONE system.
Click Menus/Favs > Tools > Databot > Databot Explorer.
In the NEO UI, users can click on the Menus/Favs icon on the left sidebar and type in the name of the screen in the menu search bar. For more information, see "Using the Menu Search Bar."
The Databot Explorer screen displays.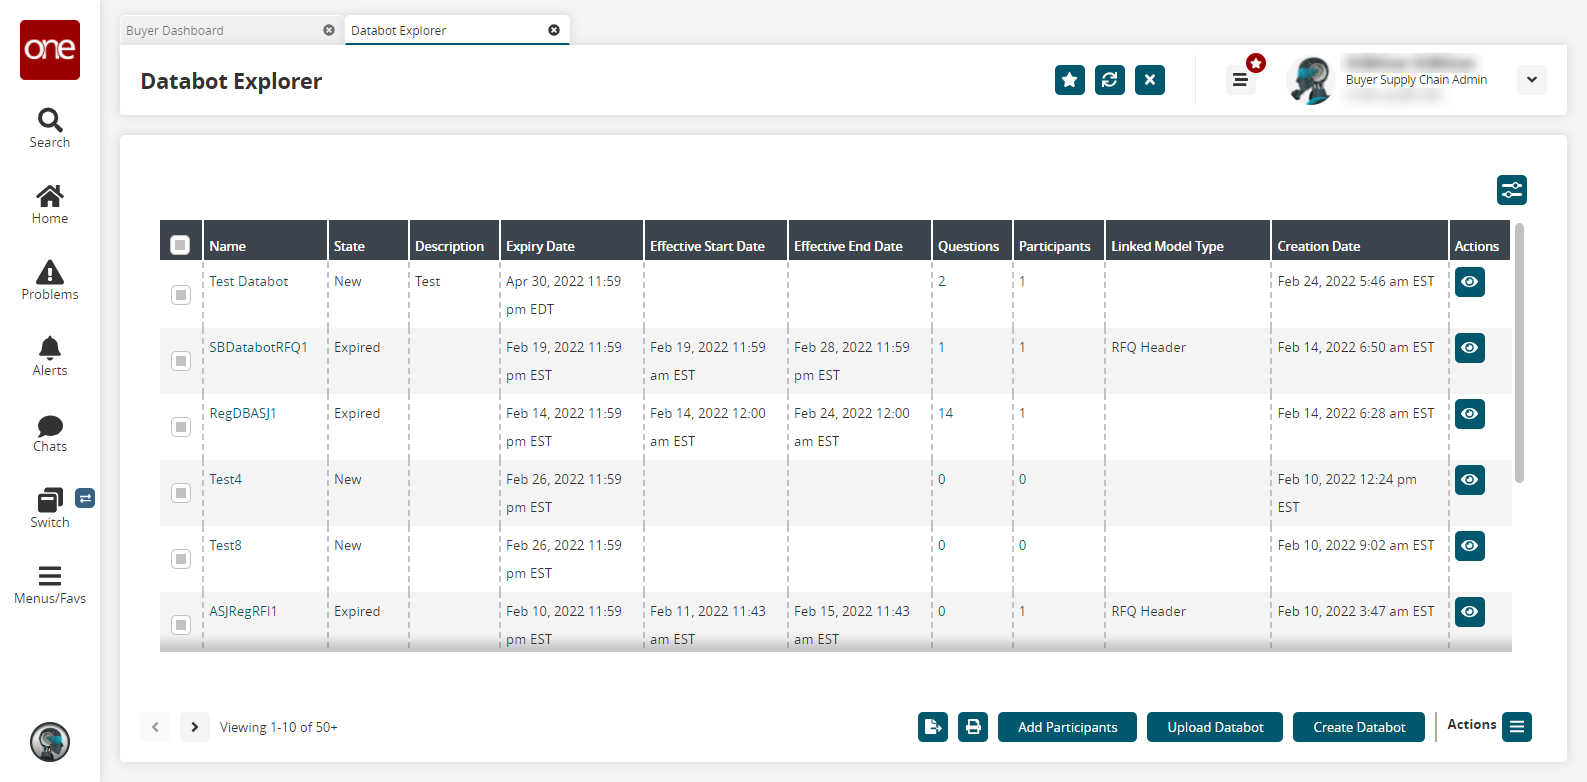
Click the filter
 icon to change which databots are visible.
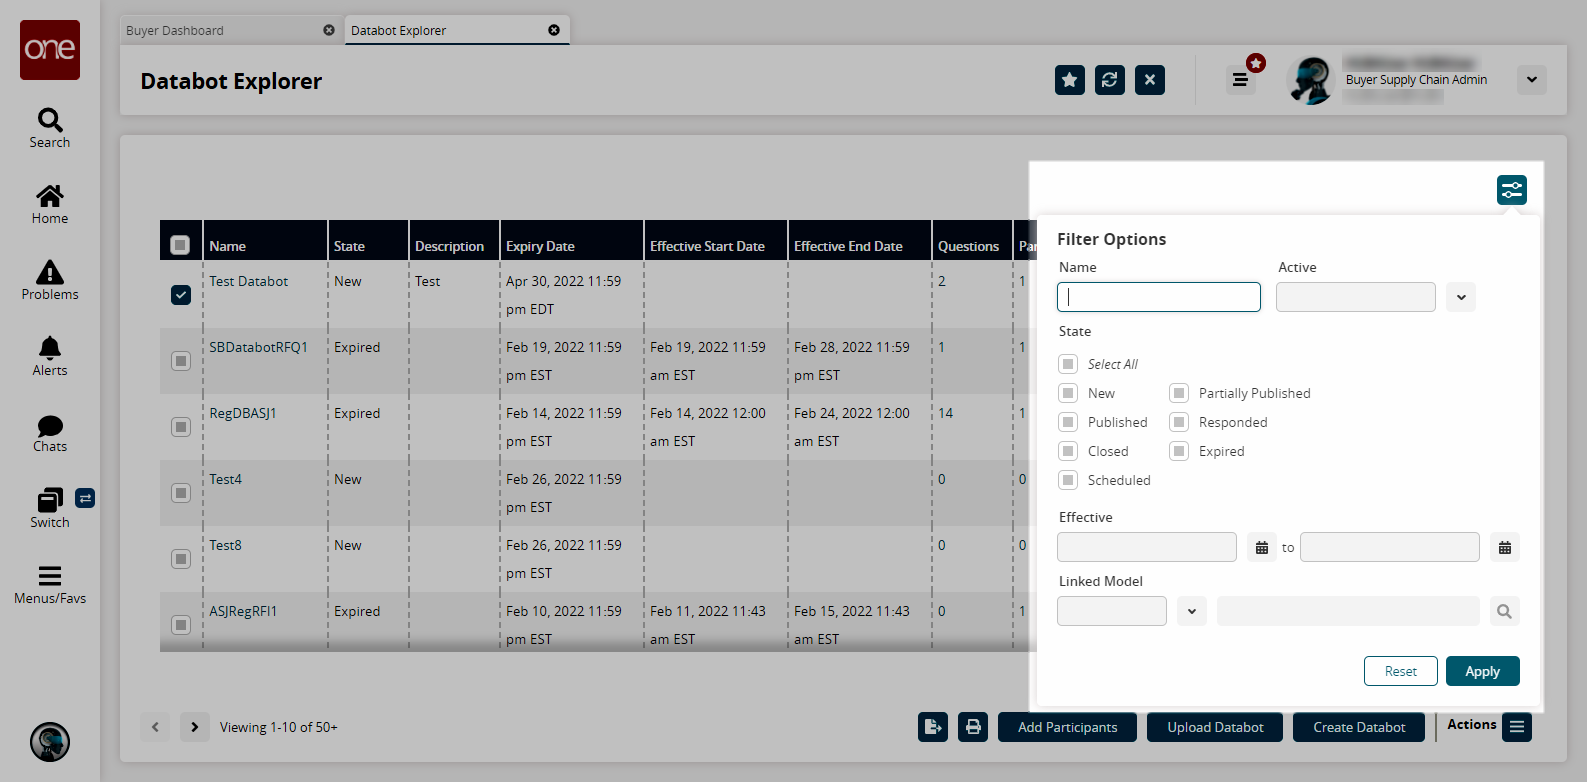
Fill out the following fields. Fields with an asterisk ( * ) are required.
Field
Description
Name
Enter a databot name to see only a particular databot or databots with name variations.
Active?
Select Yes or No from the dropdown menu.
State
Select one or more databot states to see a list of databots in one of the selected states. Select the Select All checkbox to include all states in search results.
Effective
Use the date pickers to specify a date range.
Linked Model
Select the type of link model (Item, RFQ Header, Partner) from the dropdown menu, and then use the picker tool to select an item, RFQ, or partner.
Click Apply to search for databots with selected filters.
Select one or more databots to perform various actions.
Click the Export icon to export the selected databots as CSV files.
Click the Print icon to print databot details or save them to your computer as a PDF file.
Click the Add Participant button to add more participants to the selected databots. See the "Participants Tab" section under "Creating a Databot Using the Databot Builder" in Online Help for more information.
Click the Upload Databot button to upload databot details as a CSV file. See the "Uploading Databot Details" section in Online Help for more information.
Click the Create Databot button to create a new databot. See the "Creating a Databot Using the Databot Builder" section in the Online Help for more information.
Click a link in the Name column to view databot details.
The databot details screen opens.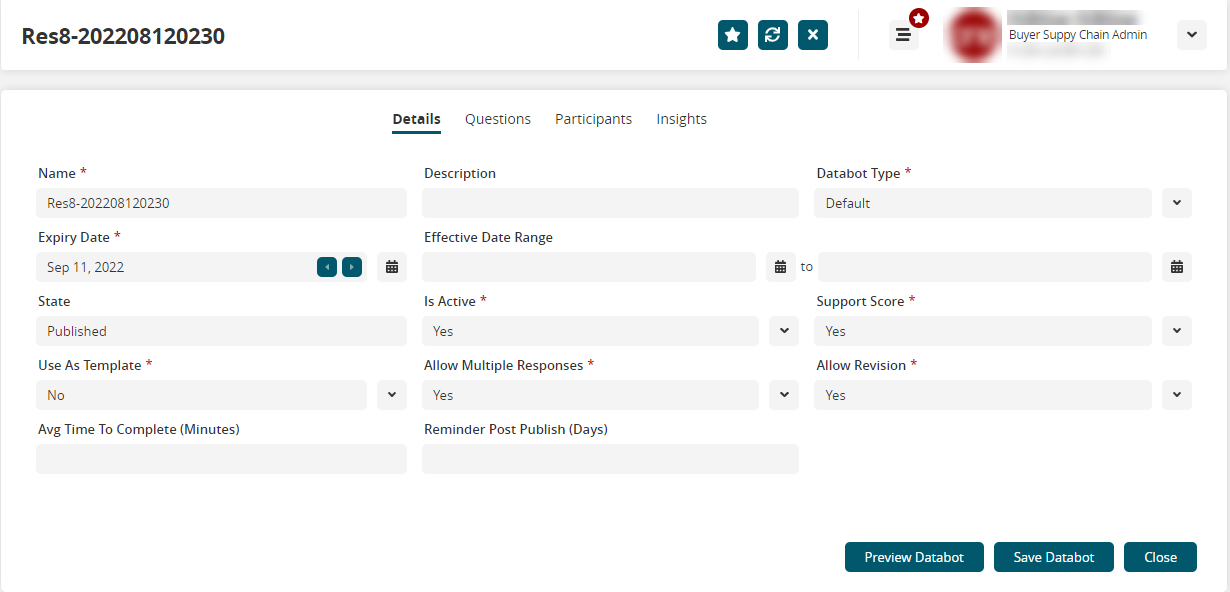
Click Questions or Participant tabs to review and update those details and publish the databot again for the changes to take effect. See the "Questions Tab" and "Participants Tab" sections under "Creating a Databot Using the Databot Builder" in the Online Help for more information.
Click the Insights tab and click each option under Question Navigator to view databot analytics like question weightage, participant scores, participant responses, answers to various questions, and filters.

Creating Databots
Click the Create Databot button to create a databot.
The Create Databot screen displays.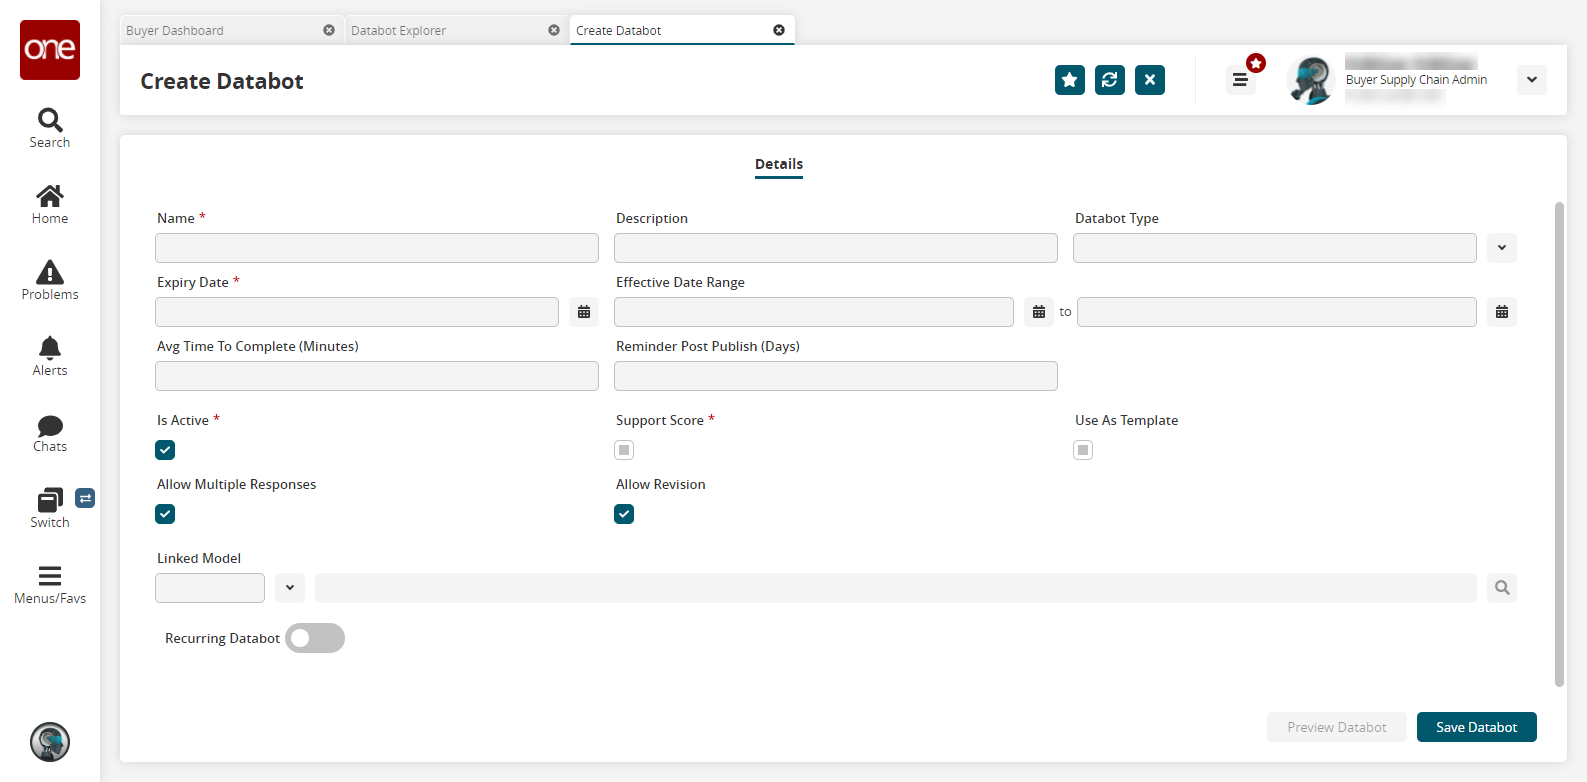
Note:
Follow the instructions in the "Creating a Databot Using the Databot Builder" in the Online Help. Instead of going through the menu path to the Databot Builder, you can begin on the Create Databot screen shown above. The fields and instructions are the same.