Dock Door Policies
Policies at the dock door level allow you to set up shipping and receiving times and apply dock door settings defined at the organization level. Setting dock door policies is typically performed by transportation manager roles.
Complete the following steps to set dock door policies:
L og in to the ONE system.
Select Menu > Scheduling > Scheduling Policies.
In the NEO UI, users can click on the Menus/Favs icon on the left sidebar and type in the name of the screen in the menu search bar. For more information, see "Using the Menu Search Bar."
The Scheduling Policies screen displays.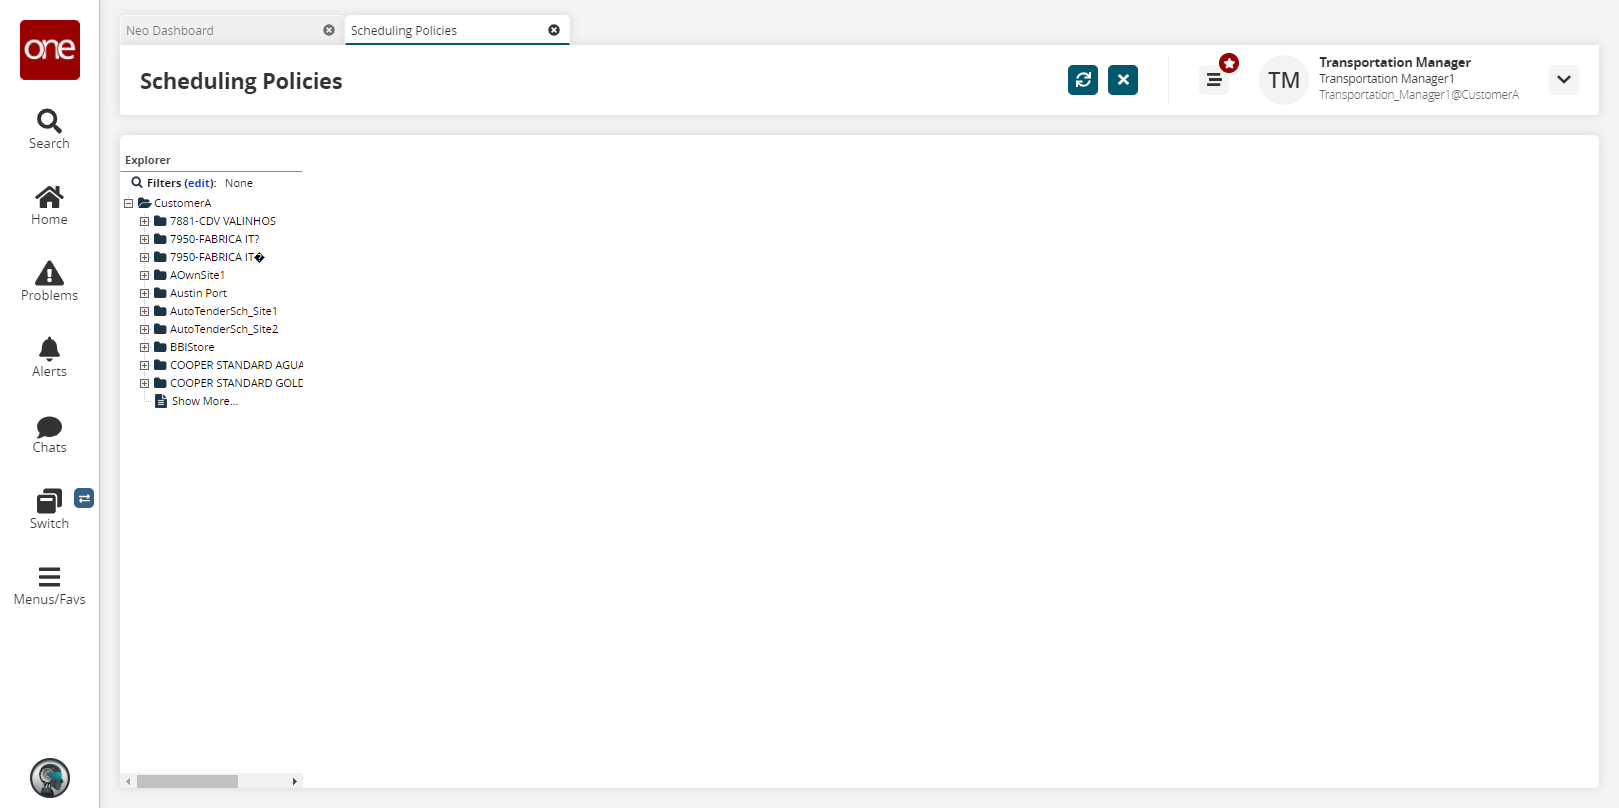
Select the dock door level in the hierarchy.
The dock door settings appear. By default, the Shipping Times tab is selected.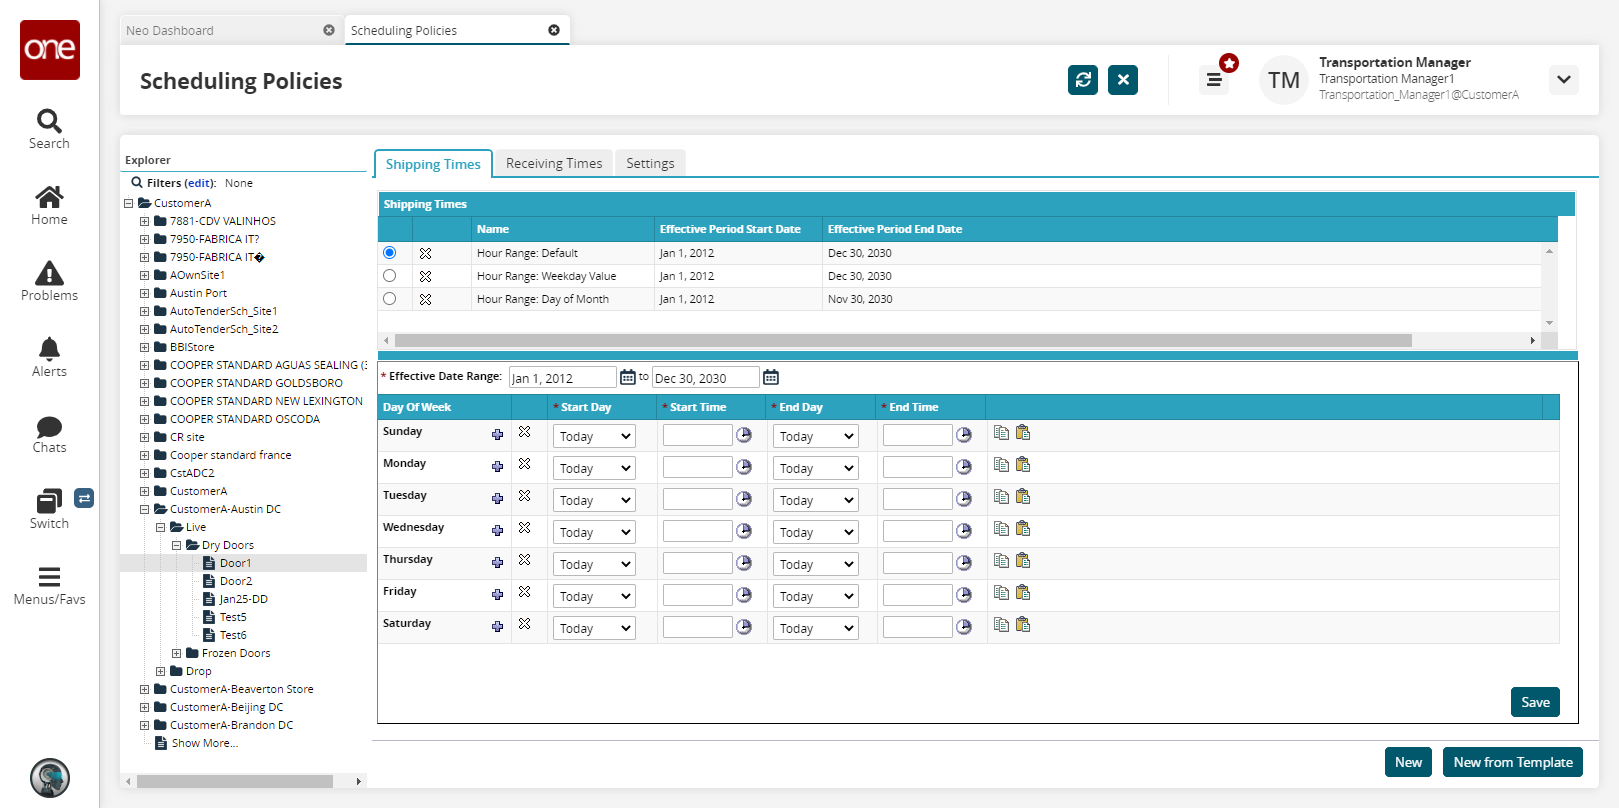
Shipping Times Tab
Shipping times can be distinctly defined or applied from a template that has been defined at the organization level. Only one shipping time schedule will be in effect at any given time.
Complete the following steps to define shipping times:
Click New t o add a new shipping time schedule.
To add a new shipping time schedule based on an existing template, click New from Template, click the Select from Template list, and then select a template option. The template will populate the schedule.
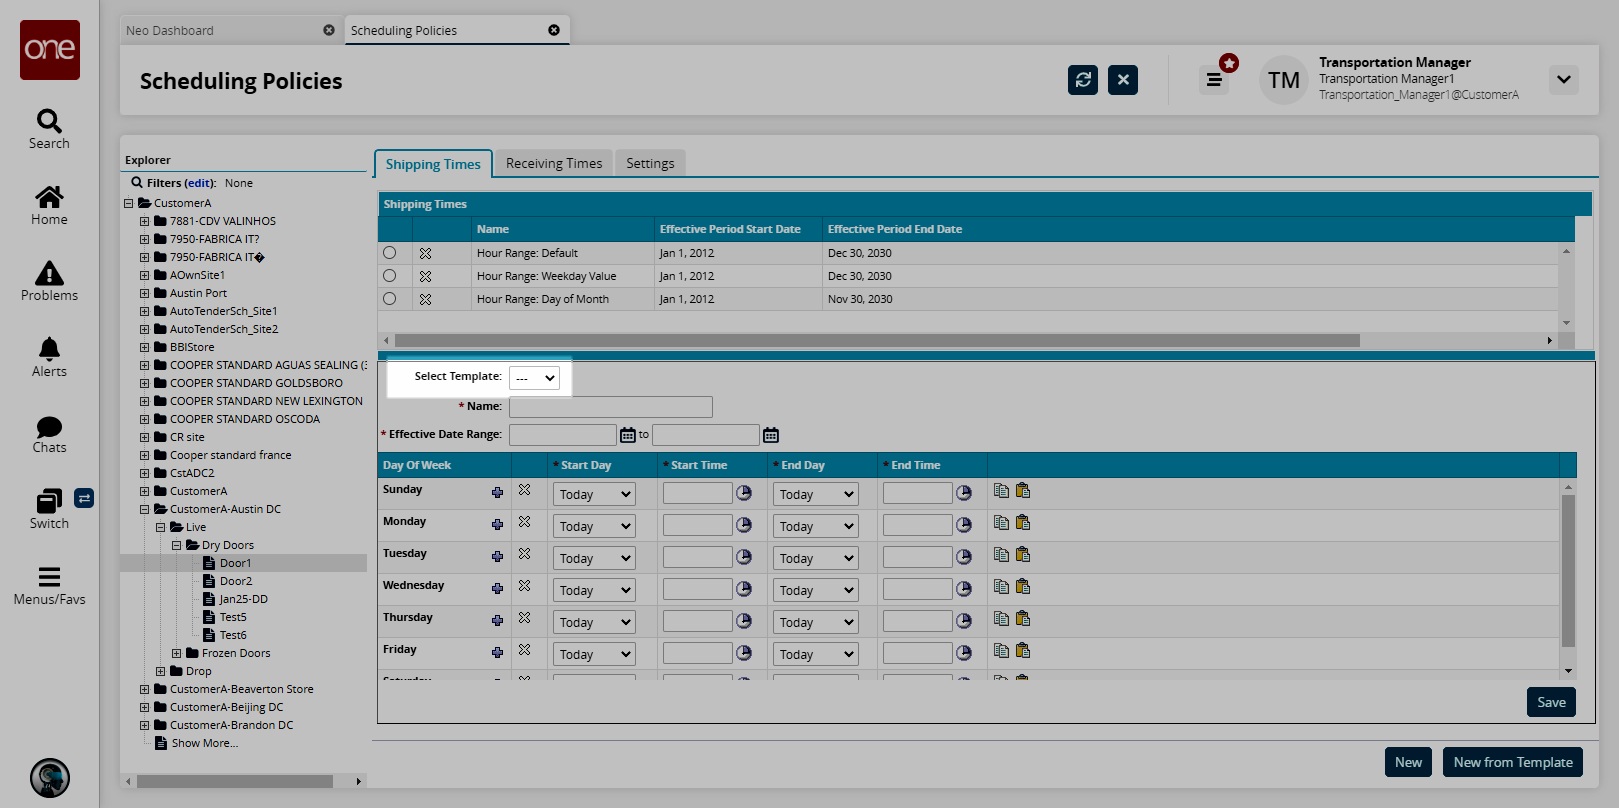
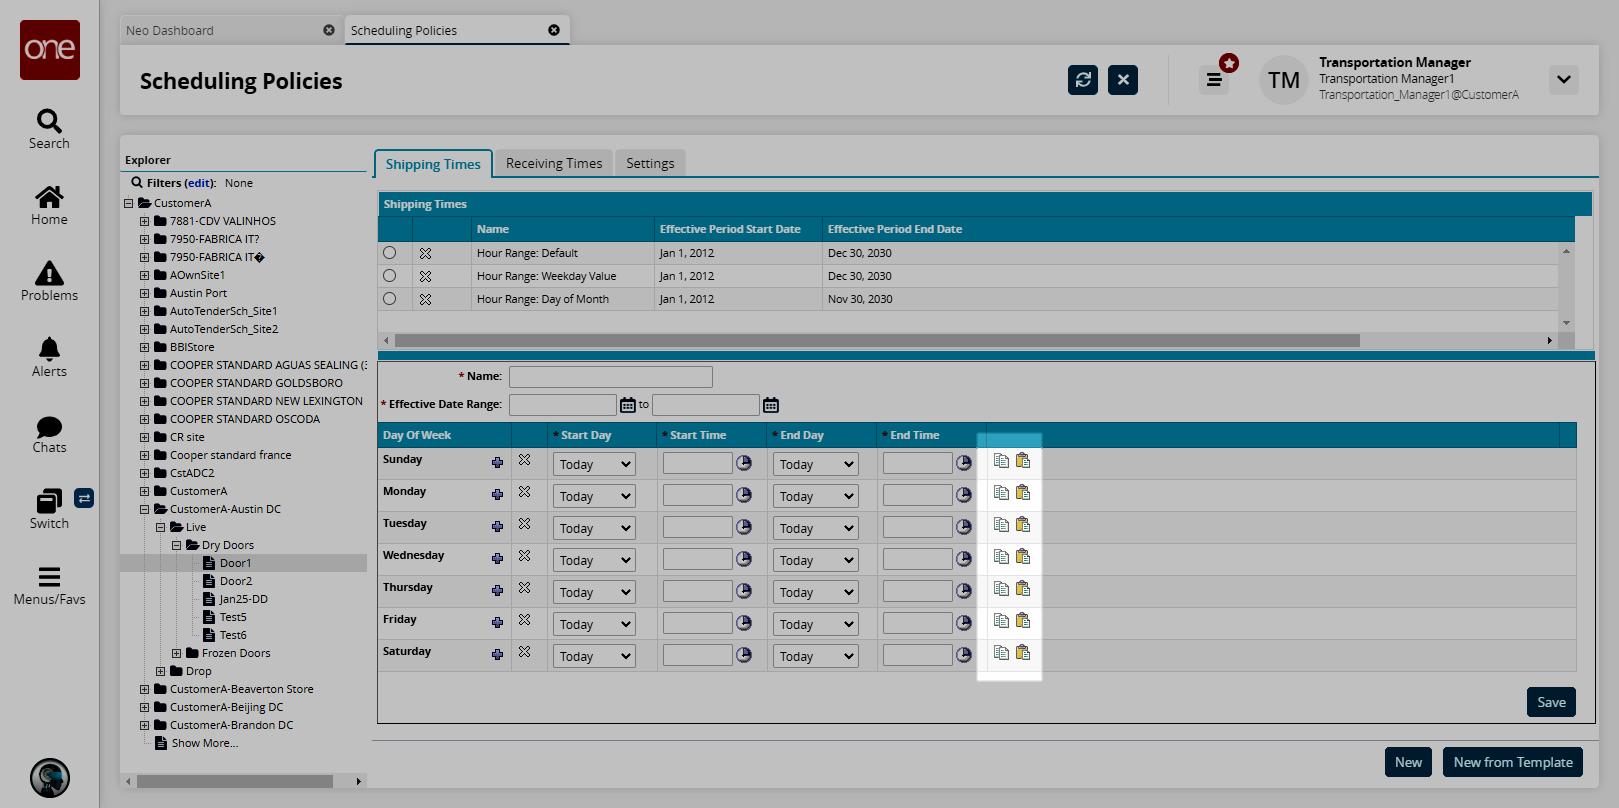
The shipping times schedule form displays.
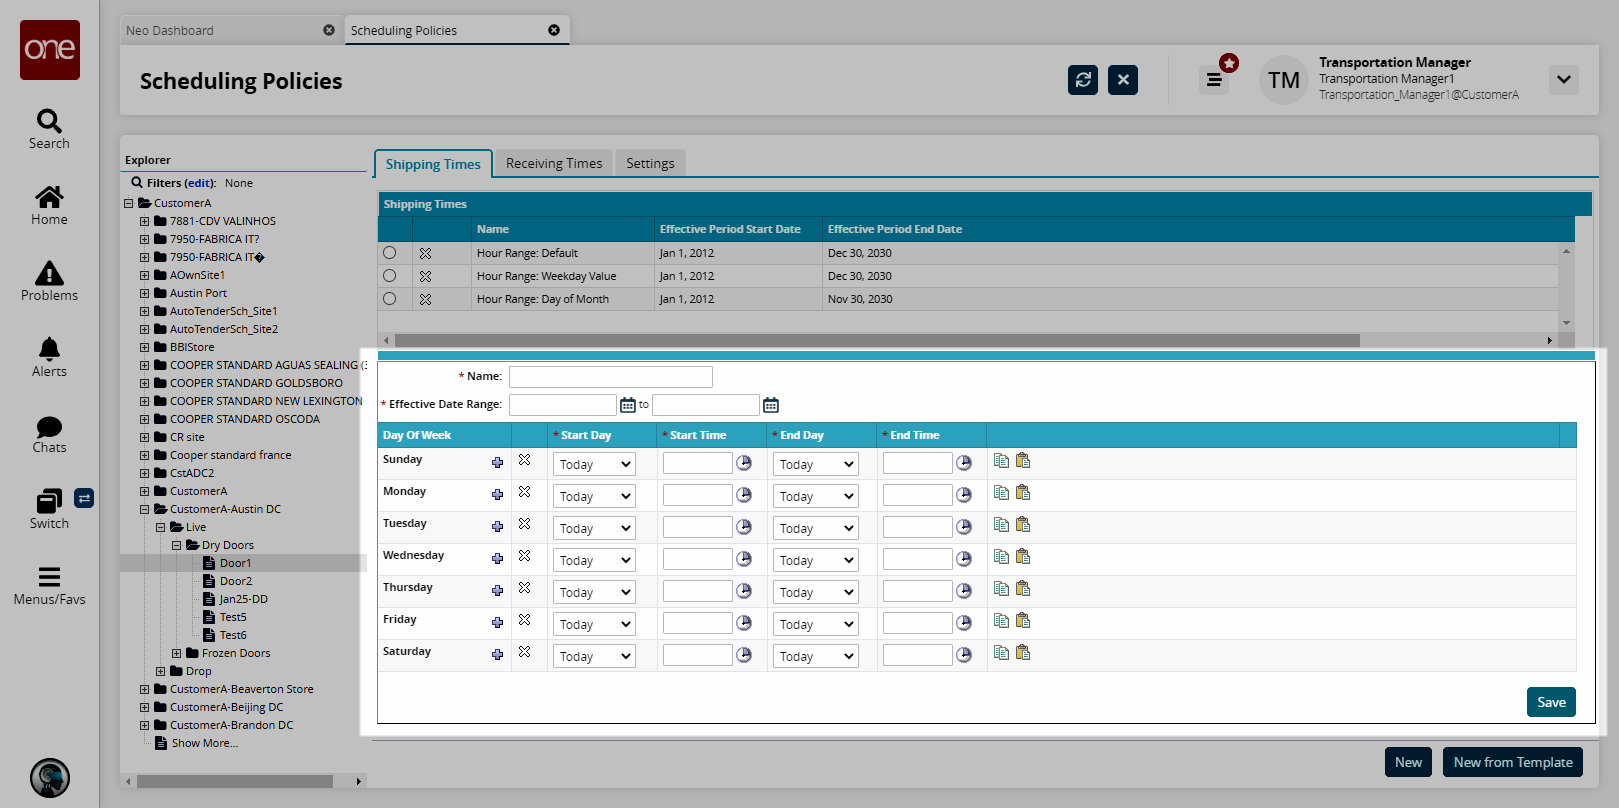
Fill out the following fields. Fields with an asterisk ( * ) are required.
Field
Description
* Name
Enter a name for the work schedule.
* Effective Date Range
Select a start and end date using the calendar icons.
* Start Day
Select Today or Yesterday from the drop-down list to specify when the work shift begins.
* Start Time
Click the clock icon to select a start time.
* End Day
Select Today or Tomorrow from the drop-down list to specify when the work shift ends.
* End Time
Click the clock icon to select an end time.
Tip
You can quickly copy and paste a date pattern to another row using the Copy and Paste buttons on the right side of each row.
To add a date pattern to a day of the week, click the Add Pattern button.
Another date pattern row displays for the selected day of the week.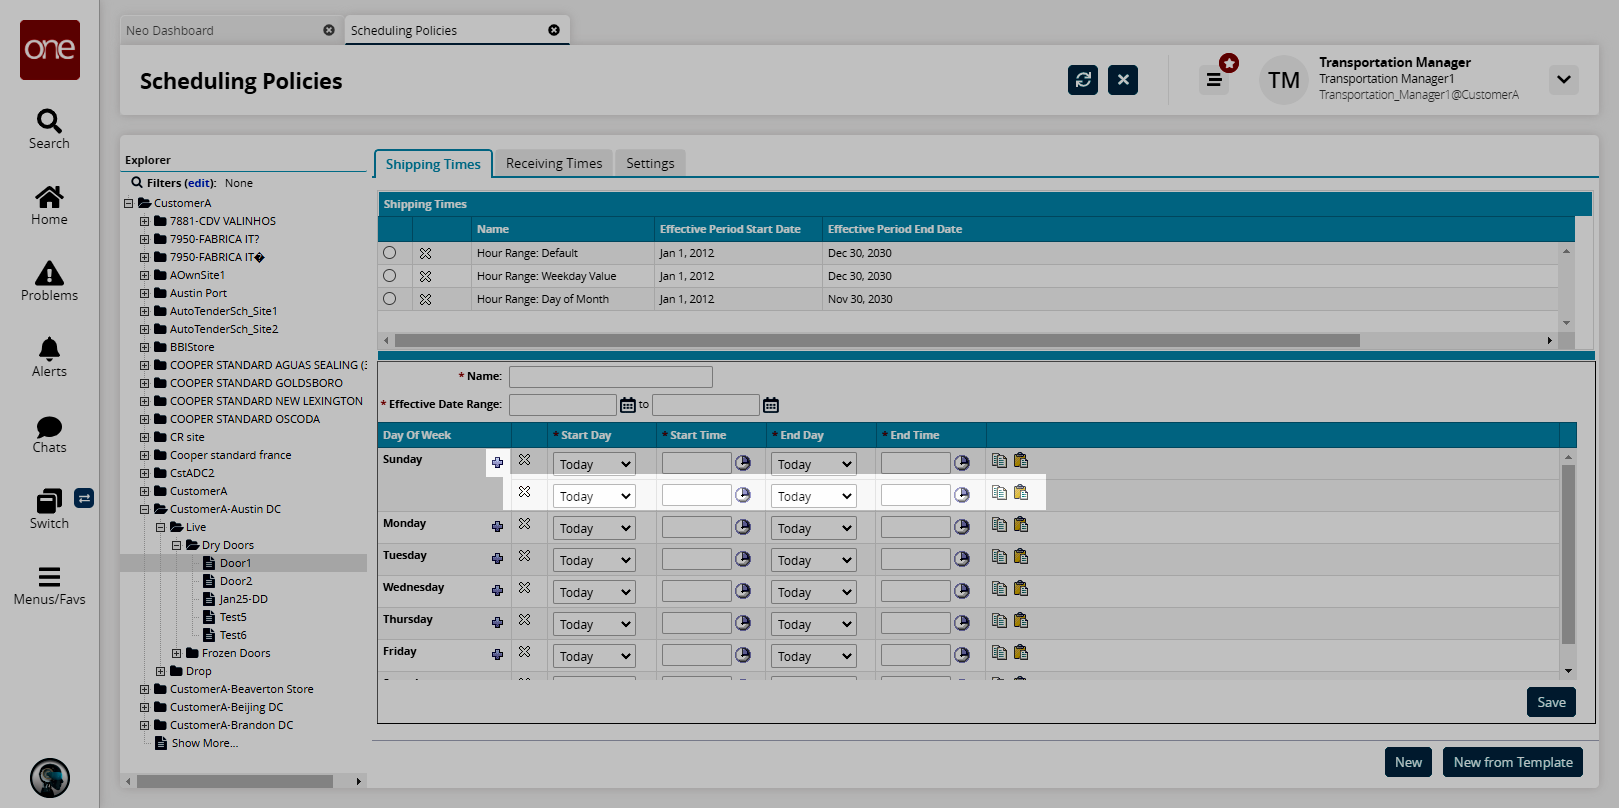
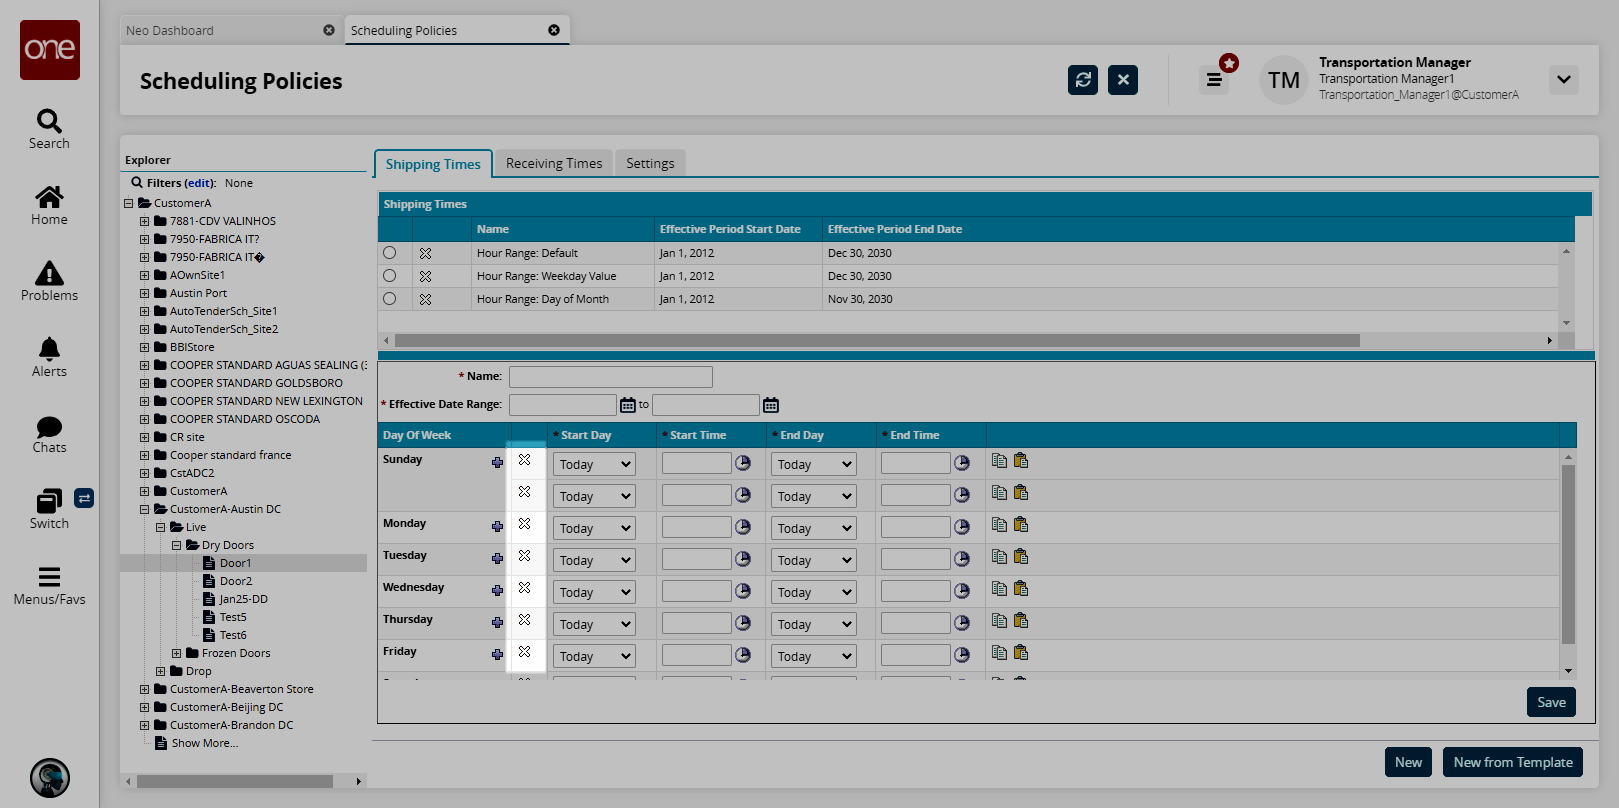
To delete a date pattern, click the Delete Row button.
Click Save.
The new shipping time schedule name displays in the Shipping Times list.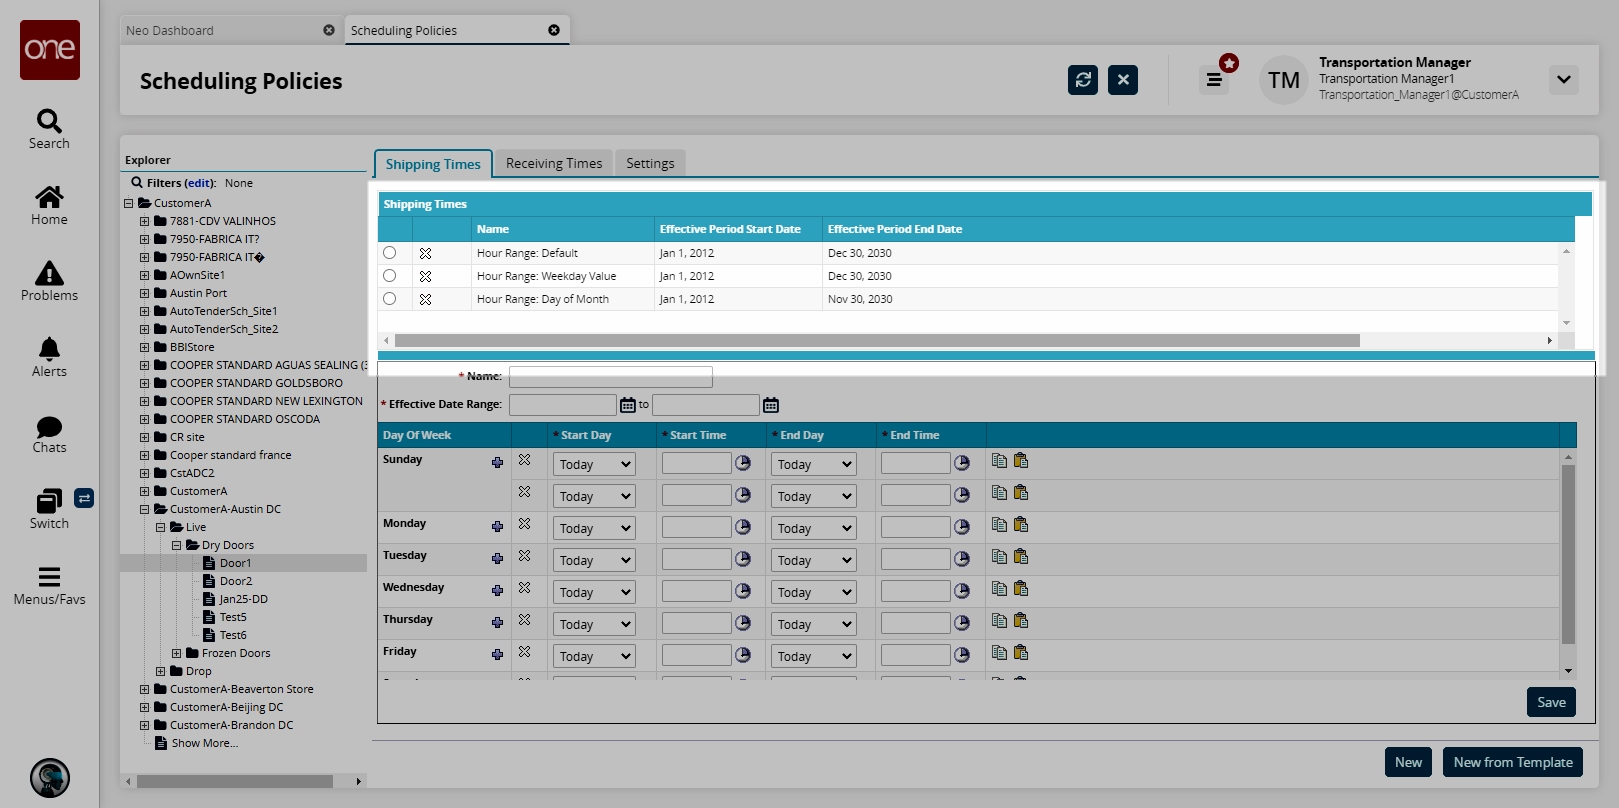
Receiving Times Tab
Click the Receiving Times tab.
The Receiving Times table displays.
Define the receiving times schedule using the procedure outlined in the Shipping Times Tab section.
Settings Tab
Dock door settings allow for definition of mixed attributes (one or more of vendor, vendor profile, carrier, load type, and appointment code).
Click the Settings tab.
The Settings form displays.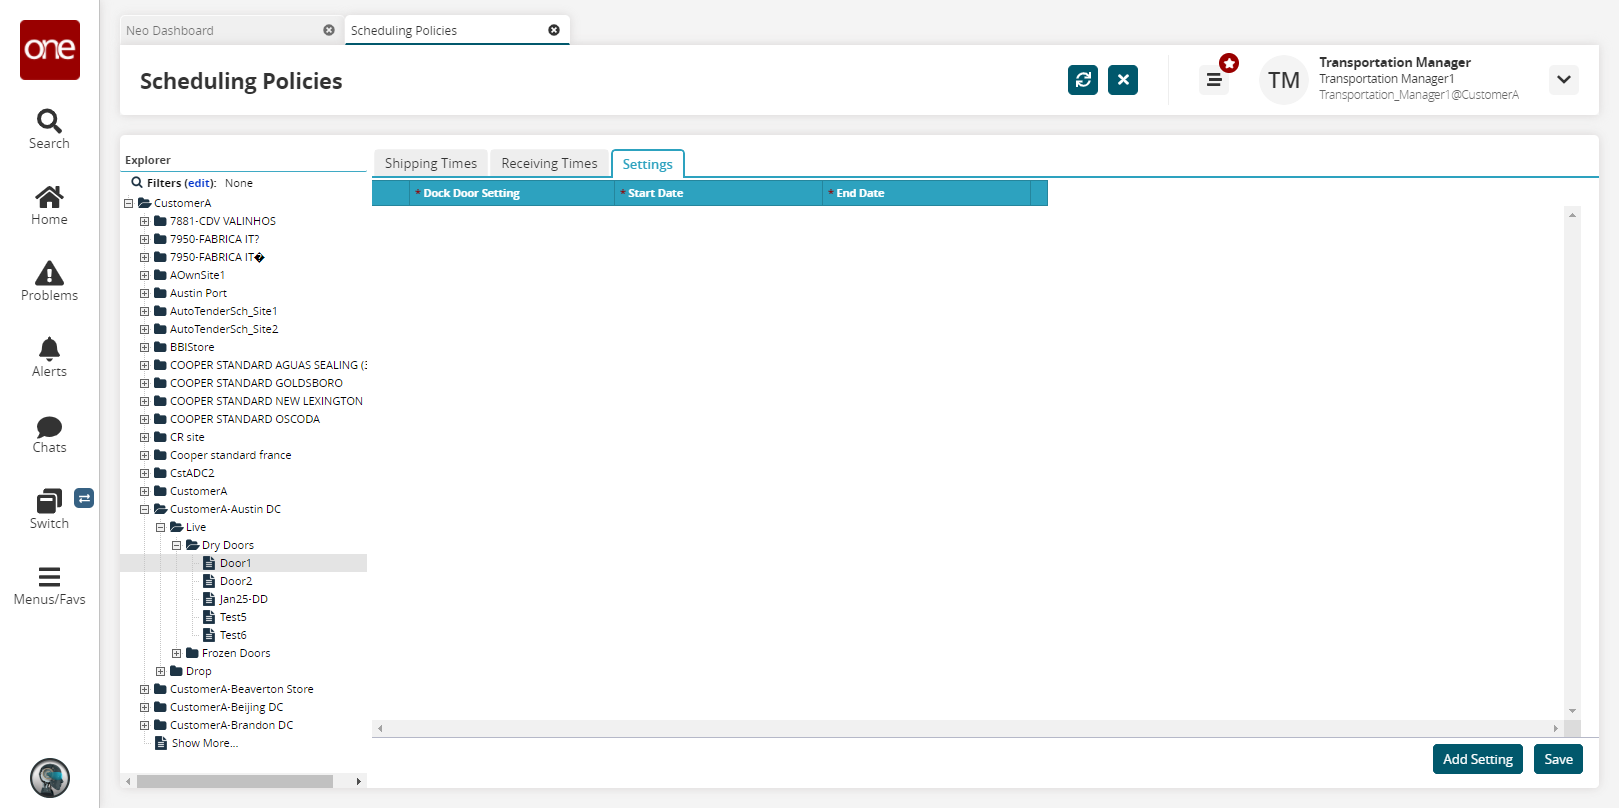
Click Add Setting.
The new setting row displays.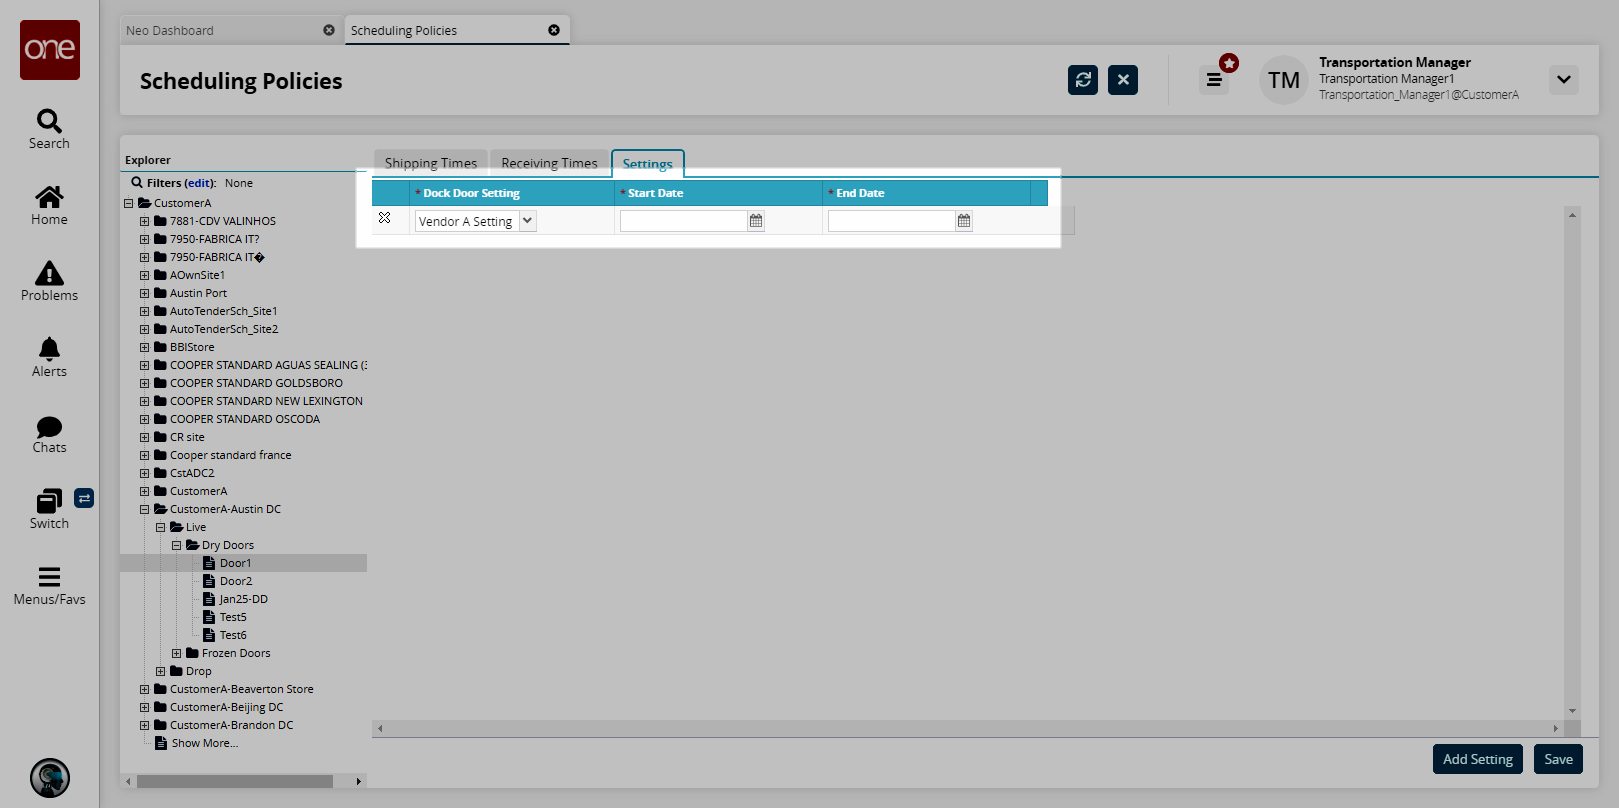
Select a Dock Door Setting from the drop-down menu.
Select a Start Date and an End Date using the calendar icons.
Repeat the previous steps for each additional dock door setting.
Click Save.
A success message displays.