Editing the Site Calendar
The Edit Site Calendar option allows you to enter detailed information, such as shipping hours, receiving hours, or business hours for a site.
Complete the following steps to edit site calendars:
L og in to the ONE system.
Click Menus/Favs > Administration > Site > Search Site.
The Search Site screen displays.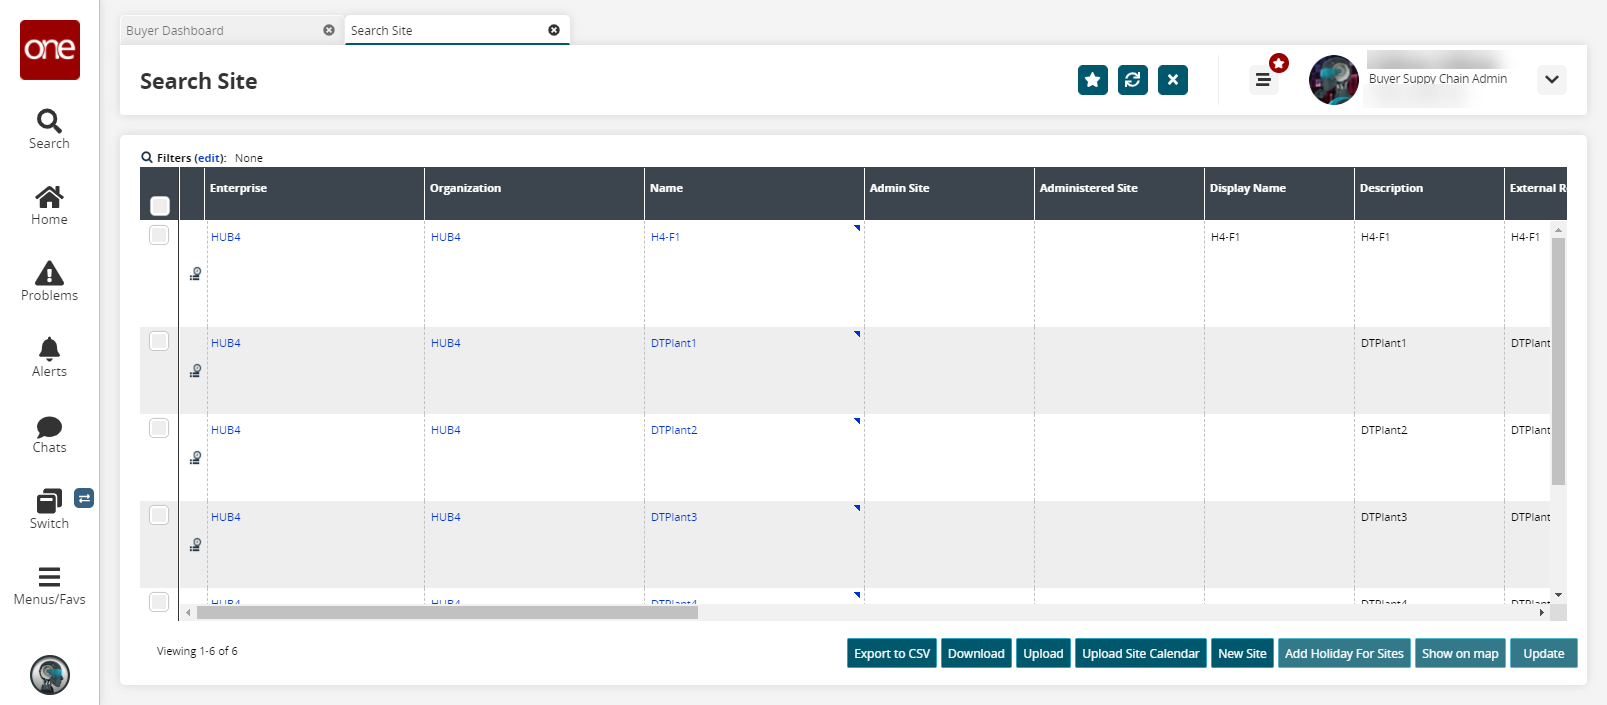
In the Name column, click a site link.
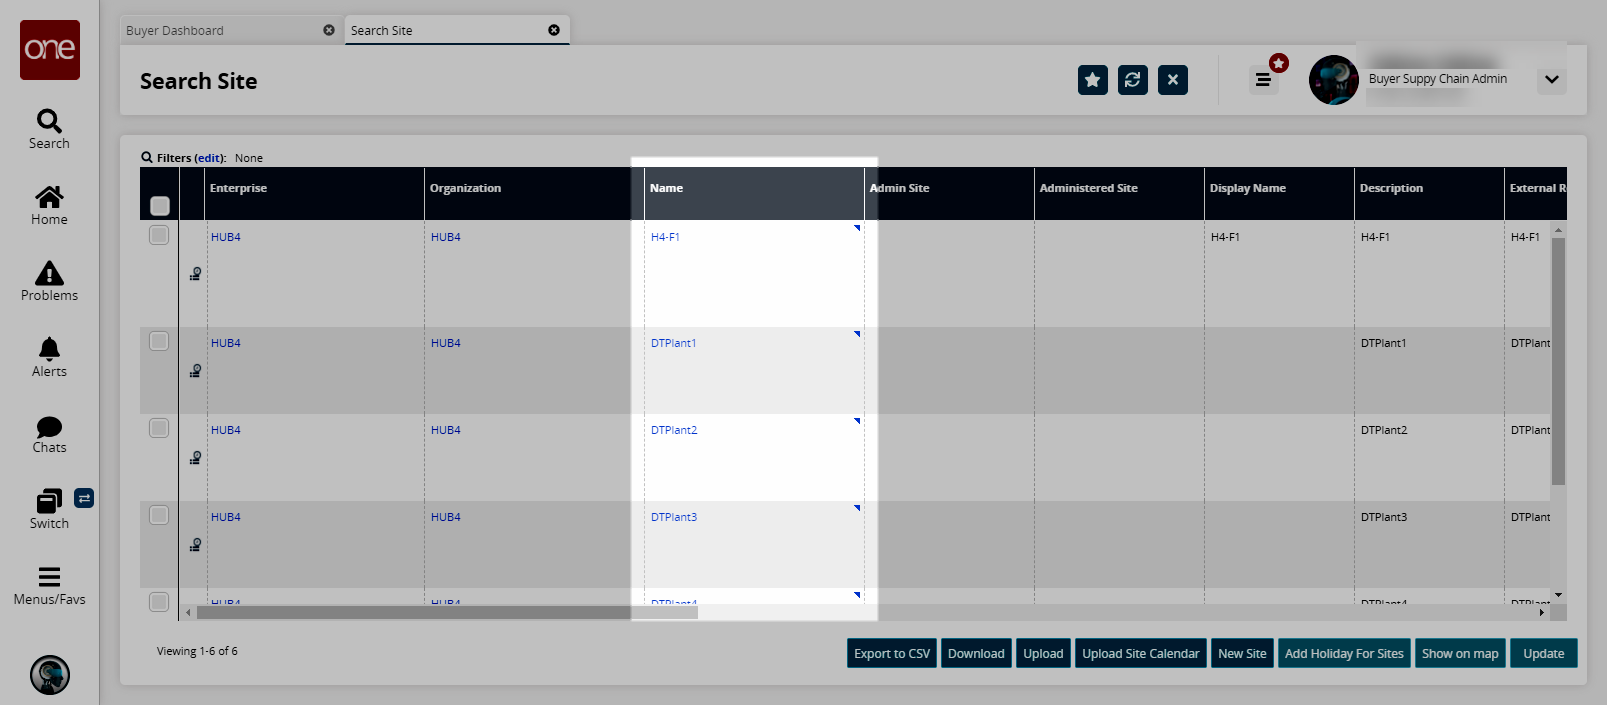
The site details screen displays.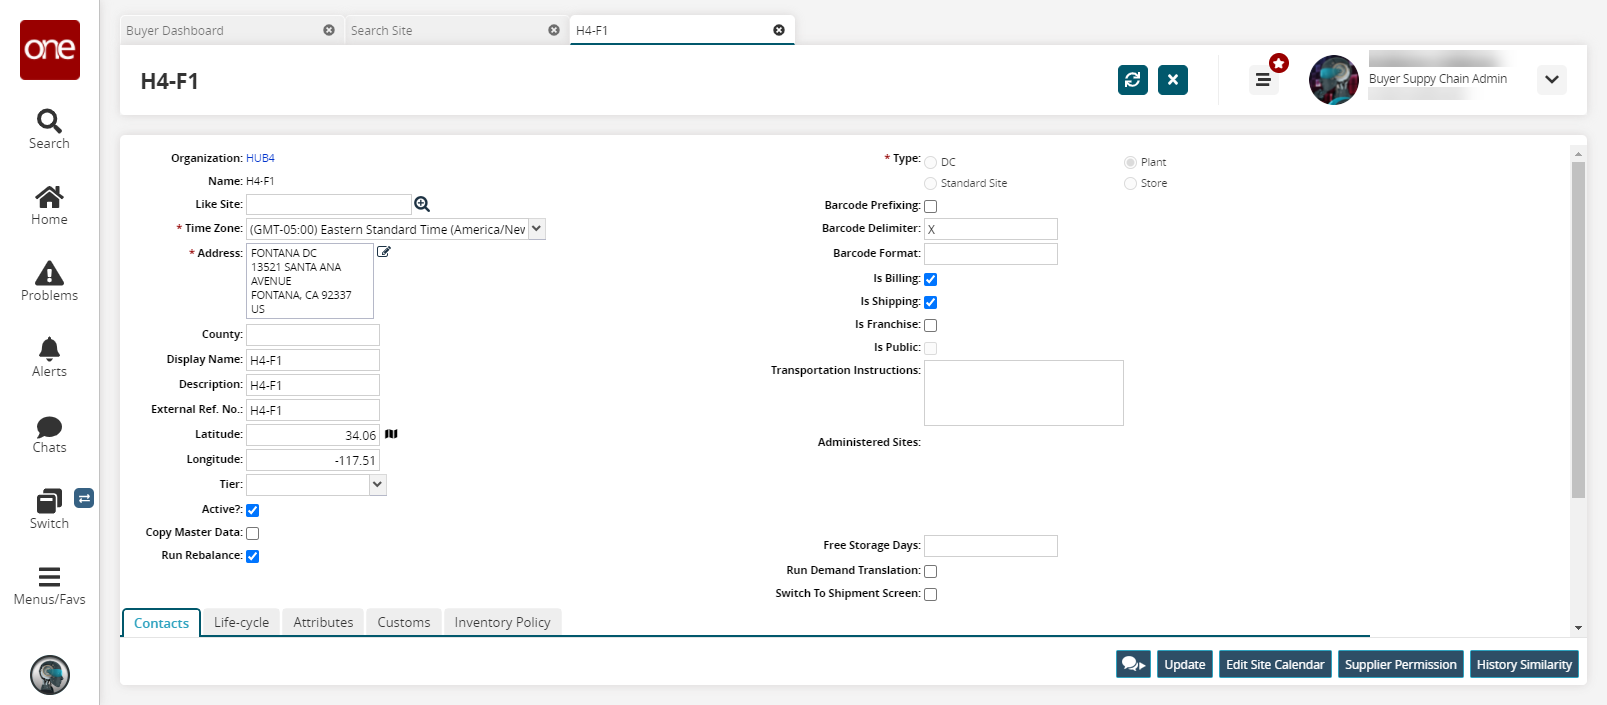
Click the Edit Site Calendar button.
The site calendar screen displays and displays the Basic Policies tab.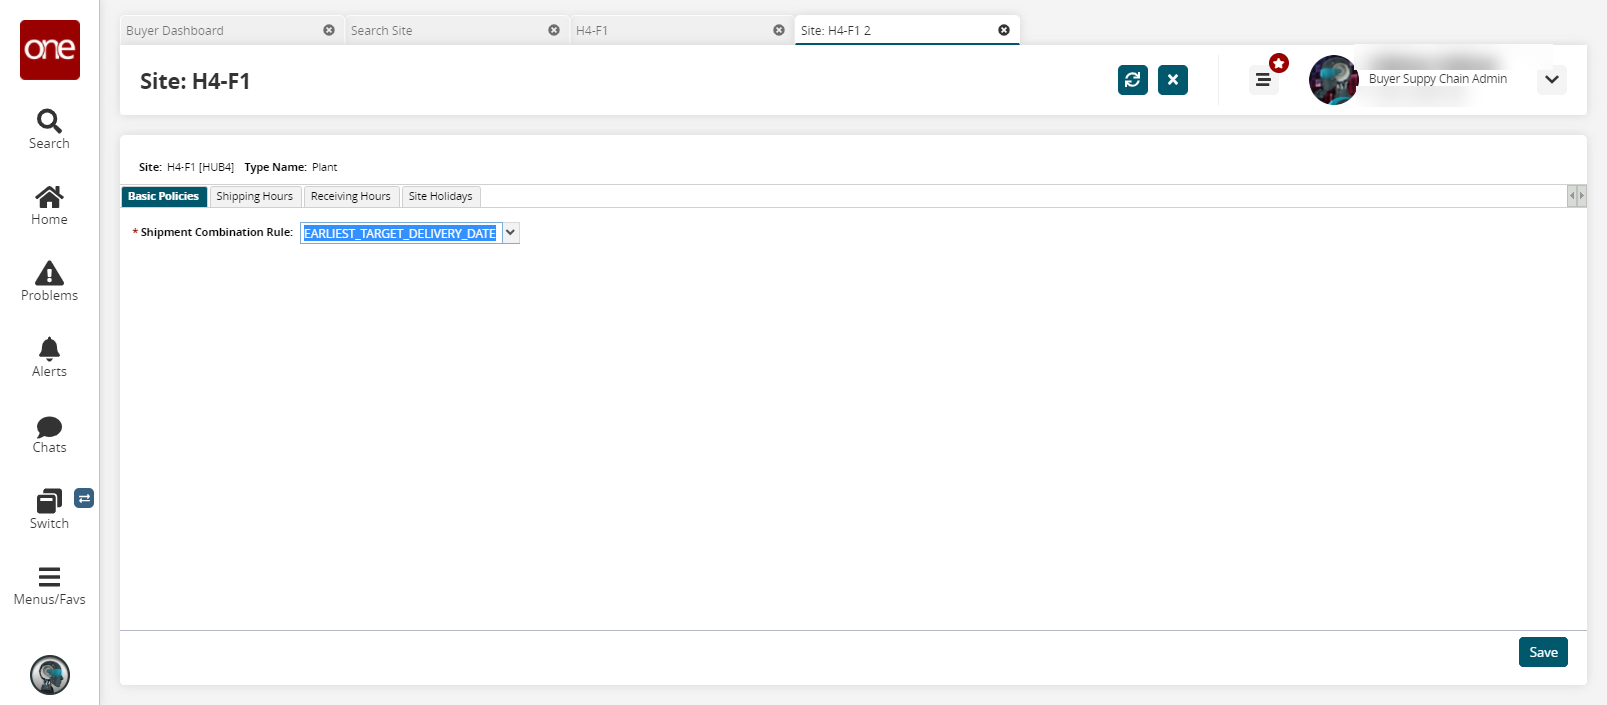
In the * Shipment Combination Rule field, select a rule from the dropdown menu. This field is required.
Click the Shipping Hours tab.
The Shipping Hours tab displays.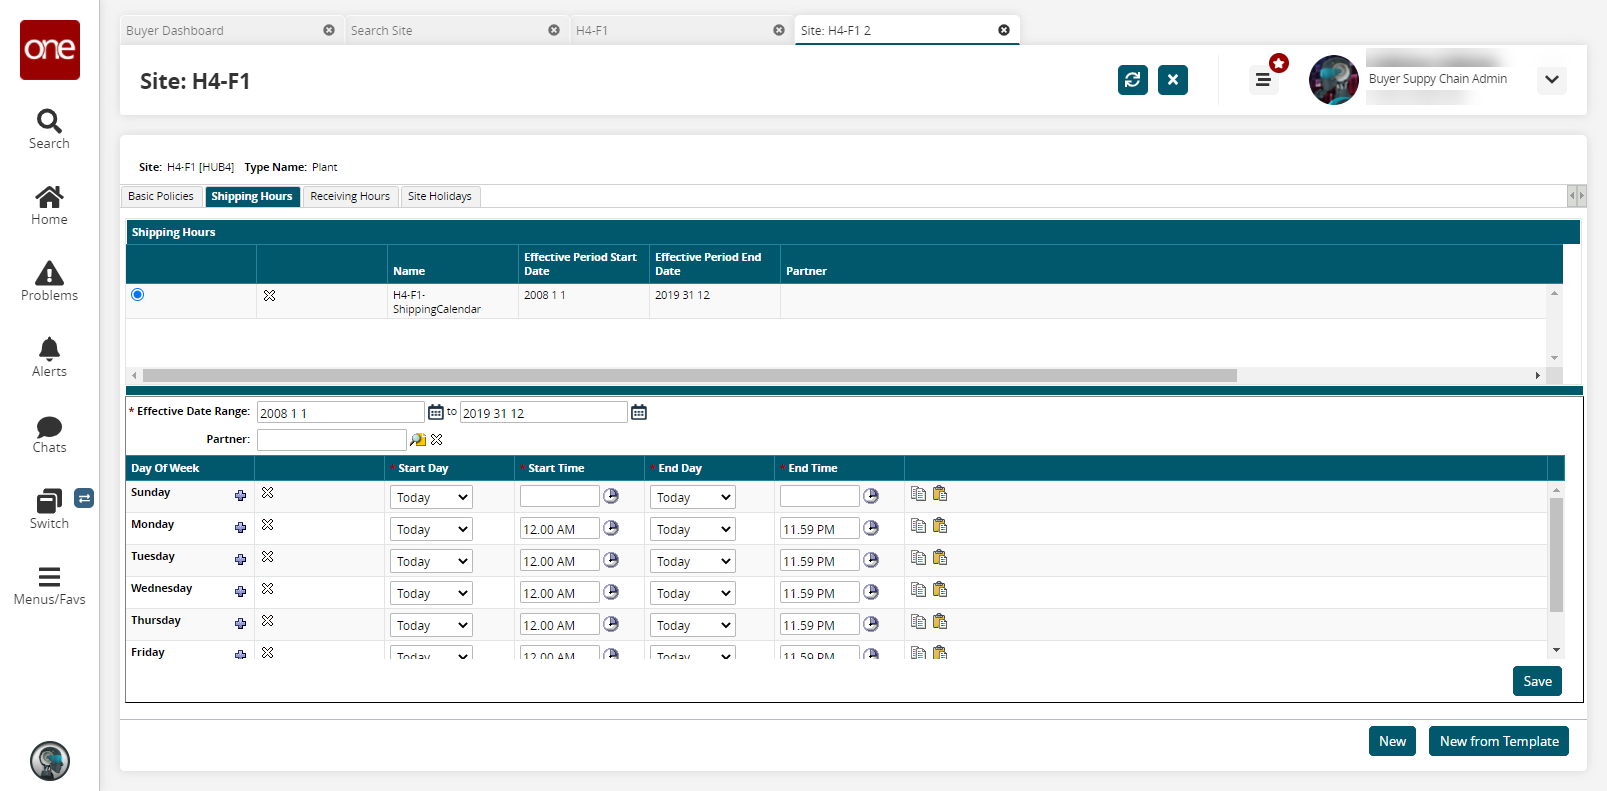
In the Shipping Hours pane, select an existing shipping hours policy to edit an existing policy.
Click New to create a new shipping hours policy from scratch or click New from Template to create a shipping hours policy from an existing template.
Fill out the following fields. Fields with an asterisk ( * ) are required.
Field
Description
Select Template
Select a template from the dropdown menu. This field only appears if you click the New from Template button.
* Name
Enter a name for the shipping hours policy.
Effective Date Range
Enter an effective date range using the calendar icons.
Partner
Select a partner using the picker tool.
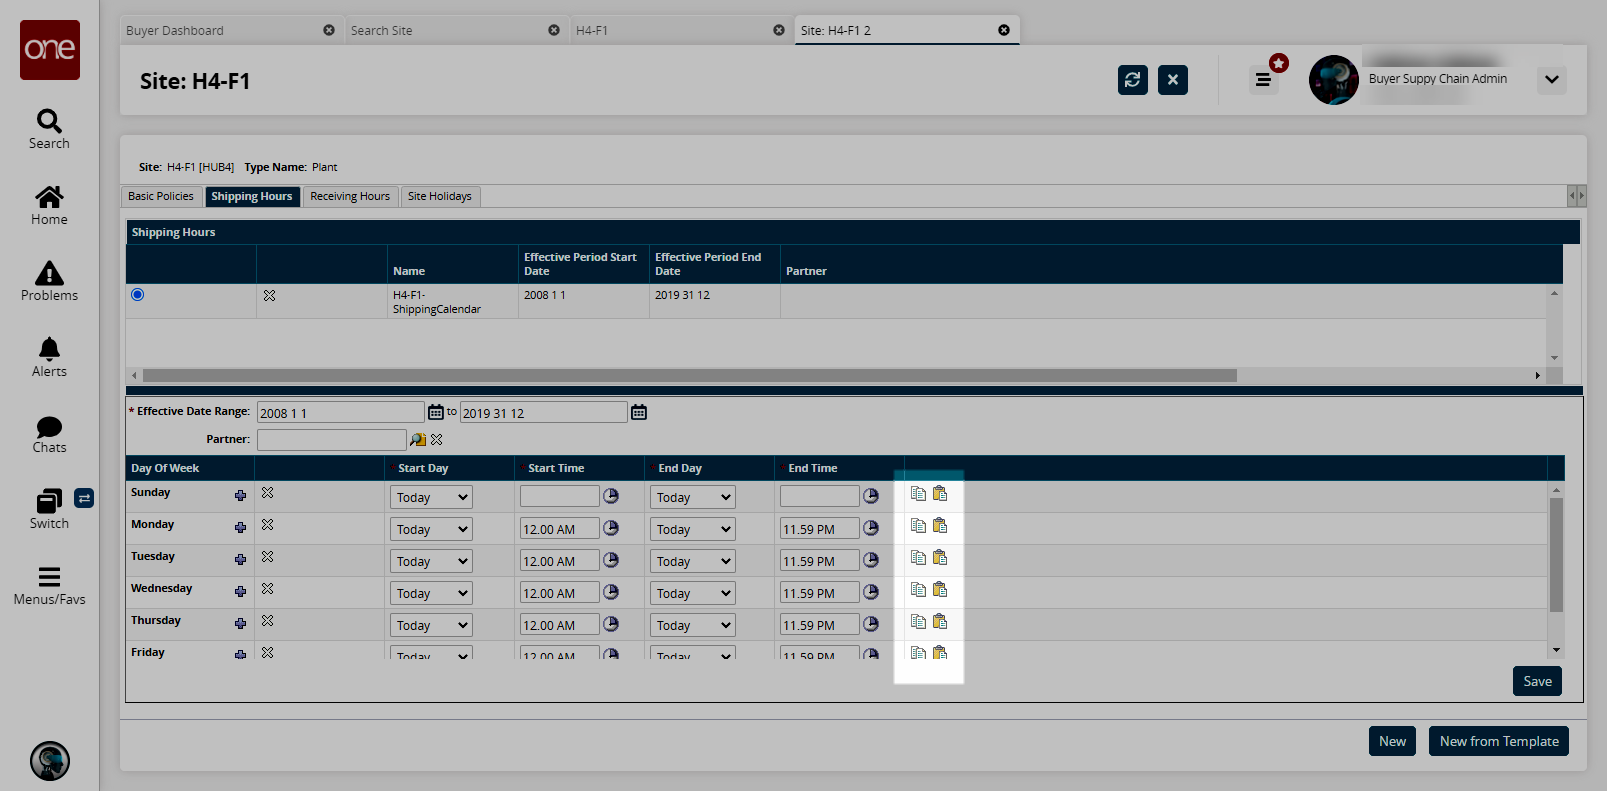
Day of the Week column
Click the plus sign icon to add additional rows for a particular day. Click the X icon to remove particular rows for a particular day.
* Start Day column
Select either Today or Yesterday as the start day from the dropdown menu.
* Start Time column
Select a start time using the clock icon.
* End Day column
Select either Today or Yesterday as the end day from the dropdown menu.
* End Time column
Select an end time using the clock icon.
Use the copy and paste icons to copy and paste rows.
Click Save.
A success message appears, and the Shipping Hours pane updates.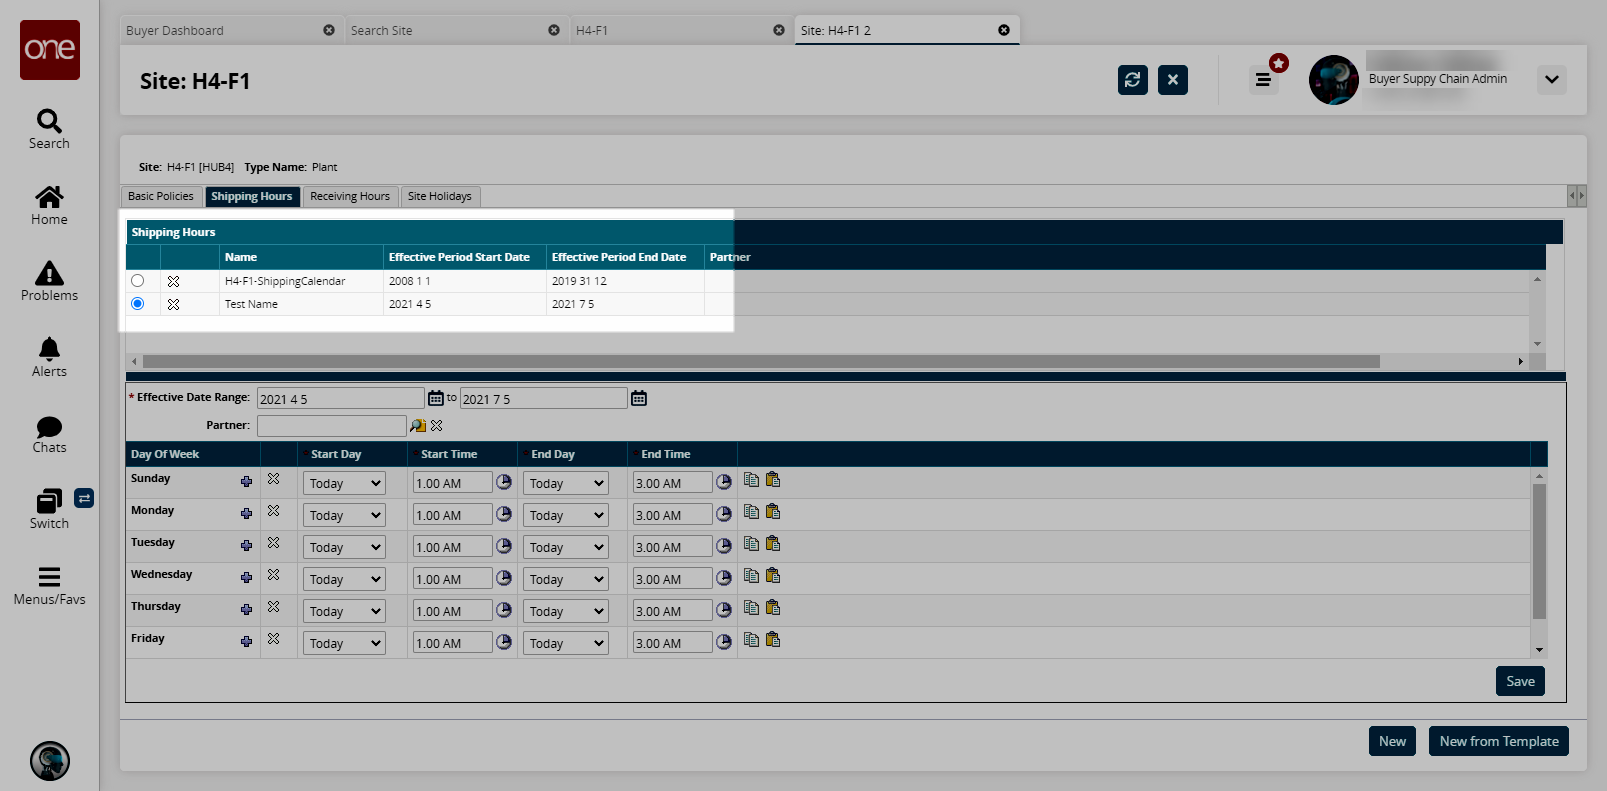
Click the Receiving Hours tab and specify the receiving hours of the site, using the same process used for specifying the shipping hours.
Click the Site Holidays tab to enter holiday dates for the site.
The Site Holidays tab displays.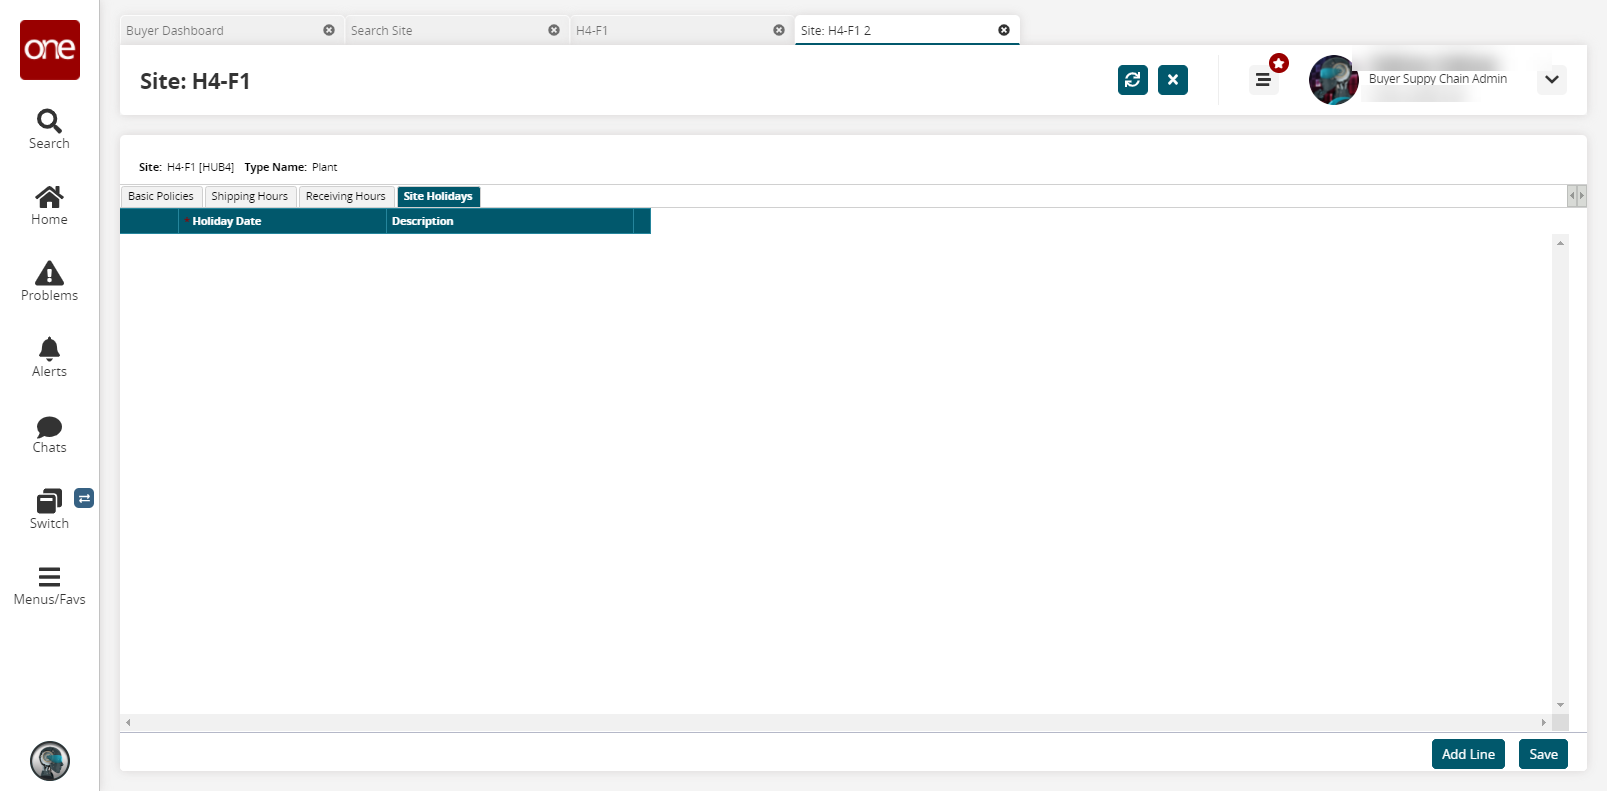
Click the Add Line button.
A new row appears.Enter a Holiday Date using the calendar icon.
Enter a Description.
Click the Save button.