GLG: Adding Geo Permissions to a Role
Complete the following steps to add geo permissions to a role:
Log in to ONE Network.
Click Menus/Favs > Administration > Role.
The Roles screen displays.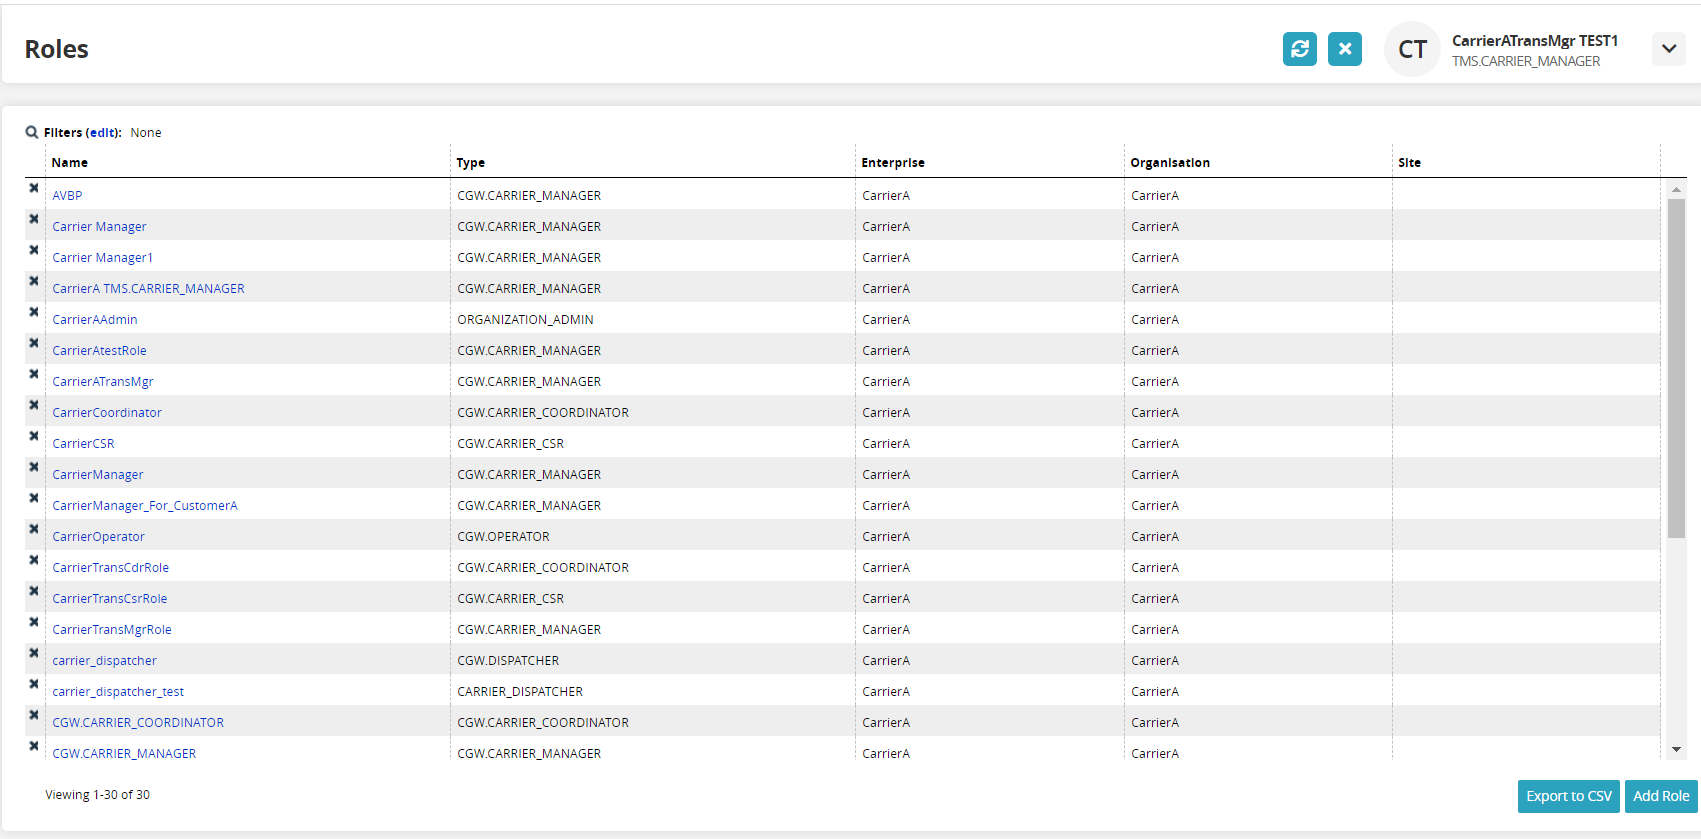
Under the Name column, click a Role link.
The role's screen displays.Click the Geo Permissions tab.
The Geo Permissions tab displays.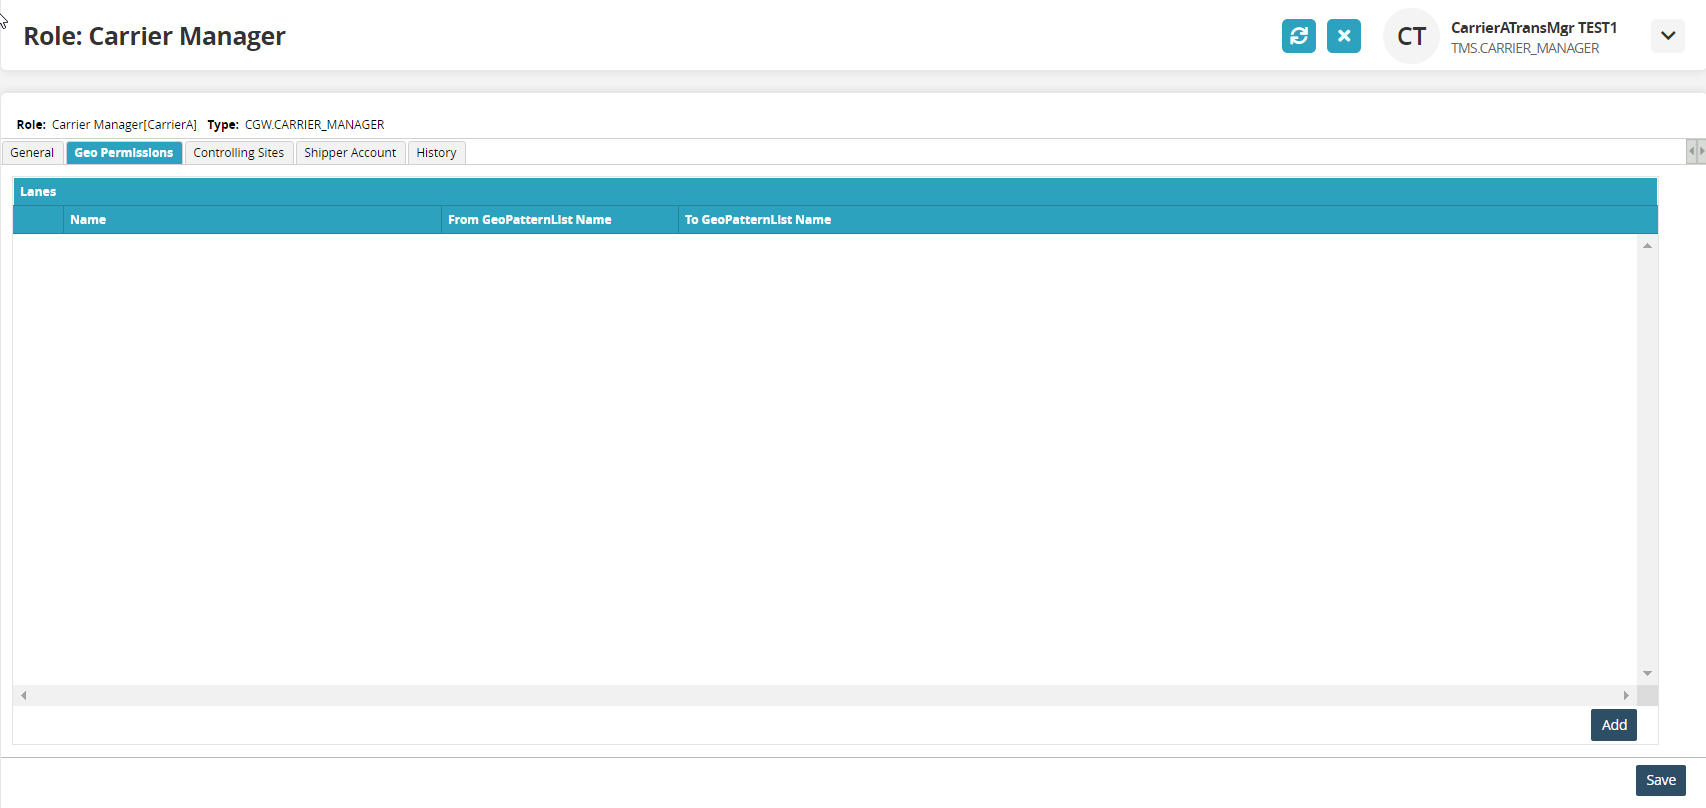
Click the Add button.
The Select Geo Lane popup dialog box displays.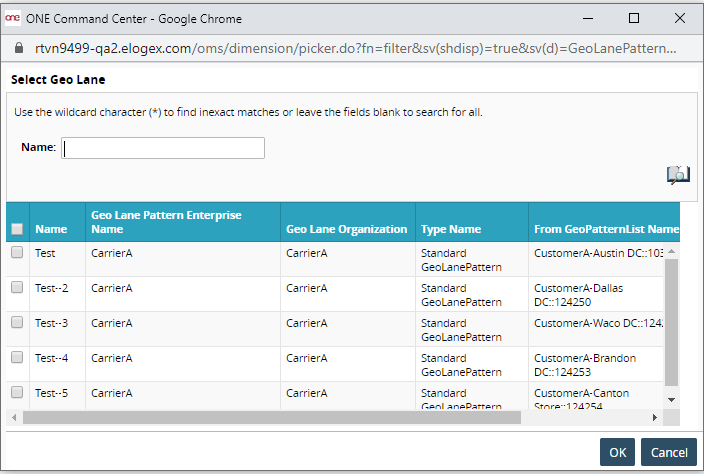
Click the checkbox in front of the lane to be added.
Click the OK button.
The lane is added to the role.Click the Save button.
A green success bar displays.