GLG: Setting Data Type Validation for Custom Fields
Custom fields can require data type validation to eliminate data errors. Customers can add validations such as field type and valid characters to their custom fields in carrier profiles. After customers set up the data type validations, drivers are restricted to input data following the data type parameters. With this enhancement, customers have more control in ensuring data from carriers is correct.
Complete the following steps to set data type validations for custom fields that are displayed in the driver mobile app:
L og in to the ONE system.
Click Menu/Favs > Transportation > Policies > Carrier Profiling.
The Carrier Profiling screen displays.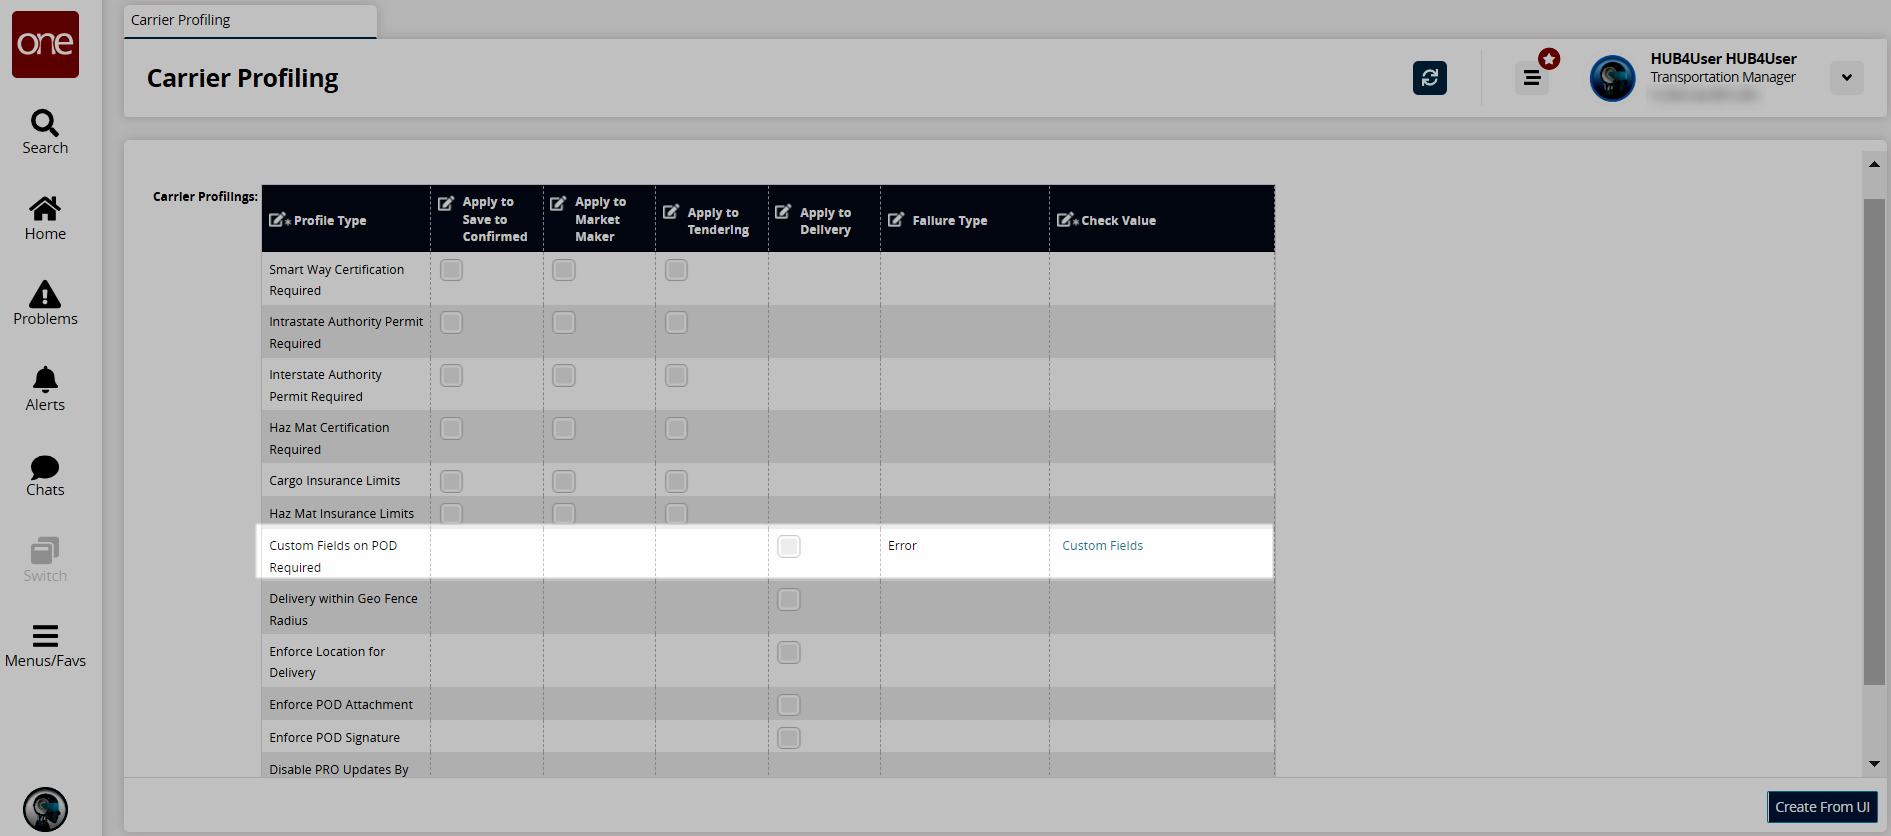
In the Custom Fields on POD Required row, check the box under the Apply to Delivery column to include custom fields on the POD.
Error is the only available option in the Failure Type column.Check the Custom Fields link under the Check Value column.
The Add Custom fields popup displays. The following screenshot shows an existing custom field. To add custom fields, see the "GLG: Adding Custom Fields to the POD Screen" section in the Online Help for more information.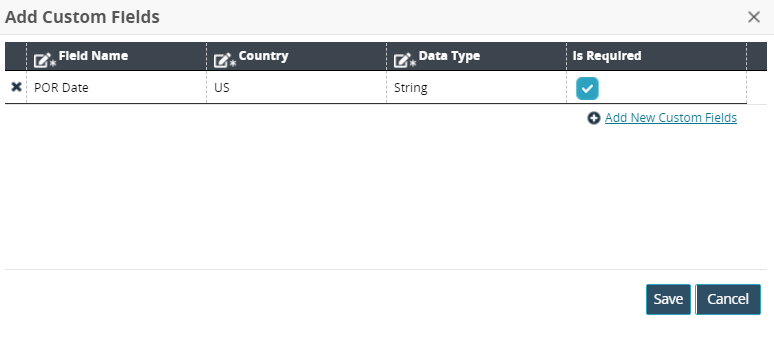
Select a * Data Type from the dropdown list: Boolean, Double, Integer, String.
Check the box for Is Required.
Click the Save button.
Click the Create From UI button.
A green success message displays.