GLG: Tracking Events
You can add a tracking event to an individual shipment, or you can add a tracking event to a movement. If the movement contains multiple shipments, any tracking event added to the movement will be added to every shipment under that movement.
Complete the following steps to track an event:
Log in to the ONE network.
To add a tracking event, first locate the shipment or movement you want to add the event to. You can locate the shipment or movement by using the global Search icon on the left sidebar, or you can go to one of the Transportation pages, such as Confirmed, Intransit, or Delivered, and locate your shipment or movement.
The screen displays your search results. Movements with multiple shipments have a small expand/collapse arrow in the Shipment column.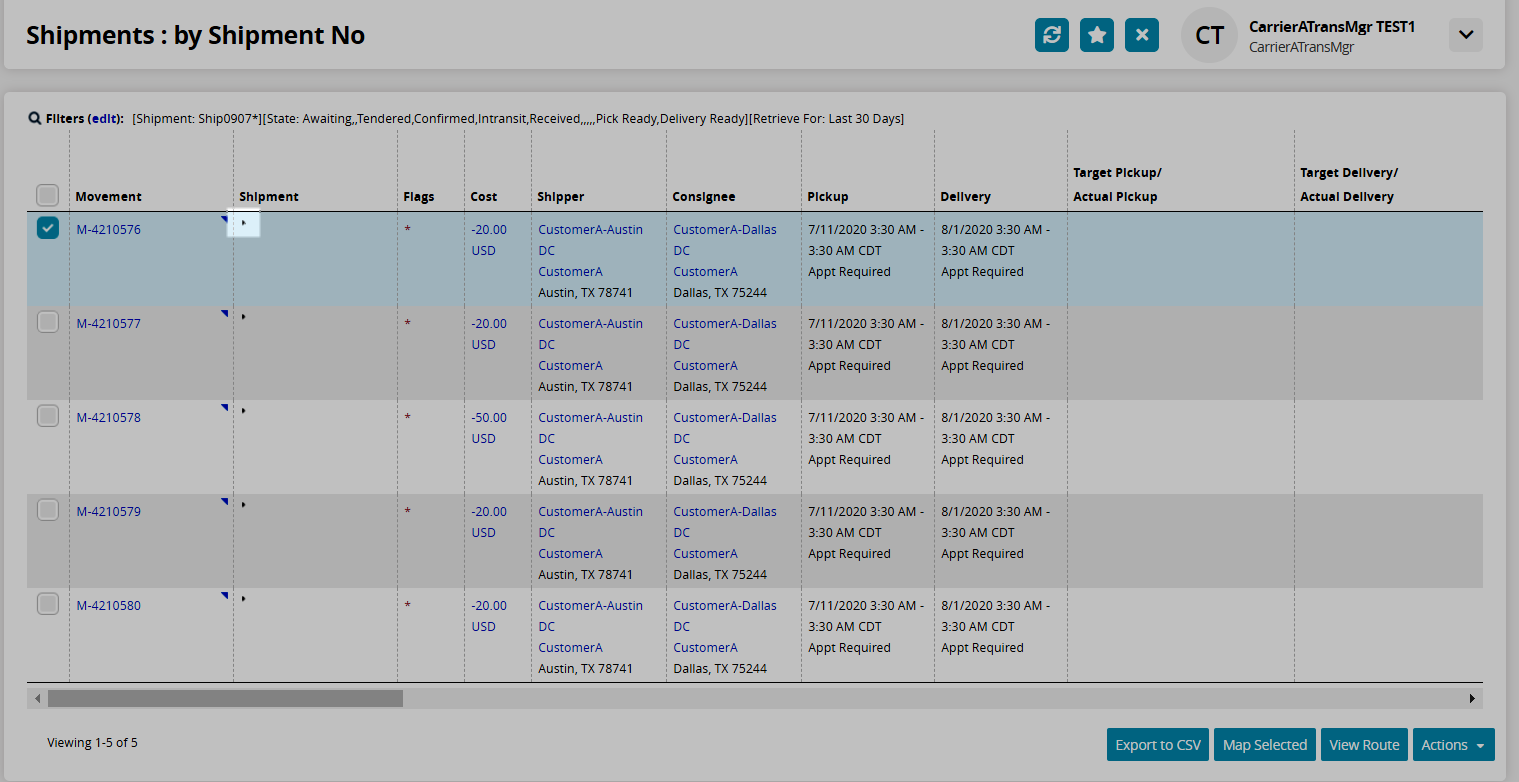
Click the expand/collapse arrow to expand the shipments in a movement if you need to add a tracking event to individual shipments rather than the entire movement.
To add a tracking event to the movement or shipment, use one of the following three methods:
Method one:
Select the checkbox next to the movement or shipment number.
Click the Actions button at the bottom of the screen.
Select the Movement Tracking (or Shipment Tracking) option.
Method two:
Click the T under the Links column of the movement or shipment line.
The Movement Tracking (or Shipment Tracking) screen displays.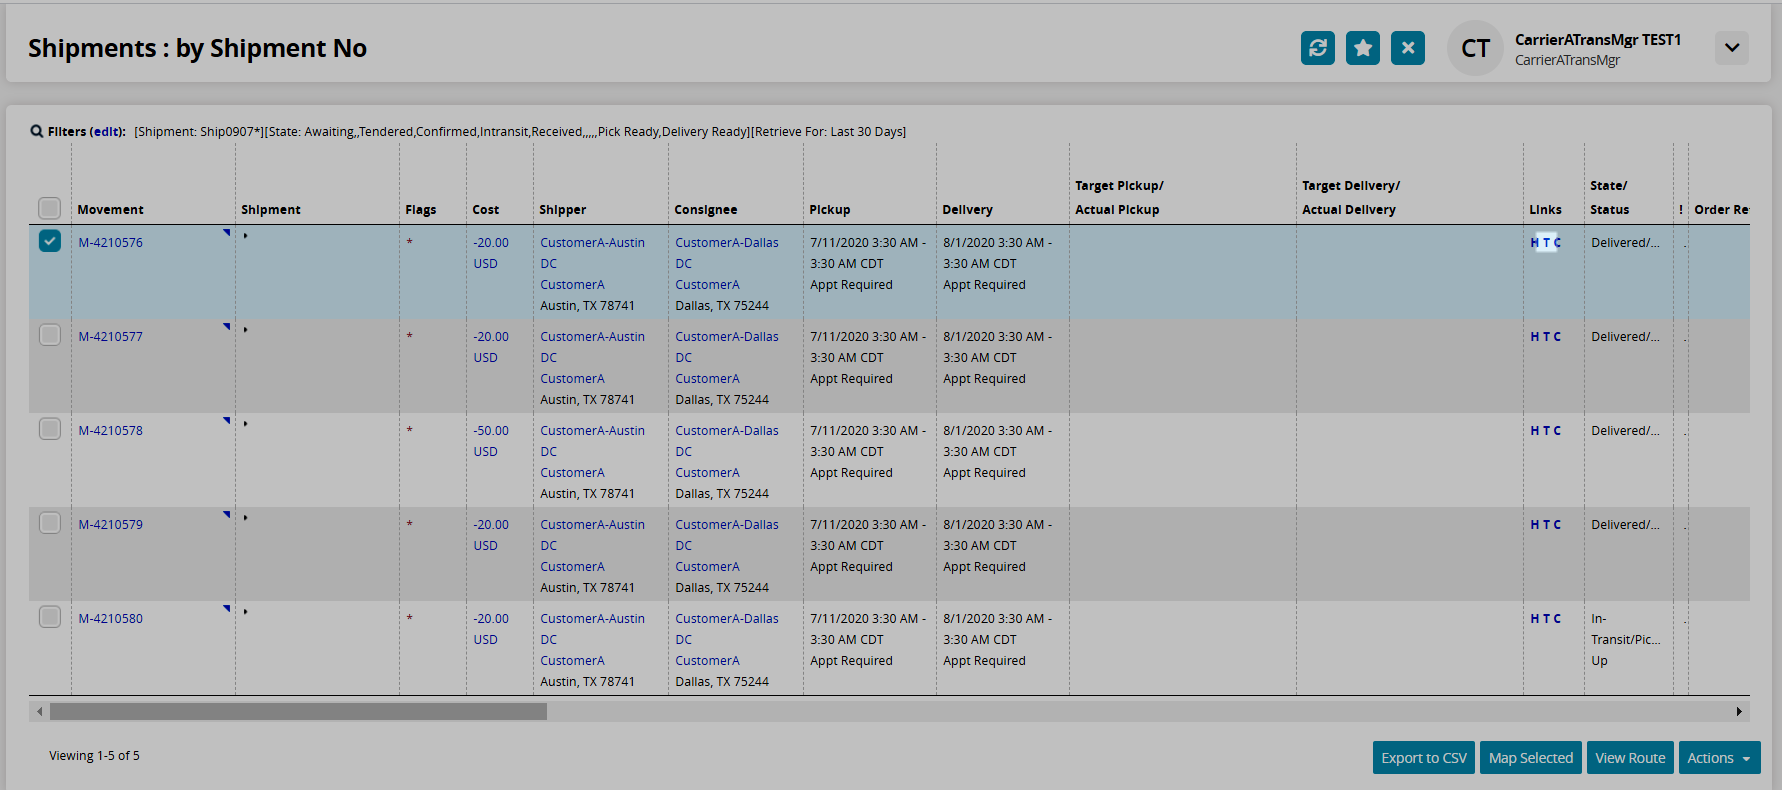
Method three:
Click the triangle next to the movement number.
A menu of actions displays.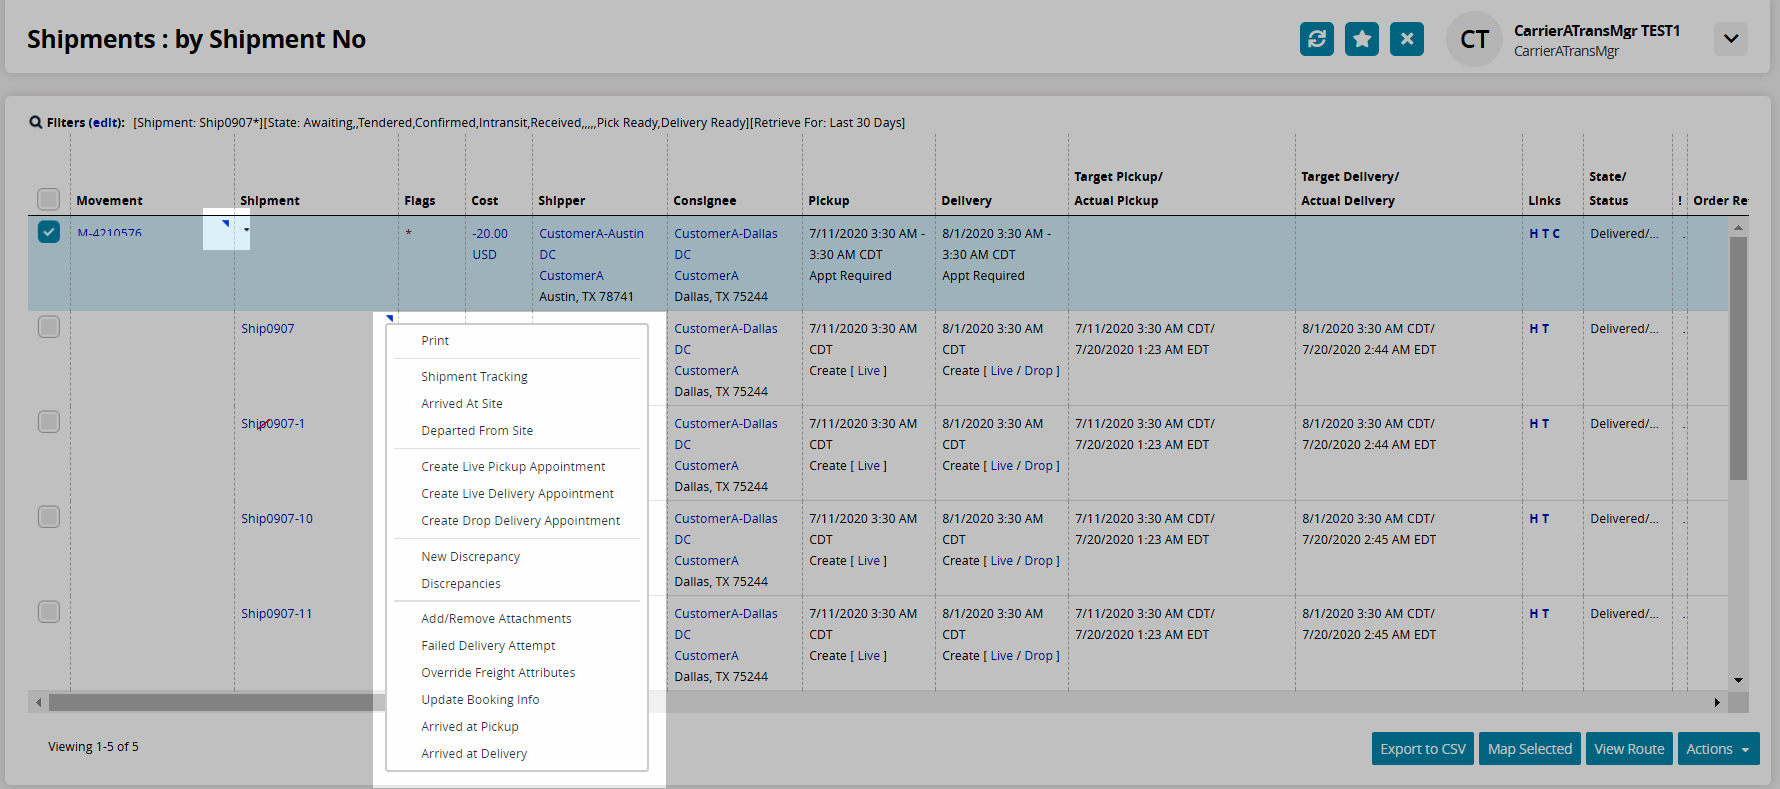
Click Movement Tracking (or Shipment Tracking).
The Movement Tracking (or Shipment Tracking) screen displays.
From this point forward, the instructions will discuss movement tracking events. However, shipment tracking events follow the same steps.
Click the Create Tracking Event button.
A menu of tracking events displays.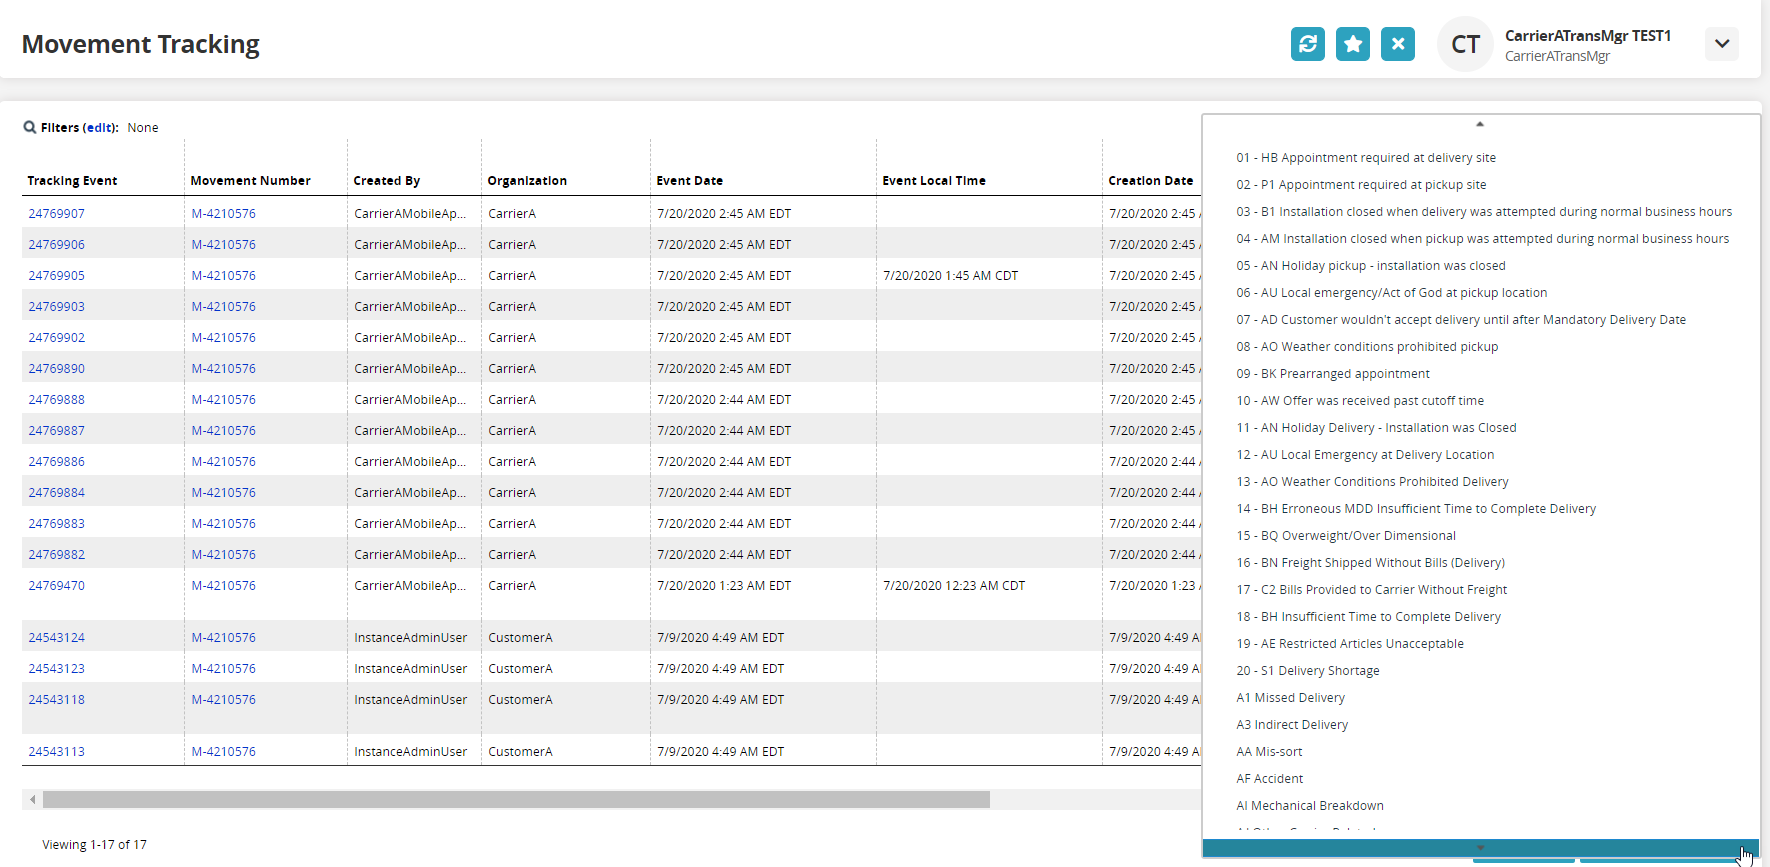
Select one of the tracking events.
A popup window displays. The fields on the popup window vary depending on the event. Fields with an asterisk ( * ) are required.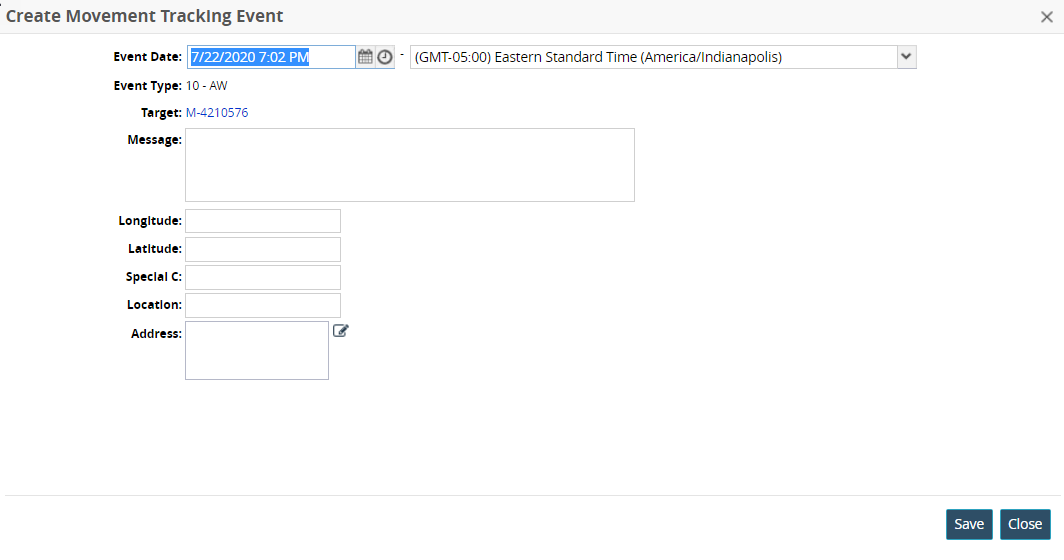
Enter data into the fields.
Click the Save button.
A success message displays.Click the Close and Refresh button.
The popup window closes, and the Movement Tracking Event page displays with the newly added tracking event.