Inventory Management Policies
Inventory Management Policies are categorized into two type: General and By Item.
Complete the following steps to access the Inventory Management Policies:
Log in to the ONE system.
Click Menu/Favs > Policies > Inventory Management Policies .
The Inventory Management Policies screen appears.Select a location in the Expl
Select the site of the inventory management policies that you want to update or create a new item.
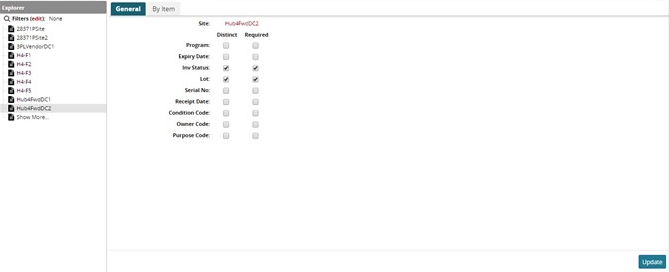
The General and By Item tabs for the selected site appears to the right of the explorer pane.Click on the General tab, to update.
Select the checkbox as required to activate it.
Click on Update to update the requirements.
Complete the following steps to Create, Update, or Delete an Item:
Click on the By Item tab to Create, Update or Delete an Item
Select the checkbox of the desired Item.
Click on the Actions button and select the desired action.
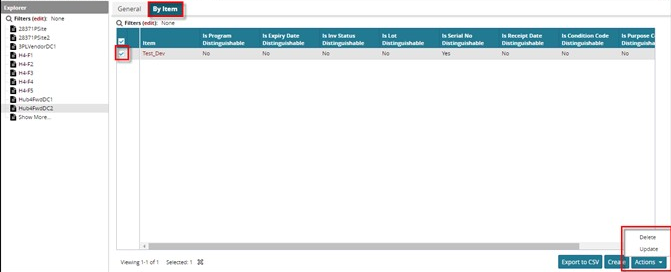
Click on the Create button to create an item. The Create window appears.
Enter a name in the Item field.
Select the checkbox for the required options and then click on Create. A success message appears.
To export to a spreadsheet, click on Export to CSV.