Item Contacts Tab
Users can add, update, or delete contacts for items in the Item Master. The following instructions assume that users are already working with a new or existing item. Upon opening a details page or creation page, the Contacts tab shows by default.

Complete the following steps to add an existing contact for an item:
Select a Contact Type from the dropdown list.
Enter or use the picker tool to select a Contact.
Click the Add button.
The contact displays in the contact table.
Complete the following steps to add a new contact for an item:
Click the New button.
The New Contact popup window displays.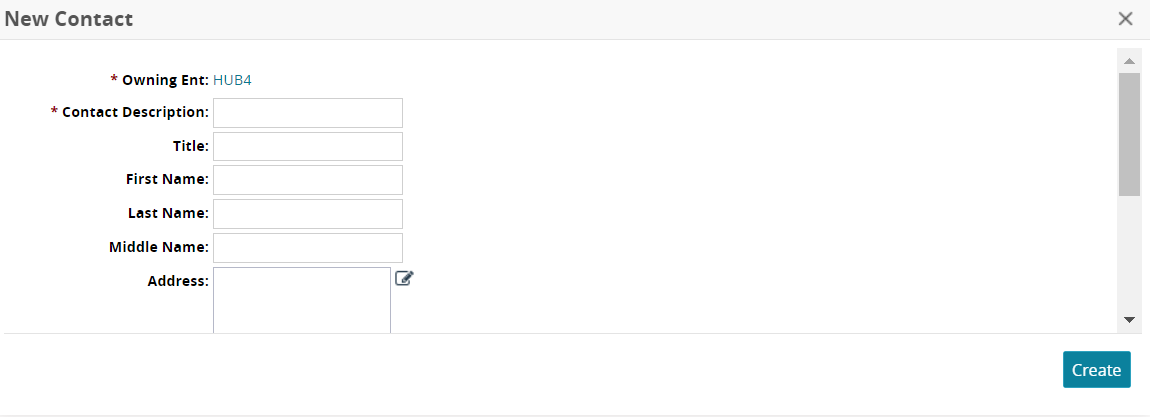
Enter values for fields described in the table below. Fields with an asterisk ( * ) are required.
Field
Description
*Owning Ent
This field auto-populates with the owning enterprise. Click on the link to view enterprise details.
*Contact Description
Enter a description for this contact.
Title
Enter the title for the contact.
First Name
Enter the contact's first name.
Last Name
Enter the contact's last name.
Middle Name
Enter the contact's middle name.
Address
Enter the address. Please note that the fields may differ slightly based on the country code.
Click on the edit icon (pencil).
The address popup window displays.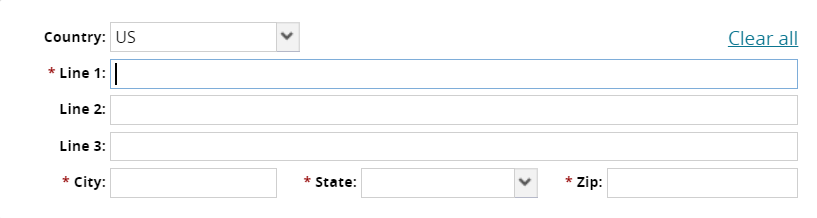
Select the country code in the Country field from the dropdown list.
Enter an address in the *Line 1 field
Enter address information in the Line 2 and Line 3 fields, if necessary.
Enter a *City.
Select a *State from the dropdown list.
Enter a *Zip code.
Phone
Enter a phone number.
Mobile
Enter a mobile number.
Fax
Enter a fax number.
Email
Enter an email address.
Click the Add link to add additional email addresses.
Person
Enter or use the picker tool to add a person.
User
Enter or use the picker tool to add a user name.
Public
Check the box if this contact information will be public.
Click the Create button.
The contact information is added to the contact table.
Complete the following steps to delete a contact:
Check the box for a contact.
The Delete button activates.Click the Delete button.
The contact is removed from the contact table.There is no confirmation for deleting a contact.
Please see individual sections in the Online Help for the other tabs.