Managing Site Transit Time Speed
Complete the following steps t o manage site transit time speed:
L og in to the ONE system.
Select Menu/Favs > Administration > Sites.
In the NEO UI, users can click on the Menus/Favs icon on the left sidebar and type in the name of the screen in the menu search bar. For more information, see "Using the Menu Search Bar."
The Sites screen appears.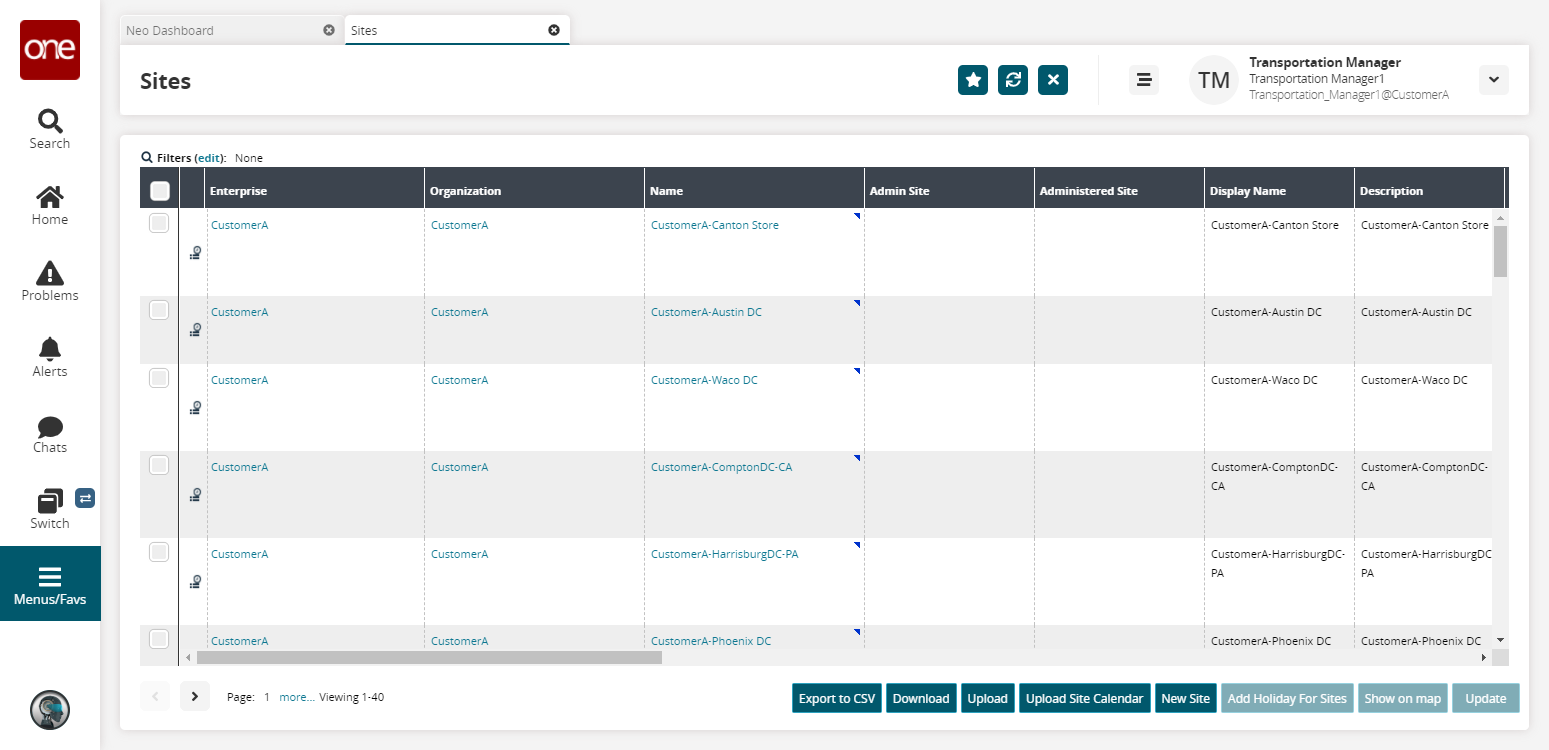
To edit a site, click the site name link under the Name column.
The site information appears.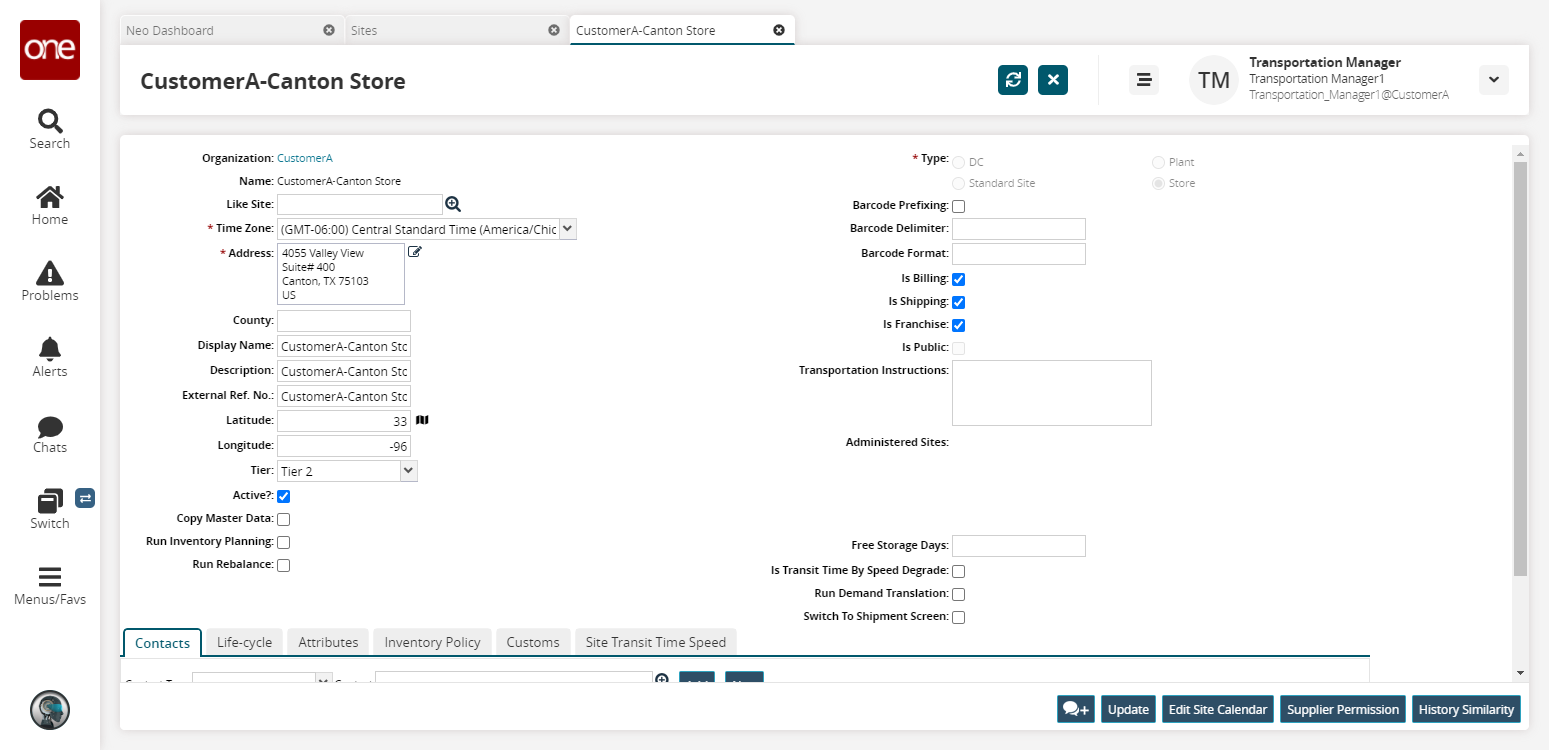
Click the Site Transit Time Speed tab at the bottom of the page.

To add a site transit time speed, click the Add button.
You can now enter a Start Time, End Time, and Speed/Hr.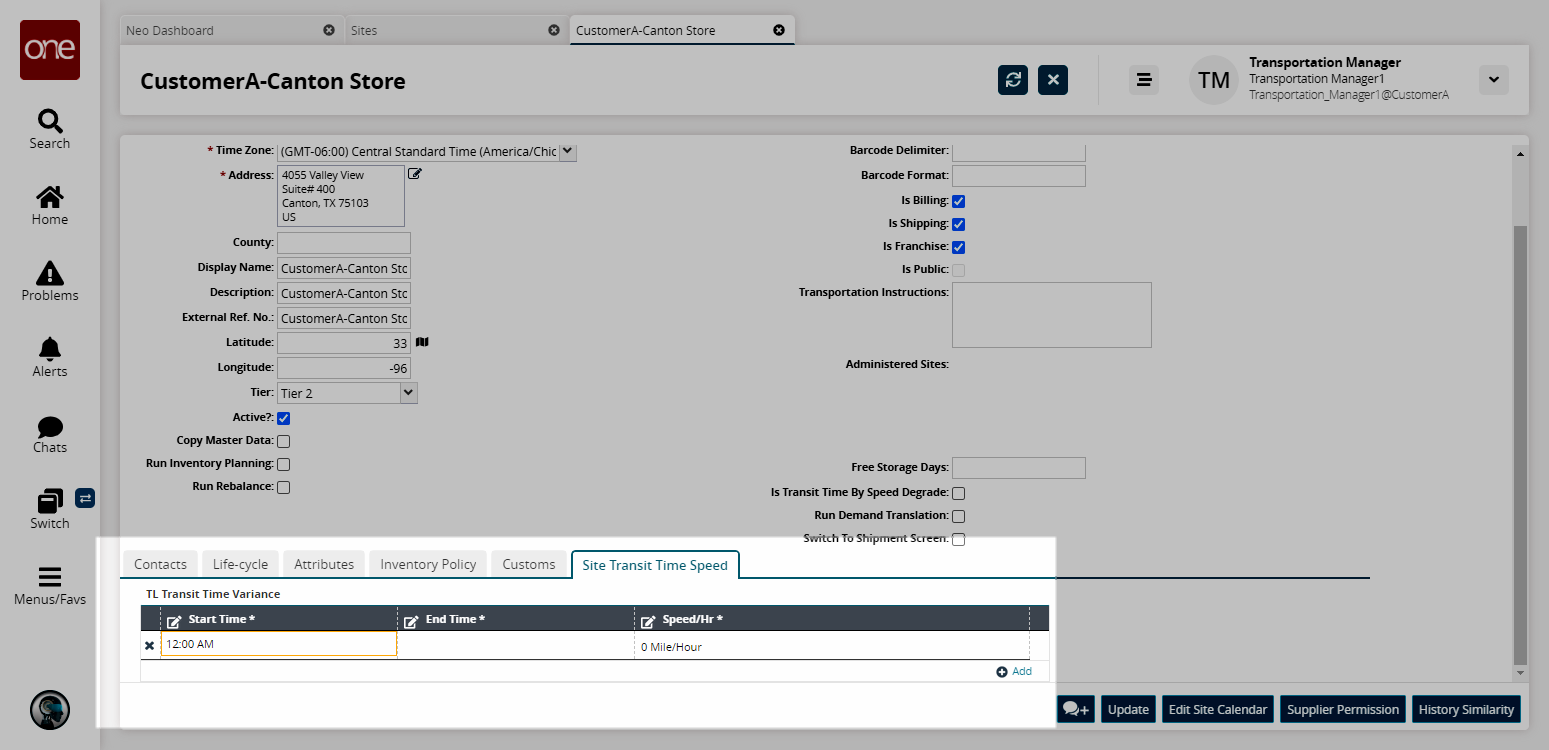
Info
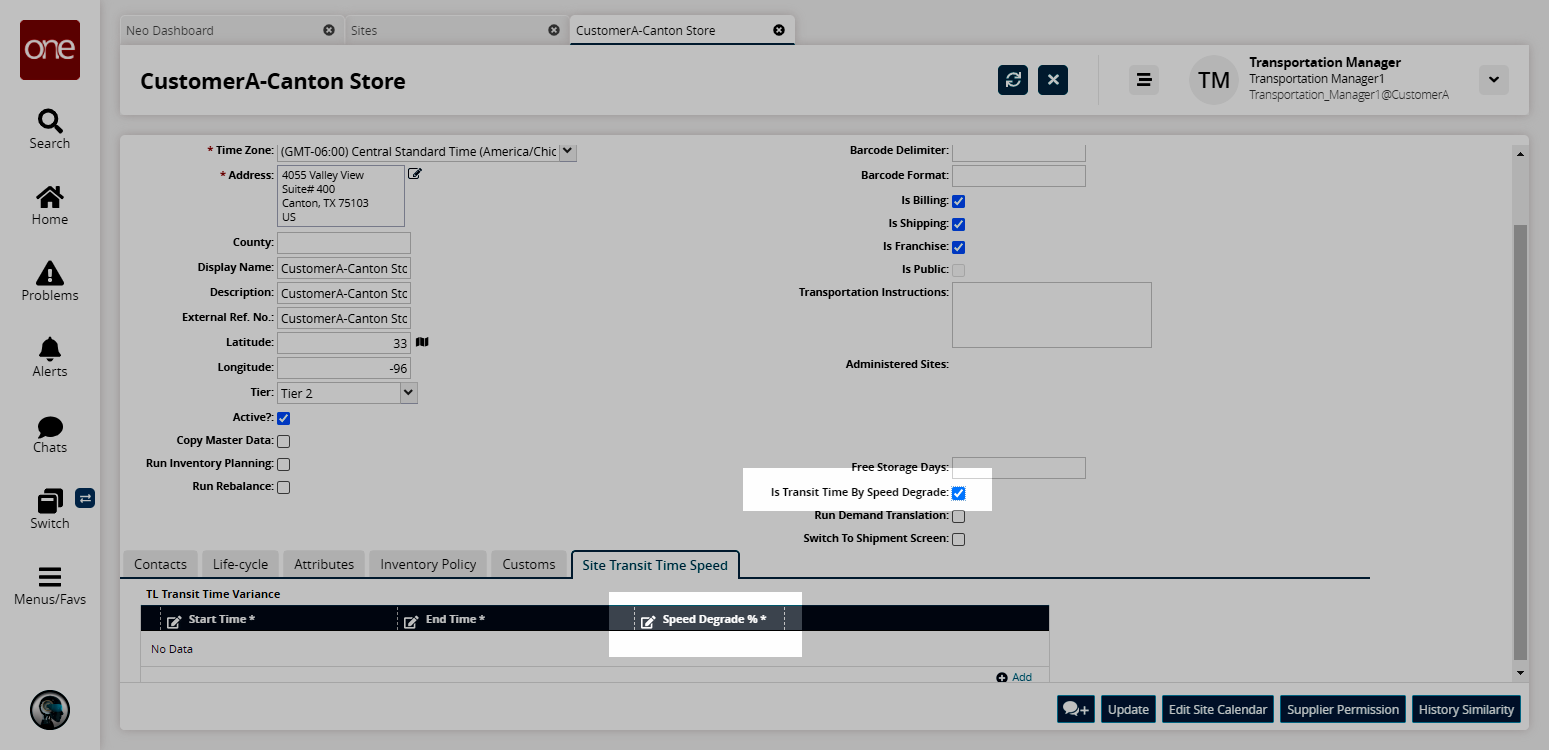
If the user selects Is Transit Time By Speed Degrade checkbox, the Site Transit Time Speed tab shows the Speed Degrade % column instead of Speed/Hr.
To save all changes, click the Update button at the bottom of the page.
A success message appears.