Managing Your Organization
You can define policies about your organization, including time zone; billing address; default details for equipment, weight UOM, volume UOM, freight terms, and nearest location radius; appointment, commodity, and reason codes; additional charges; and transit time variances.
Complete the following steps to set organization policies:
Log in to the ONE system.
Select Menu/Favs > Administration > Organization.
The Organization screen appears.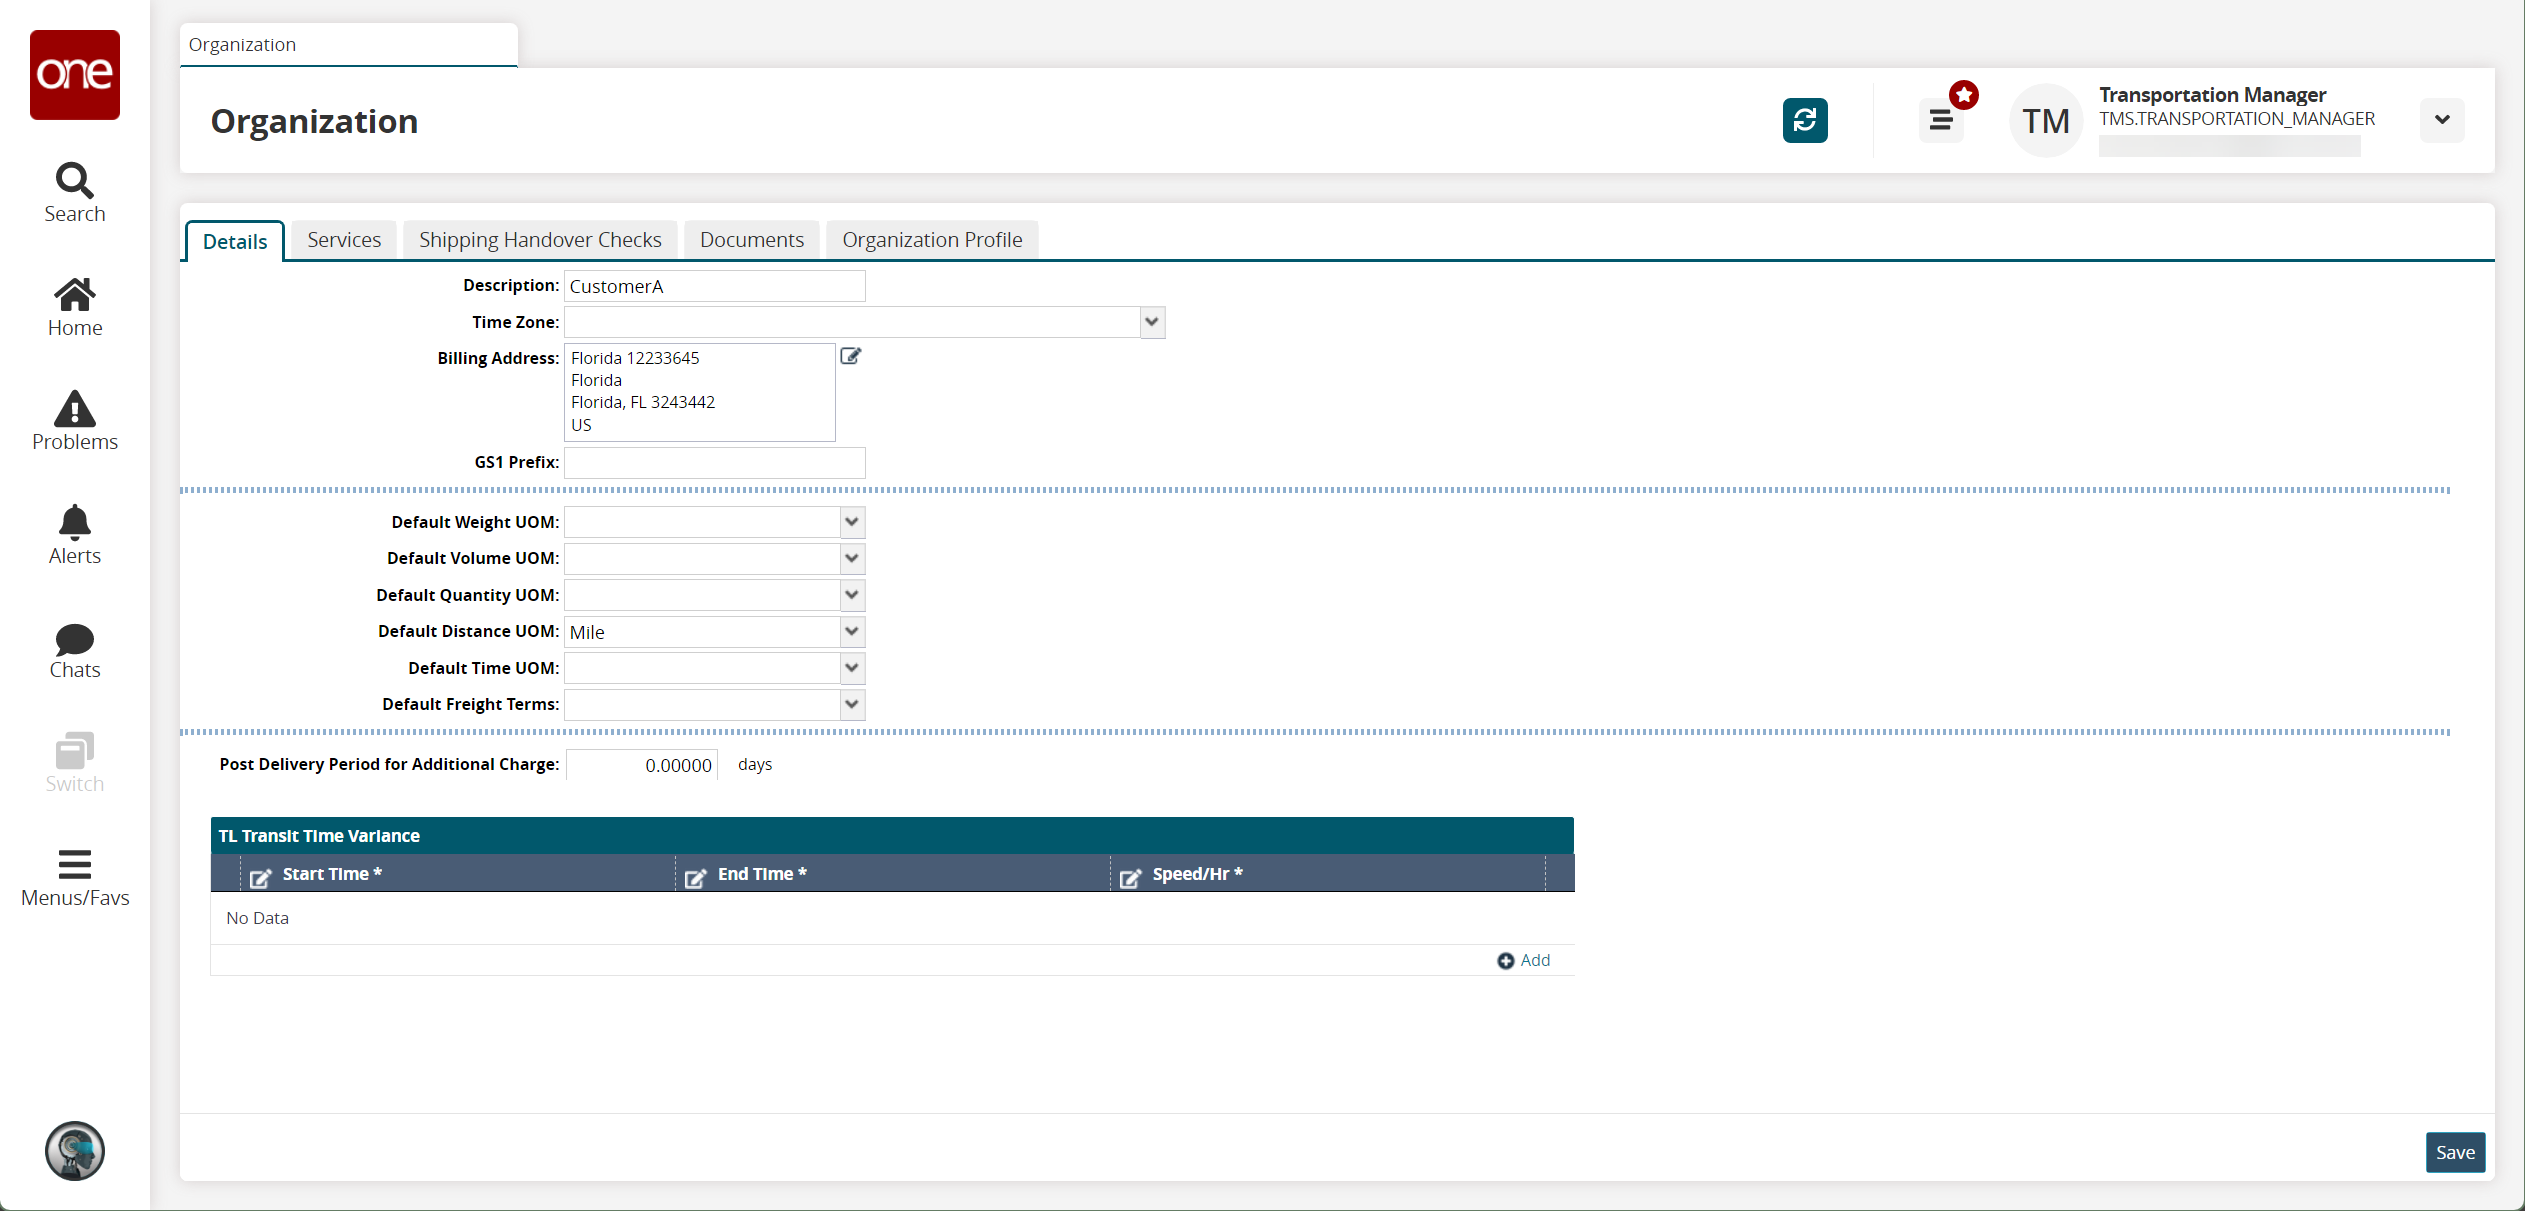
Details Tab
Fill out the following fields.
Field
Description
Description
Enter the name of the organization.
Time Zone
Select a timezone from the dropdown menu.
Billing Address
Enter a billing address.
GS1 Prefix
Enter a GS1 prefix.
Default Weight UOM
Select a default weight unit of measure from the dropdown menu.
Default Volume UOM
Select a default volume unit of measure from the dropdown menu.
Default Quantity UOM
Select a default quantity unit of measure from the dropdown menu.
Default Distance UOM
Select a default distance unit of measure from the dropdown menu.
Default Time UOM
Select a default time unit of measure from the dropdown menu.
Default Freight Terms
Select the default freight terms from the dropdown menu.
Post-Delivery Period for Additional Charge
Enter the number of days (decimals accepted) representing the post-delivery period for additional charges.
In the TL Transit Time Variance table, click the Add link.
A transit time row appears.Enter a Start Time, End Time, and Speed/Hr.
Click Save.
Services Tab
Click the Services tab.
The Services tab appears.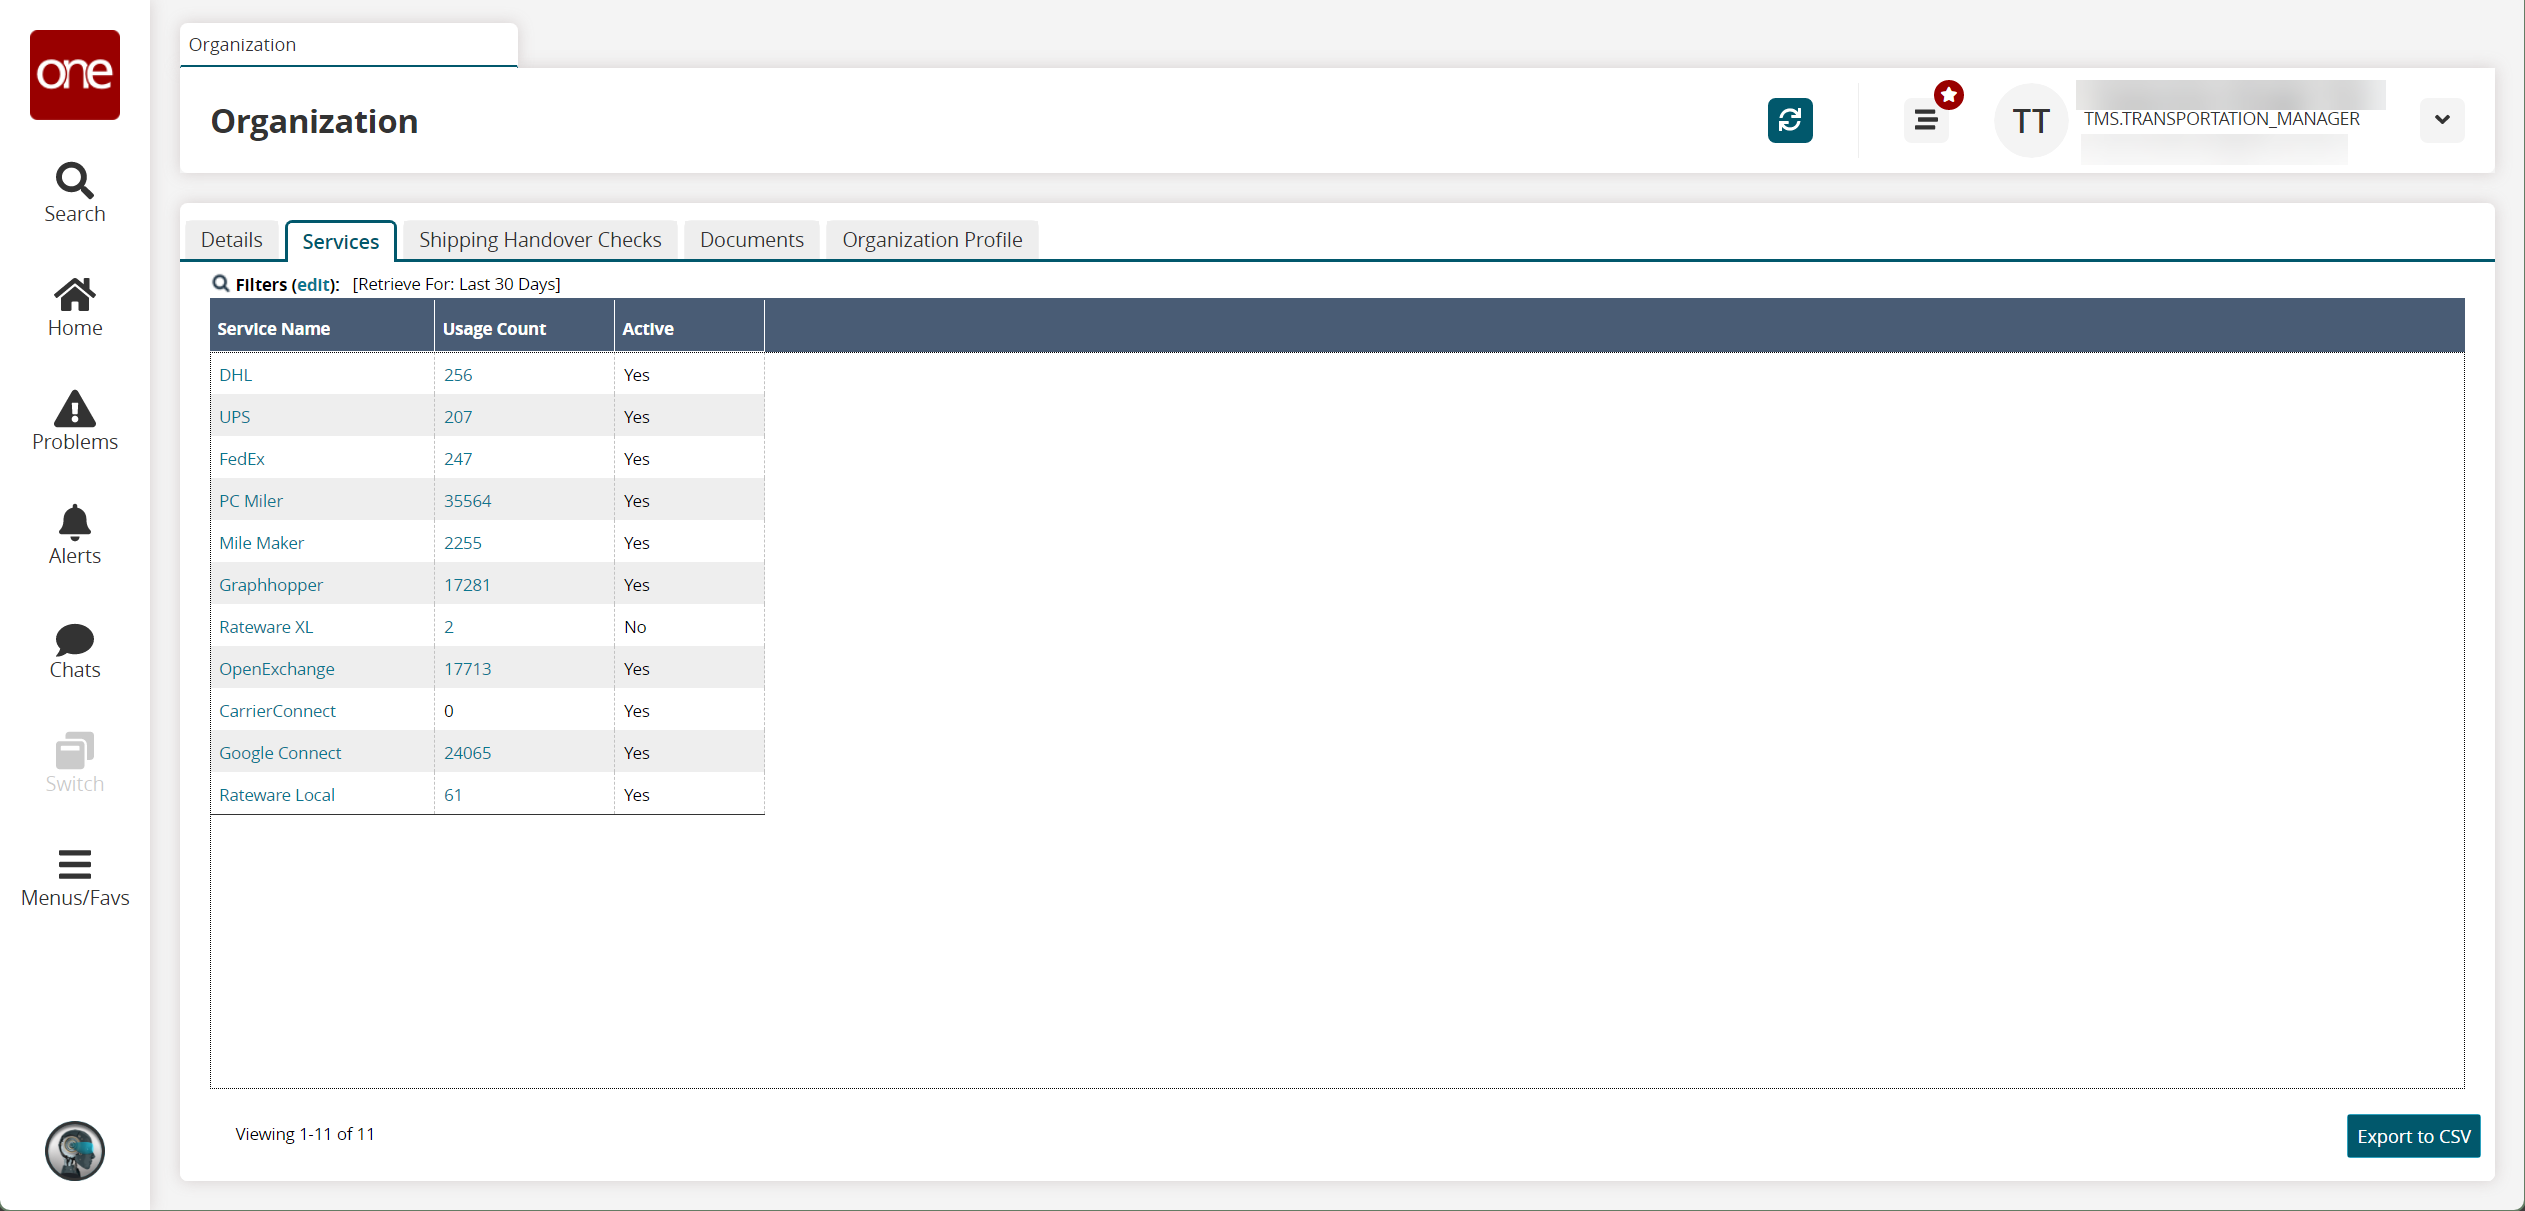
A list of services and their usage count is visible.Click a Service Name link to view details on the service.
Click a Usage Count link to view all usages of the service.
Click the Export to CSV button to export the report to a CSV file.
Shipping Handover Checks Tab
Click the Shipping Handover Checks tab.
The Shipping Handover Checks tab appears.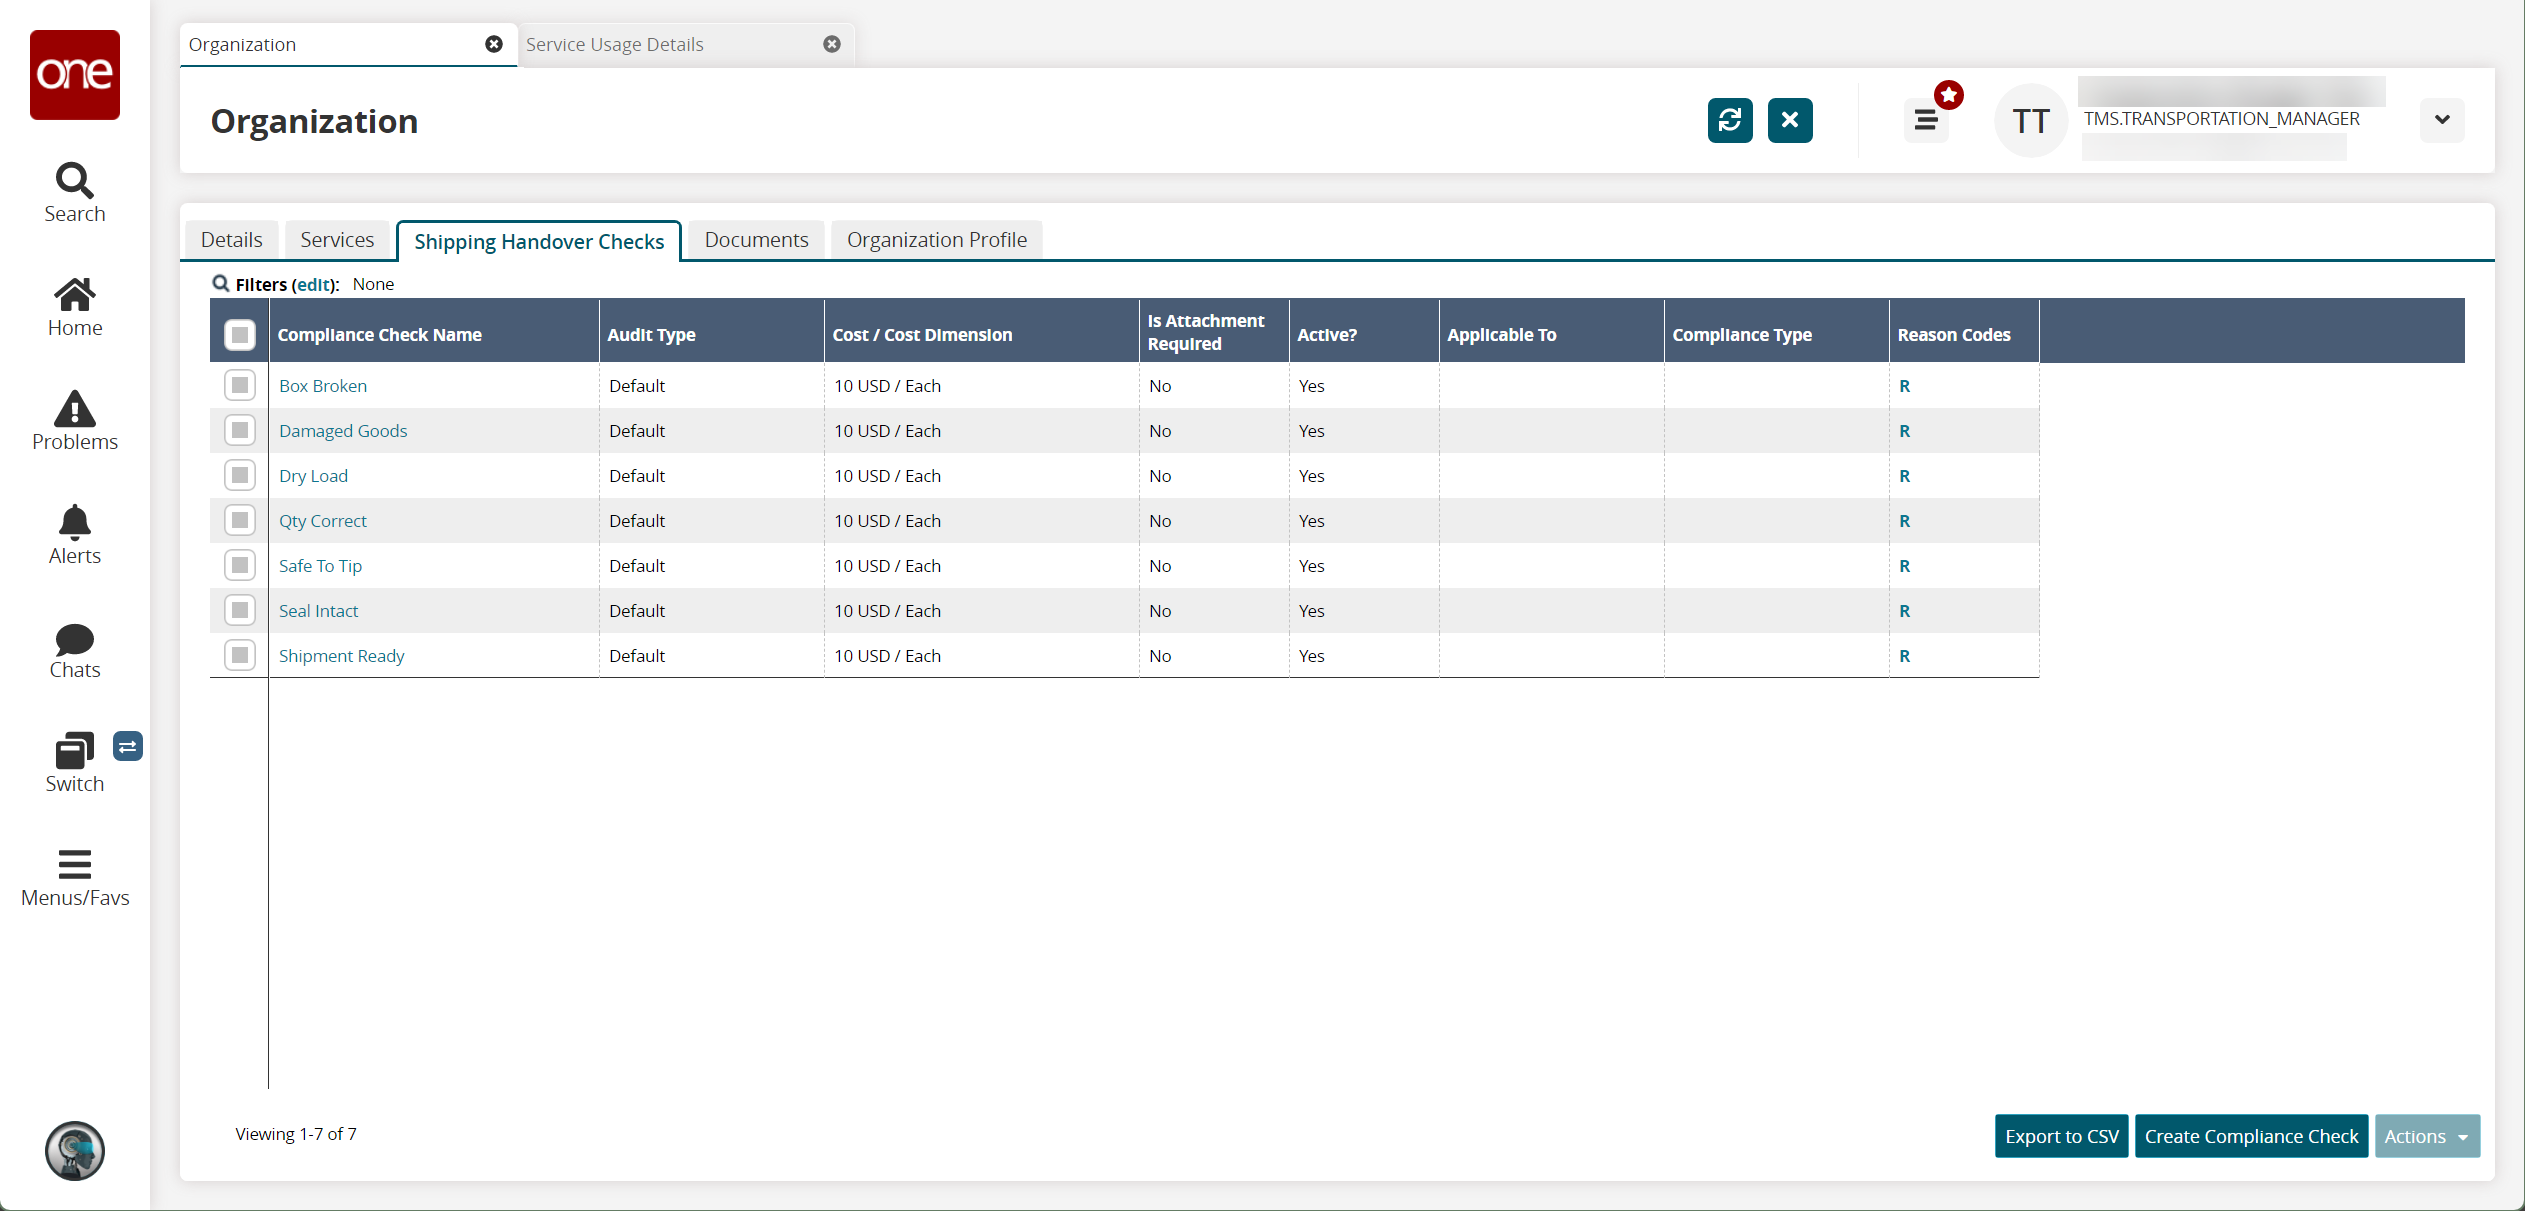
A list of compliancy check is visible.Click a Compliance Check Name link to view details about a given compliancy check.
Click the Export to CSV button to export the report to a CSV file.
Select one or more rows and click Actions to deactivate or update compliancy checks.
Click Create Compliance Check to create additional checks. See the "Compliance Checks" section in the Online Help for more information.
Documents Tab
Click the Documents tab.
The Documents tab appears.
Click the Upload link to upload new documents.
The Upload popup appears.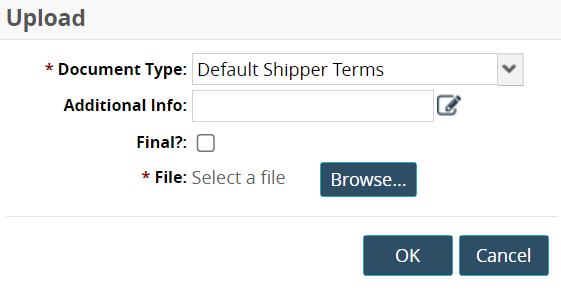
Select a Document Type from the dropdown menu.
Enter any Additional Info.
Select the Final checkbox if this document is the final version.
Click the Browse button to select your file.
Click OK.
The file uploads.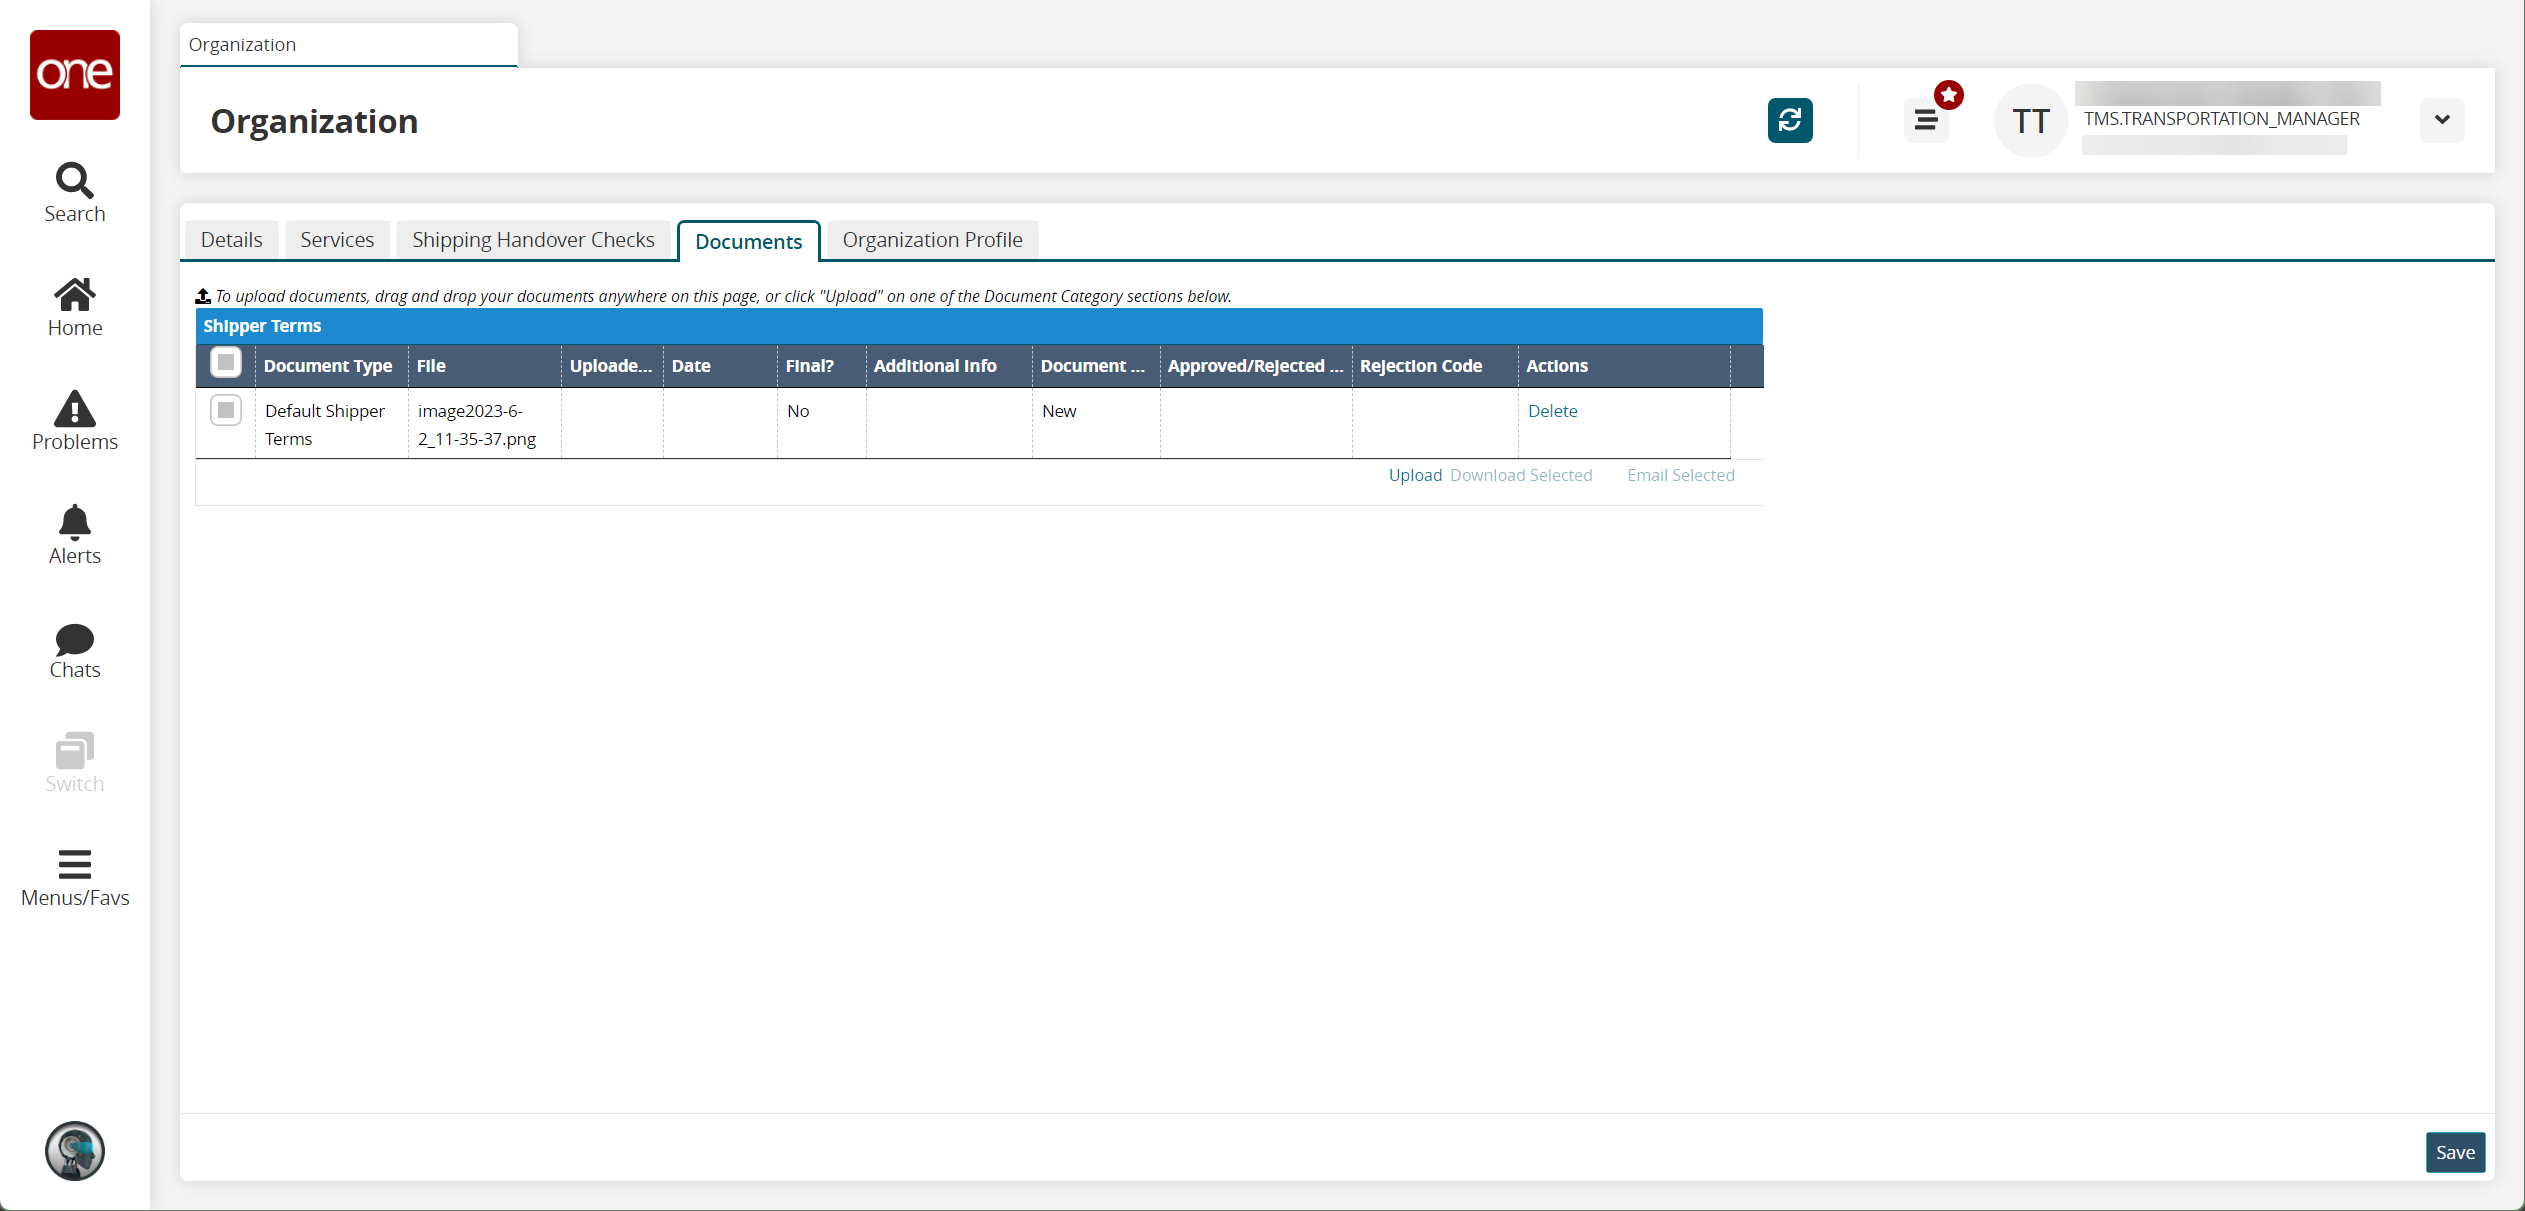
Click the Delete link to delete the document.
Select one or more rows and click Download Selected or Email Selected to download or email the documents, respectively.
Click Save to save your changes.
Organization Profile Tab
Click the Organization Profile tab.
The Organization Profile tab appears.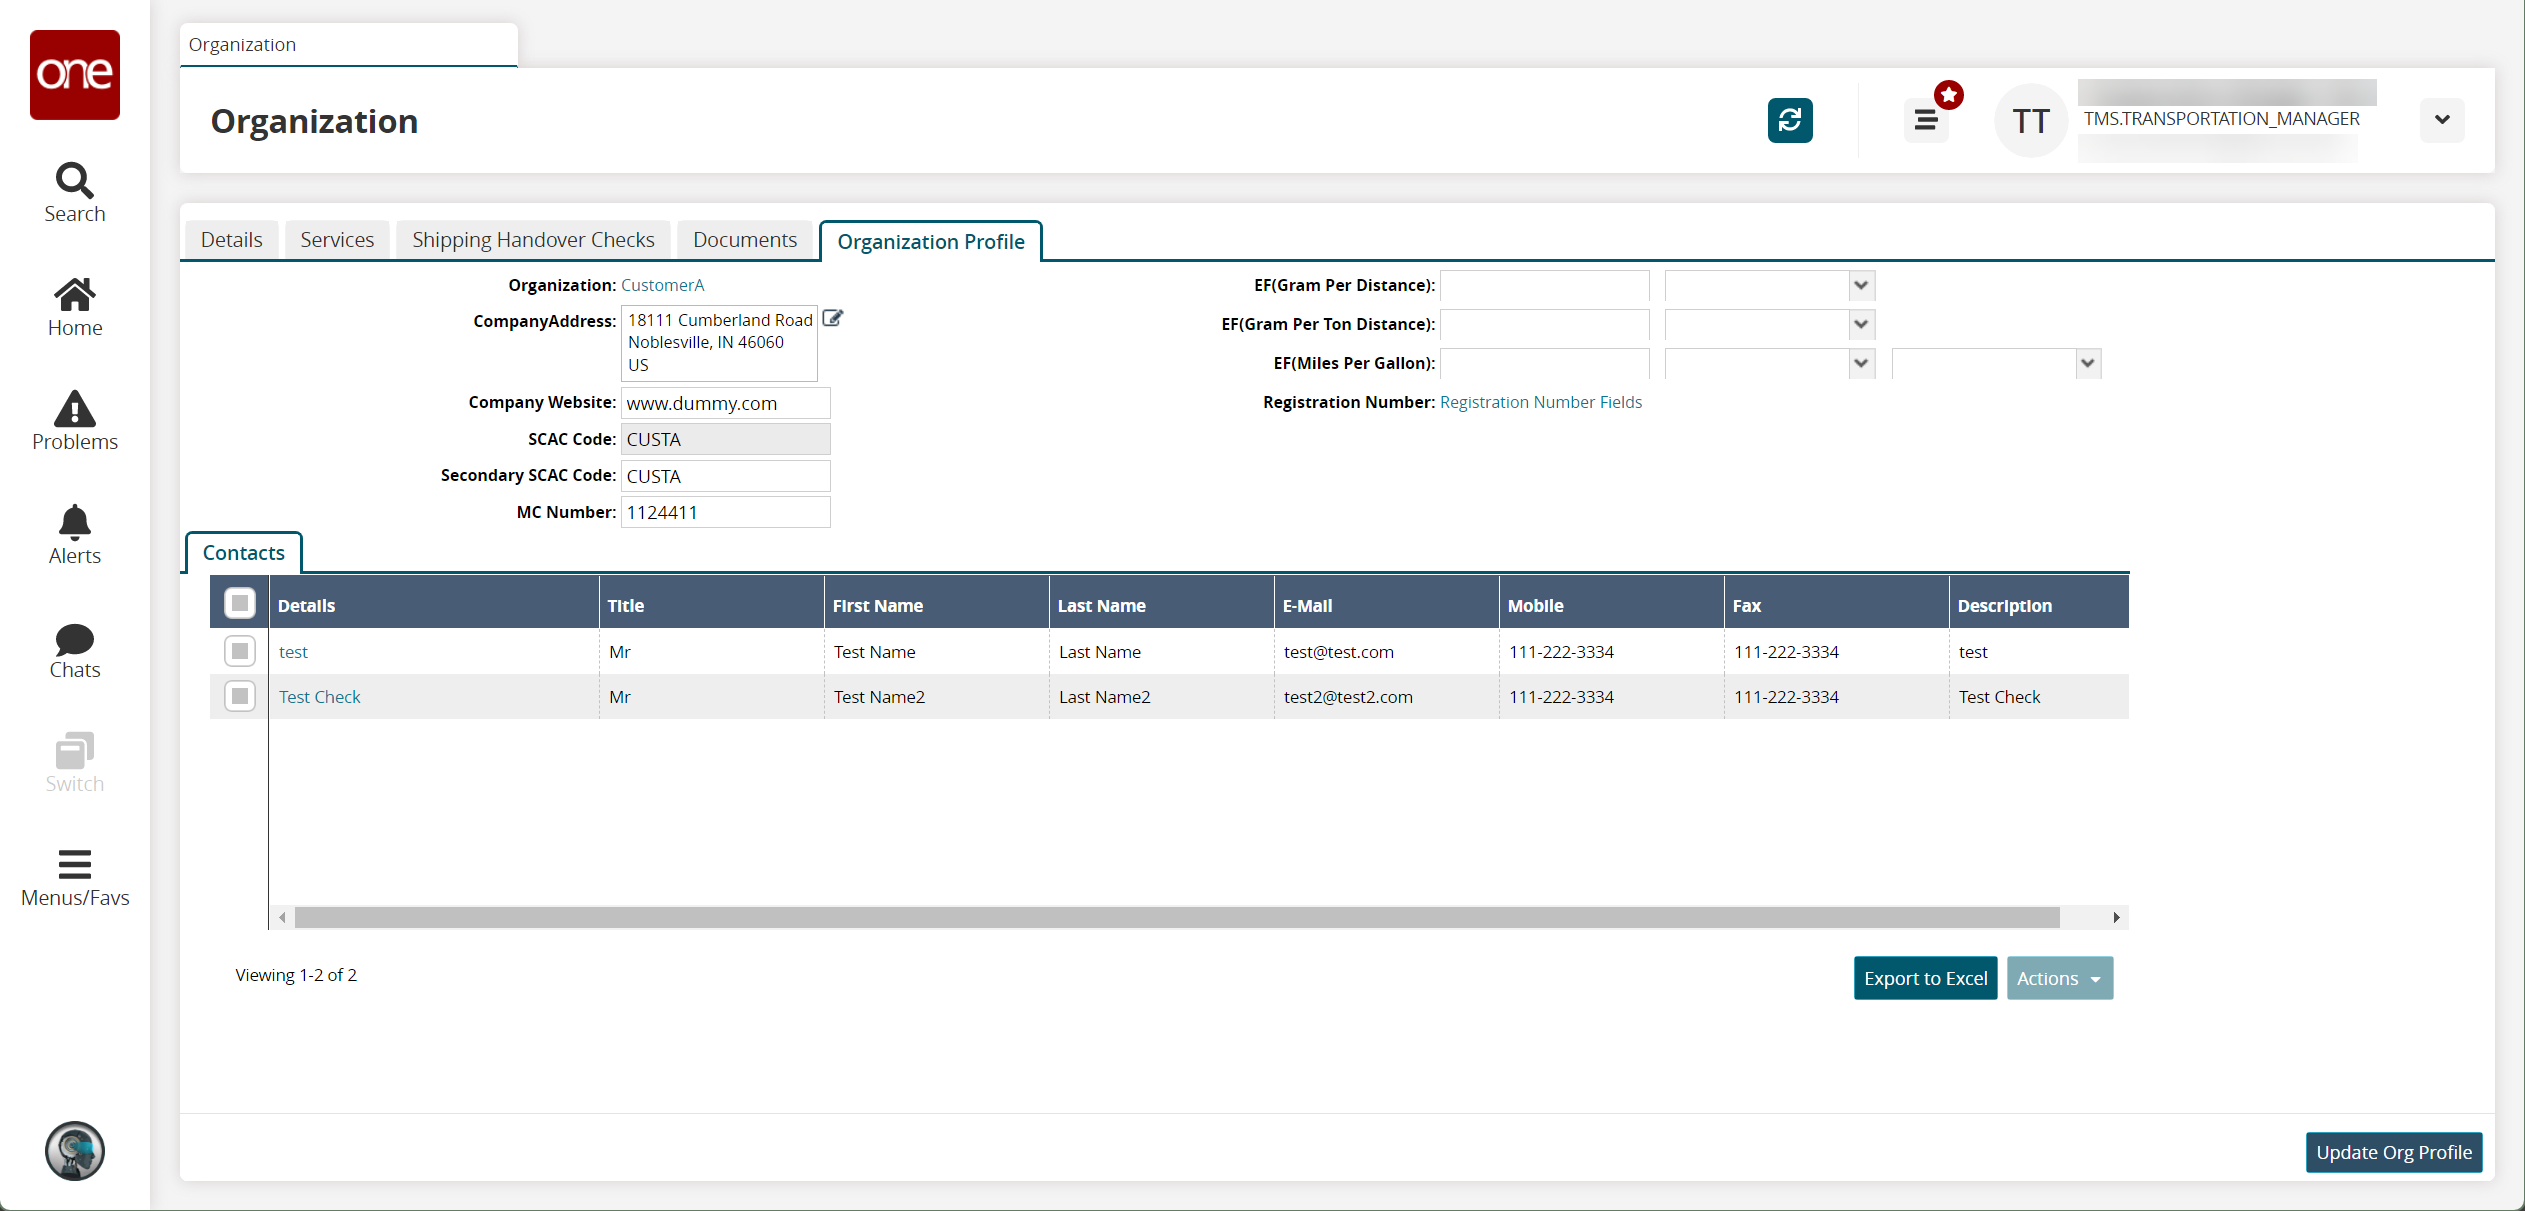
Modify the following fields as desired.
Field
Description
Company Address
Enter the company address.
Company Website
Enter the company website URL.
SCAC Code
Enter the SCAC code.
Secondary SCAC Code
Enter a secondary SCAC code.
MC Number
Enter an MC number.
EF (Gram Per Distance)
Enter a gram per distance value and a unit of measure.
EF (Gram Per Ton Distance)
Enter a gram per ton distance value and a unit of measure.
EF (Miles Per Gallon)
Enter a miles per gallon value and a unit of measure.
Registration Number
Click the Registration Number Fields link.
The Add Registration Number Details popup appears.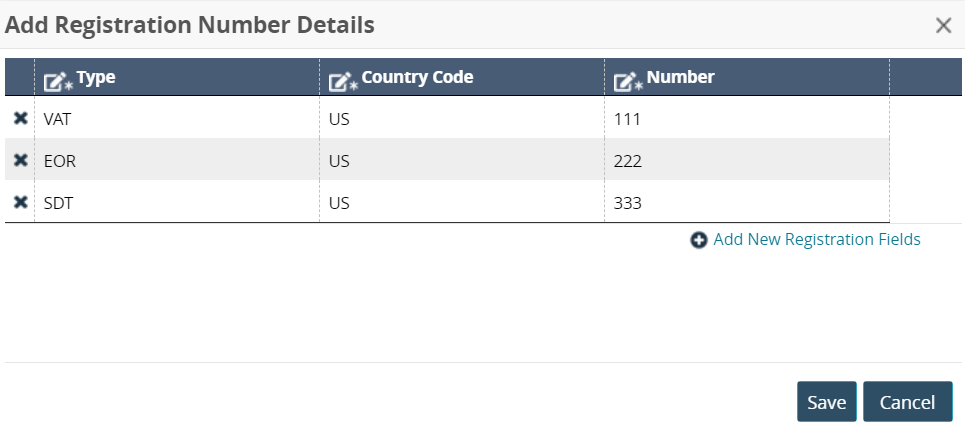
Click the Add New Registration Fields link.
A new row appears.Enter the Type, Country Code, and Number.
Click Save.
Click the Export to Excel button in the Contacts table to export the shown contacts.
Select one or more rows and click Actions to perform various actions.
Click Update Org Profile.
A success message appears.