Manually Creating a Container Move
Users can manually create container moves as part of pre-booking containers. This is necessary when a container is booked with an ocean carrier outside of One Network.
Complete the following steps to create a Container Move:
L og in to the ONE system.
From the Transportation menu, select Container View.
The Container View tab appears.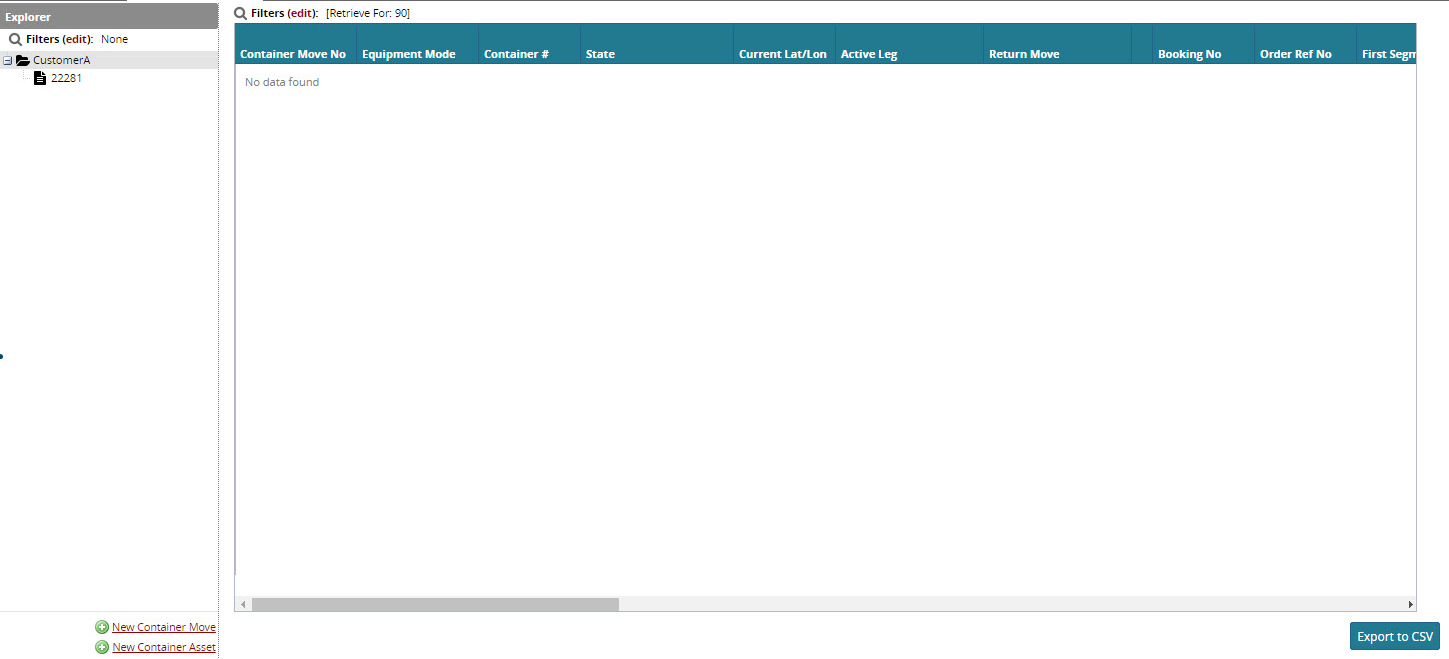
Click New Container Move, located at that bottom of the Explorer pane.
The new Container Move options appear on the right side of the Container View tab.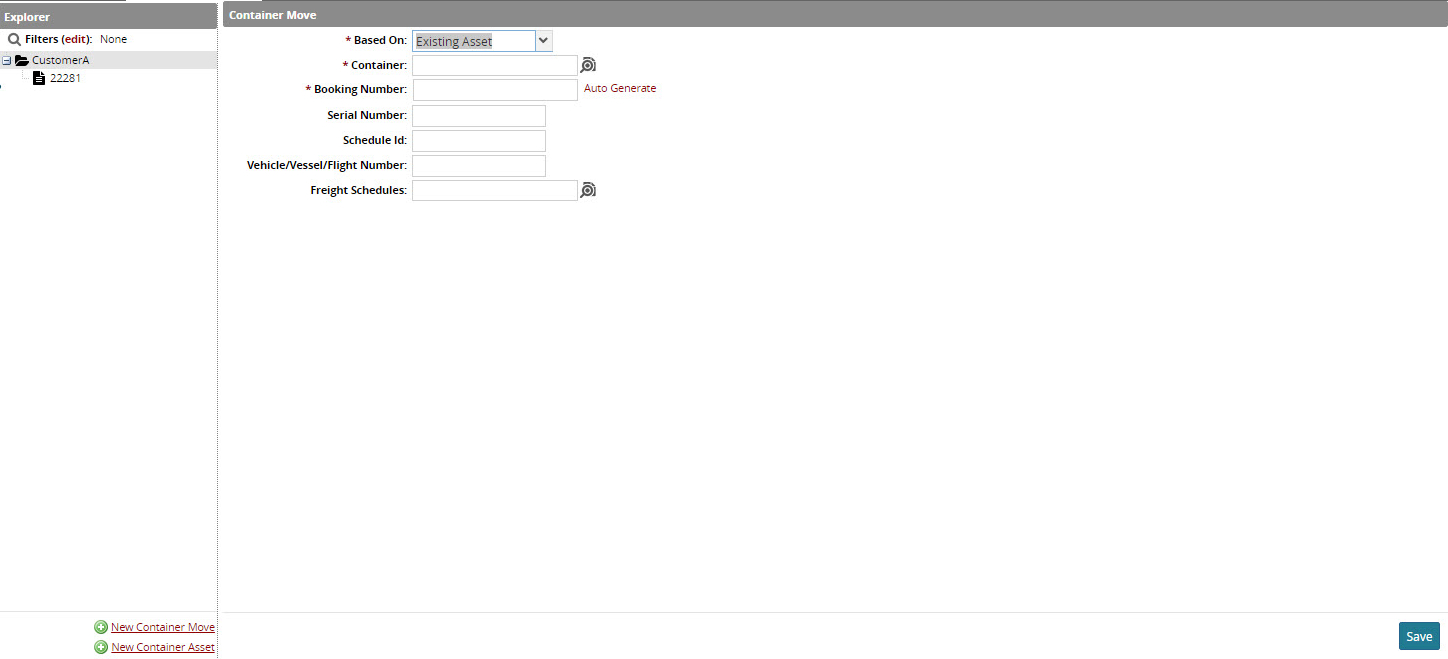
Select an asset option for the move from the Based On drop-down menu.
You can choose New Asset or Existing Asset.
The New Asset option adds an additional field, called Container Type.New Asset Only: Select a Container Type using the magnifying glass icon to open a container type selection pop-up. Select an option from the list and click OK.
Click the magnifying glass icon next to the Container field to open the Asset Selection pop-up window. Choose an asset type, and then click OK.
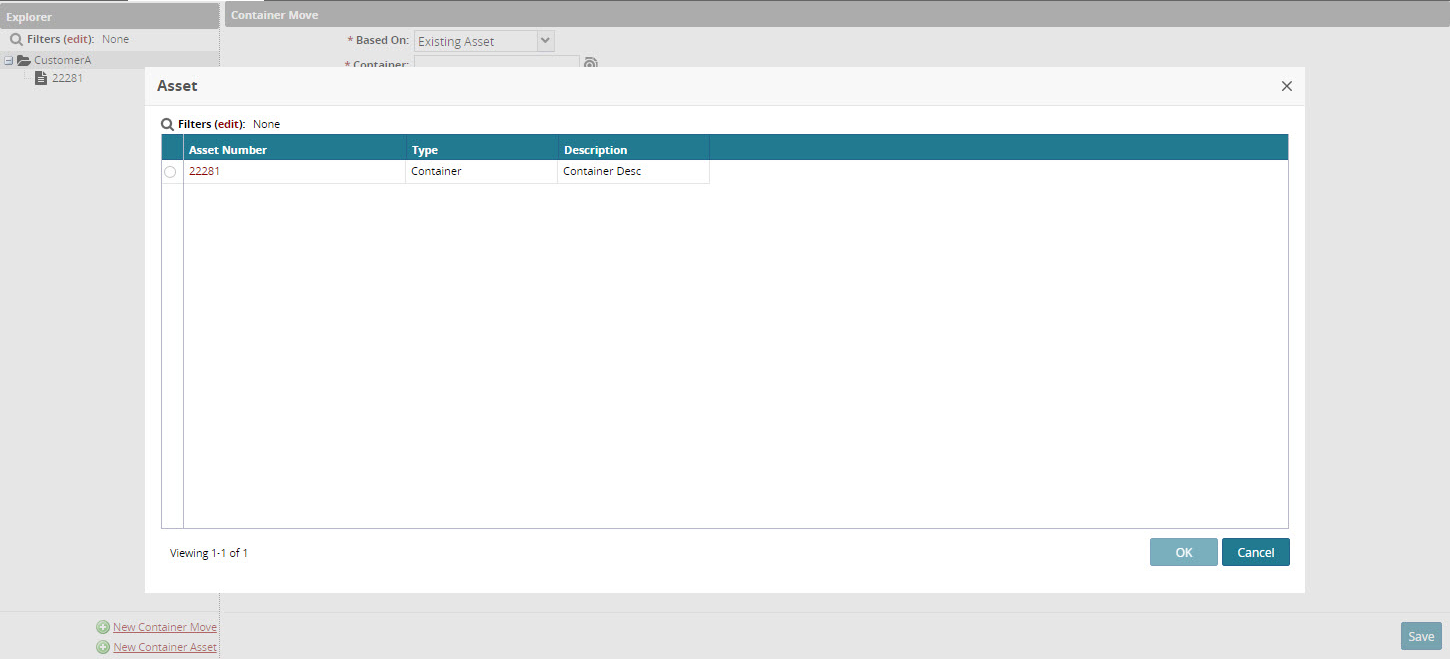
The selected container appears in the Container field.Enter a booking number in the Booking Number field. The booking number can be entered manually, or can be generated automatically by clicking the Auto Generate link located to the right of the field.
(Optional) Enter a serial number for the container in the Serial Number field.
(Optional) Enter a schedule ID in the Schedule ID field.
(Optional) Enter a vehicle, vessel or flight number in the Vehicle/Vessel/Flight Number field.
(Optional) Click the magnifying glass icon next to the Freight Schedules field to select a freight schedule from the Static Route pop-up window.
Click Save to save the move once all required information is added. The move is saved and appears in the unassigned state in the system, meaning it is not assigned to a shipment or a movement. The new container move is now ready to be assigned to a shipment.
Viewing Booking Response Details
Users can view the booking response for a specific container request as desired.
Complete the following to view the booking response for a specific container:
Open the Movement screen for the movement which lists the container.
Select the Containers tab.
Click the letter B in the links column of the container with the desired booking request.

The booking request displays.