Planning Policies
This section provides procedures for managing planning policies for organizations and sites. The planning policy defines the pickup and delivery settings by loading time, stop order, and pick-up date. This policy also specifies pooling exclusion rules, CM limits, strategy parameters, and equipment settings.
Complete the following steps to manage planning policies for an organization:
L og in to the ONE system.
Click Menus/Favs > Planning > Policies > Planning Policies. In the NEO UI, users can click on the Menus/Favs icon on the left sidebar and type in the name of the screen in the menu search bar. For more information, see "Using the Menu Search Bar."
The Planning Policies screen displays showing a hierarchy of the organization in the Explorer pane on the left.In the Explorer pane, select an organization or click the Filters icon to search for an organization.
The Planning Policies display to the right for the selected organization.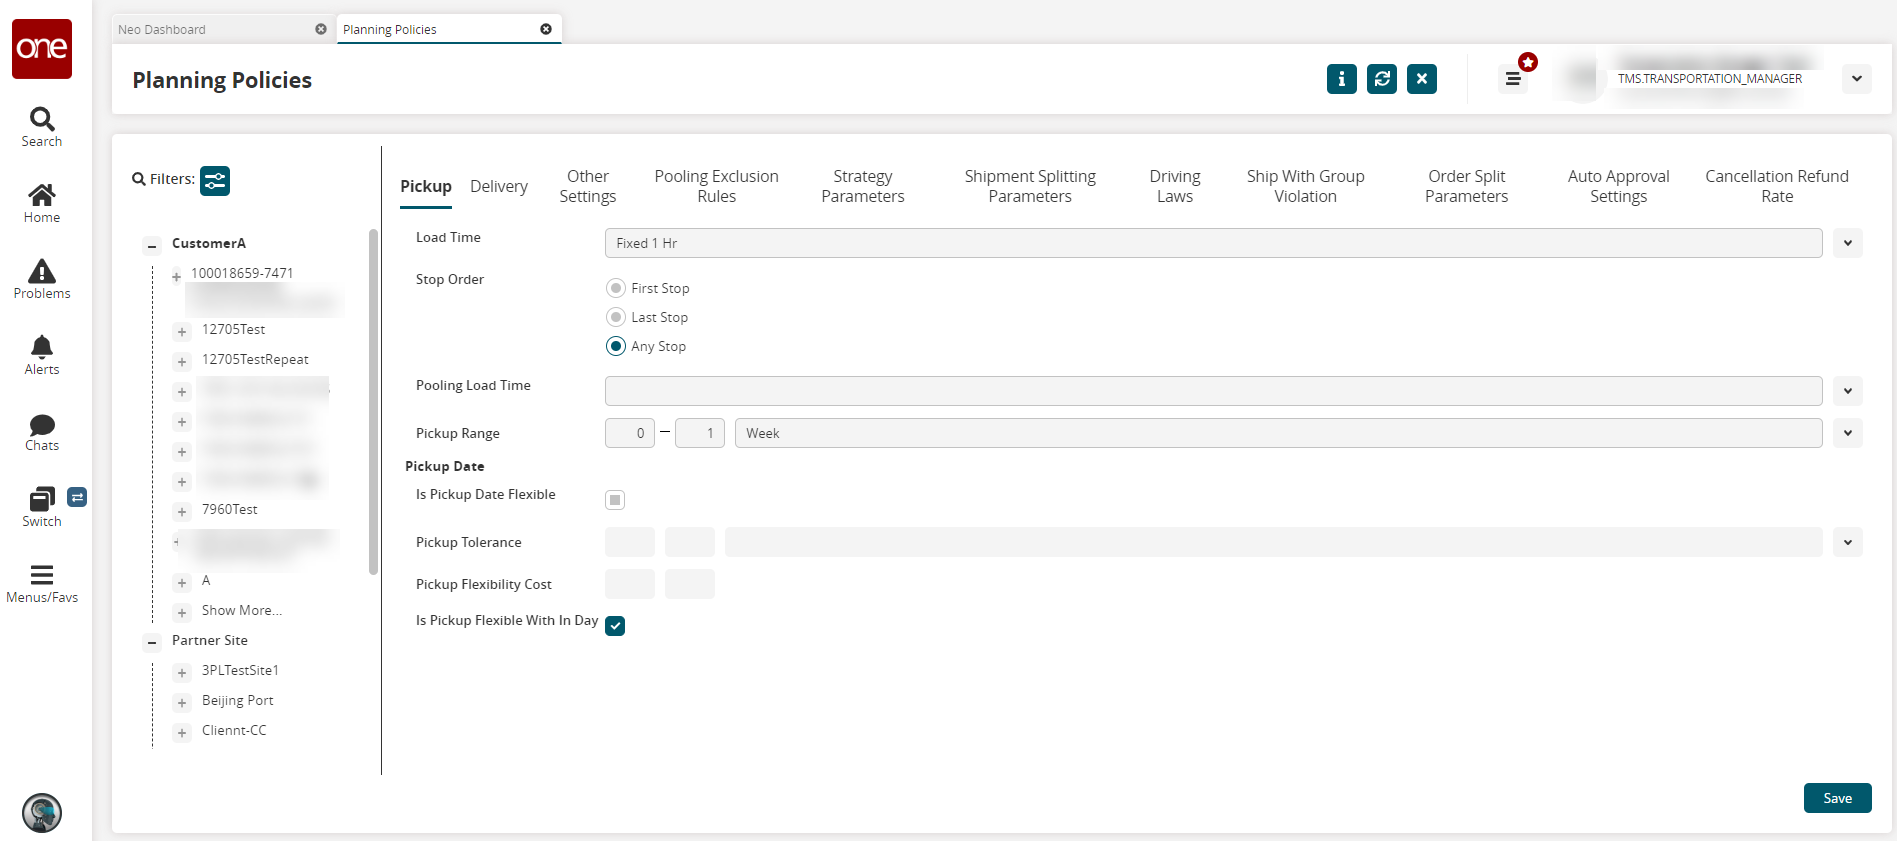
Click the tabs across the top to revise various policy sections, or click the arrow button to progress through the tabs.
To save the revised planning policy for an organization at any time on any tab, click the Save button.
A success message displays.
The following sections describe the fields in each tab. The Pickup tab displays by default.
Pickup and Delivery Tabs
The Pickup and Delivery tabs include similar fields, save where pickup and loading information are noted, and delivery/unloading are noted. One table of fields is provided with the label differences identified.
Click the Delivery tab for delivery details input.
Fill out the following fields. Fields with an asterisk ( * ) are required.
Field
Description
Load or Unload Time
Select a time from the dropdown menu.
Stop Order
Select an appropriate stop order: First Stop, Last Stop, or Any Stop.
Pooling Load or Unload time.
Select a pooling time from the dropdown menu.
Pickup or Delivery Range
Enter a numerical value in the two text boxes, and then select a unit of measurement (UOM).
Is Pickup or Delivery Date Flexible
Select this checkbox if the pickup or delivery date can be flexible.
Pickup or Delivery Tolerance
Enter a numerical early and late range, and select a unit of time. This field is only editable if the Is Pickup or Delivery Date Flexible checkbox is selected.
Pickup or Delivery Flex Cost
Enter a numerical range for flex costs. This field is only editable if the Is Pickup or Delivery Date Flexible checkbox is selected.
Is Pickup or Delivery Flex Within Day
Select this checkbox if the pickup or delivery is flexible within the given day. This field is only editable if the Is Pickup or Delivery Date Flexible checkbox is selected.
Click the Save button. You can save at any time.
Other Settings
Click the Other Settings tab.
Use the picker tool to select a Resource Template.
Click the Save button
Pooling Exclusion Rules
Click the Pooling Exclusion Rules tab.
Enter a numerical value, and select a unit of measurement from the No Pool Beyond Weight dropdown list.
Enter a numerical value, and select a UOM from the No Pool Beyond Volumn dropdown list.
Click the Save button.
Strategy Parameters
Click the Strategy Parameters tab.
Fill out the following fields. Fields with an asterisk ( * ) are required.
Field
Description
Max Pool Points
Enter a numerical value for the maximum pool points.
Is MultiStop Consolidation Disabled
Check the box to disable multistop consolidation.
Always Prioritize Private Fleet
Select this checkbox to always prioritize private fleets. When enabled and when running the Load Consolidation TOSX engine, private fleet vehicles will are processed first and separately from any common carrier vehicles. The engine will attempt to schedule all shipments on private vehicles first and then schedule on common carrier vehicles if necessary. If this field is not enabled, the Load Consolidation TOSX engine will process both common carrier vehicles and private fleet vehicles together, giving both equal consideration.
Is Split Movement
Select this checkbox to support split movements.
Private fleet Rate
Enter a numerical value in the first field and a country code for the currency from the dropdown list in the second field.
Private fleet Rate Distance UOM
Select a UOM from the dropdown list.
Enable Multi Routes
Select this checkbox to enable multiple routes.
Max Number of Stops
Enter a numerical value for the maximum number of stops.
Load Unload Sequence
To optimize shipments based on the load-unload sequence, select an option from the dropdown list.
Break Bulk Pooling Time
Enter a numerical value in the cells for the Days, Hours, and Minutes.
Pooling Time
Enter a numerical value in the cells for the Days, Hours, and Minutes.
Click the Save button.
Shipment Splitting Parameters
Click the Shipment Splitting Parameters tab.
Fill out the following fields. Fields with an asterisk ( * ) are required.
Select the checkbox for the Enable Splitting field to allow the shipment to be split.
Enter a numerical value in the Max No of Split Parts for the maximum number of parts the shipment can be split.
Click the Save button.
Driving Laws
Click the Driving Laws tab.
Select the standardized laws from the Driving Laws dropdown list.
If "DOT" is selected, the following options display:Fill out the following fields. Fields with an asterisk ( * ) are required.
|
Field |
Description |
|
Activity Start Time |
Select an activity start time from the dropdown list. The options are Load Start, Load End, and Load Departure. |
|
Break Rest Start Time |
Select a break rest start time from the dropdown list. The options are Parallel to Activity, Within Activity, and Outside Activity. |
|
Max Continuous Drive Time |
Enter a value by clicking the calendar icon to input the number of days, hours, and minutes. |
|
Max Driver On-Duty Time |
Enter a value by clicking the calendar icon to input the number of days, hours, and minutes. |
|
Max Planned Wait Time |
Enter a value by clicking the calendar icon to input the number of days, hours, and minutes. |
|
Driver Off-Duty Time |
Enter a value by clicking the calendar icon to input the number of days, hours, and minutes. |
|
Max Transit Time |
Enter a value by clicking the calendar icon to input the number of days, hours, and minutes. |
If "European" is selected, the following options display:Fill out the following fields. Fields with an asterisk ( * ) are required.
|
Field |
Description |
|
Activity Start Time |
Select an activity start time from the dropdown list. The options are Load Start, Load End, and Load Departure. |
|
Break Rest Start Time |
Select a break rest start time from the dropdown list. The options are Parallel to Activity, Within Activity, and Outside Activity. |
|
Wait Time |
Enter a value by clicking the calendar icon to input the number of days, hours, and minutes. |
|
Cumulative Driving TIme |
Enter a value by clicking the calendar icon to input the number of days, hours, and minutes. |
|
Break Time |
Enter a value by clicking the calendar icon to input the number of days, hours, and minutes. |
|
Total Movement Time |
Enter a value by clicking the calendar icon to input the number of days, hours, and minutes. |
|
Active Time |
Enter a value by clicking the calendar icon to input the number of days, hours, and minutes. |
|
Rest Time |
Enter a value by clicking the calendar icon to input the number of days, hours, and minutes. |
If "South Africa" is selected, the following options display:Fill out the following fields. Fields with an asterisk ( * ) are required.
|
Field |
Description |
|
Activity Start Time |
Select an activity start time from the dropdown list. The options are Load Start, Load End, and Load Departure. |
|
Break Rest Start Time |
Select a break rest start time from the dropdown list. The options are Parallel to Activity, Within Activity, and Outside Activity. |
|
Wait Time |
Enter a value by clicking the calendar icon to input the number of days, hours, and minutes. |
|
Cumulative Driving TIme |
Enter a value by clicking the calendar icon to input the number of days, hours, and minutes. |
|
Break Time |
Enter a value by clicking the calendar icon to input the number of days, hours, and minutes. |
|
Total Movement Time |
Enter a value by clicking the calendar icon to input the number of days, hours, and minutes. |
|
Active Time |
Enter a value by clicking the calendar icon to input the number of days, hours, and minutes. |
|
Rest Time |
Enter a value by clicking the calendar icon to input the number of days, hours, and minutes. |
Ship with Group Violation
Fill out the following fields. Fields with an asterisk ( * ) are required.
|
Field |
Description |
|
Ship With Group Violation |
Select Never, Optimally, or Required from the dropdown list. |
Order Split Parameters
Fill out the following fields. Fields with an asterisk ( * ) are required.
|
Field |
Description |
|
Max Order Splits |
Enter a numerical value to define the maximum order splits. |
|
Min Order Splits |
Enter a numerical value to define the minimum order splits. |
Auto-Approval Settings
Fill out the following fields. Fields with an asterisk ( * ) are required.
|
Field |
Description |
|
Auto-Approval Enabled |
If movements can be auto-approved for this organization, select the checkbox. |
|
Auto-Approval Weight Range |
Enter the minimum and maximum weights allowed for auto-approval of a movement, and then select a weight UOM from the dropdown list. |
|
Auto-Approval Out-of-Route |
Enter an out-of-route percentage allowed for a movement to be auto-approved. |
|
Auto-Approval Additional Stop |
Enter the maximum number of intermediate stops allowed for a movement to be auto-approved. |
|
Auto-Approval Mode |
Select one of the following options from the dropdown list:
|
Cancellation Refund Rate
a. Click the Add button to add a row for cancellation refund rate policies.
A new row displays in the table.
b. Fill out the following fields. Fields with an asterisk ( * ) are required.
|
Field |
Description |
|
* Day Lower Bound |
Enter a numerical value for the lower limit for how many days a cancellation refund will be returned. |
|
* Day Upper Bound |
Enter a numerical value for the upper limit for how many days a cancellation refund will be returned. |
|
* Cancellation Refund |
Enter a numerical value for the cancellation refund amount. |
Complete the following steps to manage planning policies for a site:
L og in to the ONE system.
Click Menu/Favs > Planning > Policies > Planning Policies.
In the NEO UI, users can click on the Menus/Favs icon on the left sidebar and type in the name of the screen in the menu search bar. For more information, see "Using the Menu Search Bar."
The Planning Policies screen displays showing a hierarchy of the organization in the Explorer pane on the left.In the Explorer pane on the left, select a site or click the Filters icon to search for a specific site.
The Planning Policies display to the right for the selected site.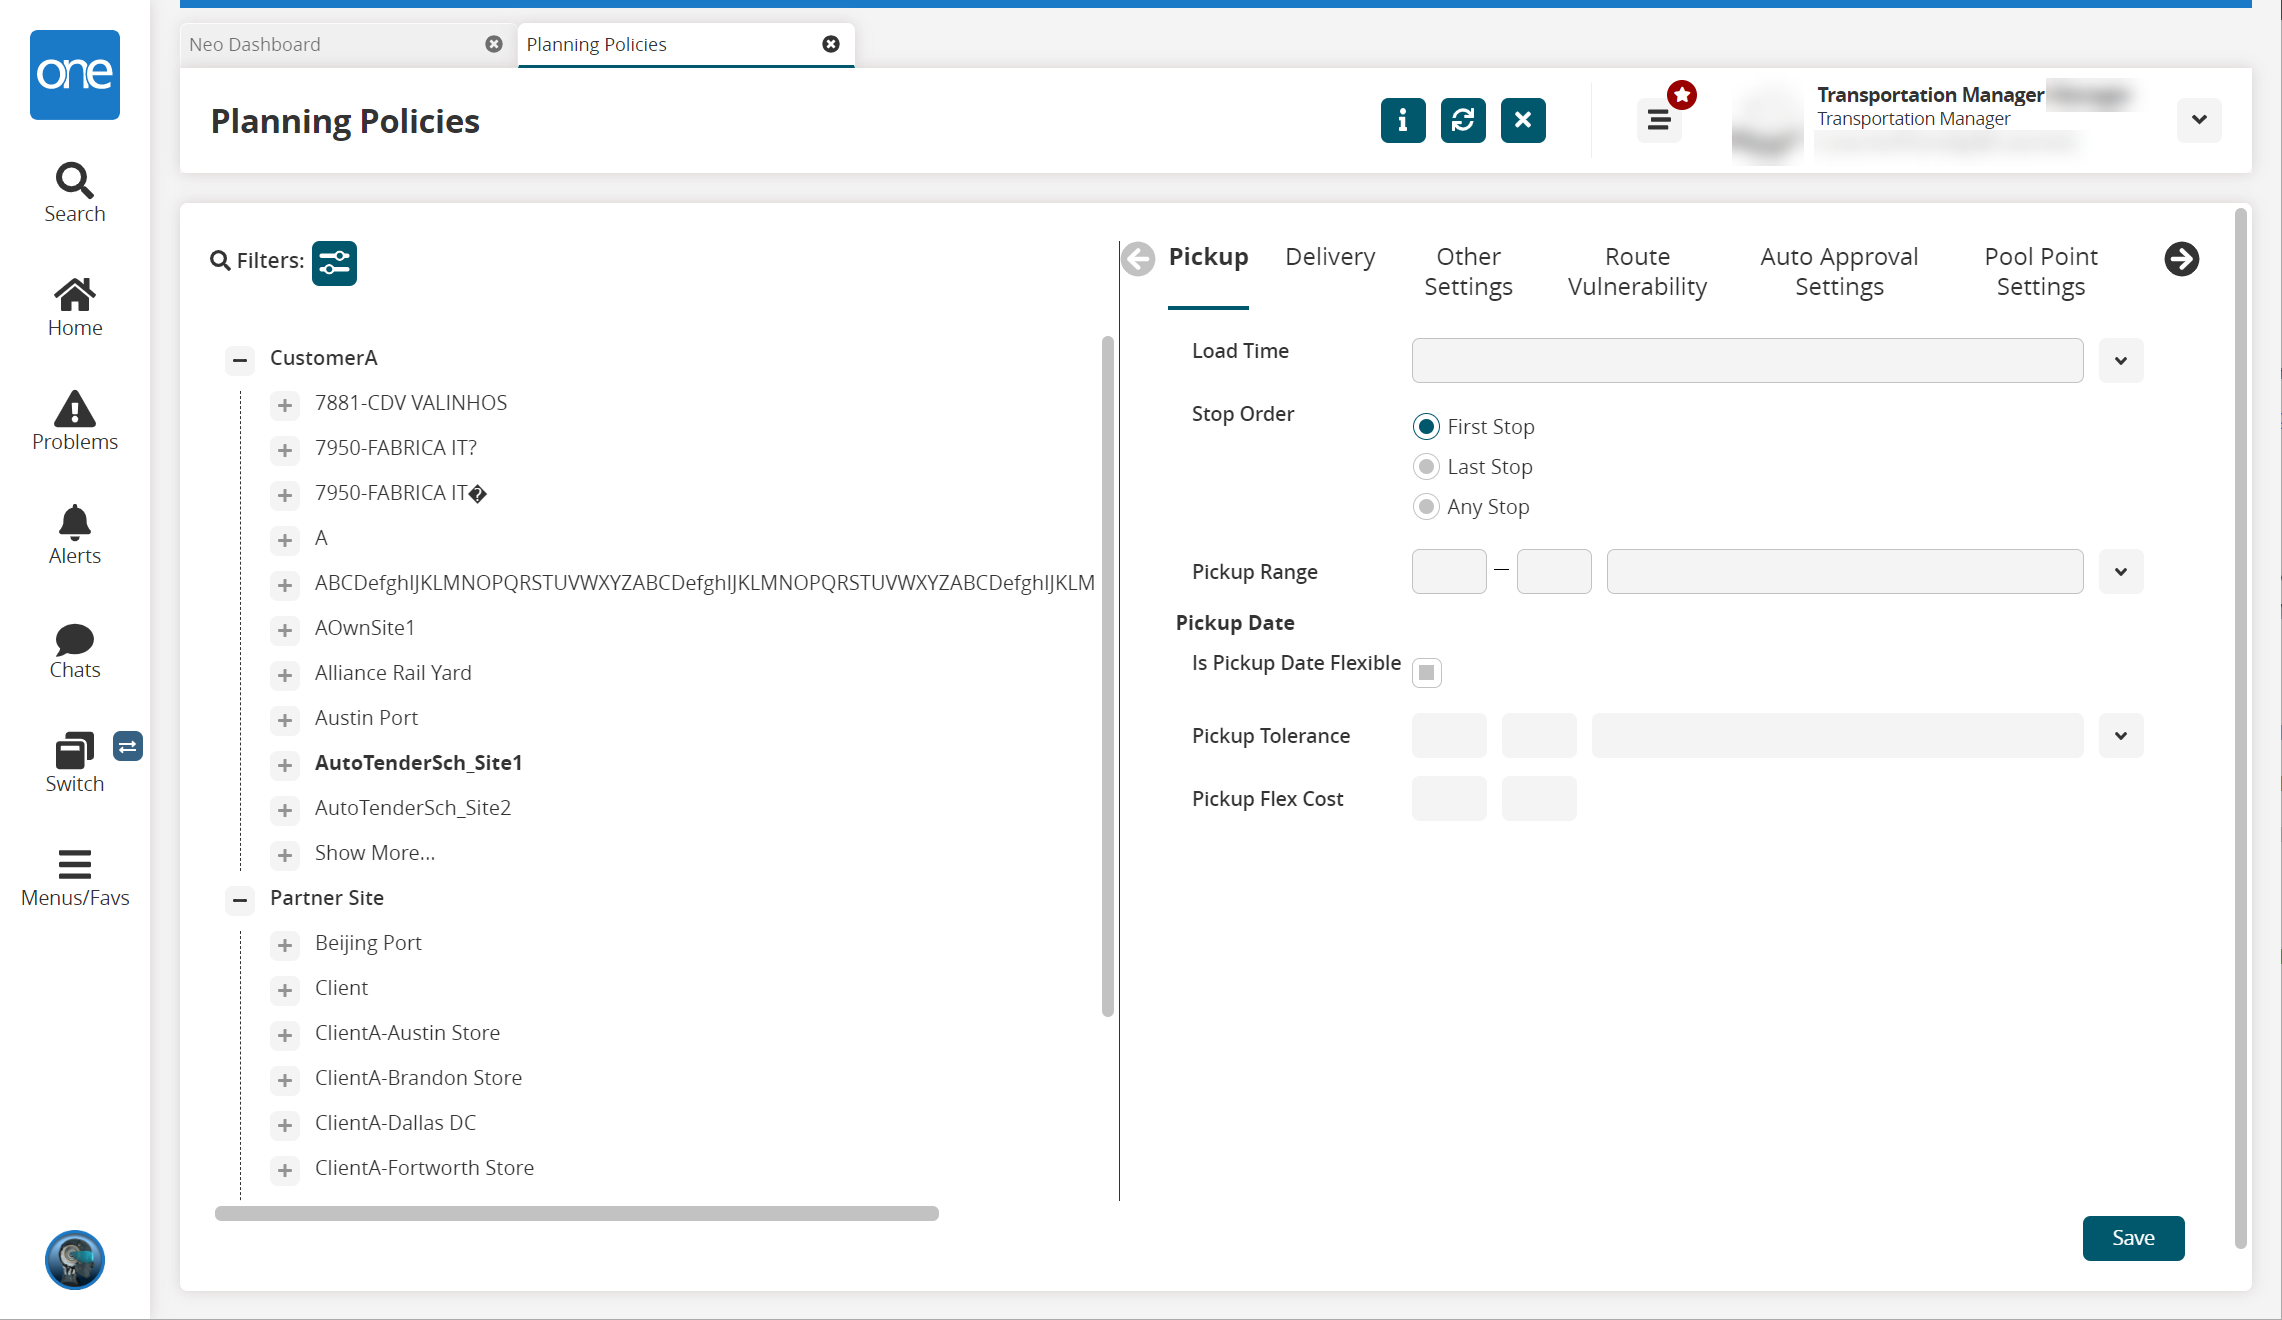
Click the tabs across the top to revise various policy sections, or click the arrow button to see more tabs. The following sections describe the fields in each tab.
To save a revised planning policy for a site at any time on any tab, click the Save button.
A success message displays.Pickup
Fill out the following fields. Fields with an asterisk ( * ) are required.
|
Field |
Description |
|
Load Time |
Select a loading time from the dropdown menu. |
|
Stop Order |
Select an appropriate stop order: First Stop, Last Stop, or Any Stop. |
|
Pickup Range |
Enter a numerical value in the two text boxes and then select a unit of measurement (day, week, month, and so on). |
|
Is Pickup Date Flexible |
Select this checkbox if the pickup or delivery date can be flexible. |
|
Pickup Tolerance |
Enter a numerical range and select a unit of time. This field is only editable if the Is Pickup Date Flexible checkbox is selected. |
|
Pickup Flex Cost |
Enter a numerical range for the flex cost. This field is only editable if the Is Pickup Date Flexible checkbox is selected. |
Delivery
Fill out the following fields. Fields with an asterisk ( * ) are required.
|
Field |
Description |
|
Unload Time |
Select an unloading time from the dropdown menu. |
|
Stop Order |
Select an appropriate stop order: First Stop, Last Stop, or Any Stop. |
|
Delivery Range |
Enter a numerical value in the two text boxes and then select a unit of measurement (day, week, month, and so on). |
|
Is Delivery Date Flexible |
Select this checkbox if the delivery date can be flexible. |
|
Delivery Tolerance |
Enter a numerical range and select a unit of time. This field is only editable if the Is Delivery Date Flexible checkbox is selected. |
|
Delivery Flex Cost |
Enter a numerical range for the flex cost. This field is only editable if the Is Delivery Date Flexible checkbox is selected. |
Other Settings
Fill out the following fields. Fields with an asterisk ( * ) are required.
|
Field |
Description |
|
Alternate Domicile |
Select an alternate domicile using the picker tool. |
|
Is MultiStop Consolidation Disabled |
Select true or false from the dropdown menu to enable or disable multistop consolidation. |
|
Resource Template |
Select a resource template by clicking the magnifying glass icon. |
|
Enable Dock Door Group |
Select this checkbox to enable dock door group constraints. Using this option, customers can limit the load and unload capacity at pickup and delivery sites by the concurrent dock doors that are available per timeslot and per shipping commodity. This option is selected before running the dock door group scheduling engine. Please see the ".Scheduling Appointments for Dock Door Groups vNEO_3.4" section in the Online Help for more information. |
Route Vulnerability
Fill out the following fields. Fields with an asterisk ( * ) are required.
|
Field |
Description |
|
Enable Route Vulnerability |
Select this checkbox to enable route vulnerability. |
|
Vulnerability |
Enter a value and a currency unit of measure. |
|
Cluster Radius |
Select a cluster radius from the dropdown menu. |
|
Cost Impact |
Select a cost impact from the dropdown menu. |
Auto-Approval Settings
Fill out the following fields. Fields with an asterisk ( * ) are required.
|
Field |
Description |
|
Auto-Approval Enabled |
If movements can be auto-approved for this organization, select the checkbox. |
|
Auto-Approval Weight Range |
Enter the minimum and maximum weights allowed for auto-approval of a movement, and then select a weight unit of measurement from the dropdown list. |
|
Auto-Approval Out-of-Route |
Enter an out-of-route percentage allowed for a movement to be auto-approved. |
|
Auto-Approval Additional Stop |
Enter the maximum number of intermediate stops allowed for a movement to be auto-approved. |
Site Profiling
Fill out the following fields. Fields with an asterisk ( * ) are required.
|
Field |
Description |
|
Max Weight |
Enter a numerical value in the text box and then select a UOM. |
|
Max Volume |
Enter a numerical value in the text box and then select a UOM. |
|
Max LxWxH |
Enter three numerical values in the text boxes and then select a UOM. |
|
Allowed Operations |
Select allowed operations from the dropdown menu. |
|
Accepted Service Levels |
Select the accepted service levels using the picker tool. |
|
Max Parcels Count |
Enter the maximum parcel count. |
|
Queuing Time |
Enter a queuing time. This field represents the time it takes to physically load and unload a vehicle onto a ferry. If no queuing time is provided, the engine will use 30 minutes as a default value. |
Pool Point Settings
Fill out the following fields. Fields with an asterisk ( * ) are required.
|
Field |
Description |
|
Cross Dock Time |
Select a time frame from the dropdown menu. |
|
Break Bulk Pooling Time |
Enter a value by clicking the calendar icon to input the number of days, hours, and minutes. |
Shipment Split Parameters
Fill out the following fields. Fields with an asterisk ( * ) are required.
|
Field |
Description |
|
Max No of Split Parts |
Enter a numerical value to define the maximum number of split parts. |