Preserving Shipment Sequence for Static Route Movements
Some movements follow static routes, transportation routes that are commonly traveled and fixed. For these movements, movement stops are always displayed in the stop sequence of the static route. When shipments are consolidated into a static route movement, the following applies:
If the shipment stop matches a stop on the static route, then the shipment is added to the movement and placed in the sequence at its matching stop.
If the shipment stop does not match a stop on the static route, then the shipment is added to the movement and placed in the sequence next to a stop with the shortest distance from that non-static route stop. Note that a non-matching stop is not necessarily placed the shortest distance from a static route stop; it may be placed next to another non-matching stop that was added previously.
For example, if a static route movement exists with a stop sequence of Los Angeles to Dallas to New York City, these three stops will never be rearranged with respect to one another. When a new shipment is consolidated into the movement with a stop in Las Vegas, it is placed in the sequence next to the stop the shortest distance away (Los Angeles), but the overall order of the "tentpole" stops remains constant.
Complete the following steps to view the stop order for a static route movement and add additional stops:
Log in to the ONE system.
Click Menus/Favs > Transportation > Search Shipments.
The Search Shipments screen displays with the filters visible.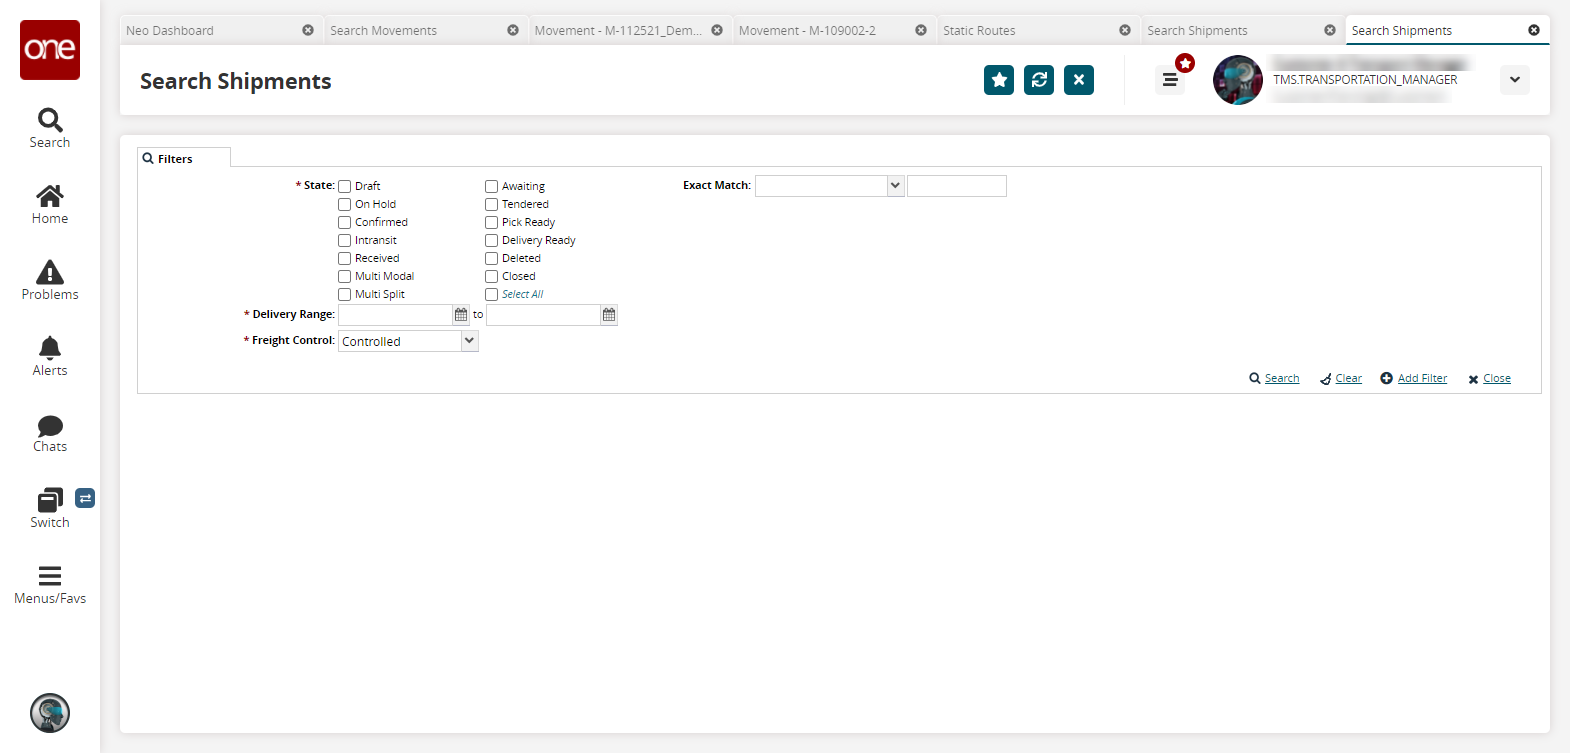
Select the desired filter parameters, and click Search. See the "Searching Shipments" section in the Online Help for more information.
The search results display.Click the table icon in the header for the Static Route column and sort to view movements that follow static routes.
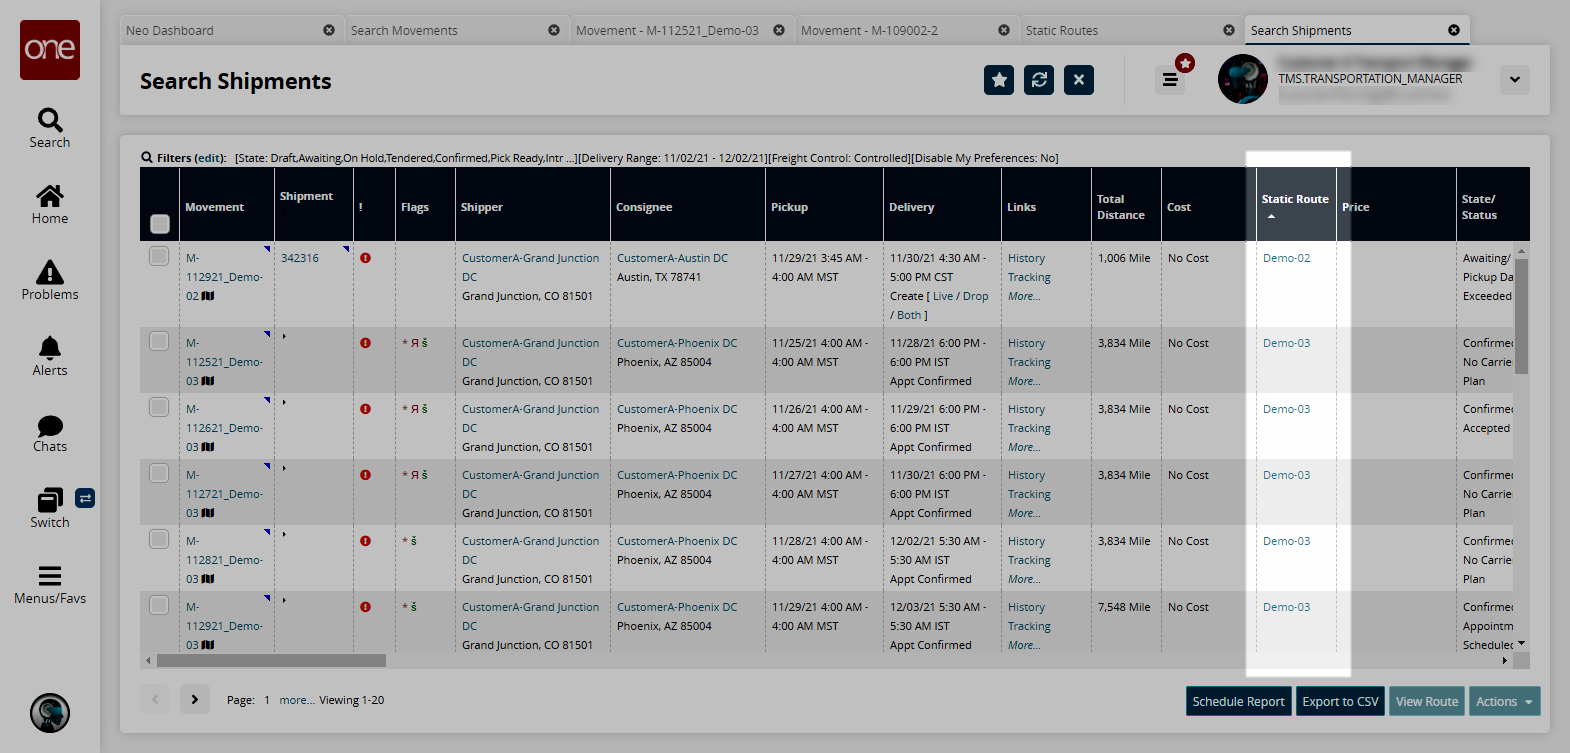
Click the link in the Movement column for a static route movement.
The movement details screen displays.Click the Load tab.
Note the Static Route Sequence option is permanently selected as the Order By option, and the other three options are greyed out and not selectable. This is the expected behavior for static route movements. For non-static route movements, the reverse is true: the Static Route Sequence option is greyed out and not selectable, and the Least Distance, Time Sequence, and Manual options are all available.

Click the map icon to view a map of the movement.
The map displays. This static route movement in the example below is set between Grand Junction, CO and Austin, TX.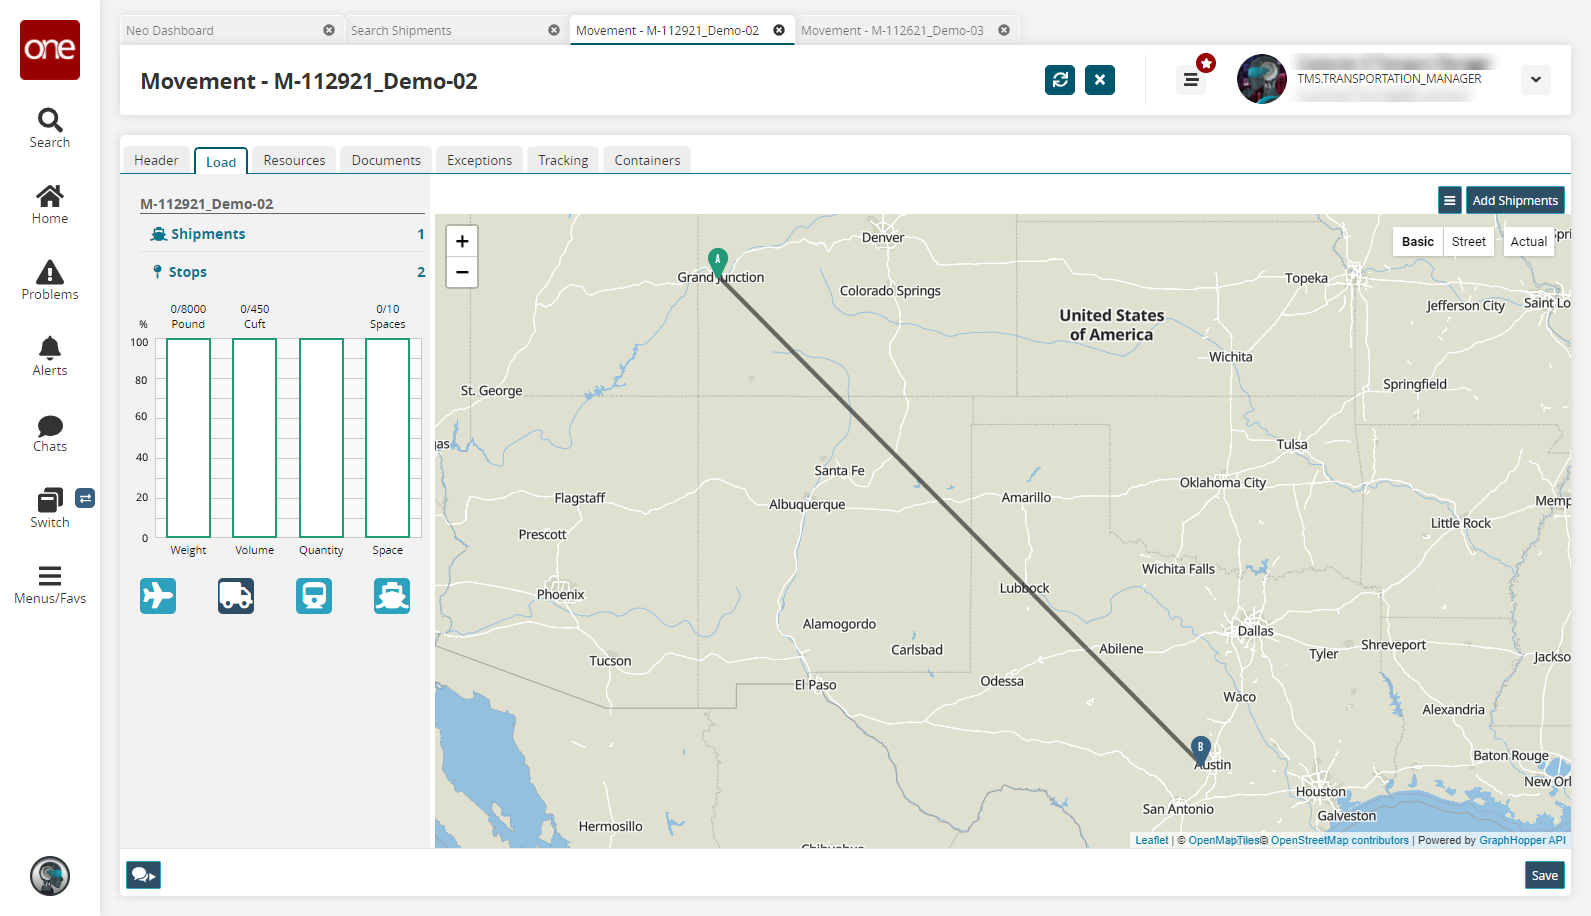
Click the Add Shipments button to consolidate shipments into this movement.
The Add Shipment Candidates popup displays.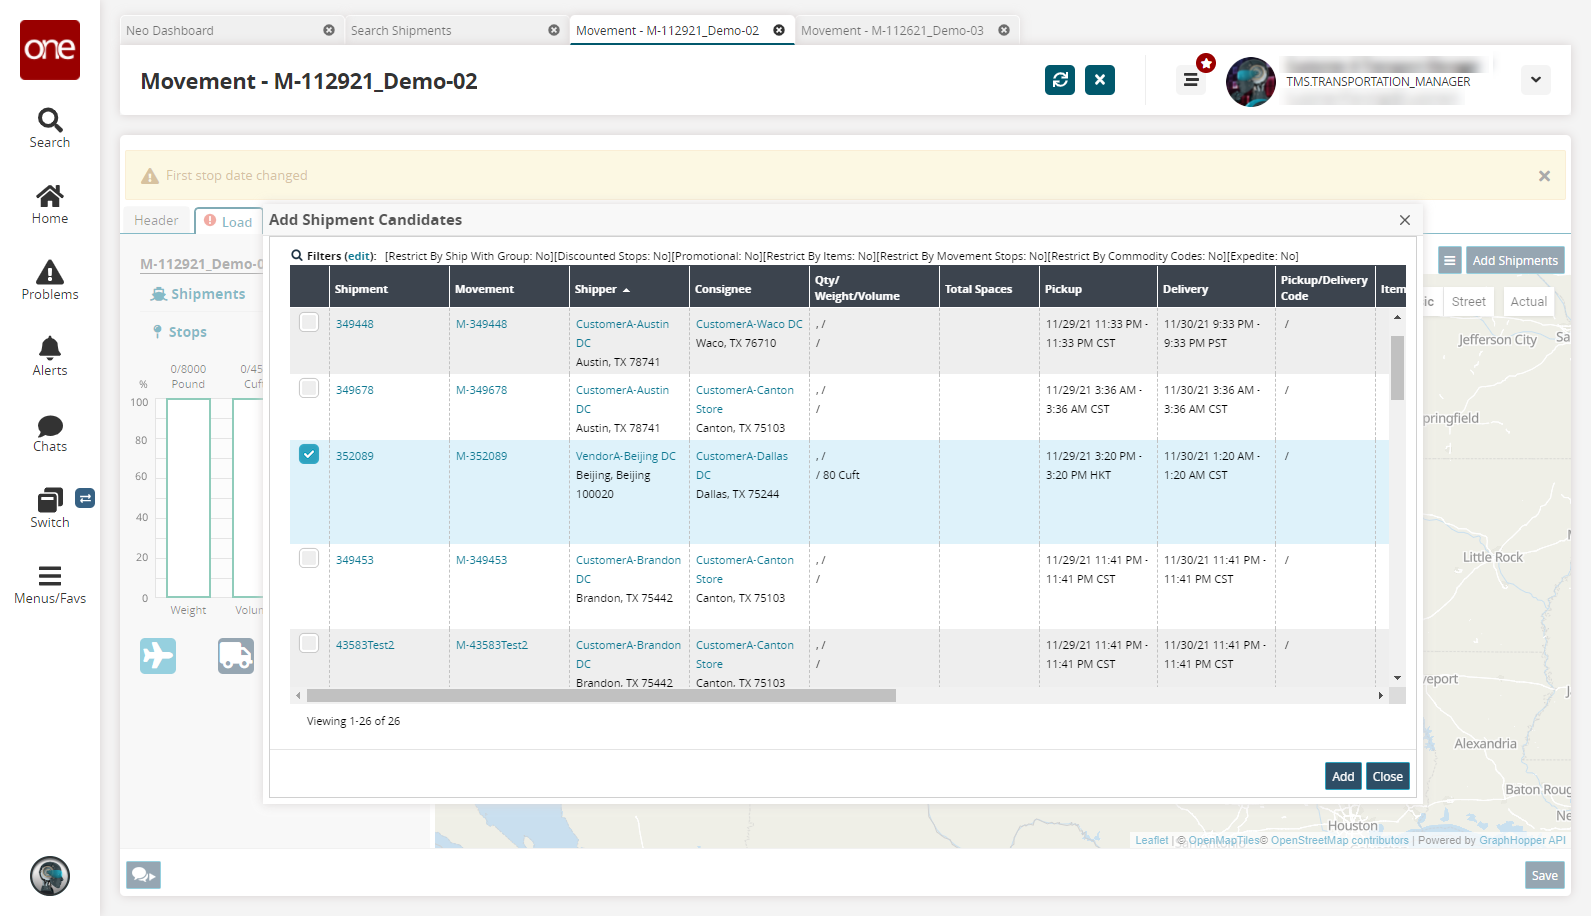
Select one or more shipments, and then click Add.
The map updates.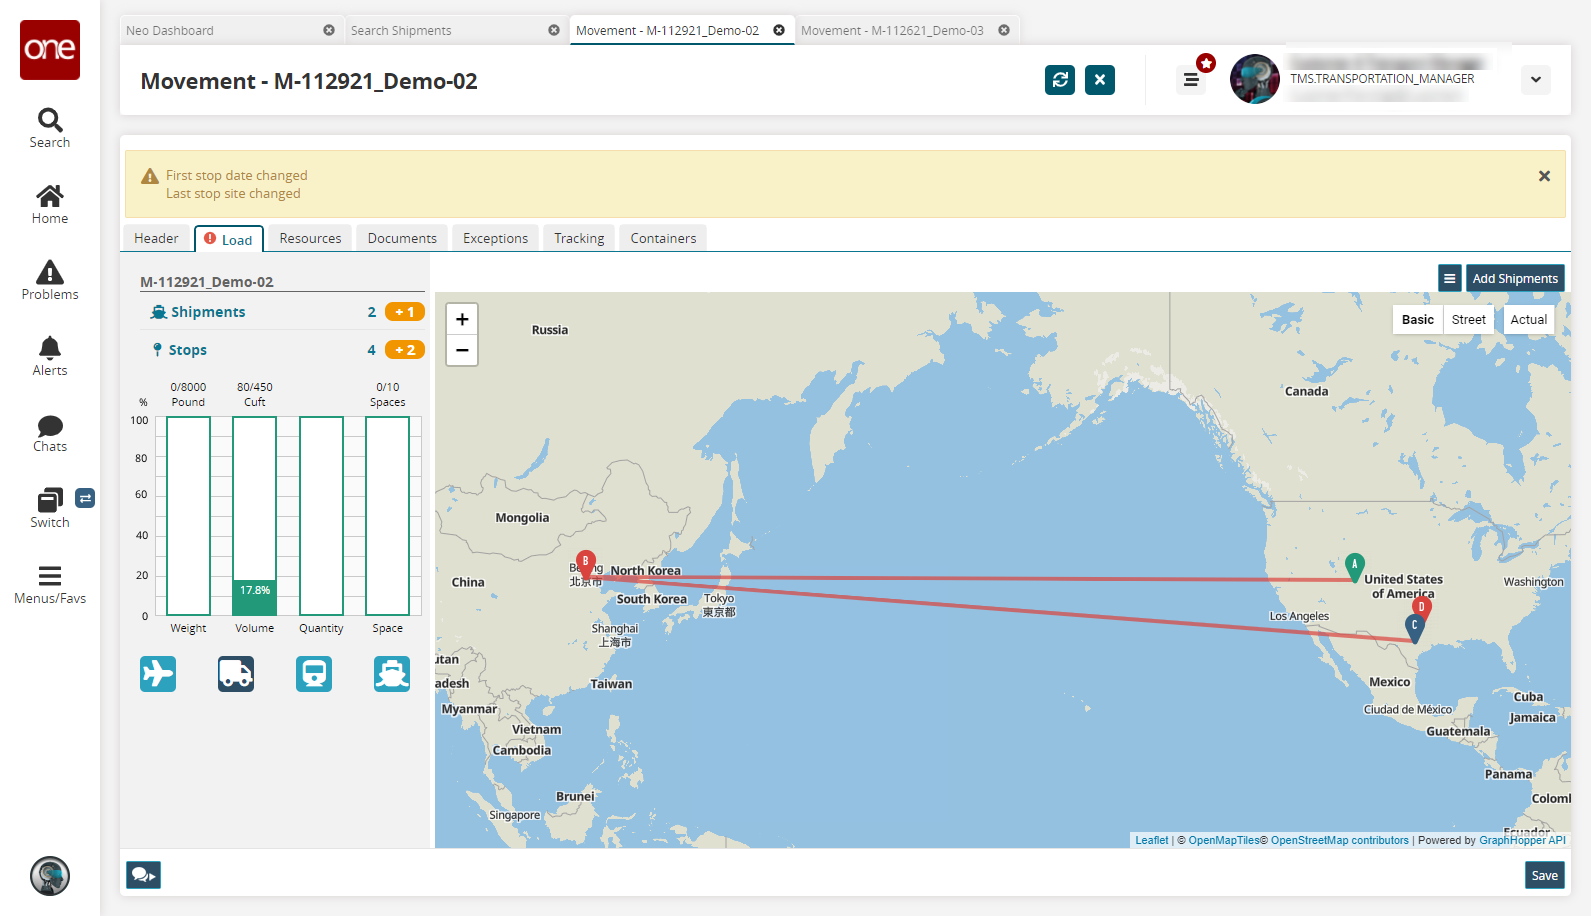
Note that the route of the static route movement is now Boulder to Beijing to Austin to Dallas. This is an impractical example, but it illustrates how the system behaves. The sequence of the original static route (Boulder to Austin) is preserved. Beijing is geographically closest to Boulder and was therefore placed next in the sequence. Continuing this logic, Austin is the next closest site, and then Dallas.
A popup may display as a notification that the shipments and movement have either a different state and/or a different carrier.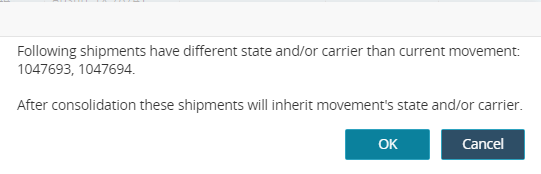
Click the OK button.
The map refreshes.Click the Save button.
The page refreshes.