Repairing Lot-Controlled Items with Repair Work Orders
Users can create a Repair Work Order for lot-controlled items. The capability provides users with better visibility in tracking and managing multiple quantities of lot-based inventory. It also helps users to repair any number of inventory items based on lot-controlled transactions. Users can select the quantity and the unit of measurement which is auto-populated in the Work Order Task.
Prerequisite
Not all users and roles have access to this feature. It is mandatory for an Enterprise Admin role user to initiate the AutoSave Tasks on State policy at the enterprise level from the Search Policies under the Menus/Favs menu. By applying this policy, during the Start Planning state, a task is system-generated for users to repair the selected lot-controlled items.
Complete the following steps to create a repair work order for lot-controlled items:
L og in to the ONE system.
Click Menus/Favs > Work Order Management > New Work Order.
In the NEO UI, users can click on the Menus/Favs icon on the left sidebar and type in the name of the screen in the menu search bar. For more information, see "Using the Menu Search Bar."
The New Work Order screen displays.
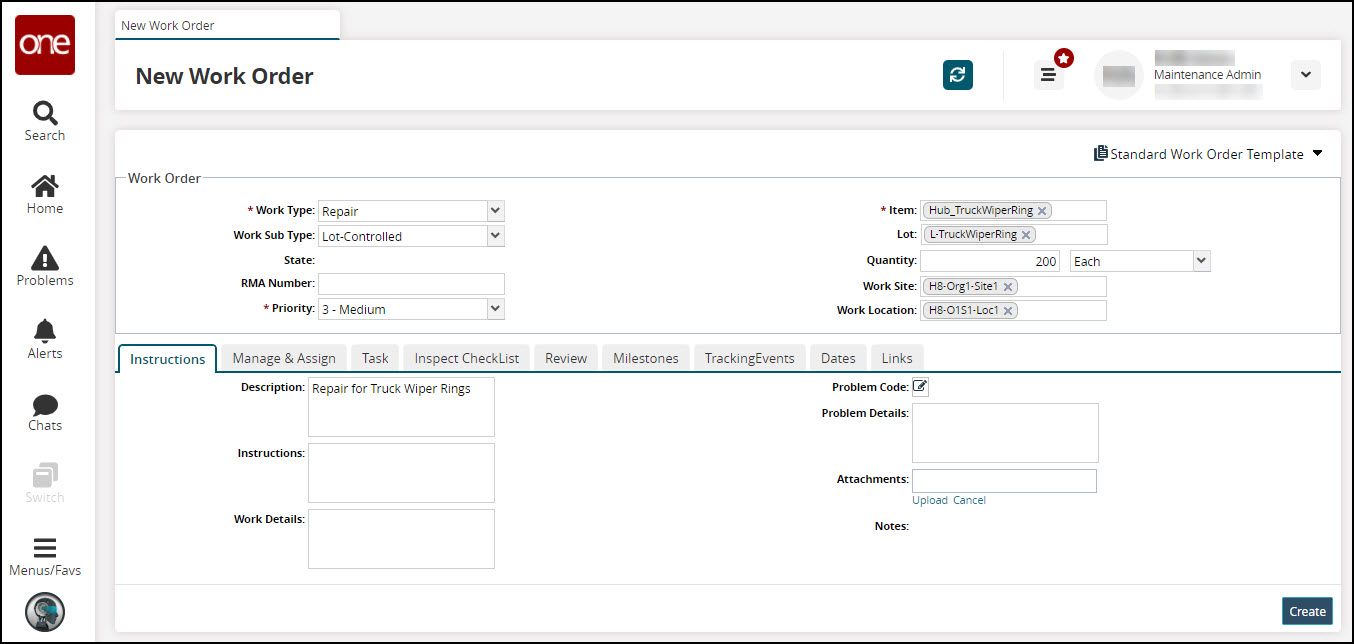
Enter values for fields described in the table below. Fields with an asterisk ( * ) are required.
Field Name
Description
* Work Type
In the drop-down list, select the Repair work order.
Work Sub Type
In the drop-down list, select the Lot Controlled subtype.
* Item
Enter the item name. Predictive text will help narrow your search.
Lot
Enter the lot number associated with the lot-controlled item.
Quantity
Enter the number of items that need to be repaired.
Work Site
Type the worksite at which the work order is performed. Predictive text will help narrow your search.
Work Location
Type the work location at which the work order is performed. Predictive text will help narrow your search.
State
Displays the present state of the work order.
RMA Number
Enter the Return Material Authorization number.
* Priority
By default, Medium priority is selected. In the drop-down list, select another priority level if desired.
Click Create button to create a Repair Work Order. The screen refreshes with the success message. The work order is created in the Draft state.
Note
See the "Creating Work Orders" or "Searching Word Orders" sections in the Online Help for more information. Move or ensure that the work order is in the In Inspection state.
Click
 button to add an inspection checklist for lot-controlled items in the repair work order. The checklist state displays New state.
Enter appropriate details in the Task Name, Comment, Task Completed Date, Assigned to User, Completed by User fields respectively.
Click
 button. The checklist's state changes to Completed.
The Checklist Completed successfully message displays.

Note
Move the work order states to the next stages as Completed Inspection, Accepted, In Diagnosis, and then Completed Diagnosis state.
Go to the Tasks tab and click Actions > Start Planning.
Click Submit button.
The state of the work order changes to In Planning. Per defined policy, a task is auto-populated with Task state New.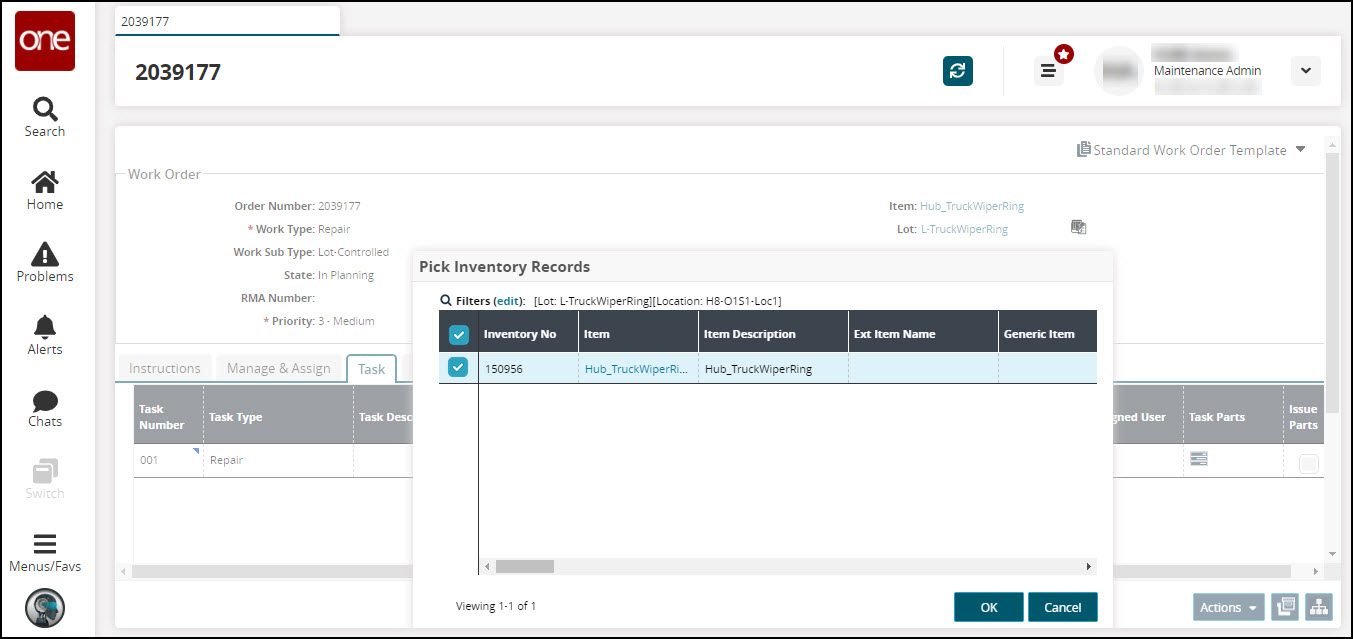
Navigate to the Lot field value and click
 icon (Inventory picker) to pick the items from the inventory.
The Pick Inventory Records window displays.Select the item's row and then click OK.
Click Actions > Complete Plan.
Click Submit button.
The state of the work order changes to Planned.Note
Move the work order states to the next stages as Approved, Accepted, Scheduled, and then In Progress state.
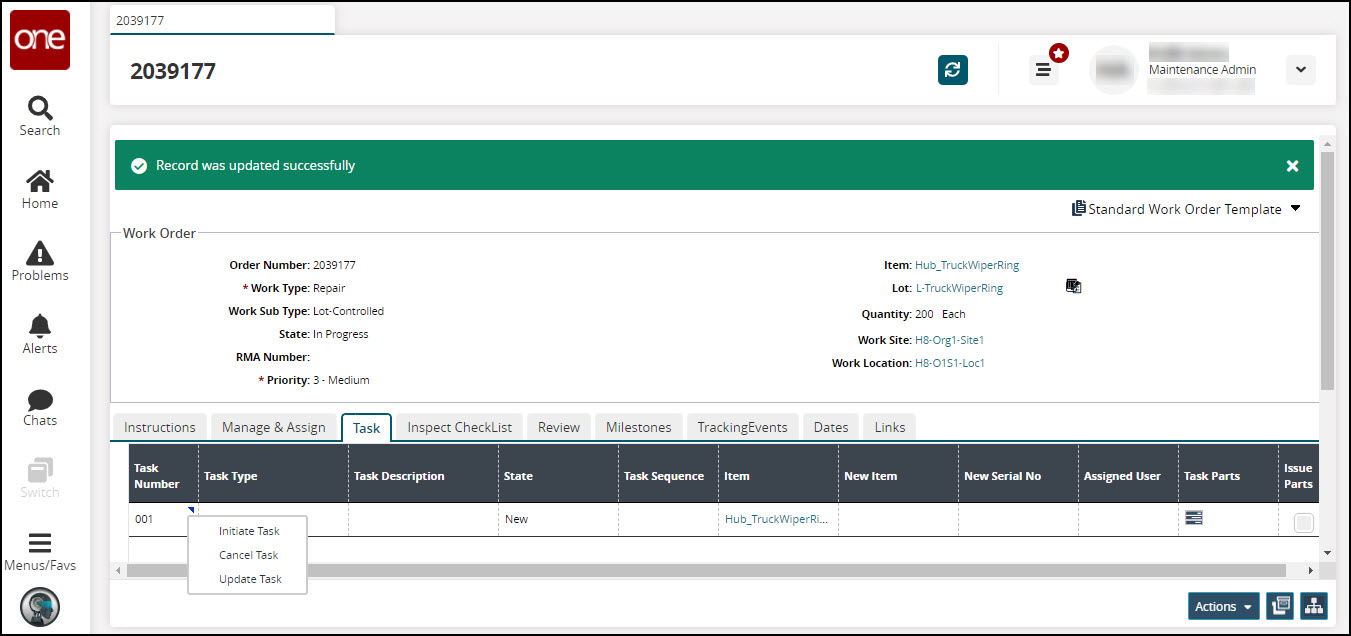
Click the Expand icon under the Task Number column and click the Initiate Task button.
The Initiate Task window displays.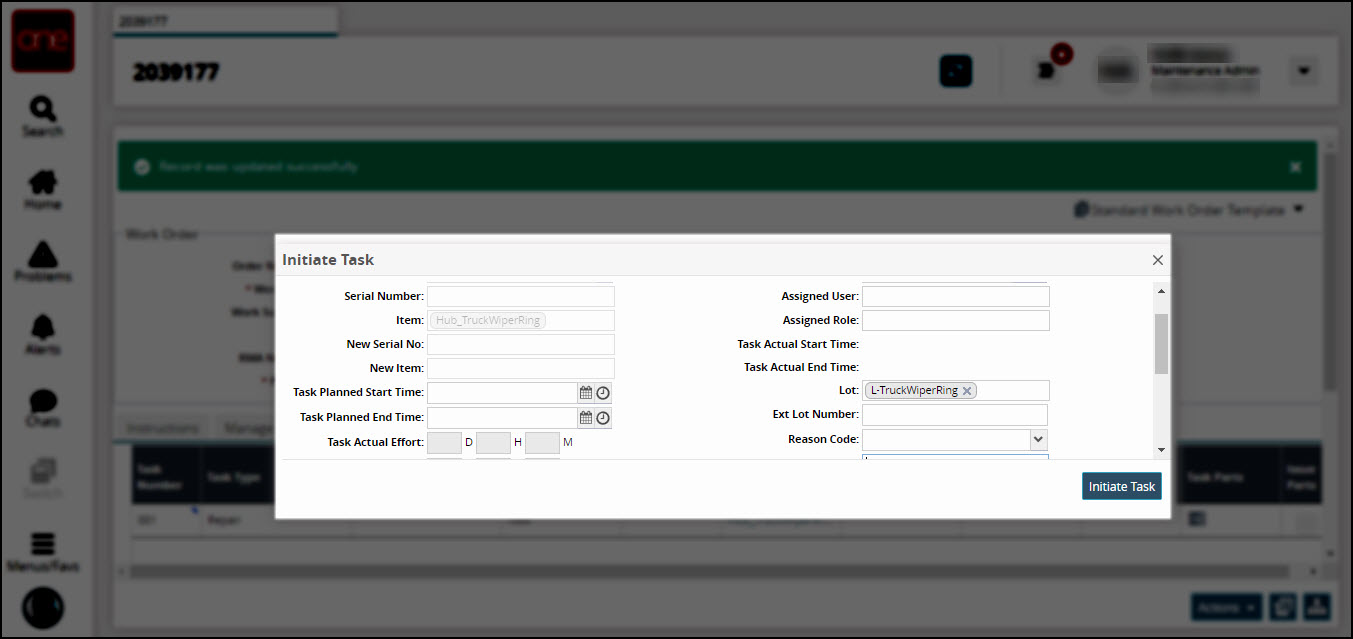
Fill in the required details and click the Initiate Task button.
The state of the task changes from New to Ready to Start.Click the Expand icon under the Task Number column and click the Start Task button.
The Start Task window displays.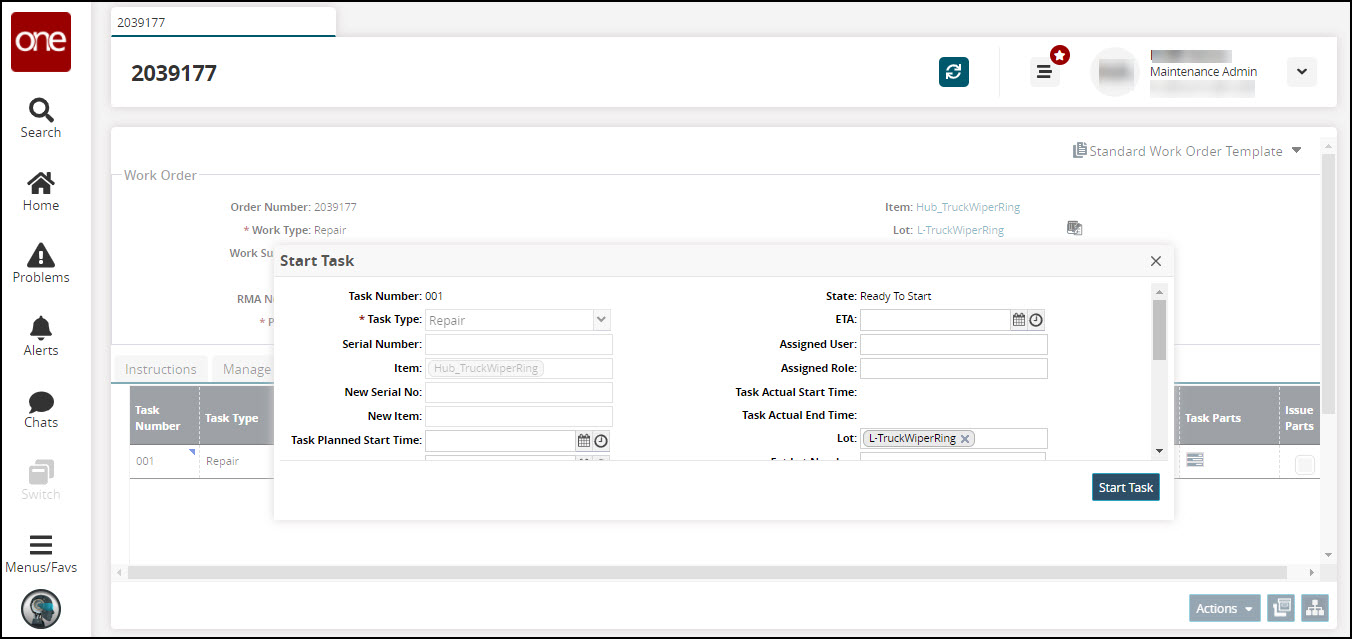
Fill in the required details and click the Start Task button. The state of the task changes from Ready to Start to Task in Progress state.
In this state the lot-controlled items are picked up and in repair. Navigate to the Lot field value and click
button (Inventory picker) to view the repair of items.
The Pick Inventory Records window displays. The quantity entered for lot items is displayed in a separate row with a WIP state (Work in Progress).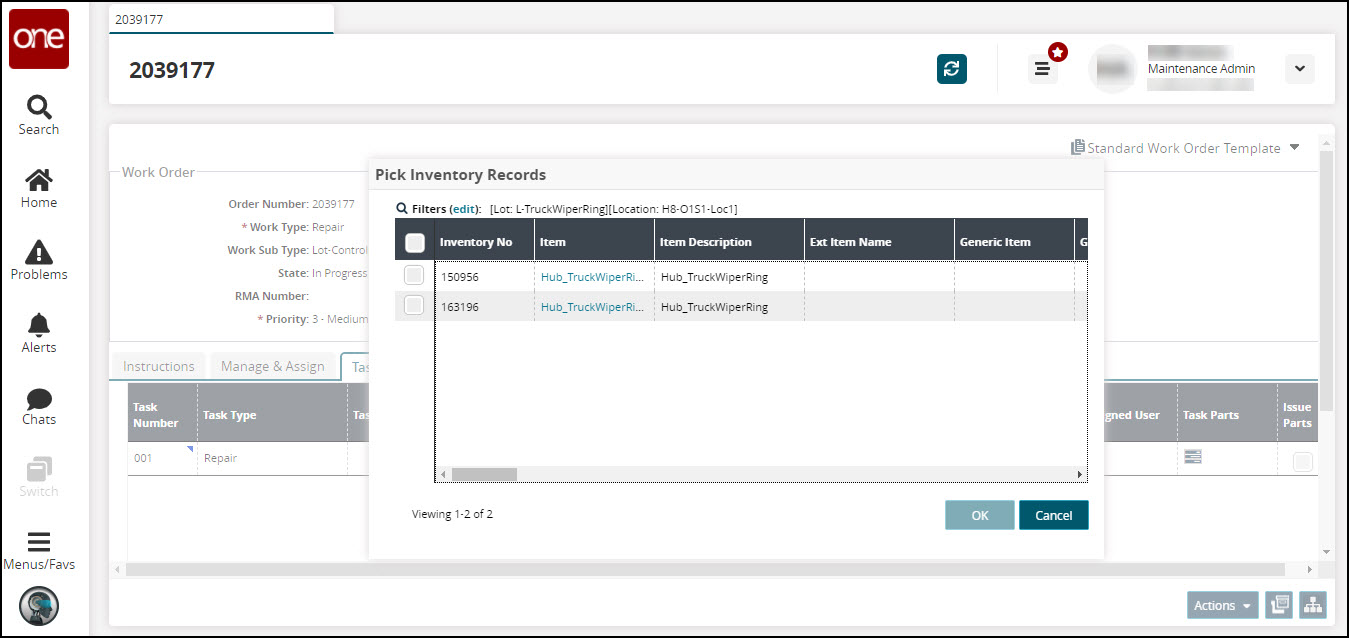
Click the Expand icon under the Task Number column and click the Complete Task button.
The Complete Task window displays.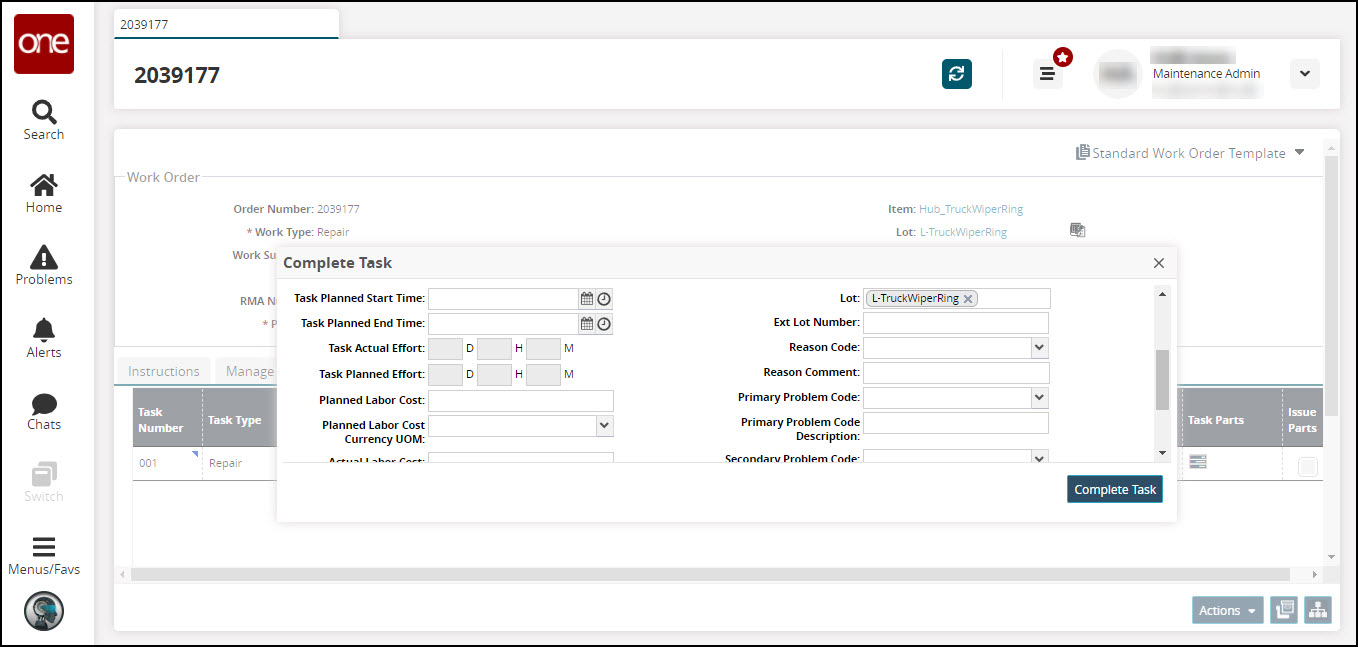
Fill in the required details and click the Complete Task button.
The state of the task changes from Task in Progress to Task Completed state. In this state, the lot items repair is completed.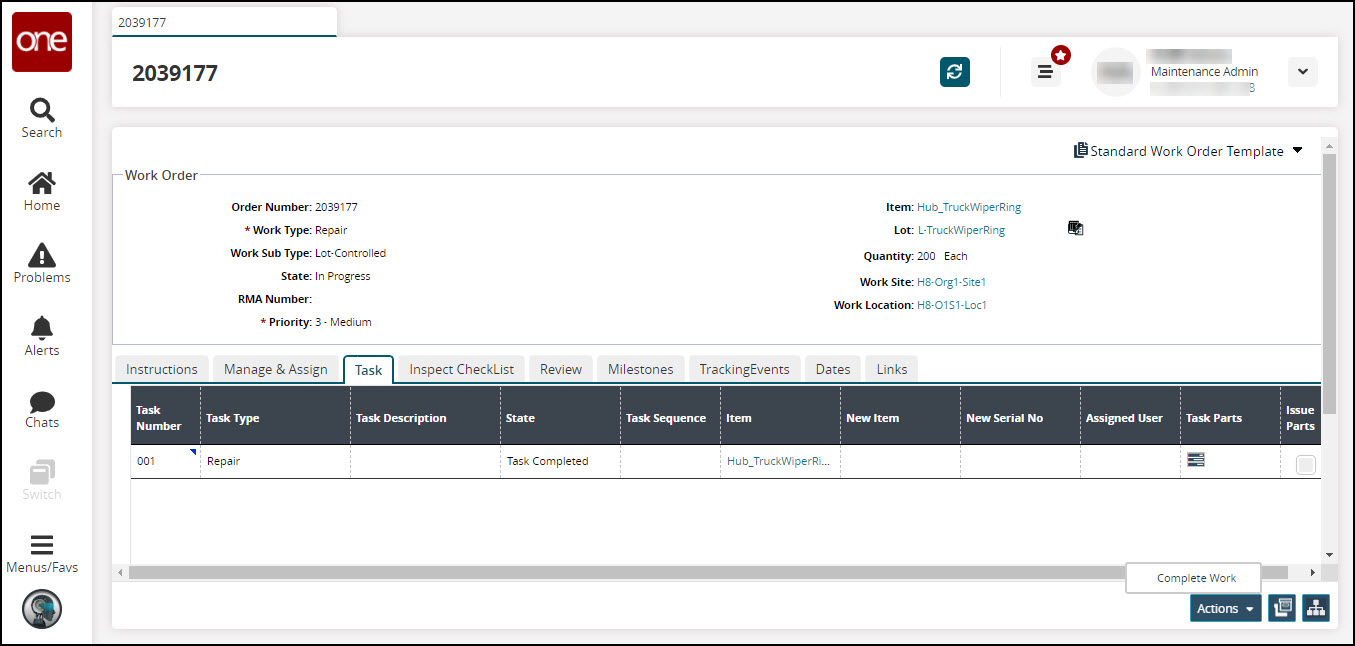
Click Actions > Complete Work.
Click Submit button.
The state of the work order changes to Work Completed.Click Actions > Start Review.
Click Submit button.
The state of the work order changes to In Review.Go to the Review tab to provide and submit the details and review comments on the repair task performed.
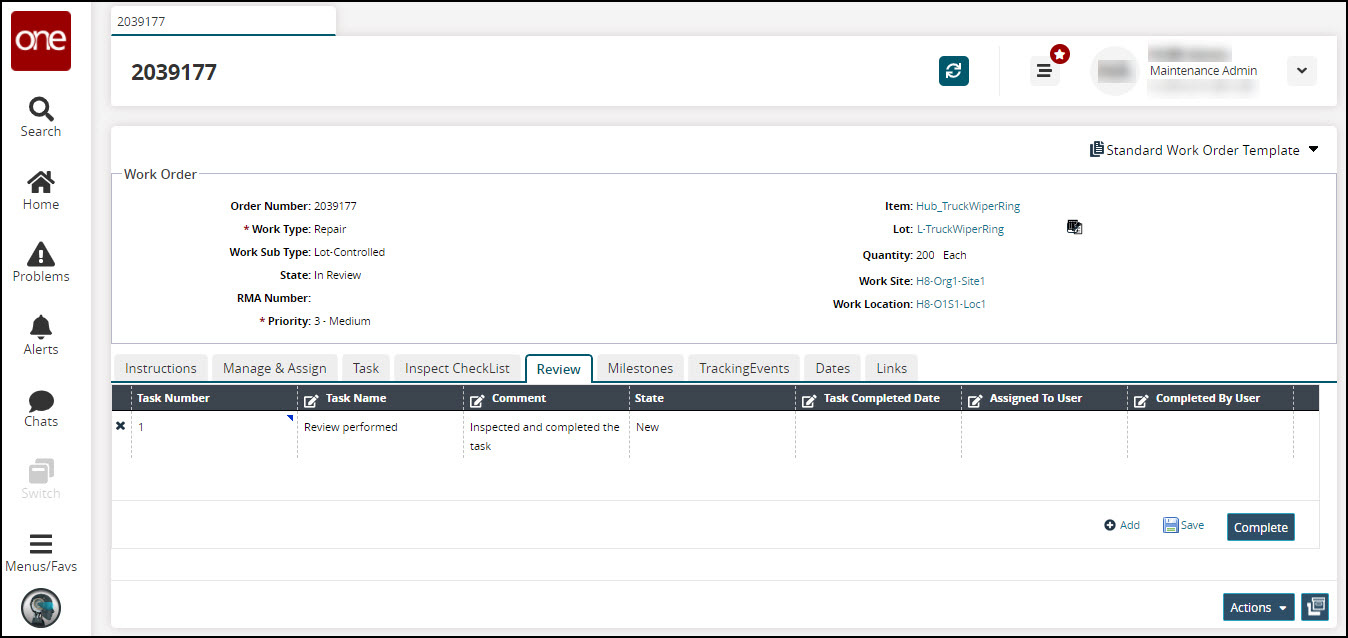
Click
button to add review details for the lot repaired items in the repair work order.
The review checklist state displays New state.Enter appropriate details in the Task Name, Comment, Task Completed Date, Assigned to User, Completed by User fields respectively.
Click
button. The checklist's state changes to Completed.
The Checklist Completed successfully message displays.Click Actions > Complete Review.
Click Submit button.
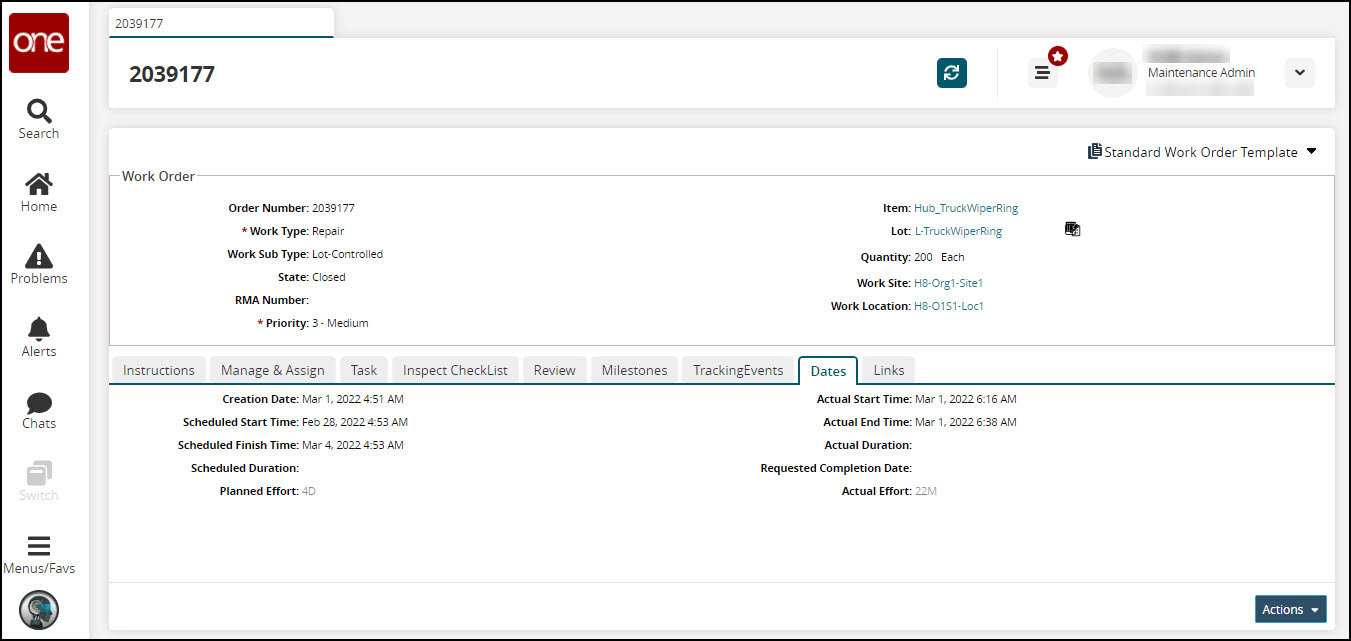
The state of the work order changes to Review Completed.
Note
The Asset Maintenance role user can then move the repair work order to the next stage in the workflow (Work Ended, Asset Delivered, and then Closed).