Resequencing Stops in a Movement
Users can resequence stops in the Logistics Planner Workbench to view the impact of the changes as part of a "what if" scenario.
Complete the following steps to resequence stops in a movement.
Log into the ONE network.
Click on Menus/Favs > Transportation > Planner Workbench.
The Planner Workbench screen displays.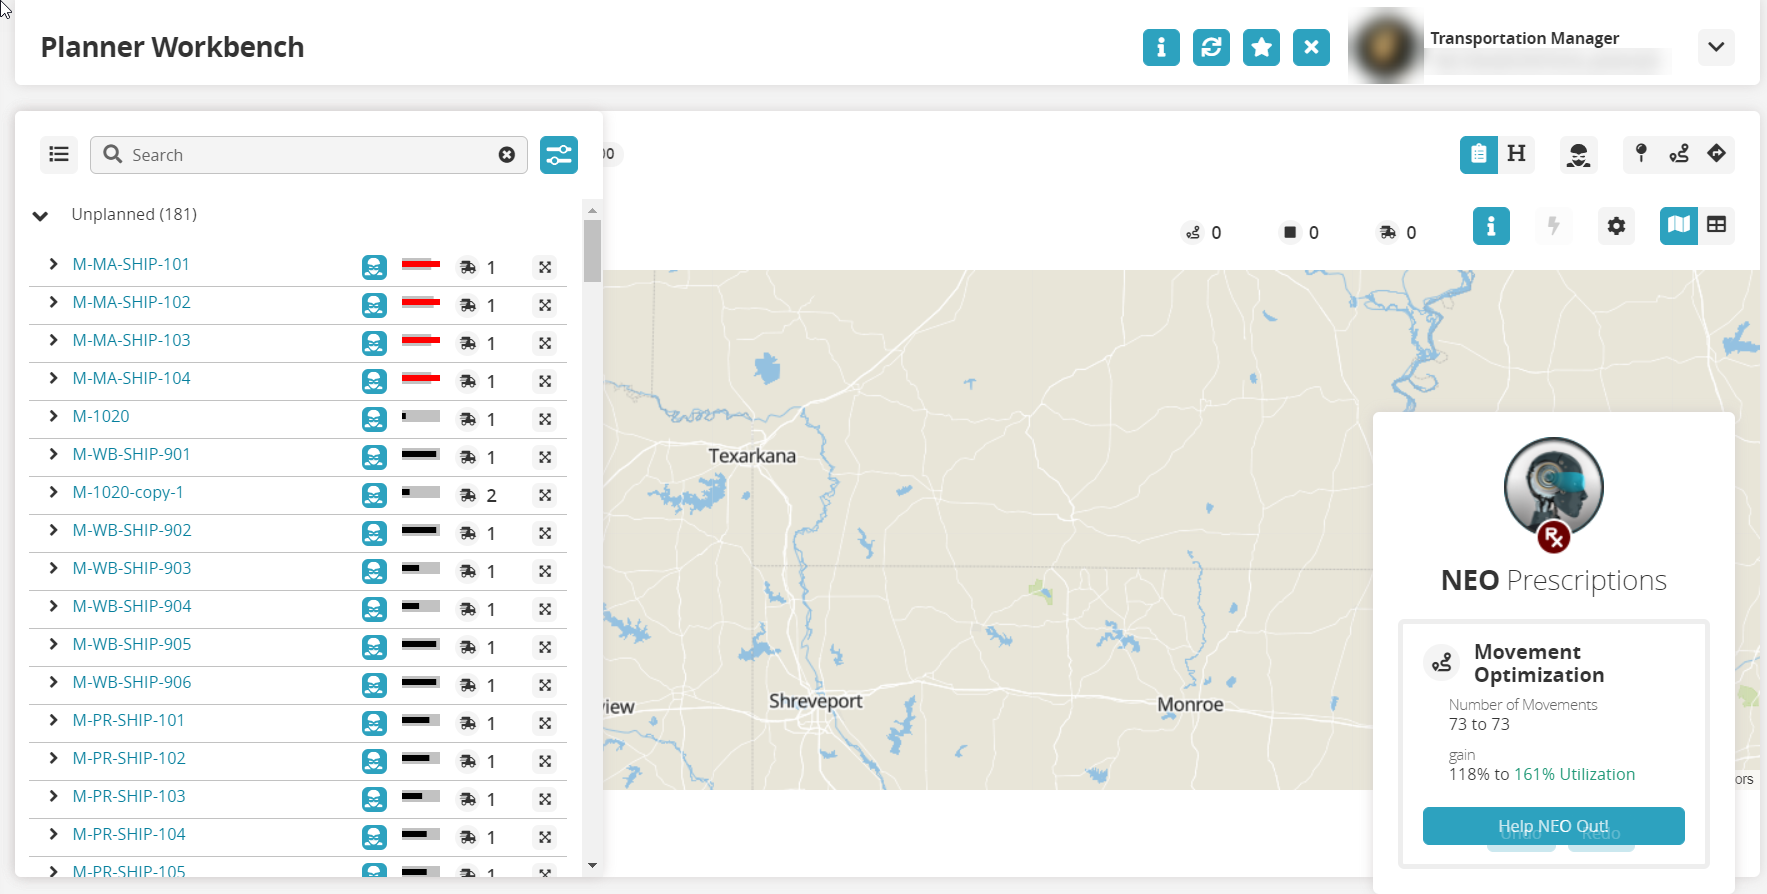
Complete the following fields to populate the subnet for the planner workbench. Fields with an asterisk ( * ) are required.
Use the calendar and clock tools to fill in the * Delivery Range dates. Users can select a single date or patterns.
Use the picker tool to select the sites for the Depots field.
Type in the value for the Shipment Number field. Asterisks ( * ) are permitted as wild cards.
Click on the dropdown arrow to Add a field... if more filters are required for the search parameters.
The new field displays.Select a value for the new field.
Click on the Apply button.
The screen refreshes with a map in the background, a list of shipments, and a popup window for NEO Prescriptions.
There are two ways to access the Resequence Stops slide out.
Using the Map View
 :
:If the movement list is not displayed, click on the movement list button in the upper left corner.

Click on the crossed arrow icon for a movement in the movement list to add it to the map view.
The crossed arrow icon turns blue, and the movement is added to the map.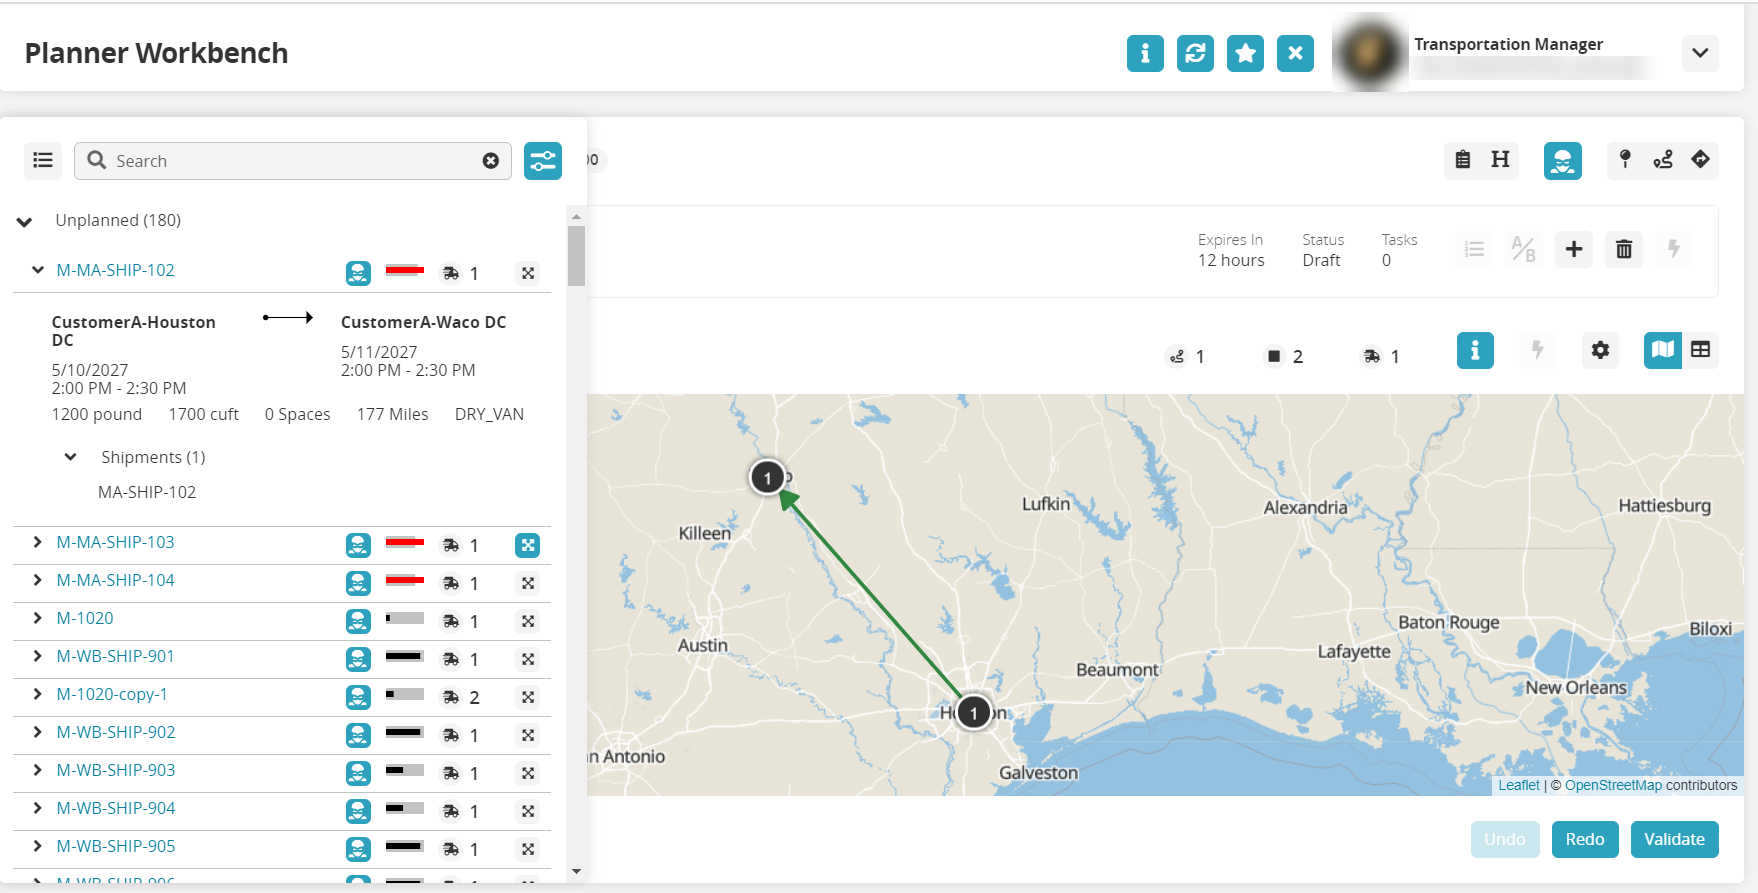
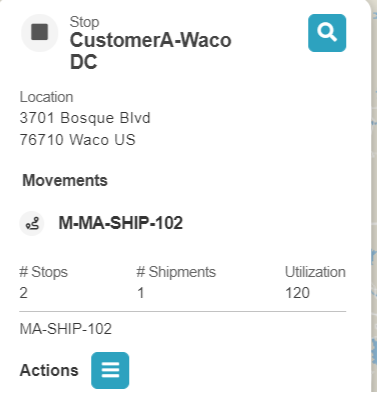
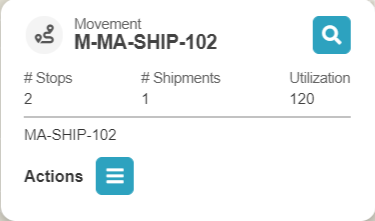
Click on a circle (a stop) to display the stop popup or click on the colored bar (a route) to display the movement popup.
Click on the Actions icon.
A menu displays.Click on Resequence Stops.
The Resequence Stops slide-out displays.
Using the Grid View:
Click on the Grid View icon on the right side of the screen.

The Grid View screen displays.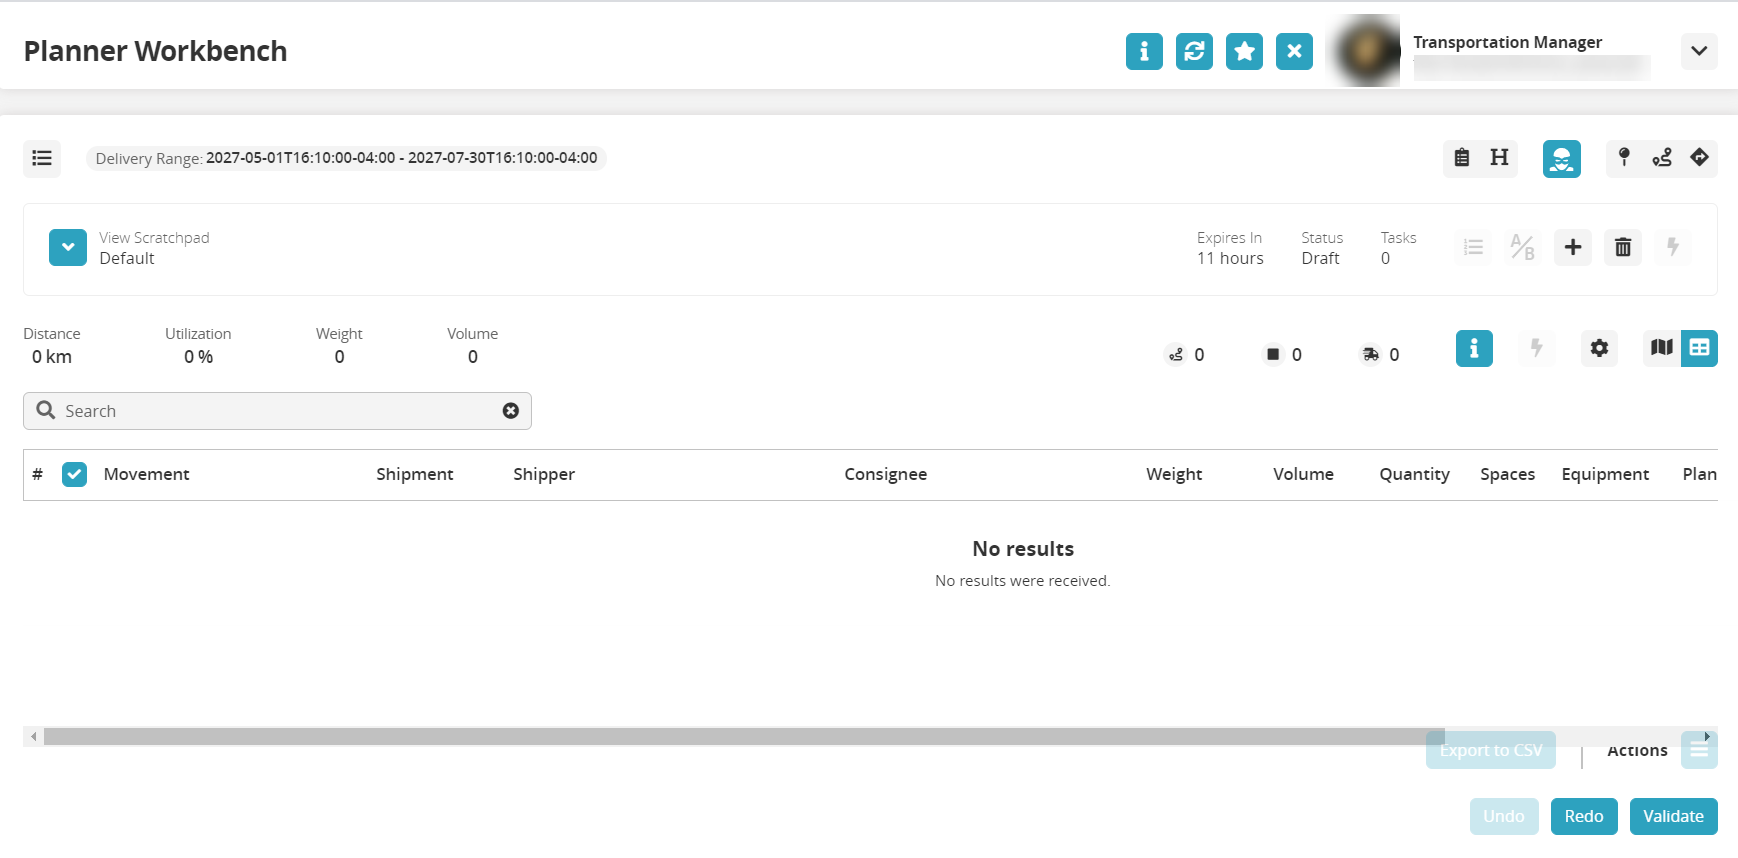
If the movement list is not displayed, click on the movement list button in the upper left corner.
The movement list displays.Click on the crossed arrow icon for a movement.
The movement is added to the table in the grid view.Click on the movement list button to close the list.
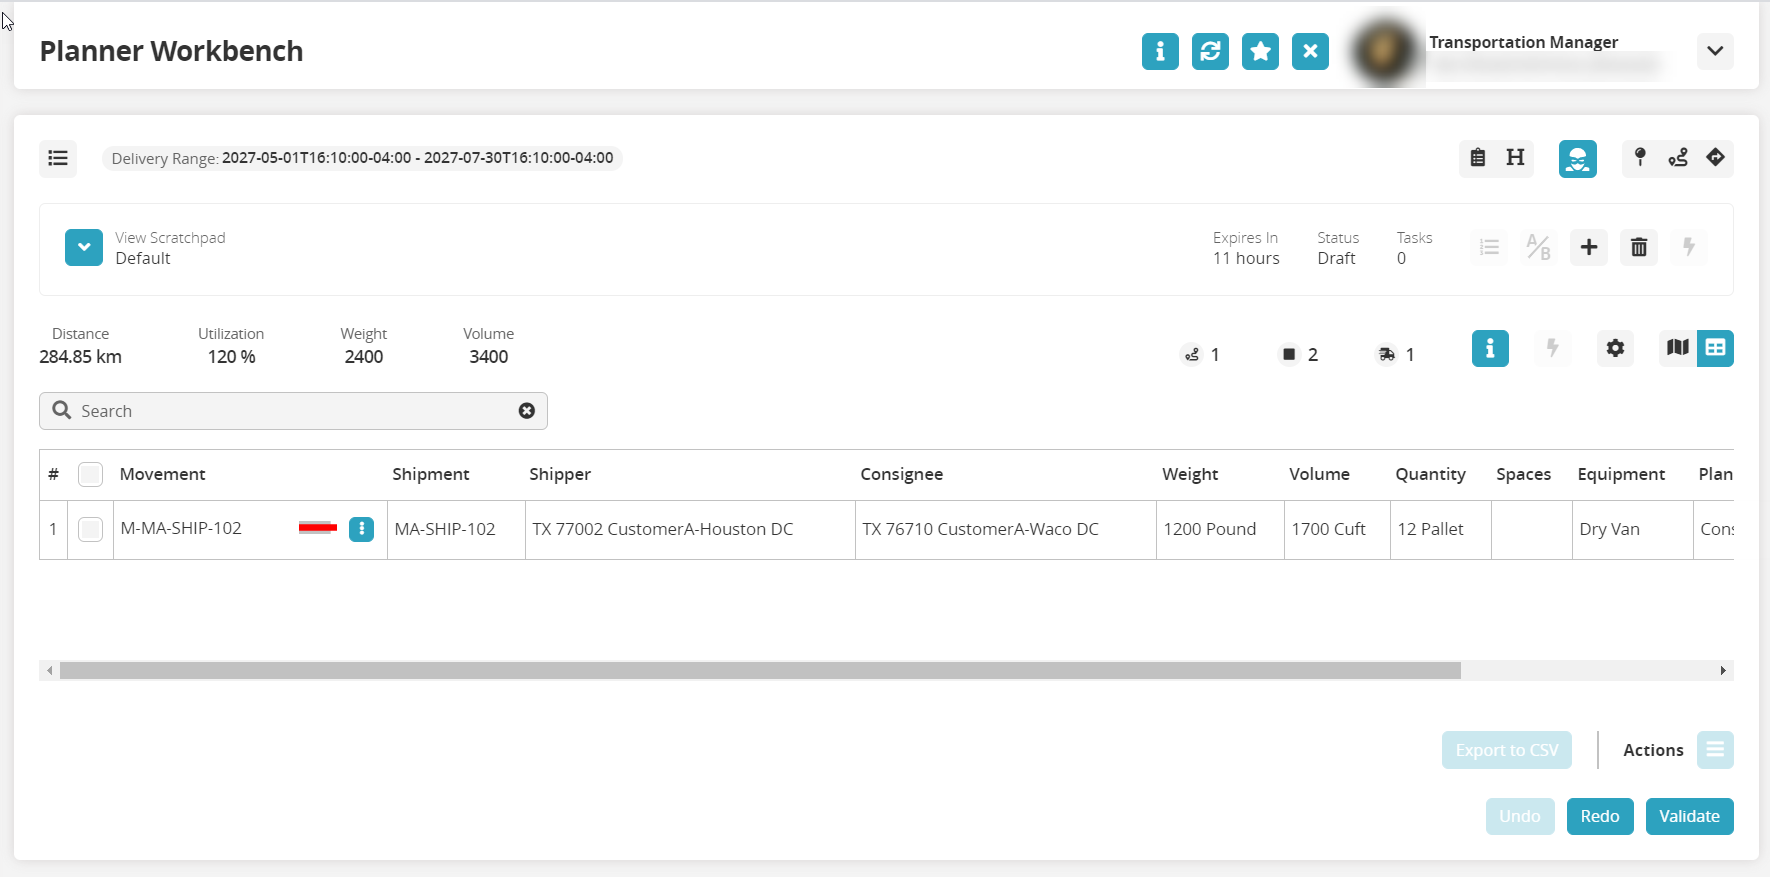
Click on the Actions button.
A menu of actions displays.Click on Resequence Stops.
The Resequence Stops slide-out displays.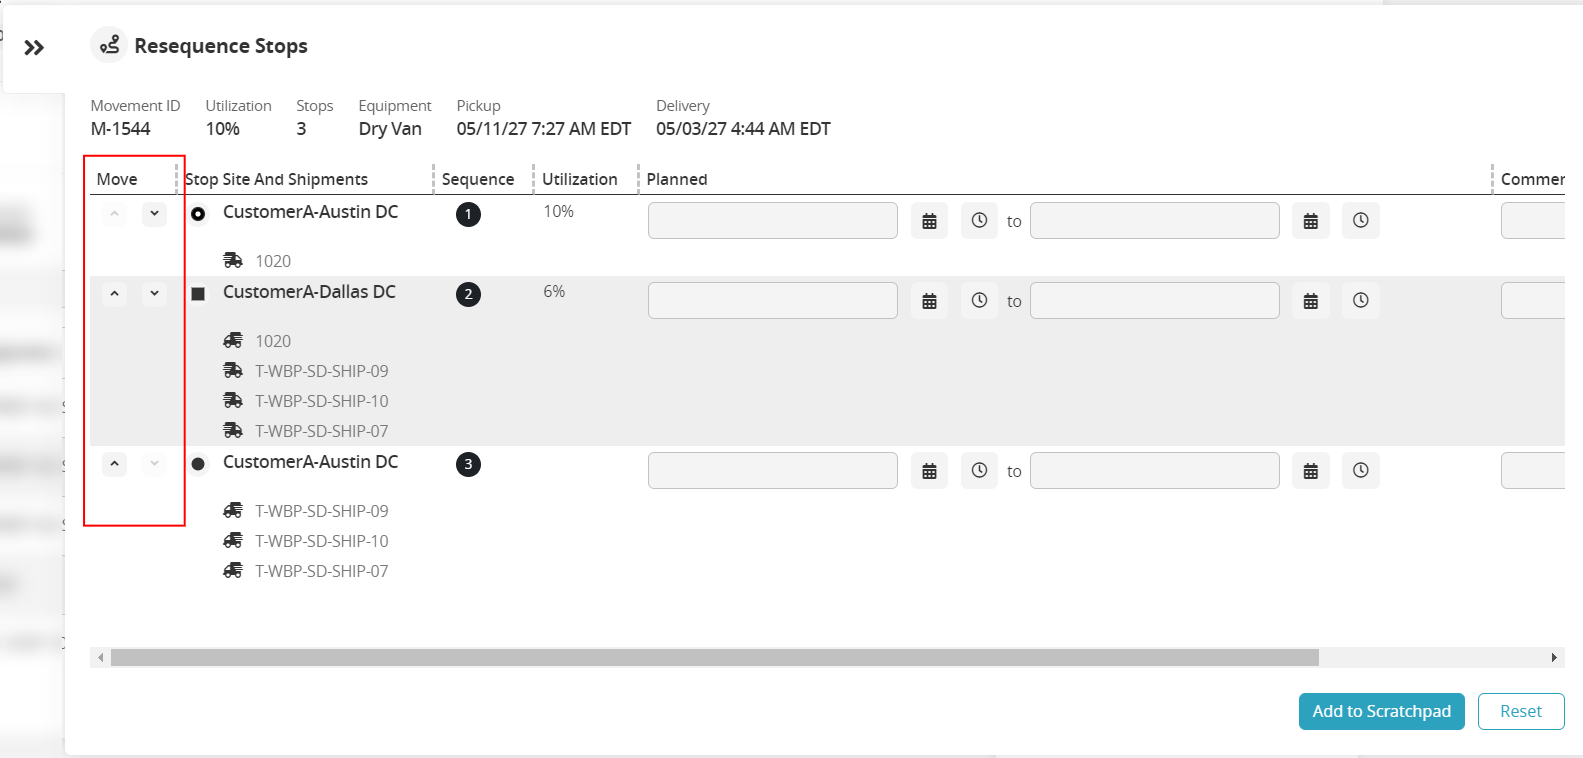
Click on the up and down arrows under the Move column to resequence the stops.
The sequence numbers change to show the resequencing.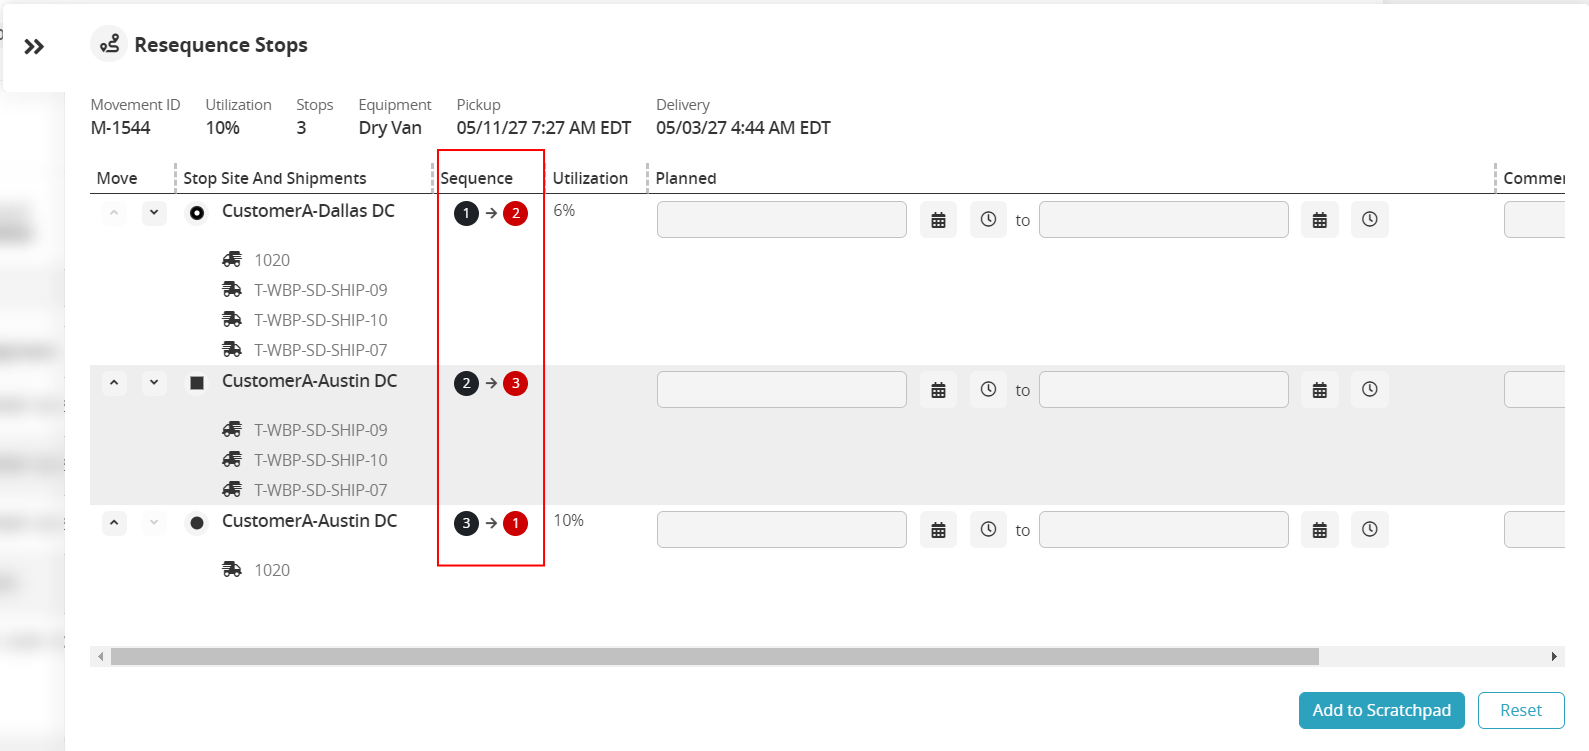
Click on the Add to Scratchpad button.
At this point, users have a number of options to move forward with the movement.
Click on the Execute button (

) to execute the changes.
Click on the Compare to Baseline button (

) to view utilization details from before and after the stops were resequenced.