Scheduled Appointments Report
You can view scheduled appointments reports by date range. Afterward, you can view details about a specific appointment or export the search results to an Excel spreadsheet.
Complete the following steps to view the Scheduled Appointments report:
L og in to the ONE system.
Select Menu/Favs > Reports > Scheduled Appointments.
In the NEO UI, users can click on the Menus/Favs icon on the left sidebar and type in the name of the screen in the menu search bar. For more information, see "Using the Menu Search Bar."
The Scheduled Appointments screen appears.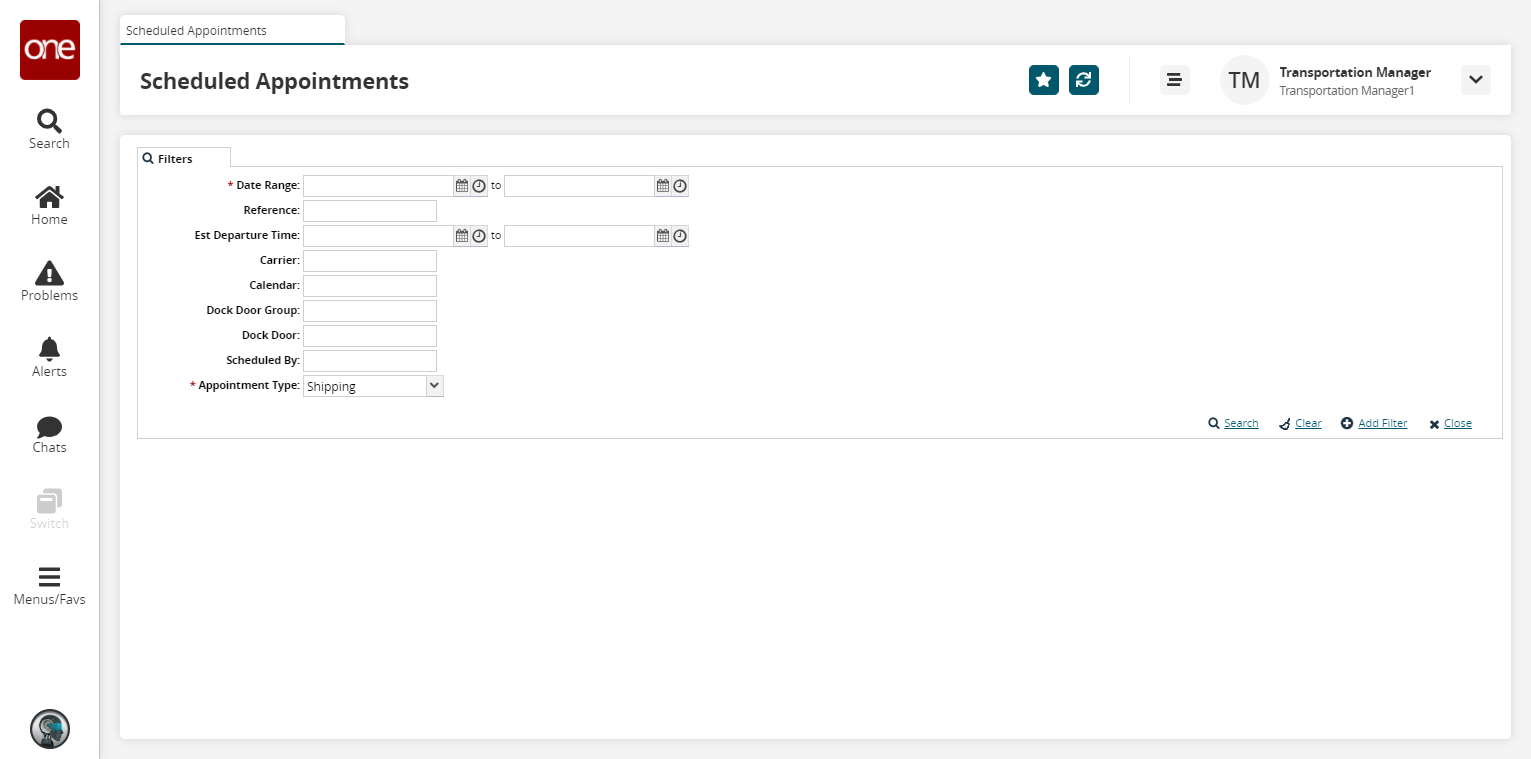
Fill out the following fields. Fields with an asterisk ( * ) are required.
Field
Description
* Date Range
Select a date and time range using the calendar and clock icons. The maximum date range is 45 days.
Reference
Enter a reference number.
Est Departure Time
Select an estimated departure time range using the calendar and clock icons.
Carrier
Enter a carrier.
Calendar
Enter a calendar.
Dock Door Group
Enter a dock door group.
Dock Door
Enter a dock door.
Scheduled By
Enter the name of the appointment scheduler.
* Appointment Type
Select an appointment type from the drop-down list. The available options are Shipping, Receiving, or Both.
To add more search filters, click the Add Filter link, and then click one or more filter options from the Add Filter list.
Fill out the filters as desired, and click the Search link.
The search results display.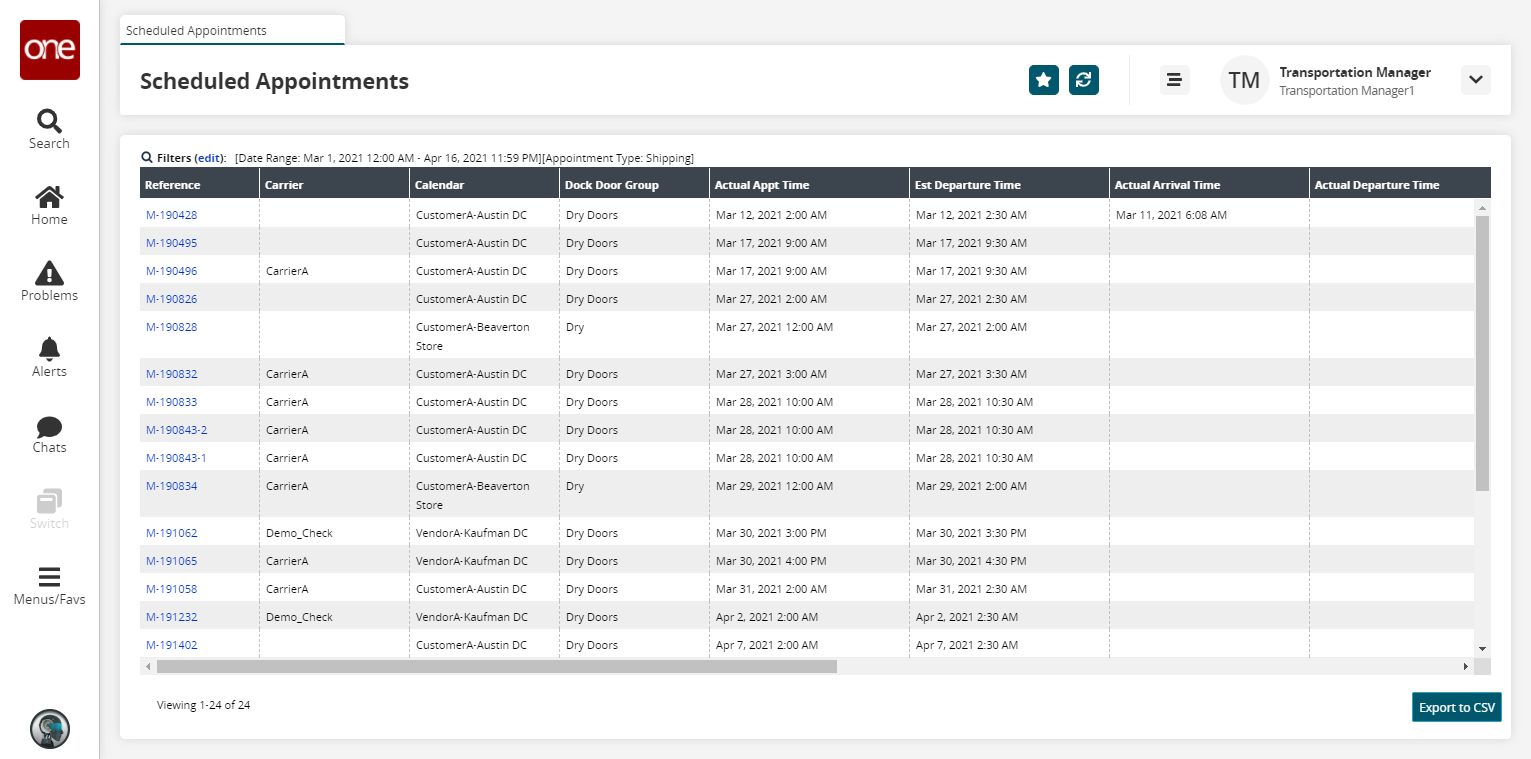
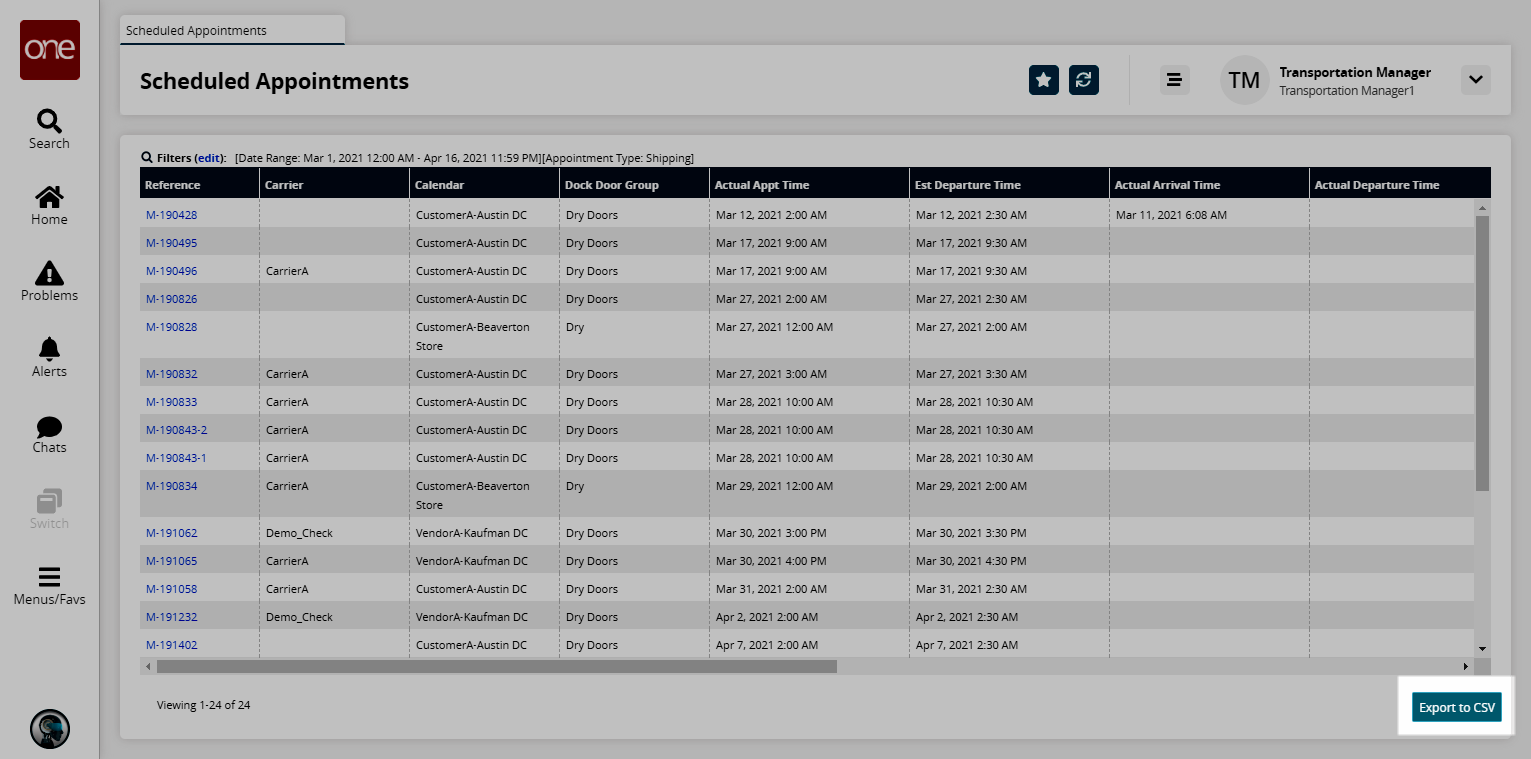
Click the Export to CSV button to export the report to a CSV file.
To view details of an appointment, click a Reference link.
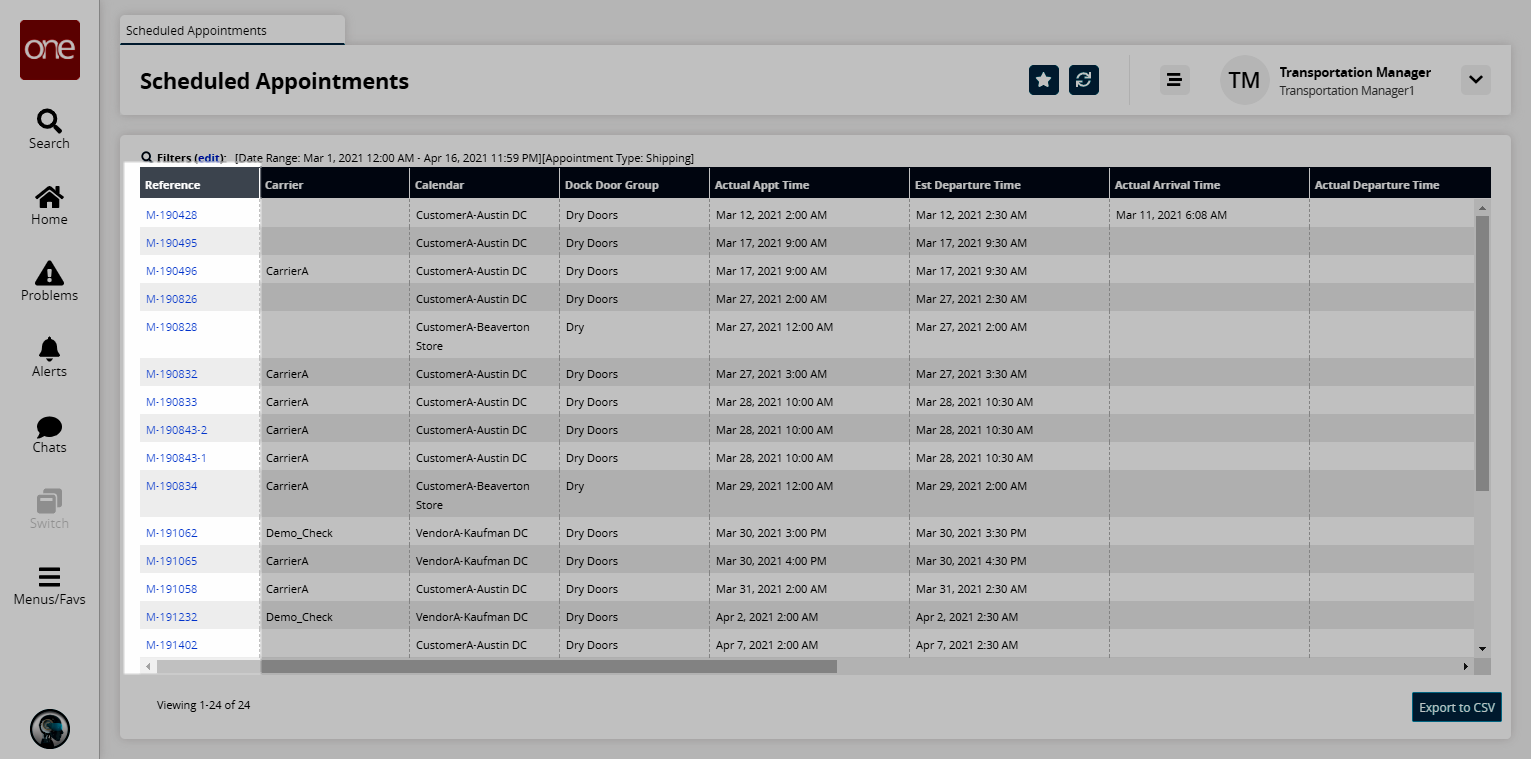
A new tab appears showing appointment details.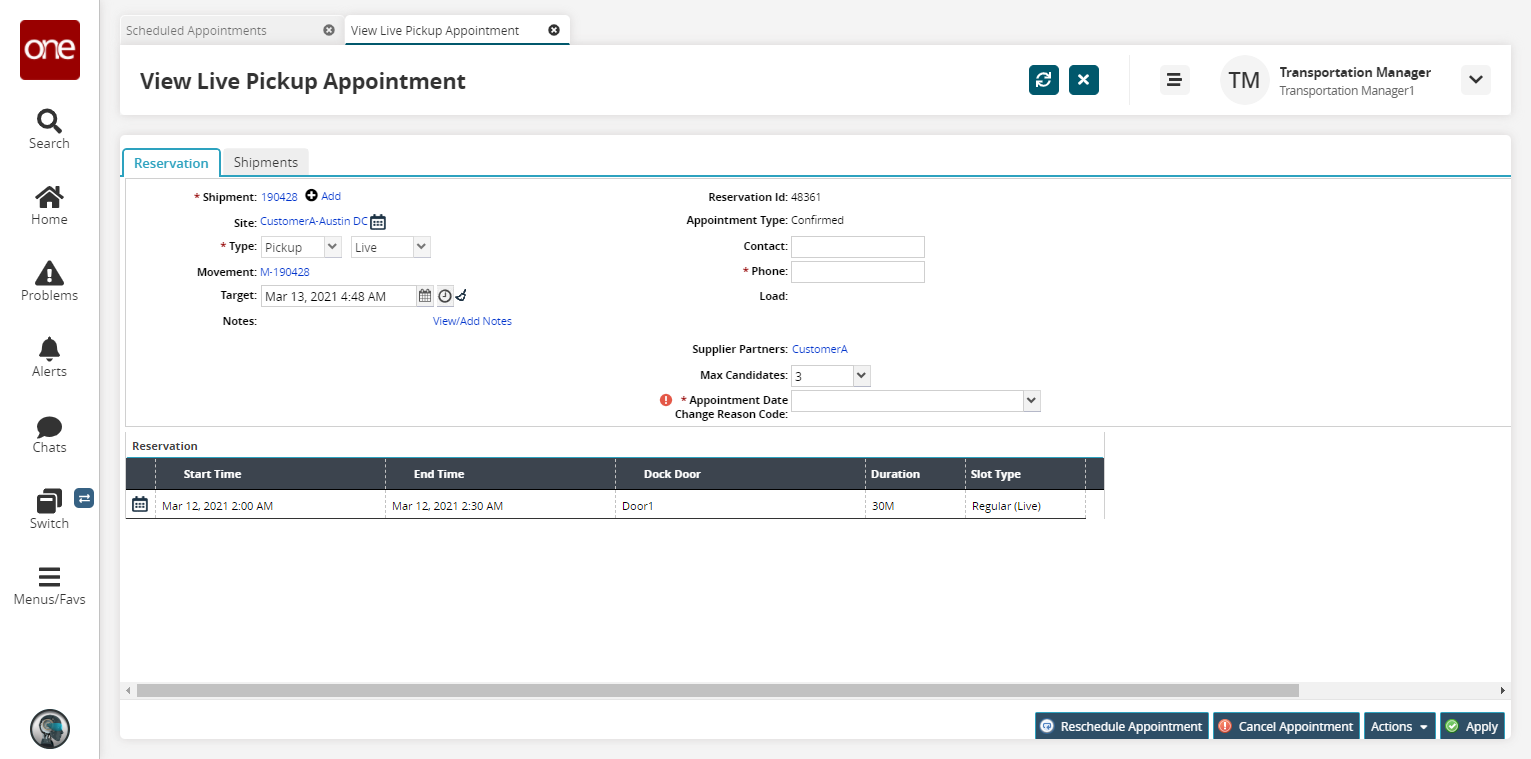
As required, edit the details of the appointment or apply actions.
For detailed information, see the "Searching Appointments" section in the Online Help.