Site Scheduling Policies Report
Complete the following steps to view the Site Scheduling Policy report:
L og in to the ONE system.
Select Menu/Favs > Reports > Site Scheduling Policies.
In the NEO UI, users can click on the Menus/Favs icon on the left sidebar and type in the name of the screen in the menu search bar. For more information, see "Using the Menu Search Bar."
The Site Scheduling Policies screen appears and displays the Filters header.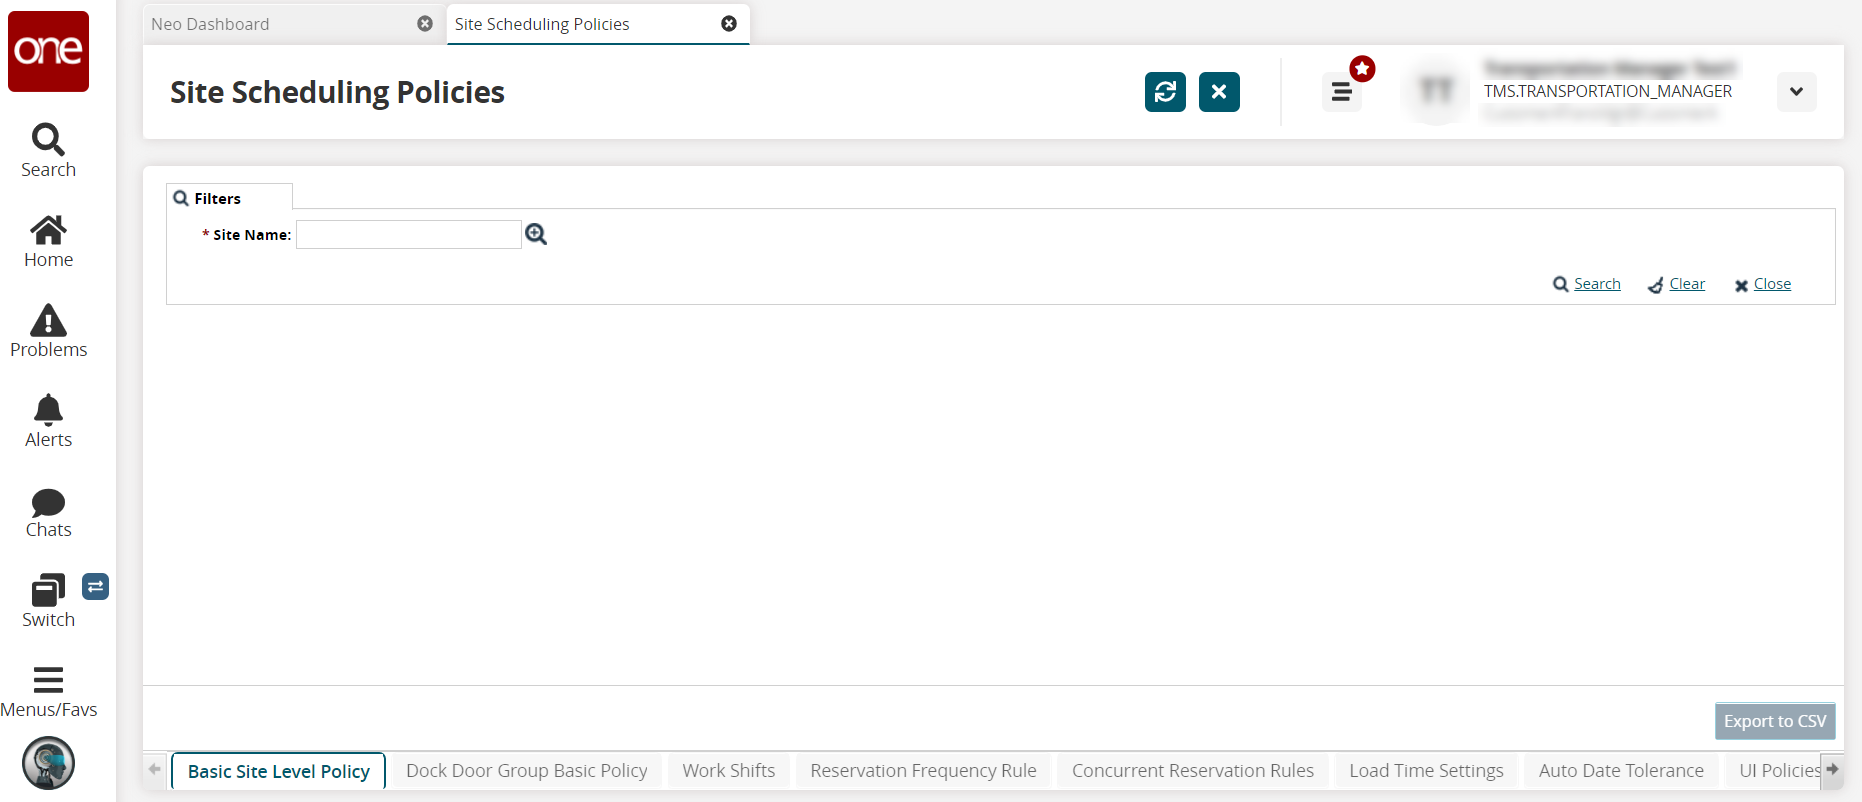
In the * Site field, use the picker tool to select a site to review scheduling policies.
Click the Search link.
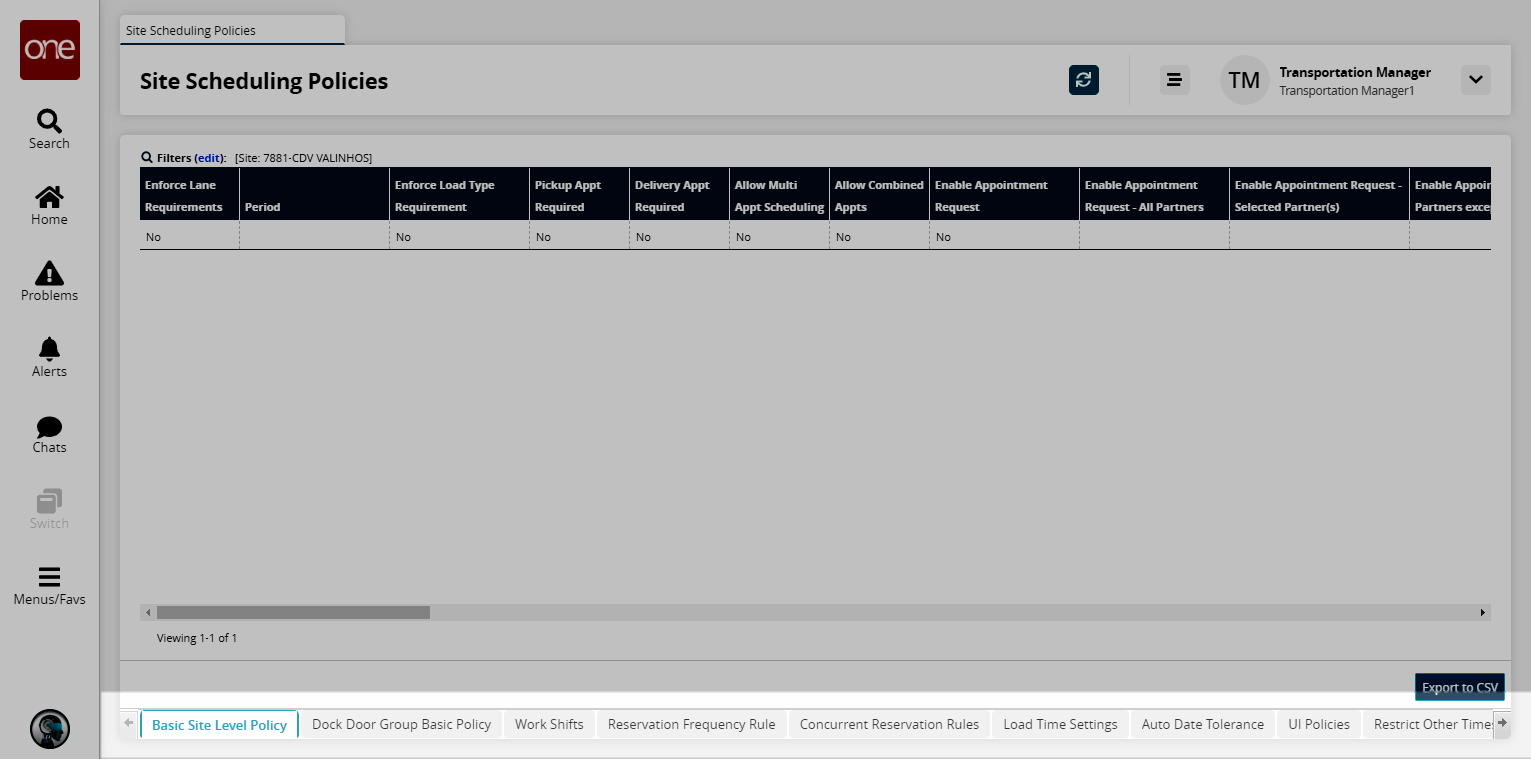
The search results display.Click the Export to CSV button to export the report to a CSV file.
Click the tabs at the bottom of the screen to filter by the functional policy group.
Complete the following steps to view the available variable capacity settings on the Site Scheduling Policies report:
L og in to the ONE system.
Click Menu/Favs > Reports > Site Scheduling Policies.
The Site Scheduling Policies screen appears.Select a site in the * Site field.
Click the Search link.
The Site Scheduling Policies report for the selected site appears with the Basic Site Level Policy tab displayed at the bottom of the screen.Use the arrow to scroll to the right and select the Applicable Variable Capacity Settings tab.
The Available Variable Capacity Settings display.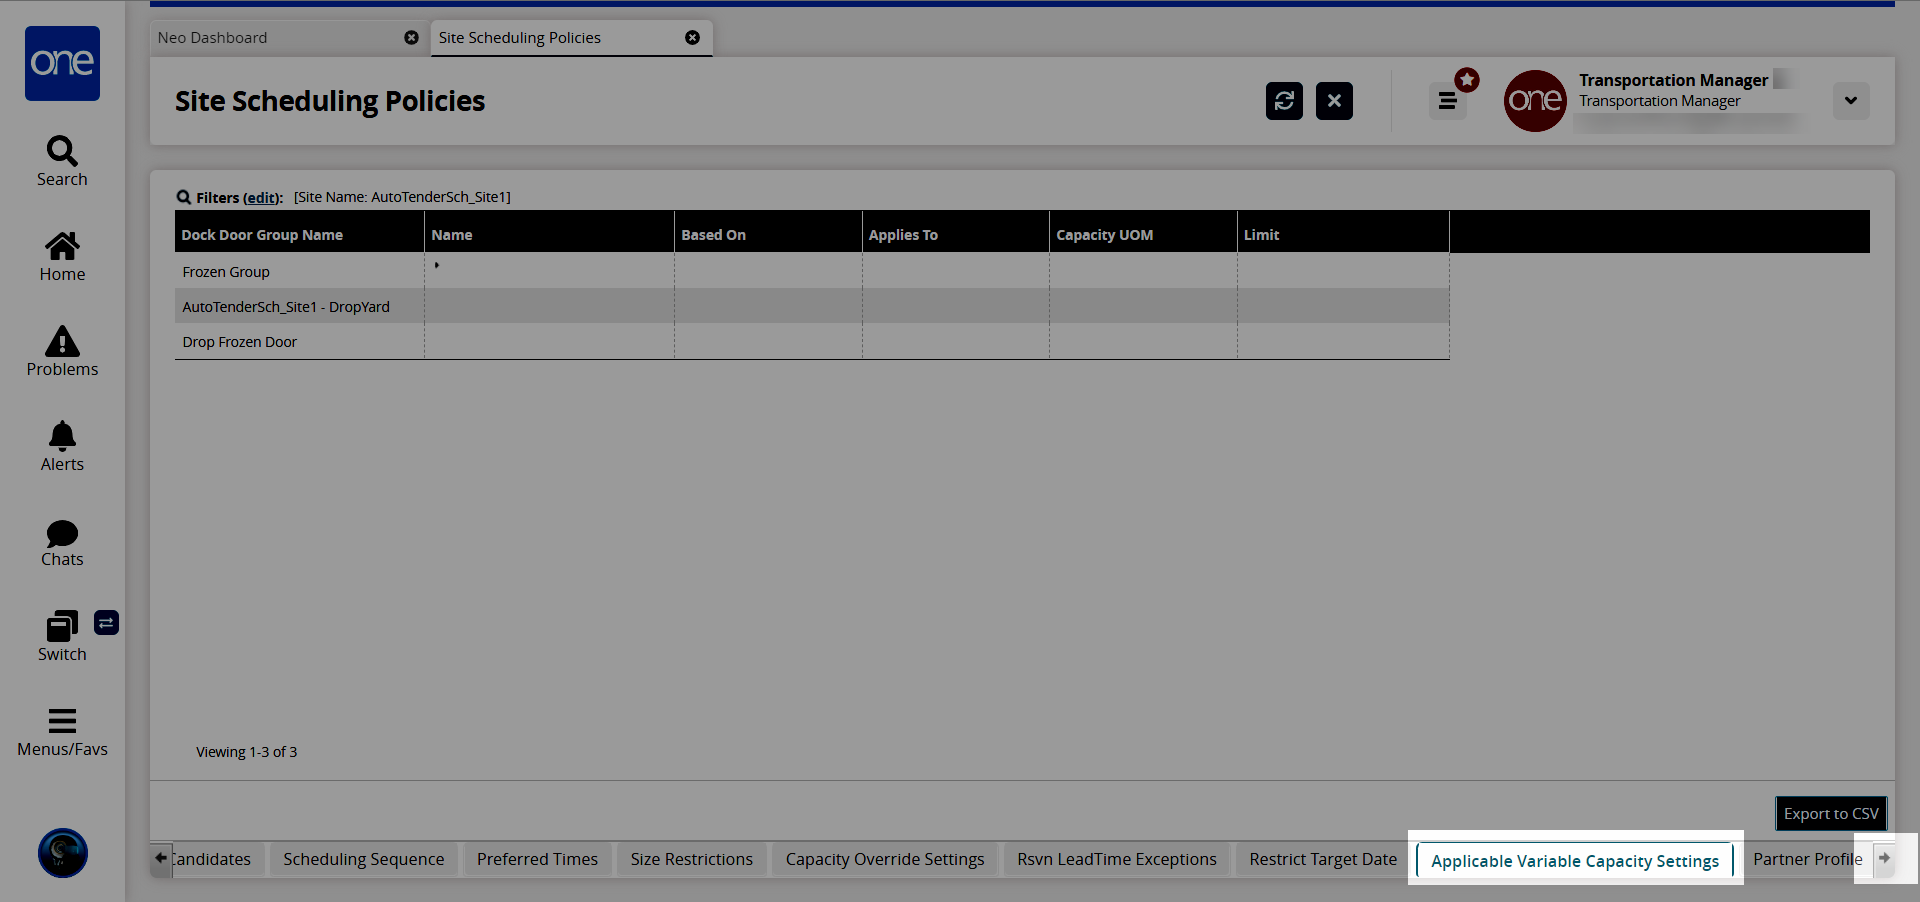
In the Name column, click the triangle to expand the applicable variable capacity settings for each dock door group.
Not all dock door groups have variable capacity settings.
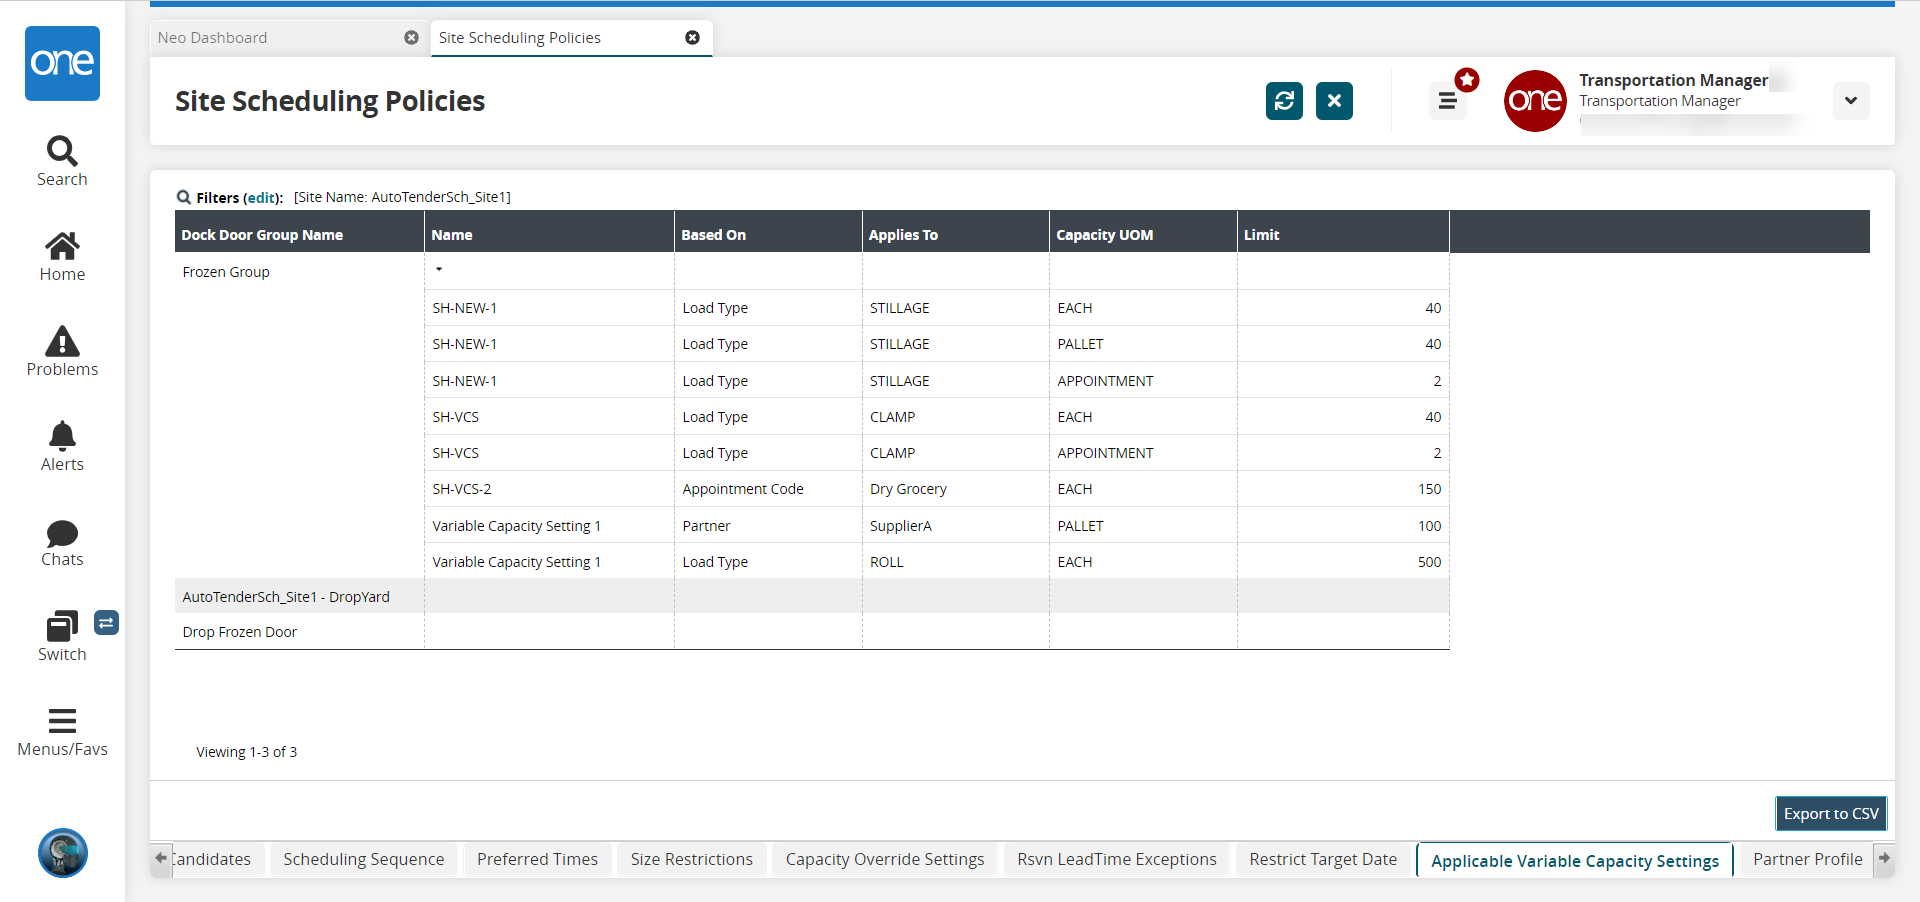
Click the Export to CSV button to export the report to a CSV file.