Searching Appointment Requests
Users can search appointment requests, view appointment requests in detail, and select an appointment reservation. Users can also add additional shipments to an existing appointment request.
Complete the following steps to search appointment requests:
L og in to the ONE system.
Click Menus/Favs > Scheduling > Appointment Requests. In the NEO UI, users can click on the Menus/Favs icon on the left sidebar and type in the name of the screen in the menu search bar. For more information, see "Using the Menu Search Bar."
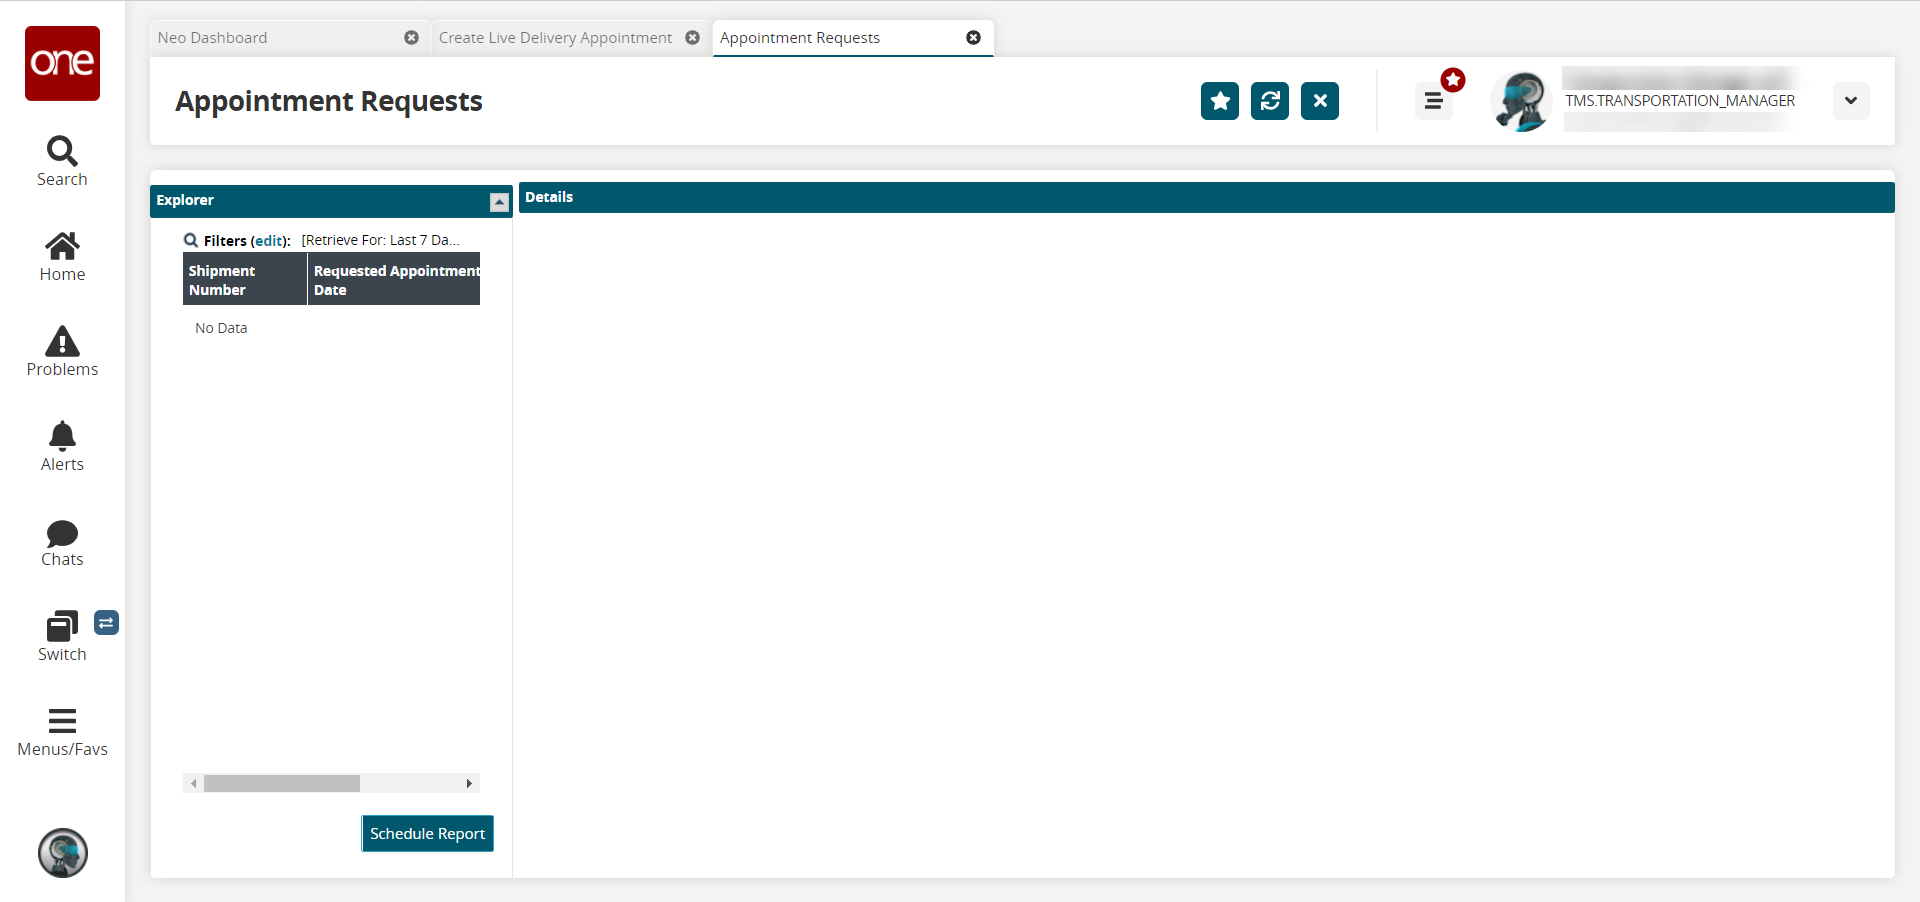
The Appointment Requests screen displays showing an Explorer panel and a Details panel.
Click the Filters (edit) link to apply search criteria to reduce the number of entries shown.
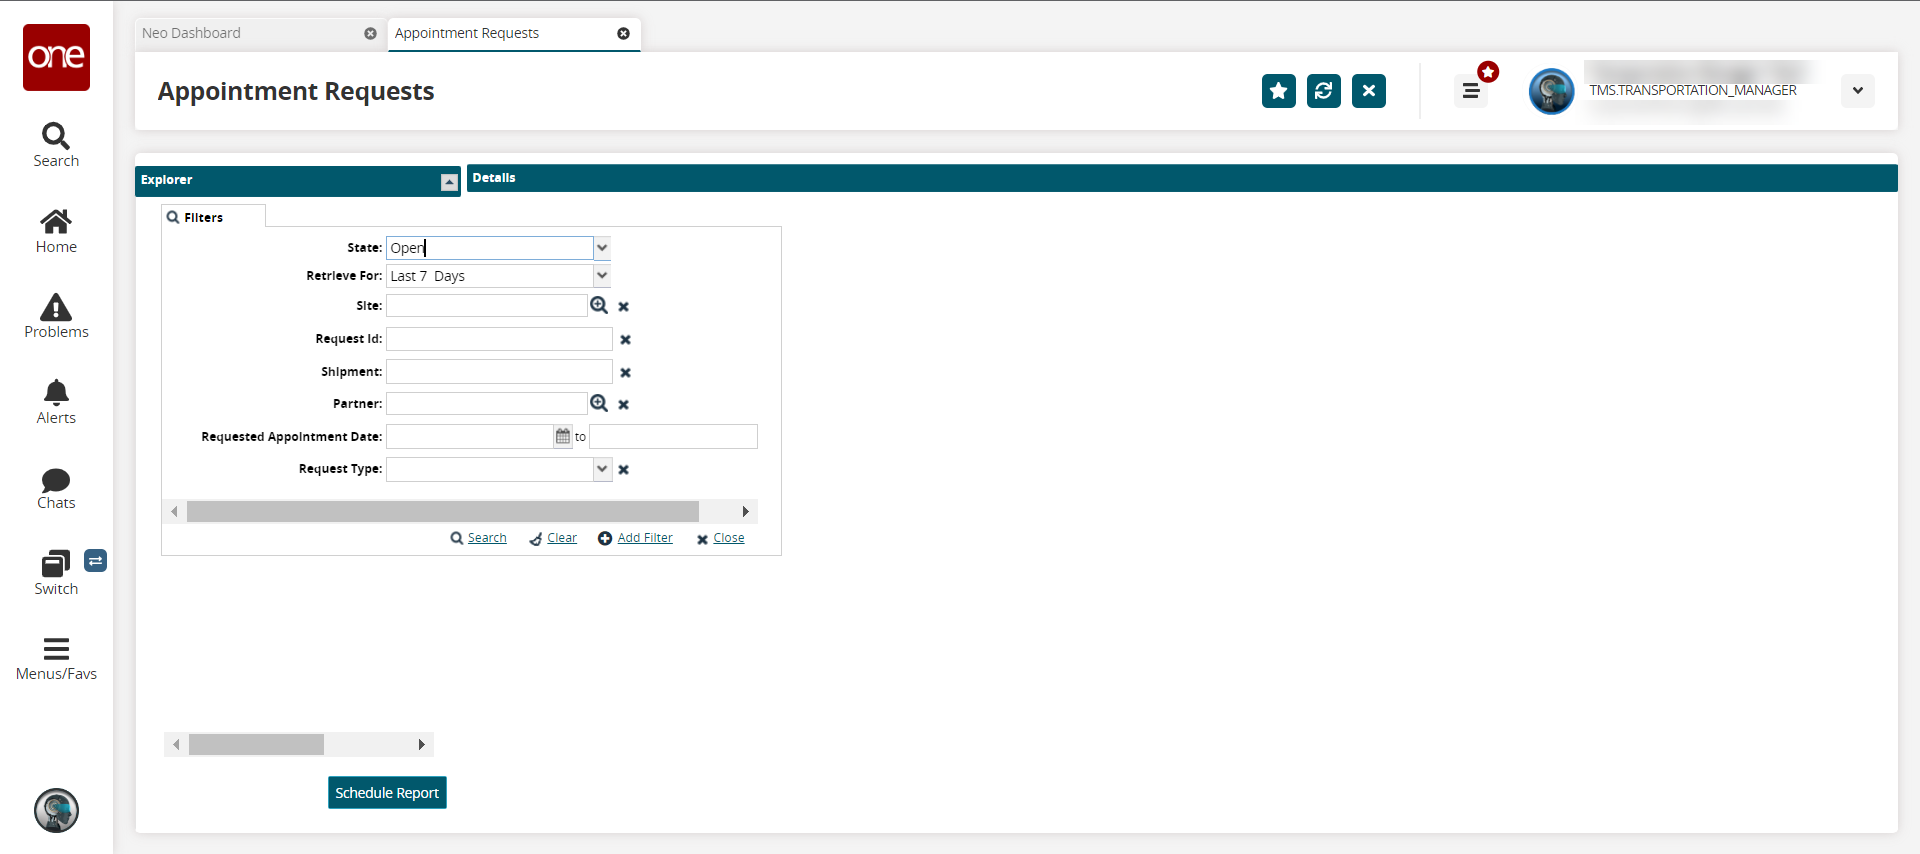
The Filters menu displays.

Enter values for fields described in the table below. Fields with an asterisk ( * ) are required. Please note that the available fields may vary based on the user, organization, or enterprise.
Field
Description
State
Select the request state fro the dropdown list.
Retrieve For
Select the time bucket to pull the request from.
Site
Use the picker tool to select a site.
Request Id
Enter the identification number for the request.
Shipment
Enter the shipment number associated with the request.
Partner
Use the picker tool to select a partner.
Requested Appointment Date
Use the calendar and clock tools to enter beginning and end dates for the range containing the appointment request.
Request Type
Select the request type from the dropdown list.
To add more search filters, click the Add Filter link, and then click one or more filter options from the Add Filter list.
Fill out the filters as desired, and click the Search link.
The search results display.Click a shipment number in the left Explorer pane to view the details of an appointment request.
The Details panel shows the selected Appointment Request. See the "Create Appointment Requests" section in the Online Help for more information.