Searching Claims
Users can search for claims in the One Network system. If a claim is in the New state, it can be accepted, canceled, or updated once located with the search.
Complete the following steps to search claims:
L og in to the ONE system.
Click Menus/Favs > Order Mgmt > Claims > Search Claims.
In the NEO UI, users can click on the Menus/Favs icon on the left sidebar and type in the name of the screen in the menu search bar. For more information, see "Using the Menu Search Bar."
The Search Claims page displays.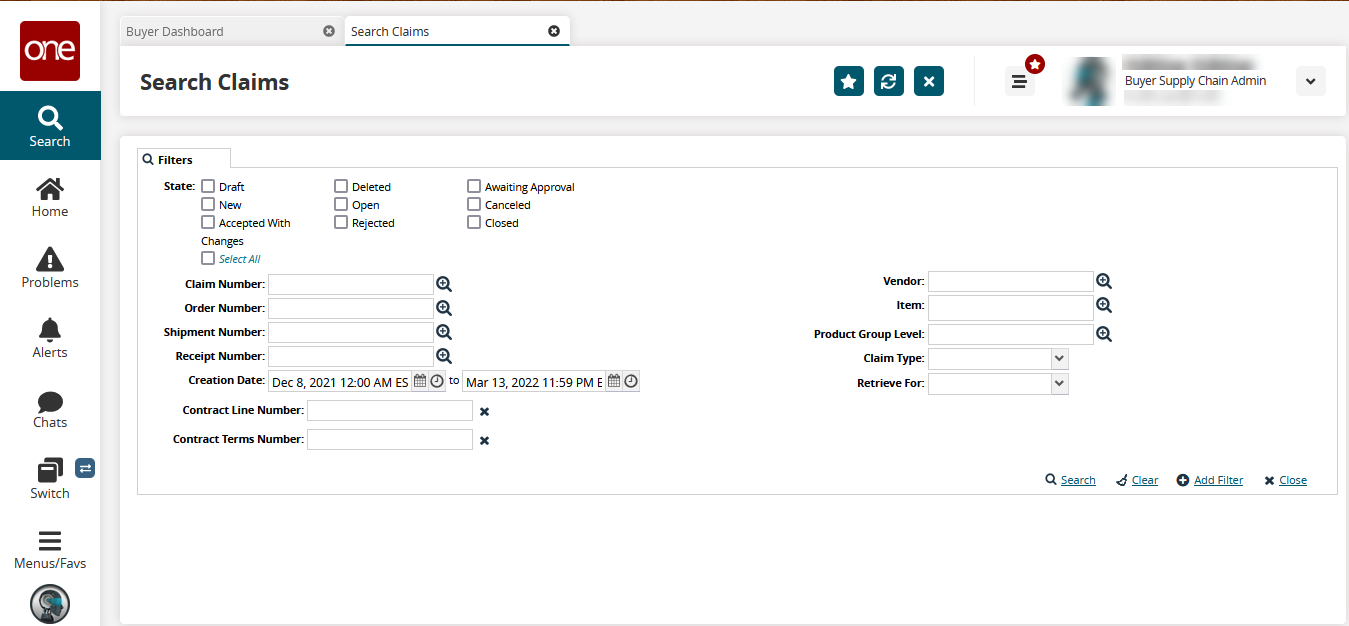
Enter values for fields described in the table below. Fields with an asterisk ( * ) are required.
Field
Description
State
Select the claim state or states to view claims in those states. Click Select All to view all claims.
Claim Number
Type the claim number or use the picker tool to select one.
Order Number
Type the order number or use the picker tool to select one.
Shipment Number
Type the shipment number or use the picker tool to select one.
Receipt Number
Type the receipt number or use the picker tool to select one.
Creation Date
Click the calendar and clock icons to select the range of dates when the claims were created.
Contract Line Number
Type a contract line number to view claims associated with it.
Contract Terms Number
Type a contract terms number to view claims associated with it.
Vendor
Type the vendor name or use the picker tool to select one.
Item
Type the item name or use the picker tool to select one.
Product Group Level
Type the product group level or use the picker tool to select one.
Claim Type
Select the claim type from the drop-down list.
Retrieve For
Select the time period for the search. You can search for claims from up to one year ago.
Click the Search link.
A list of claims displays according to the selected filter values.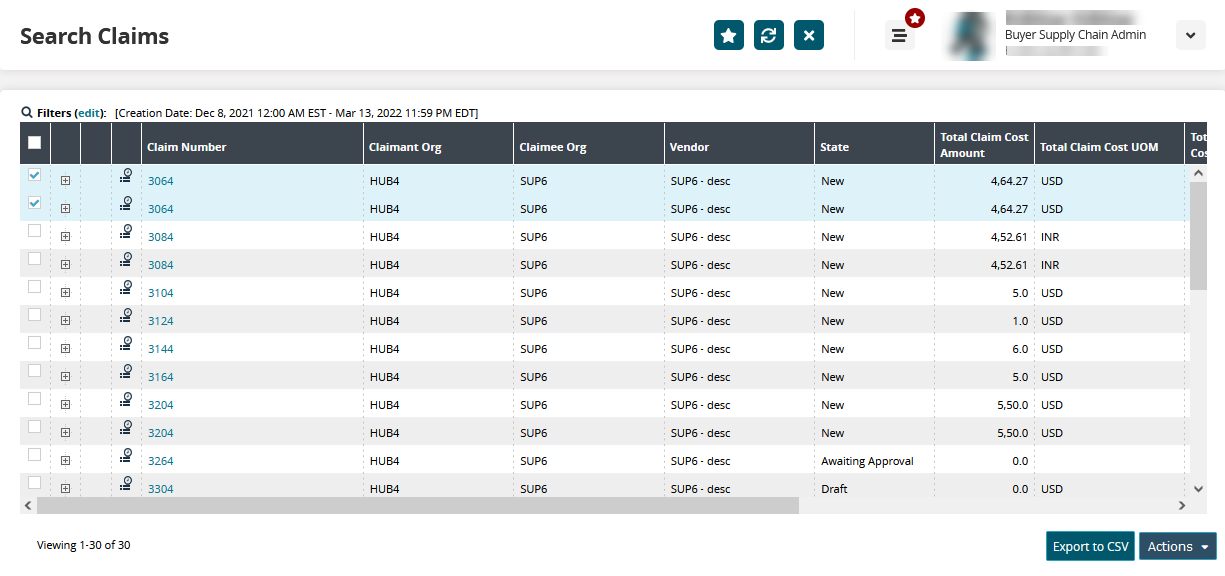
Click the Export to CSV button to export the report to a CSV file.
Click a Claim Number link.
The Update Claim screen appears with all the claim details and lines.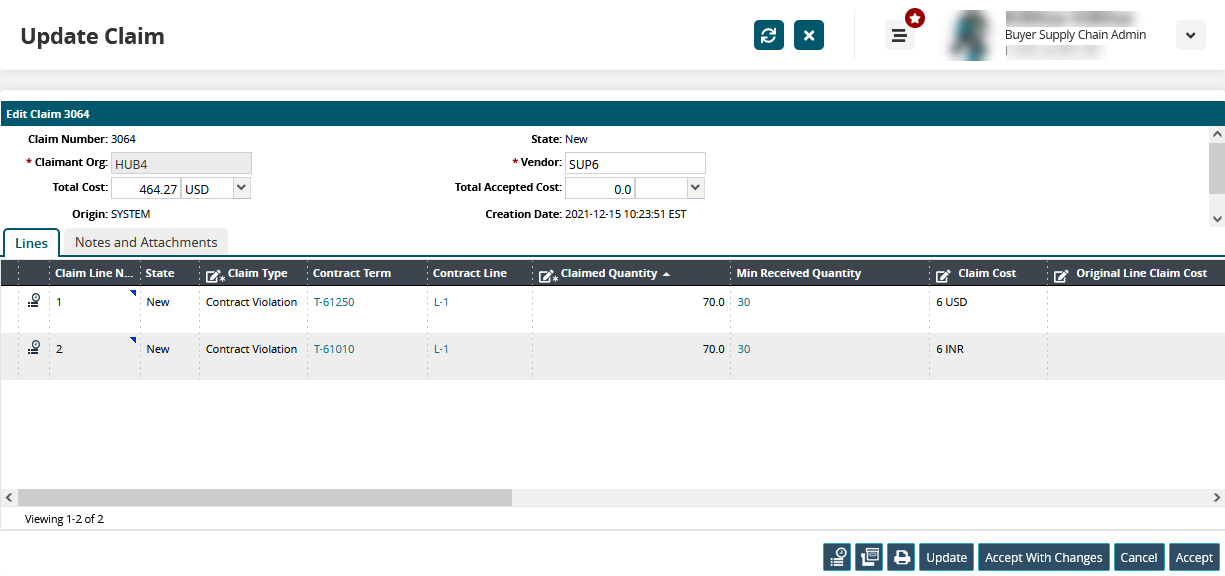
Update the fields as necessary. See the "Creating Claims" section for more information.
Click Update to update the claim details.
Click Accept with Changes to accept the updated claim.
Click Cancel to cancel the changes.
Click Accept to accept the claim.
Note
The Contract Term and Contract Line fields are visible only for auto-generated claims with the Contract Violation claim type.