Searching Non-Controlled Shipments
Users can view all non-controlled shipments. From the Non Controlled Shipments screen, you can view a Shipment State report for all shipments in a state, view details of shipments and movements, apply actions, display shipments and movements in a geographical view, or export the search results to a spreadsheet.
Complete the following steps to view non-controlled shipments:
L og in to the ONE system.
Click Menu/Favs > Transportation > Non Controlled Shipments.
In the NEO UI, users can click on the Menus/Favs icon on the left sidebar and type in the name of the screen in the menu search bar. For more information, see "Using the Menu Search Bar."
The Non Controlled Shipments page displays.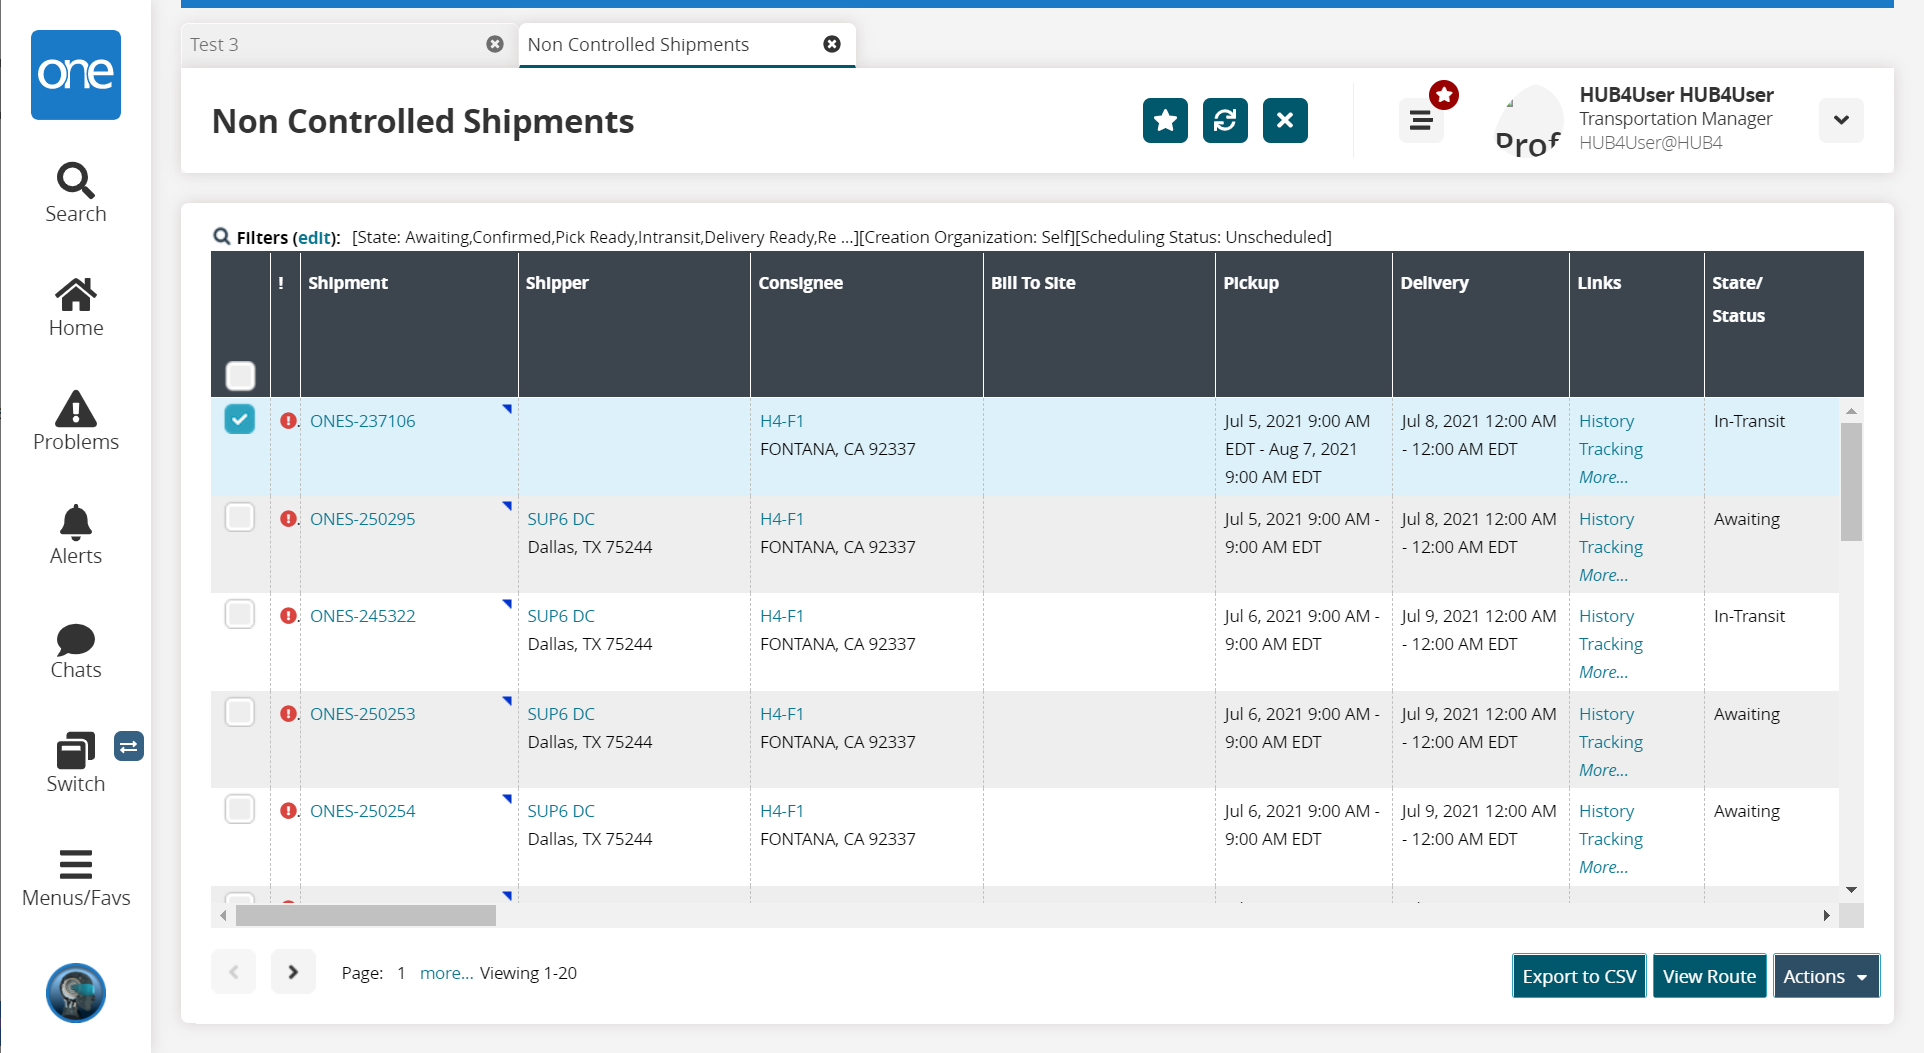
Note
The Flags column shows a symbol to indicate that a shipment is overweight, oversize, or hazardous, as well as the status of auto-scheduling. A shipment may have more than one Flag condition. If no shipments on a page have flag conditions, the Flags column will not be displayed. Hover over the symbol to view the reason for the flag.
Click the Filters (edit) link to view filter fields to reduce the number of records displayed.
The filters display.
Enter values for fields described in the table below. Fields with an asterisk ( * ) are required.
Field
Description
* State
Check the boxes of the shipment state included in the search.
* Scheduling Status
Select the scheduling status of the shipment from the dropdown list.
* Creating Organization
Select the organization level from the dropdown liet.
Carrier
Use the picker tool to select the carrier for the shipment.
Click the Add Filter link to add additional filter fields.
A menu of fields displays.Click a field name.
The field is added to the list of filters.Select a value for the additional field(s).
Click the Search link.
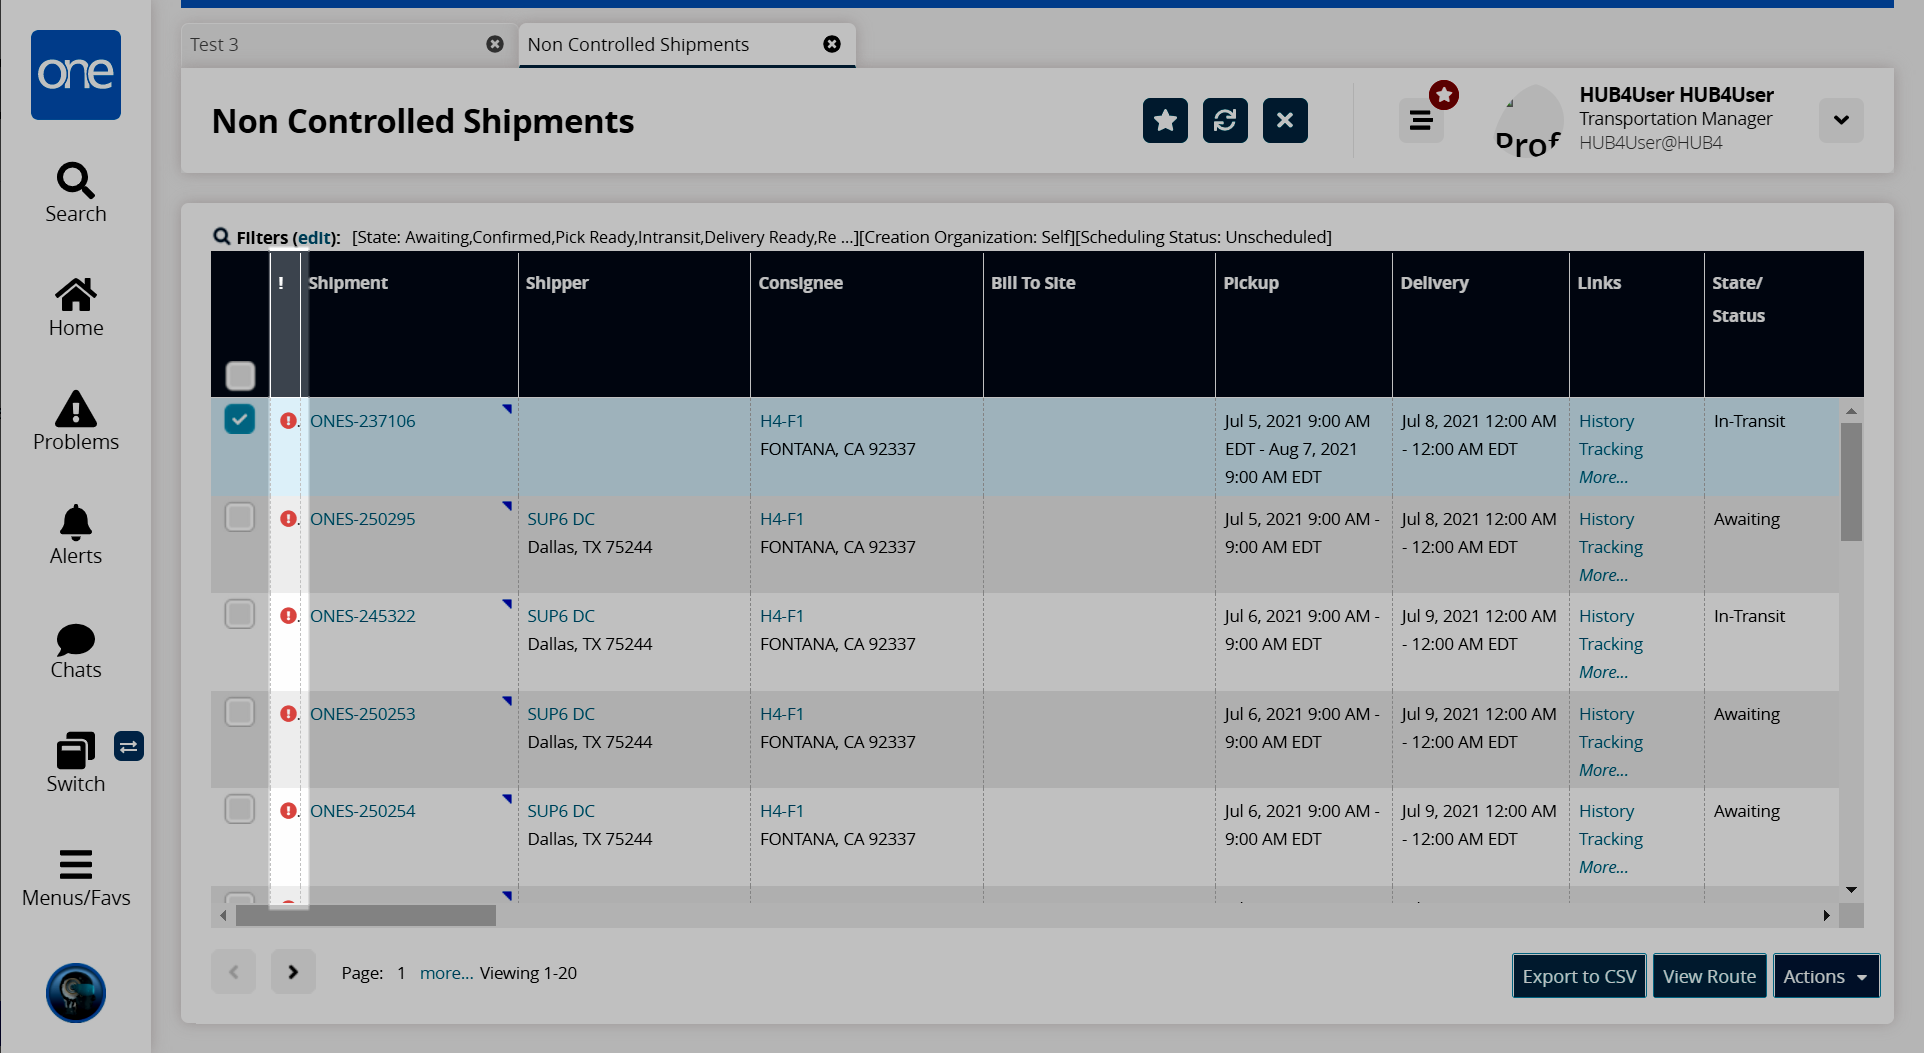
The search results display.Click the Export to CSV button to export the report to a CSV file.
Click the checkbox for a shipment and click the View Route button to see the route for that shipment.
Click the checkbox for a shipment and click the Actions button for the actions available for that shipment.