Selecting Multiple Tasks for Picking Parts
Users can select multiple tasks for issuing parts and create single pick lists for them.
Prerequisites:
Bill of Materials (BOM) should exist in the system with a valid date range for Assemble Work Order.
A Repair Work Order should exist, and the work order state should be In Progress.
Complete the following steps to select multiple tasks for picking parts:
Log in to the ONE system as a Maintenance Admin/Asset Admin role.
Click Menus/Favs > Work Order Management > Search Work Order.
The Search Work Order screen appears.Click the Filter (edit) link to apply filters if necessary.
Click the work order link with an In Planning state. See the "Creating Work Orders" or "Searching Word Orders" sections in the Online Help for more information.
The order details screen displays.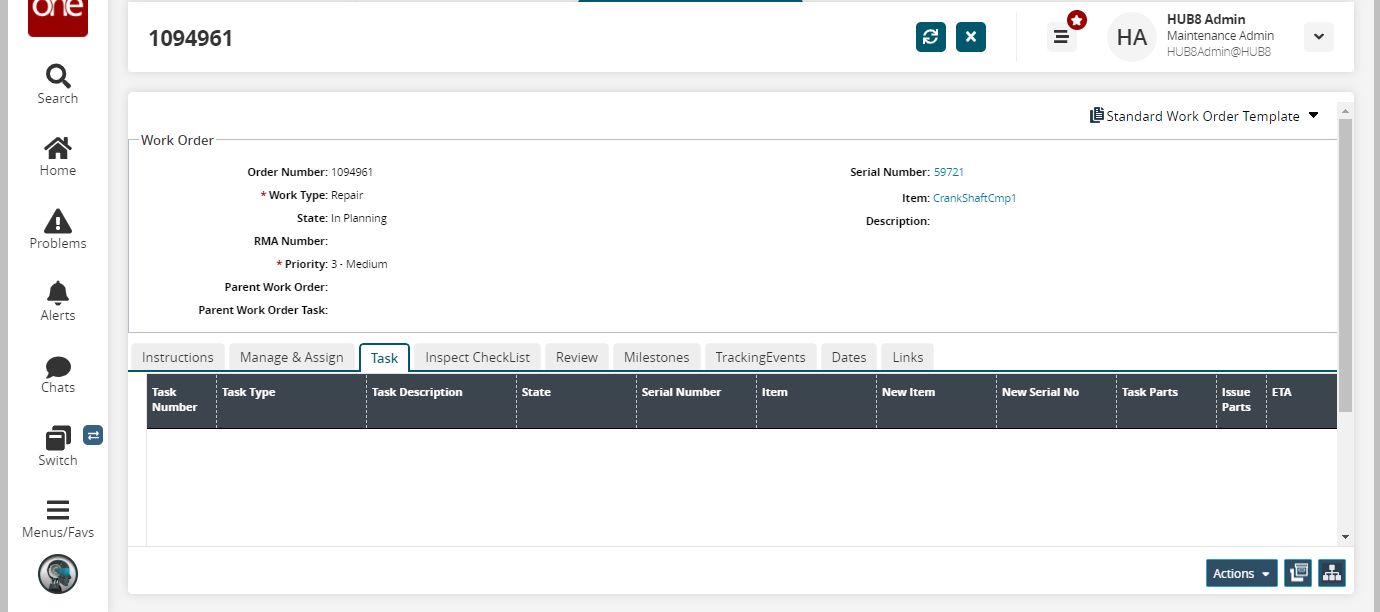
Click the Actions button and click Update.
Go to the Task tab and click the Add link to add the task parts.
Select the task type under the Task Type column.
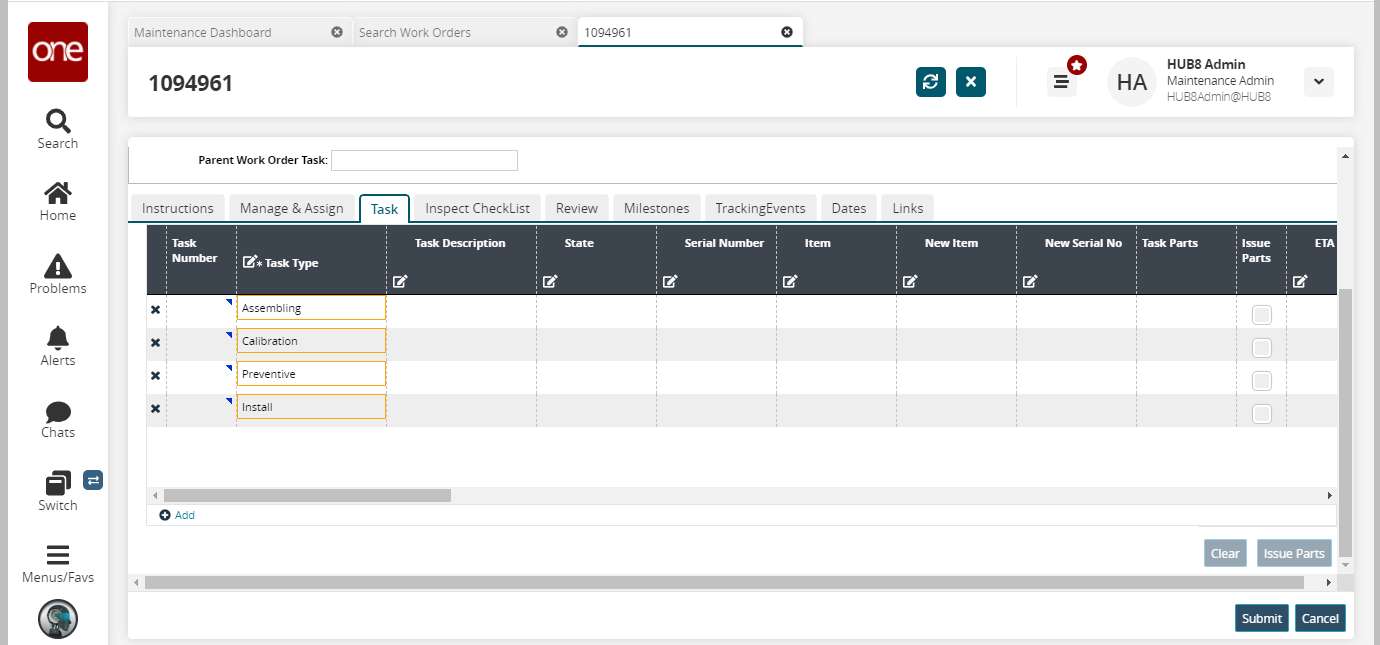
Click the Submit button.
The tasks are saved.Click the Task Parts field for any task.
The Task Parts window pop-ups.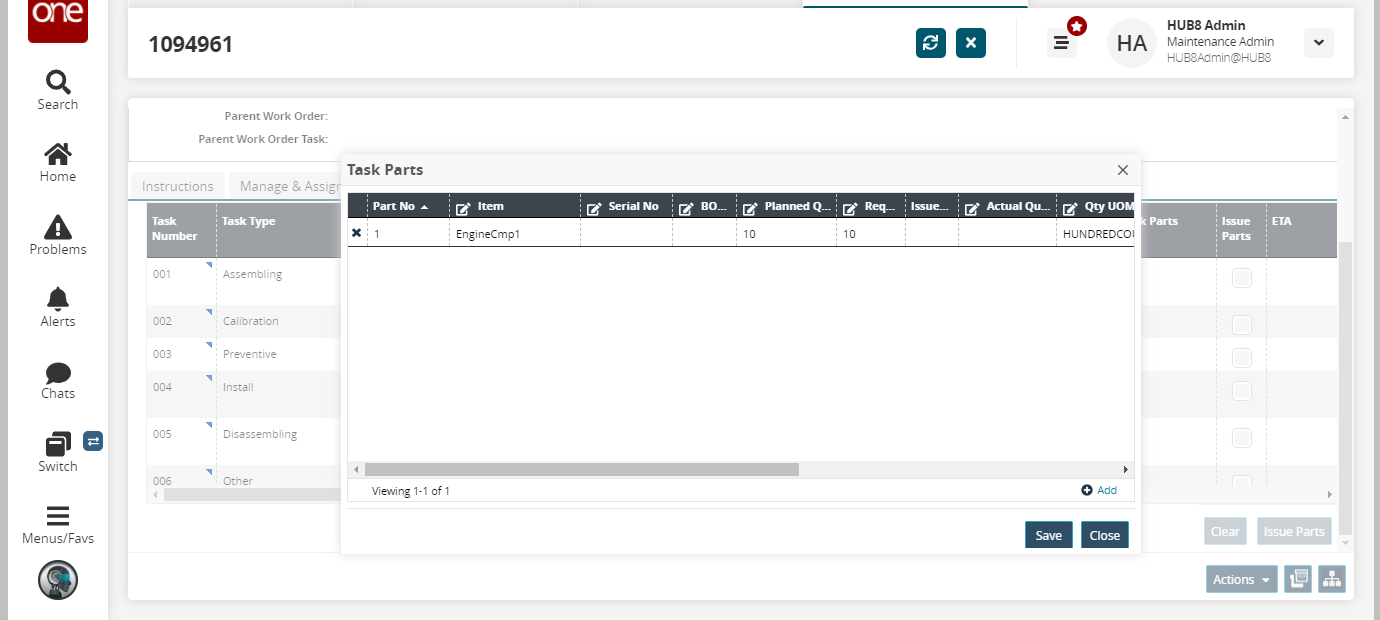
Click the Add link and fill in the required details.
Click the Save button.
The task line updates.Click the blue triangle below the Task Number column.
Click Initiate Task.
The Initiate Task pop-up window appears.Fill in the required details.
Click the Initiate Task button.
The state of the Task is Awaiting Parts, and the Issue Parts checkbox against it is enabled.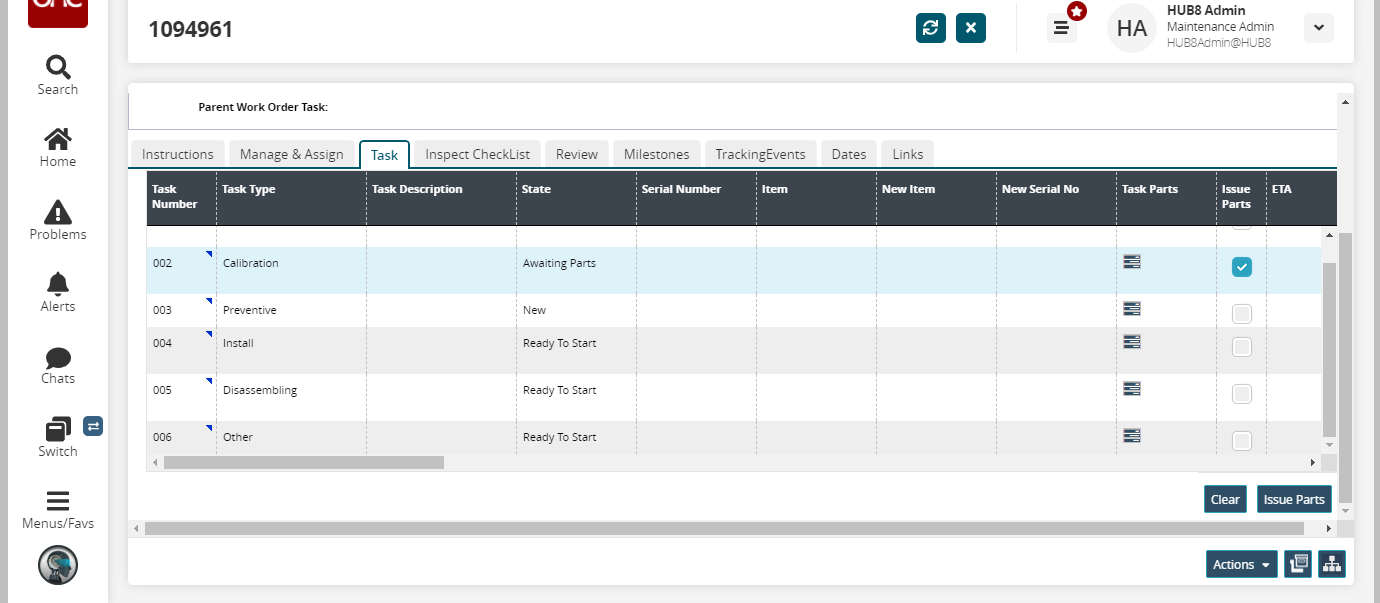
Click the Issue Parts button.
The task parts are issued to the task and a success message appears. The state of the task is changed to Ready To Start.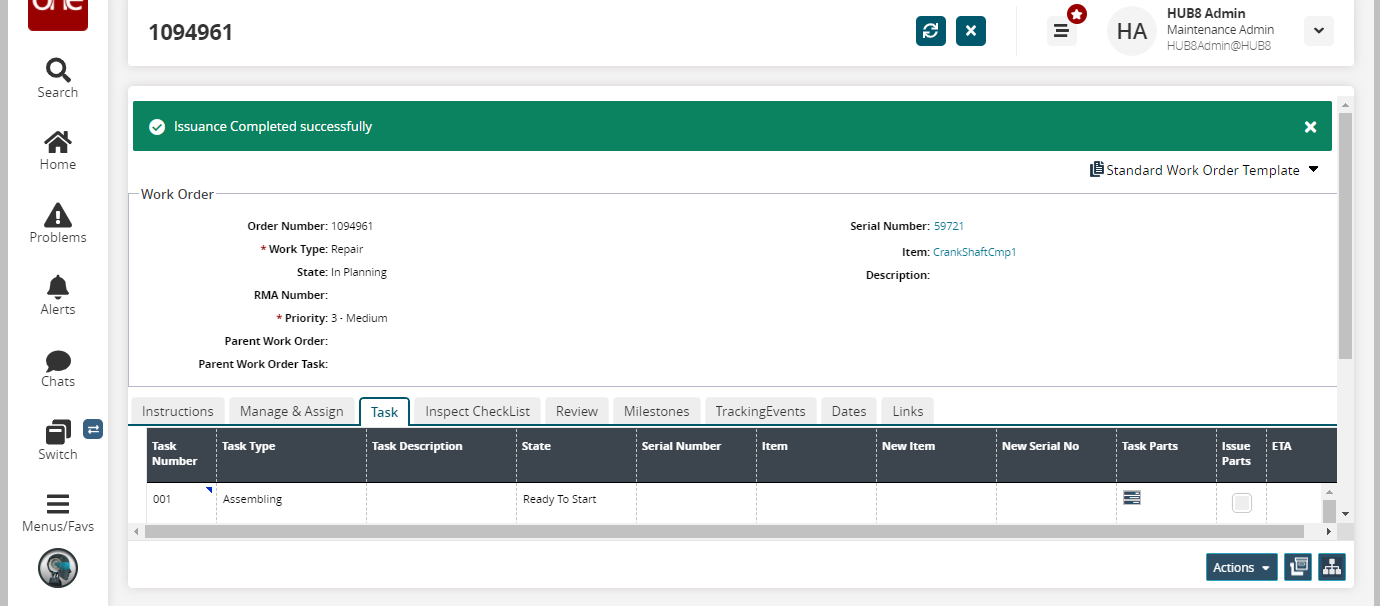
Log in as the Warehouse Manager and navigate to Warehouse Management > Issue Inventory.
Select the site for which the parts are issued.
A single picklist number for all the tasks is available under the Pick List column.