Singleton Hierarchy
Users can visualize singletons from the Singleton Hierarchy screen. From the Singleton Hierarchy screen, users can link to the parent of a singleton, independent of the line level.
The left side of the Singleton Hierarchy screen contains the hierarchy. The right side of the screen is reserved for displaying the details of any singleton selected from the hierarchy. From this screen, users can edit and update the selected singleton. Lines and Tracking Events can also be added to the singleton from the details side of the singleton hierarchy screen.
Complete the following steps to view the Singleton Hierarchy screen:
L og in to the ONE system.
Click Menus/Favs > Administration > Singleton Hierarchy.
In the NEO UI, users can click on the Menus/Favs icon on the left sidebar and type in the name of the screen in the menu search bar. For more information, see "Using the Menu Search Bar."
The Singleton Hierarchy screen opens.Choose a singleton from the hierarchy list on the left.
The Singleton information appears on the right-hand portion of the screen.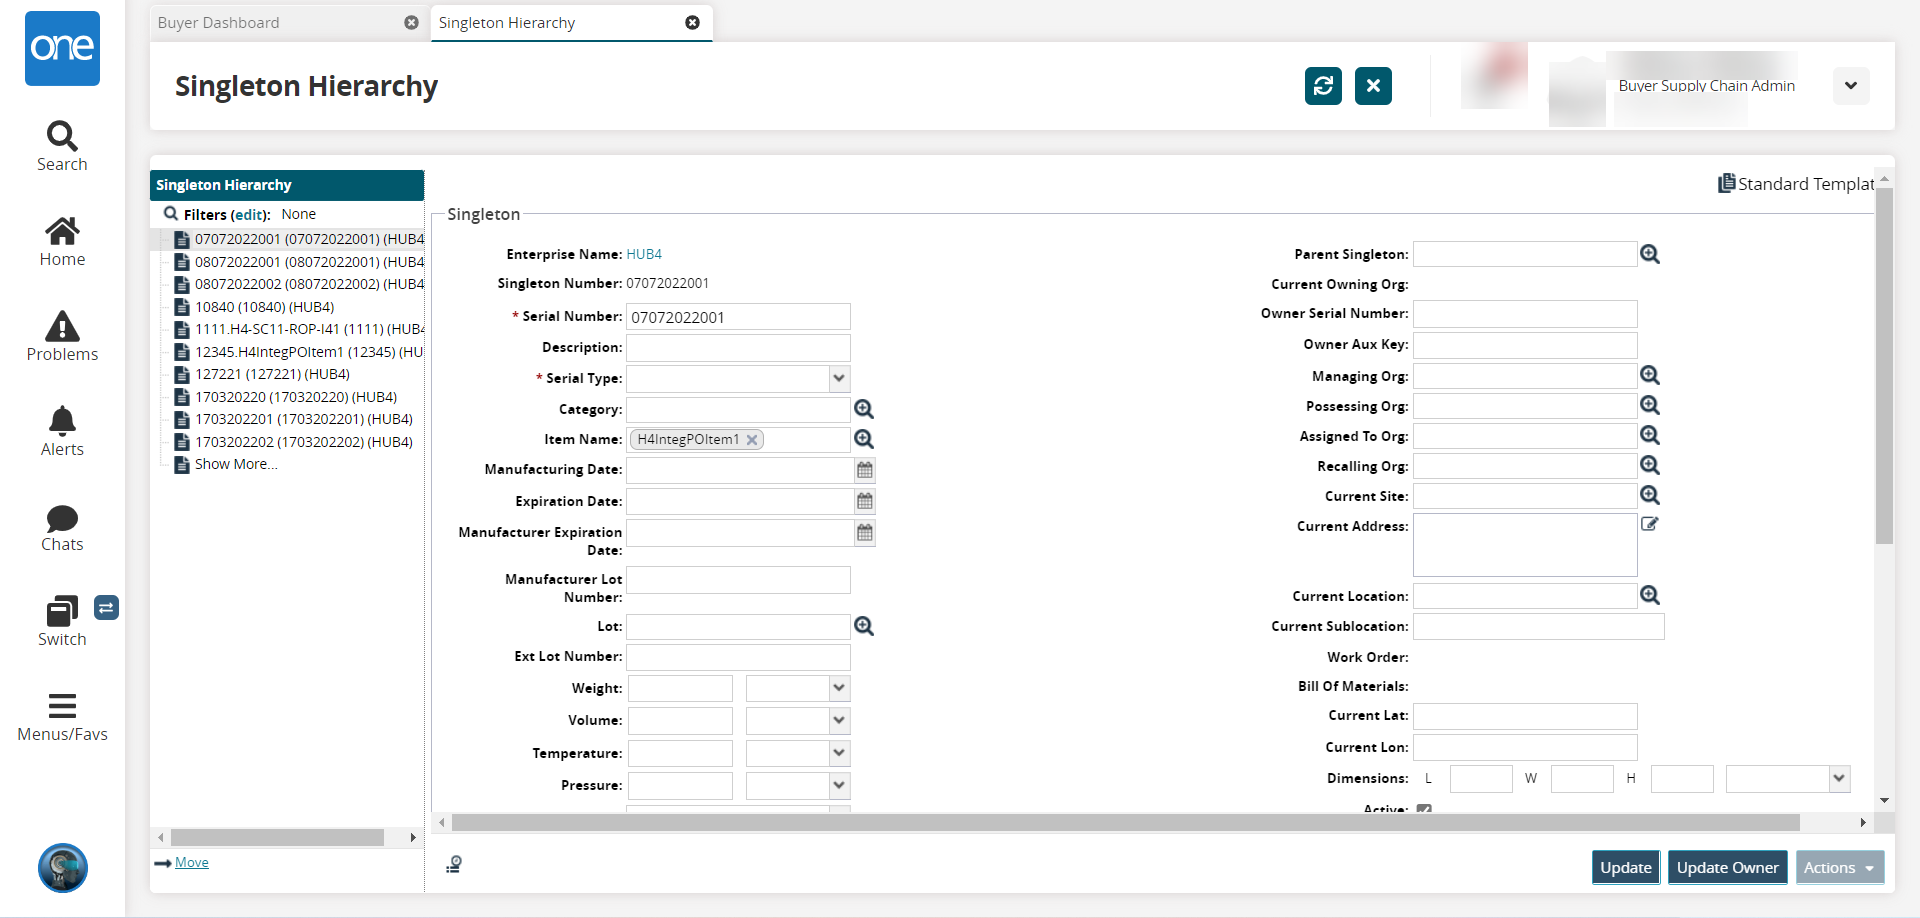
Update any of the attributes of the singleton as necessary.
Click the Update button at the bottom of the screen.
A success message appears, and the singleton information is updated.