Site Resource Administration - Working with Skills
Complete the following steps to administer site resources:
L og in to the ONE system.
Select Menus/Favs > Fleet Mgmt > Resource Administration. In the NEO UI, users can click on the Menus/Favs icon on the left sidebar and type in the name of the screen in the menu search bar. For more information, see "Using the Menu Search Bar."
The Resource Administration screen displays.Expand a site to view its vehicle, skill, and tool resources in the Explorer pane.

Click Skills.
The Skills pane displays skills associated with the site.
Click the Export to CSV button to export the report to a CSV file.
Creating Skills for a Site
Click the Create Skill button to create a new skill.
The Create Skill screen displays.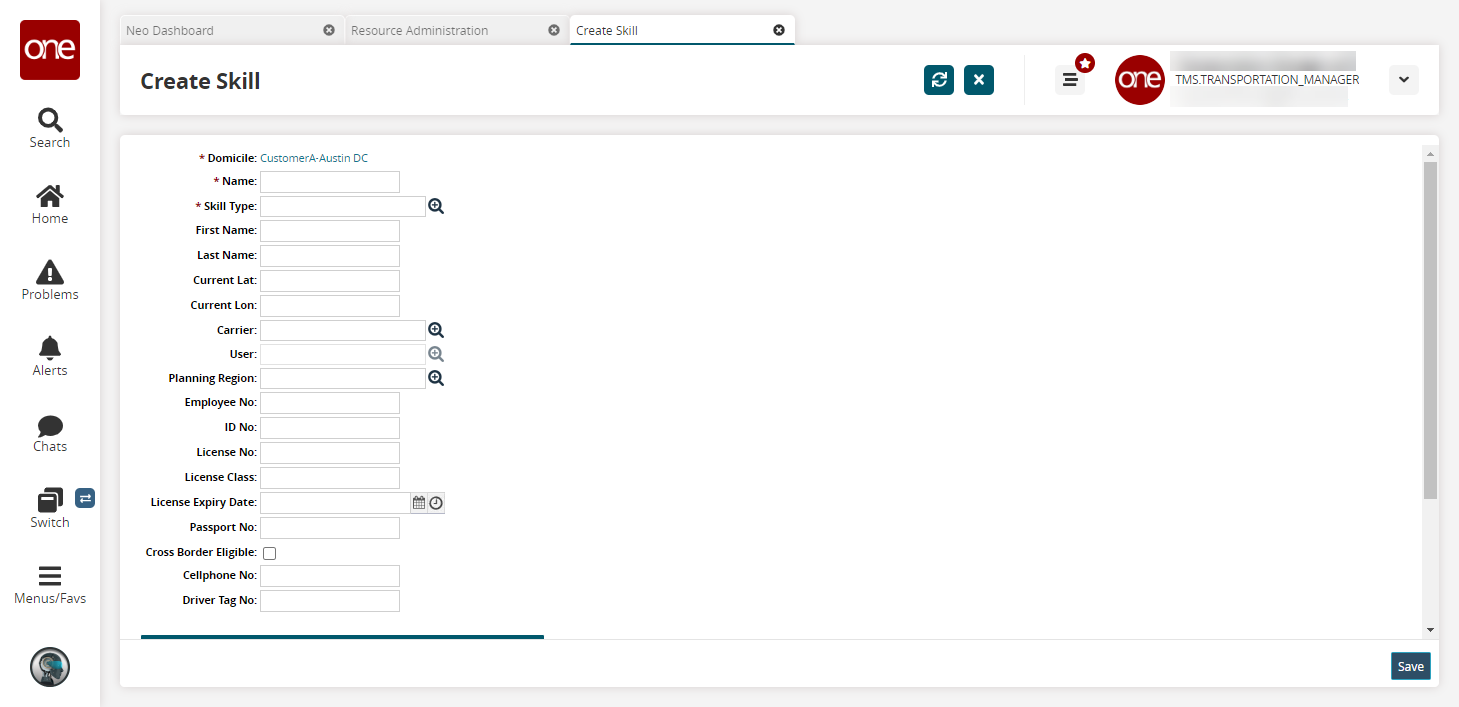
Fill out the following fields. Fields with an asterisk ( * ) are required.
Field
Description
* Domicile
This field is populated by the system.
* Name
Enter a name.
* Skill Type
Select a skill type using the picker tool.
First Name
Enter a first name.
Last Name
Enter a last name.
Current Lat
Enter the current latitude.
Current Lon
Enter the current longitude.
Carrier
Select a carrier using the picker tool.
User
Select a user using the picker tool.
Planning Region
Select a planning region using the picker tool.
Employee No
Enter an employee number.
ID No
Enter an ID number.
License No
Enter a license number.
License Class
Enter a license class.
License Expiry Date
Use the calendar and clock tools to select the license expiration date.
Passport No
Enter a passport number.
Cross-Border Eligible
Select this checkbox if the skill is cross-border eligible.
Cellphone No
Enter a cell phone number.
Driver Tag No
Enter a driver tag number.
Compatible Resources
Click the Add link to add a compatible resource.
A new row displays.Use the picker tool to select an option.
Click the Save button.
A success message displays.
Updating Skills
Skills can be updated on the Resource Administration page or on the skill's details page.
Complete the following steps to update skills from the Resource Administration page:
Select the checkbox on the Skills pane for a resource, and click the Actions button.
A contextual menu displays.Select one of the following options:
Select Activate if the skill is not active.
Select Deactivate if the skill is active.
Select Update Current Position to update the skill position.
The Update Current Position popup displays.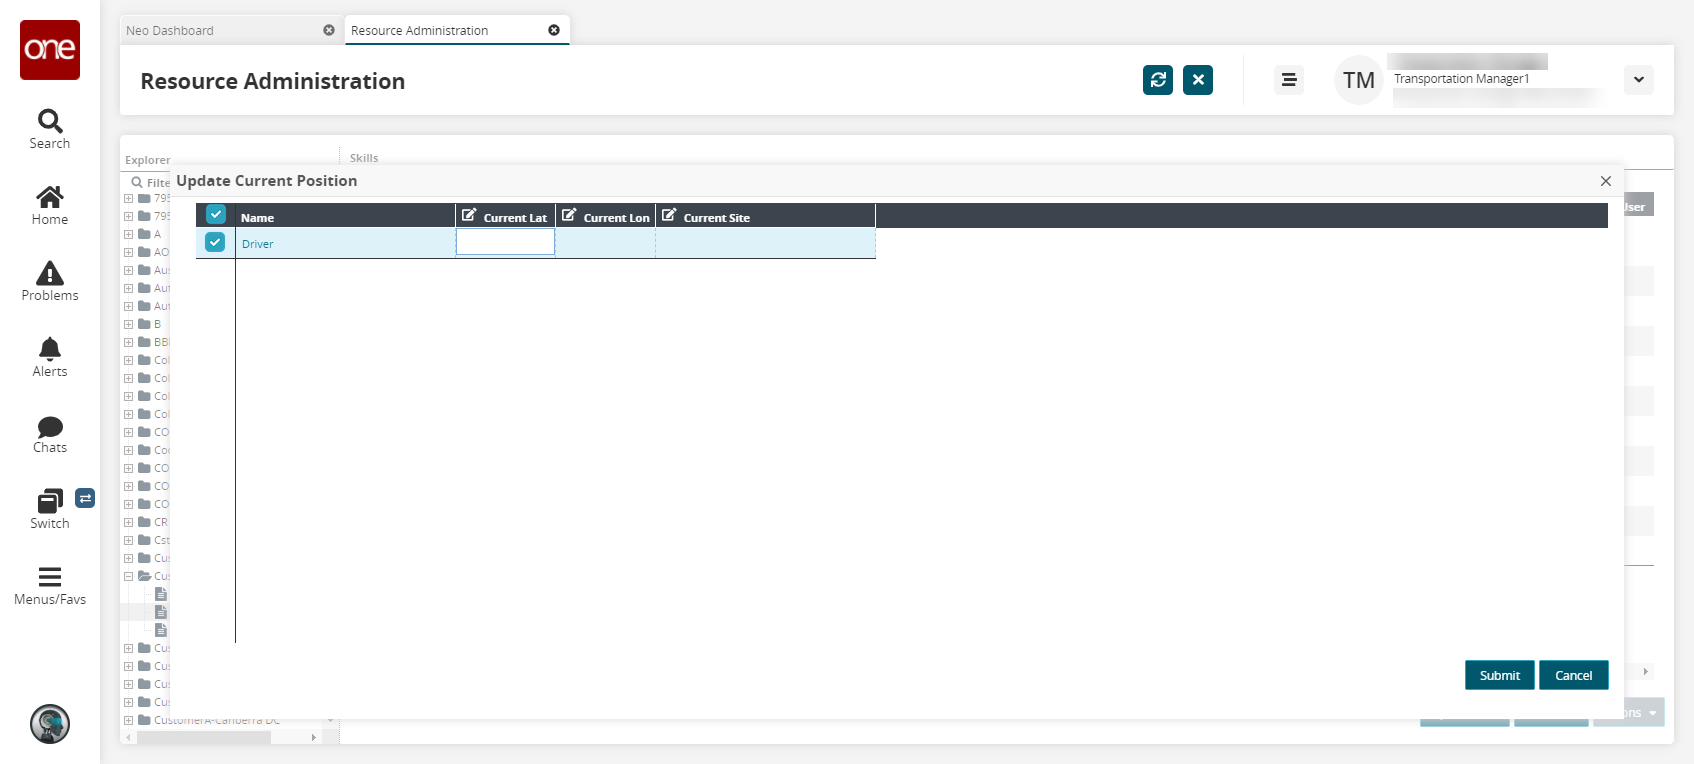
Enter values for Current Lat and Current Lon.
Use the picker tool to select a site in the Current Site column.
Click the Submit button.
A success message displays. The updated information displays in the row for the skill.
Complete the following steps to update skills from the details page:
Click a Name link from the Skills information in the right pane of the Resource Administration screen.
The driver details screen displays.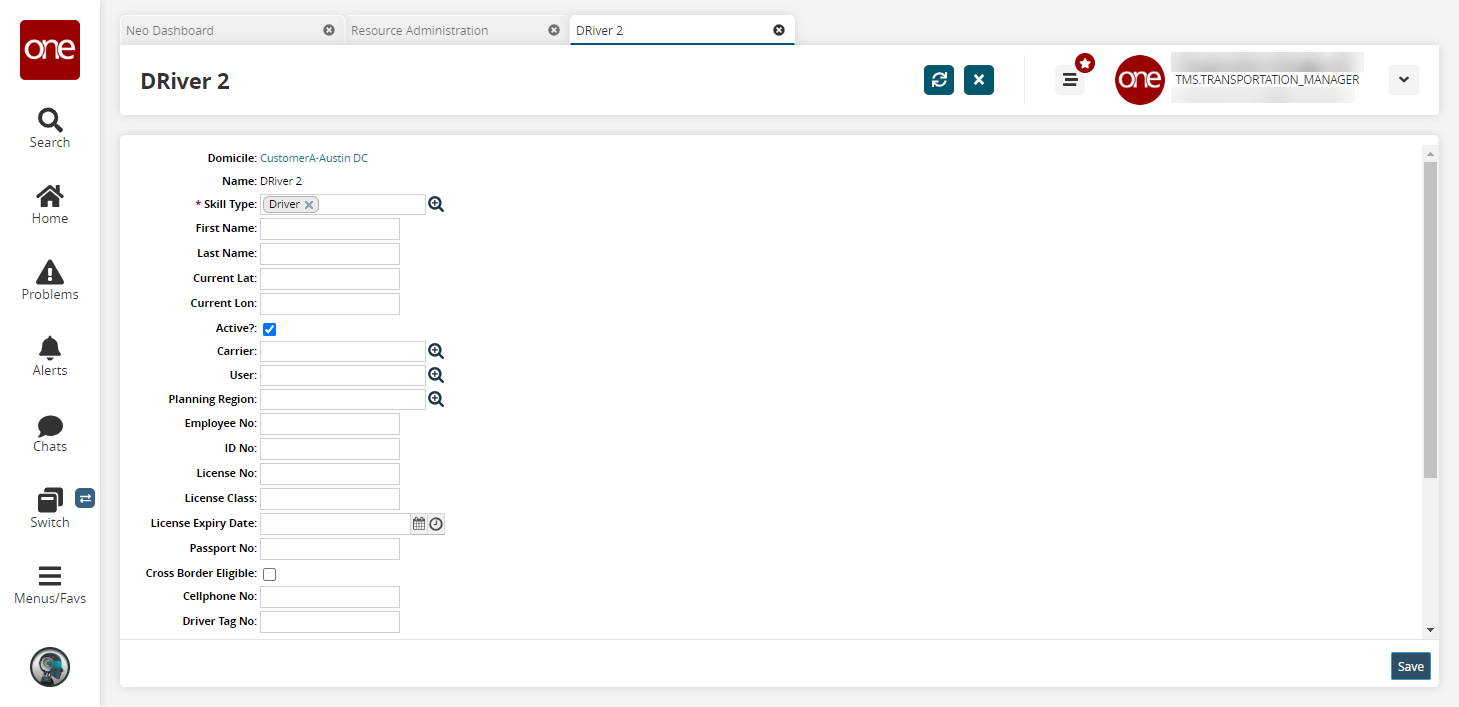
Update the fields as described above for creating a skill.
Please note there is additional information on the page when updating skills.
Click the checkbox for the Active? field to set this driver skill as active.
Click the Work Hours link to change work hours. See the "Site Resource Administration - Setting Work Hours" section for more information.
Click the Save button.
A green success message displays.