Transportation Forecast Workbench
The Transportation Forecast Workbench gives near-term, mid-term, and long-term forecasts based on historical shipment volume or user-provided order forecasts over a period of time.
Complete the following steps to use the Transportation Forecast Workbench:
L og in to the ONE system.
Click Menus/Favs > Transportation > Transportation Forecast Workbench.
The Transportation Forecast Workbench screen appears with filter options open.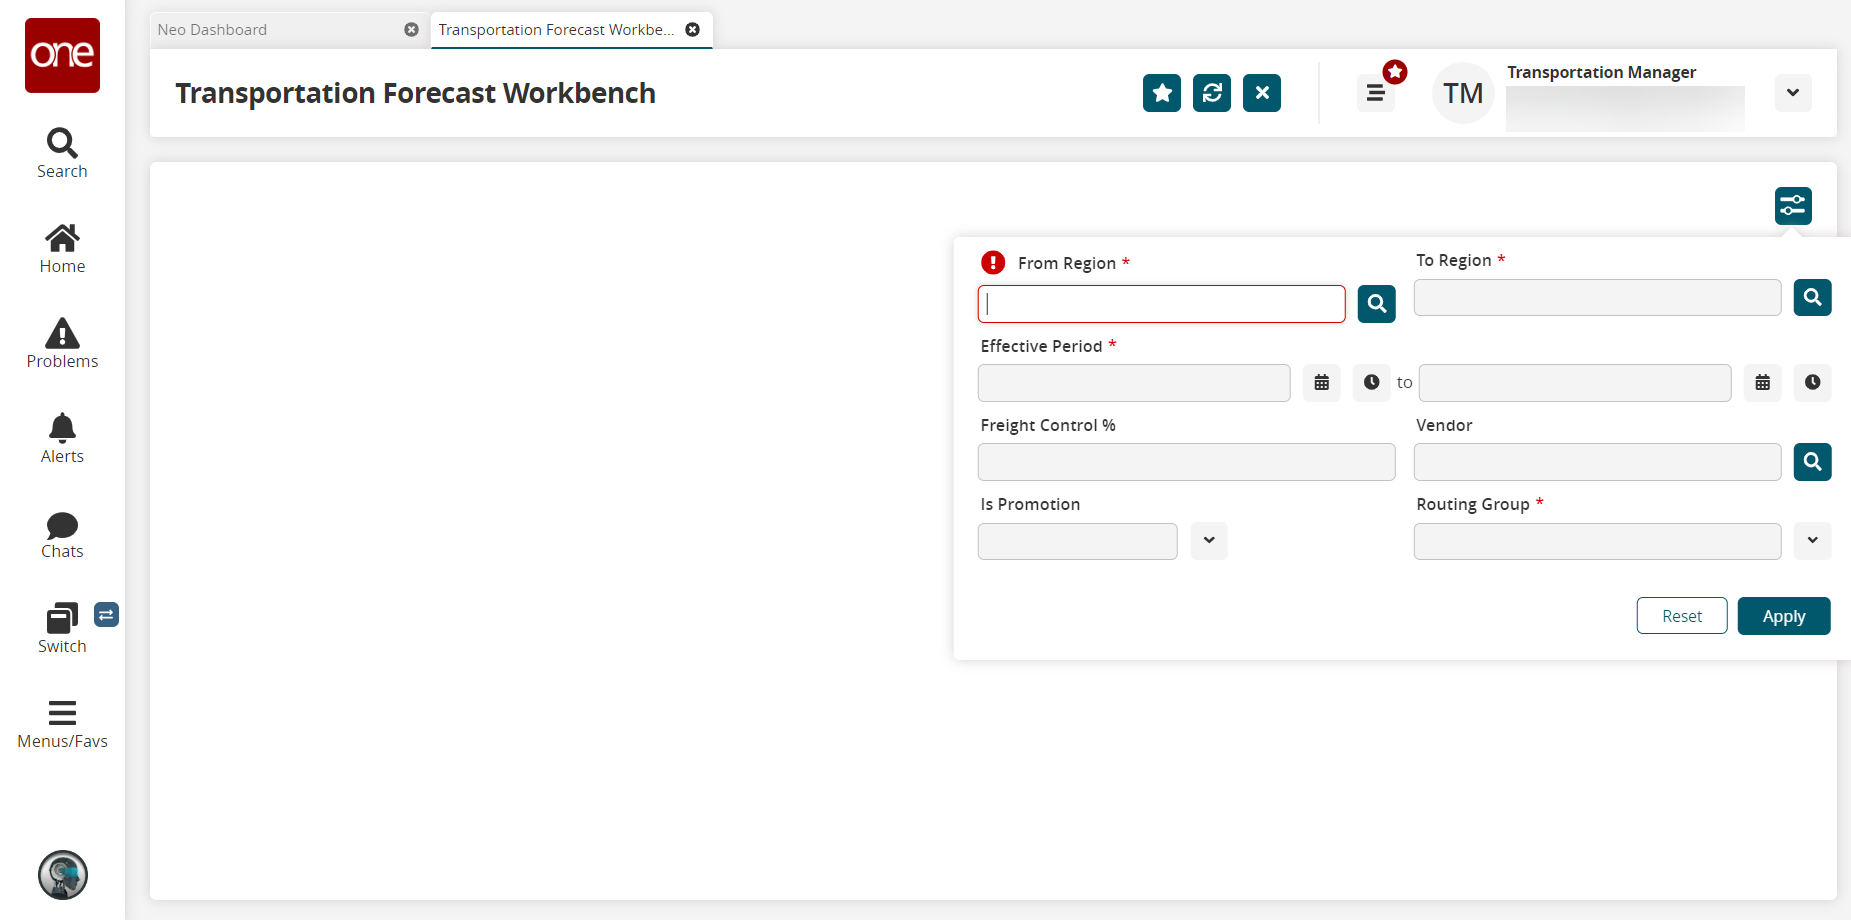
Fill out the following fields. Fields with an asterisk ( * ) are required.
Field
Description
From Region *
Enter a value in the box or select a region using the picker tool.
To Region *
Enter a value in the box or select a region using the picker tool.
Effective Period *
Enter a value in the box or select dates using the calendar and time icons.
Freight Control %
Enter a value in the box.
Vendor
Enter a value in the box or select a vendor using the picker tool.
Is Promotion
Select a value from the dropdown list.
Routing Group
Select a value from the dropdown list.
Click the Apply button.
The Forecast Scenario based on the selected filters appears in a slide-out window.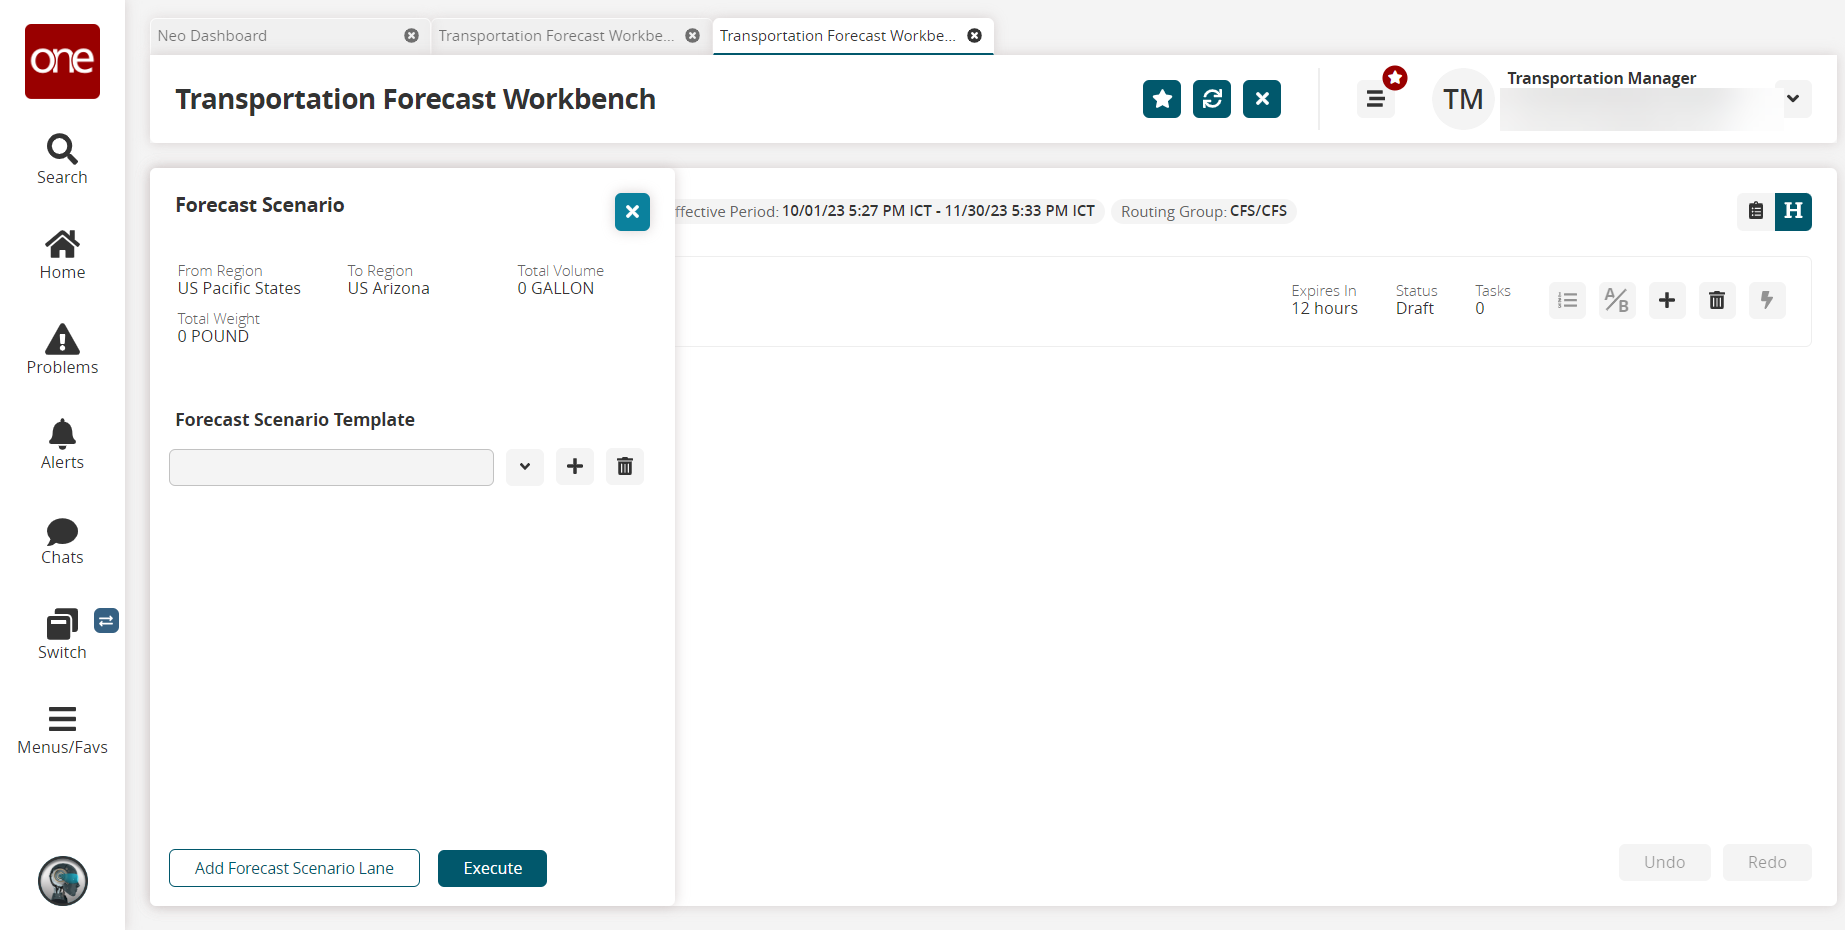
Click the plus icon under Forecast Scenario Template.
The Add Forecast Scenario Template popup window appears.In the * Template Name field, enter a name for the template and click the Save button.
The created template is added under the Forecast Scenario Template.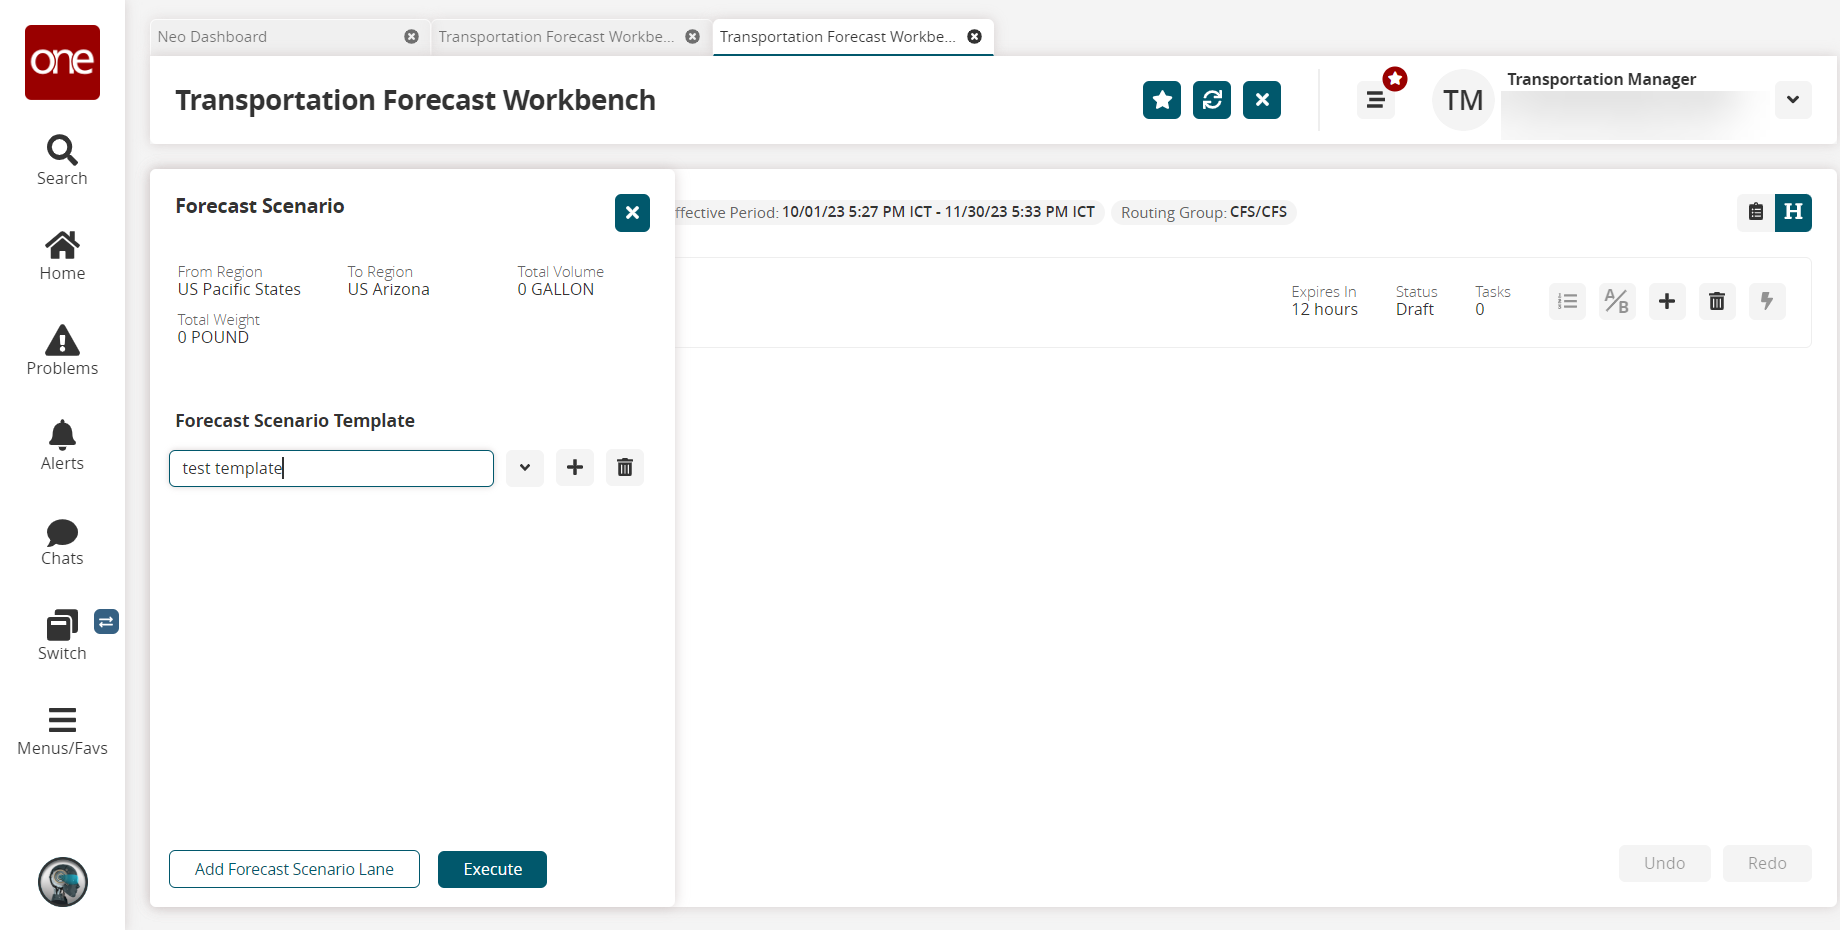
Alternatively, click the dropdown icon to select other forecast scenario templates or click the delete icon to delete forecast scenario templates.Click the Add Forecast Scenario Lane button to add forecast scenario lanes to the template.
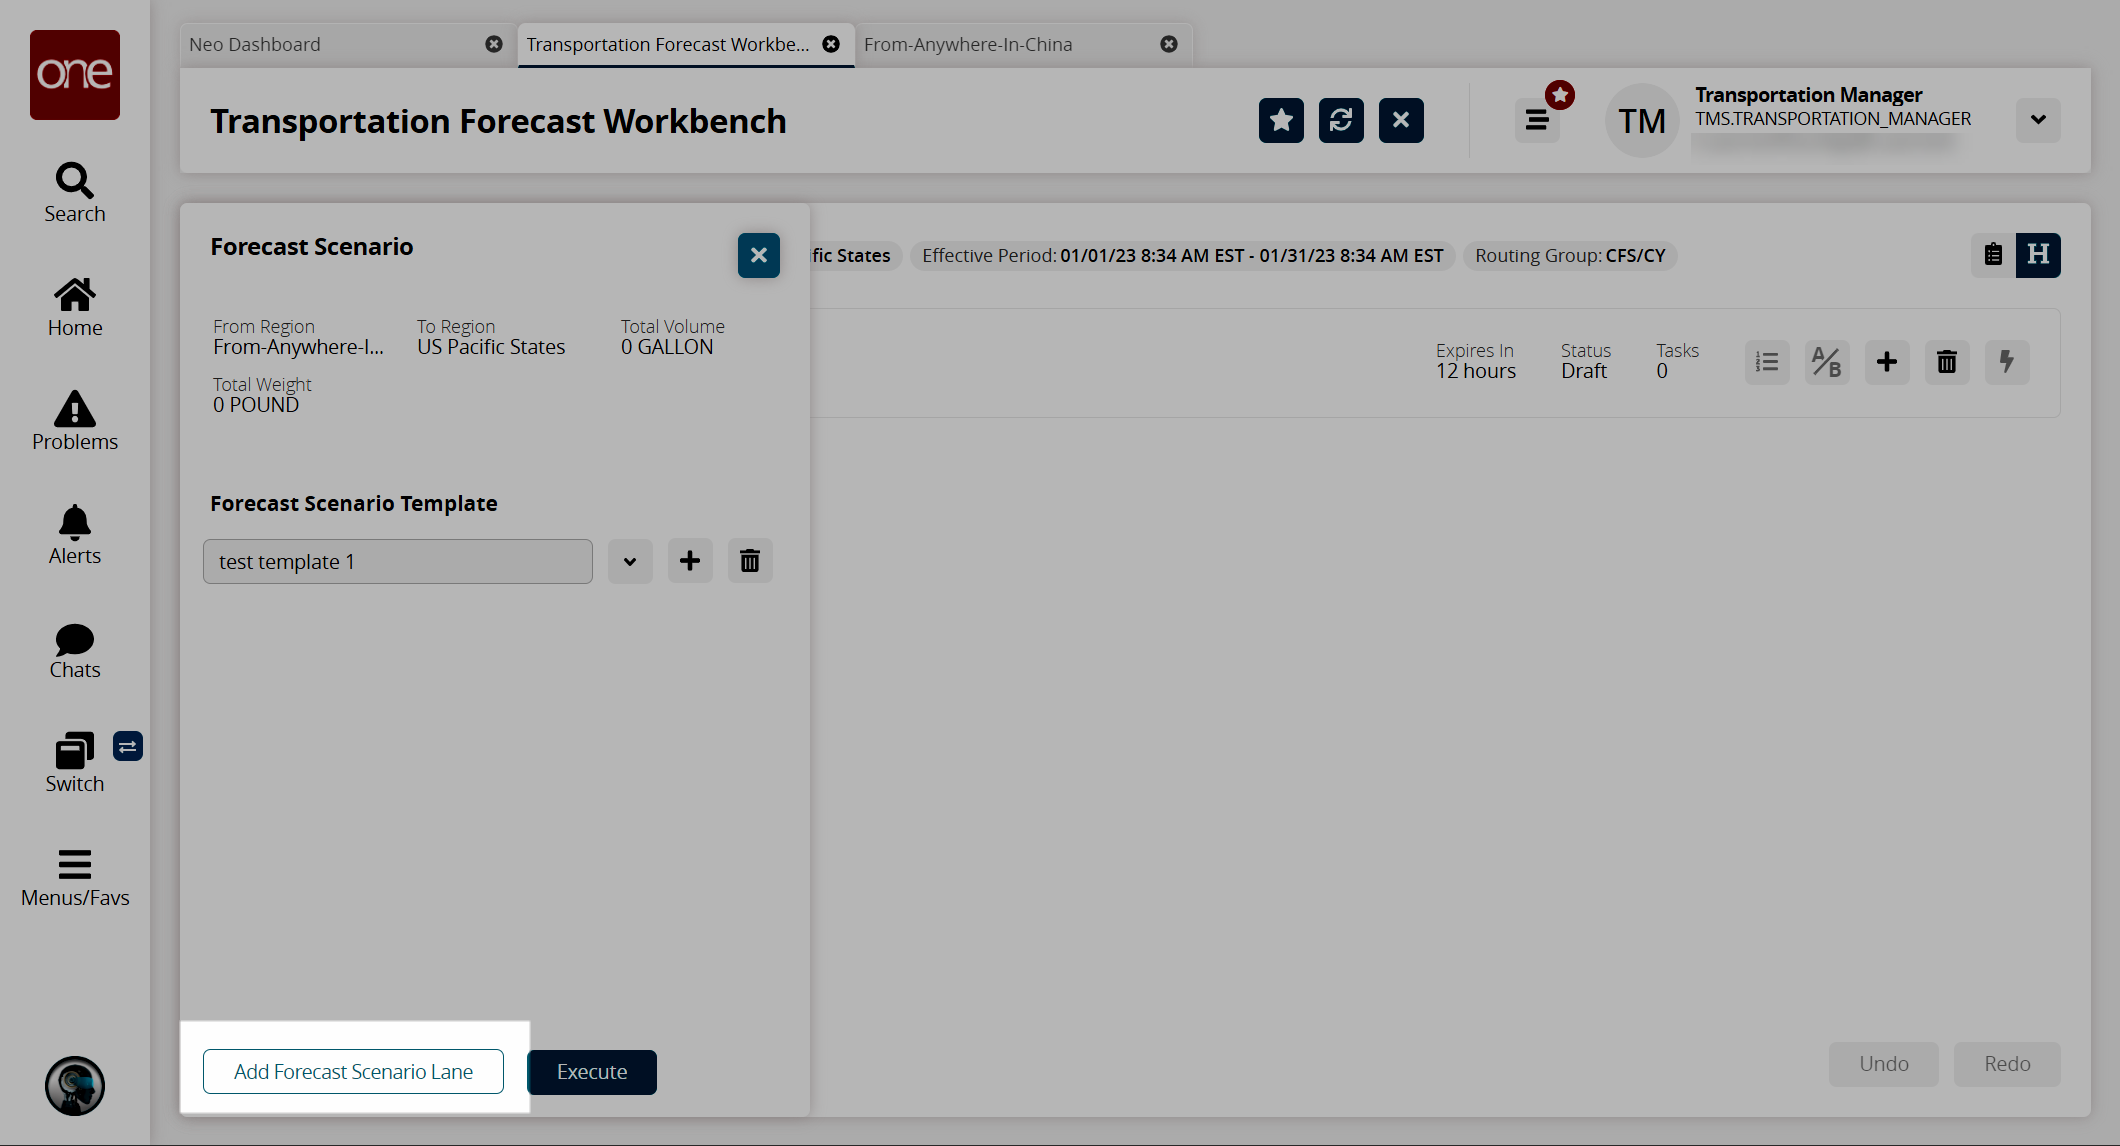
The Add Forecast Scenario Lane window popup appears.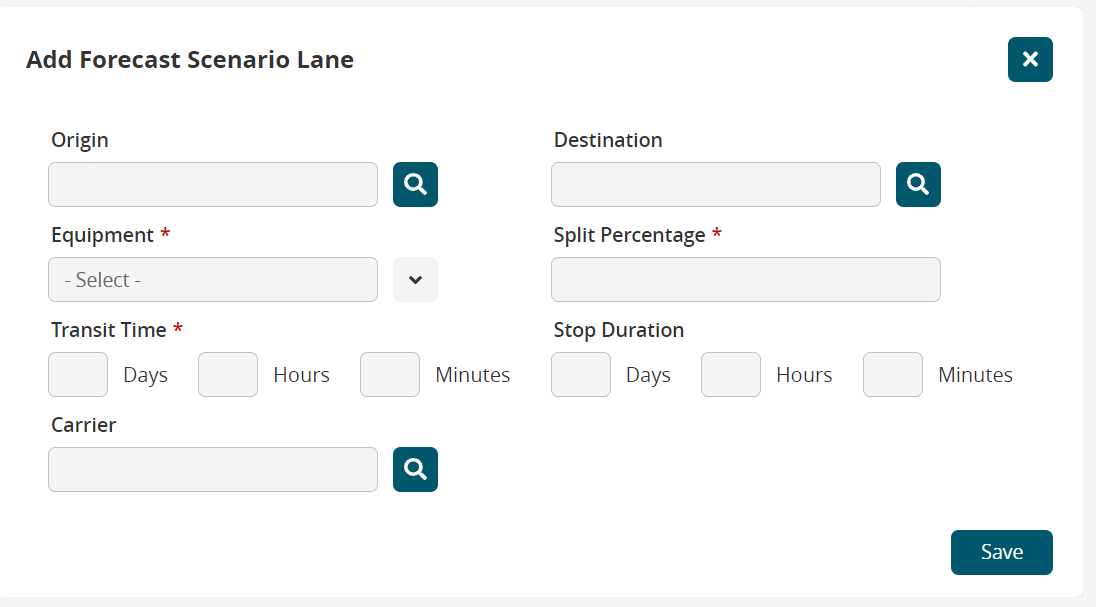
Fill out the following fields. Fields with an asterisk ( * ) are required.
Field
Description
Origin
Enter a value in the box or select an origin using the picker tool.
Destination
Enter a value in the box or select a destination using the picker tool.
Equipment *
Enter a value in the box or select equipment using the dropdown menu.
Split Percentage *
Enter a value in the box.
Transit Time *
Enter values in the boxes for Days, Hours, and Minutes.
Stop Duration
Enter values in the boxes for Days, Hours, and Minutes.
Carrier
Enter a value in the box or select a carrier using the picker tool.
Click the Save button to save the details for the forecast scenario lane.
The details for the forecast scenario lane are added to the Forecast Scenario Template.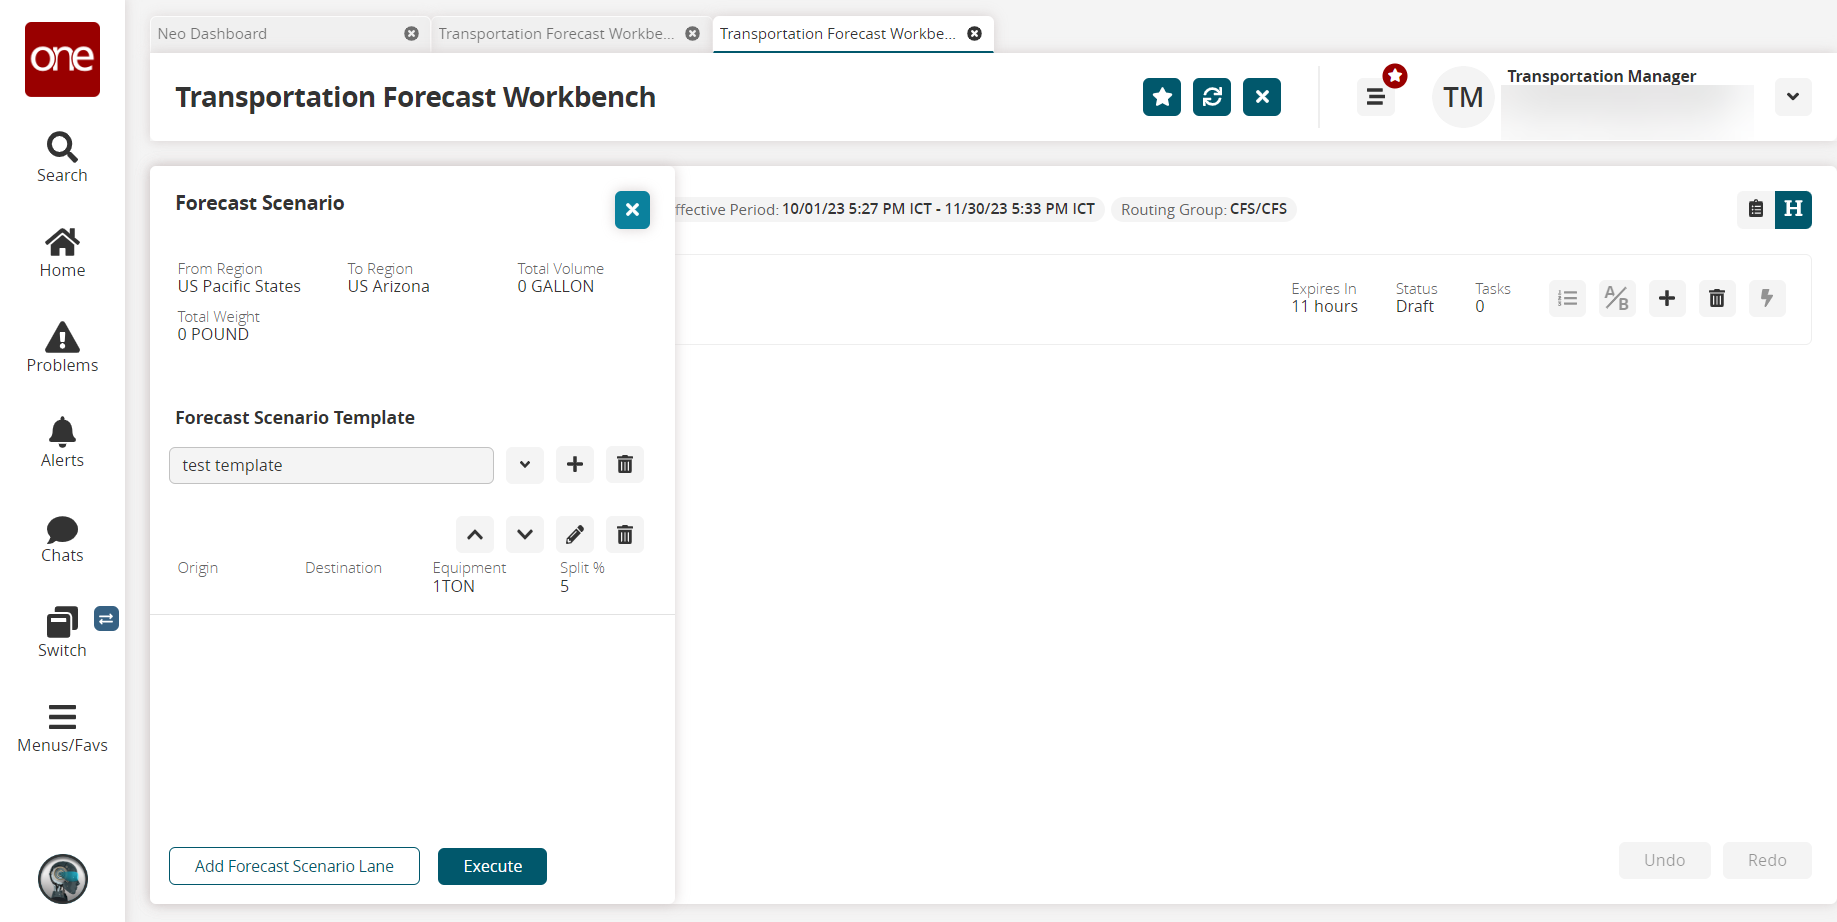
Click the pencil icon above the forecast lane details to edit the details or the delete icon to delete the details.
Click the Execute button to execute the forecast scenario template.
The details of the Projected Forecast are visible on the screen.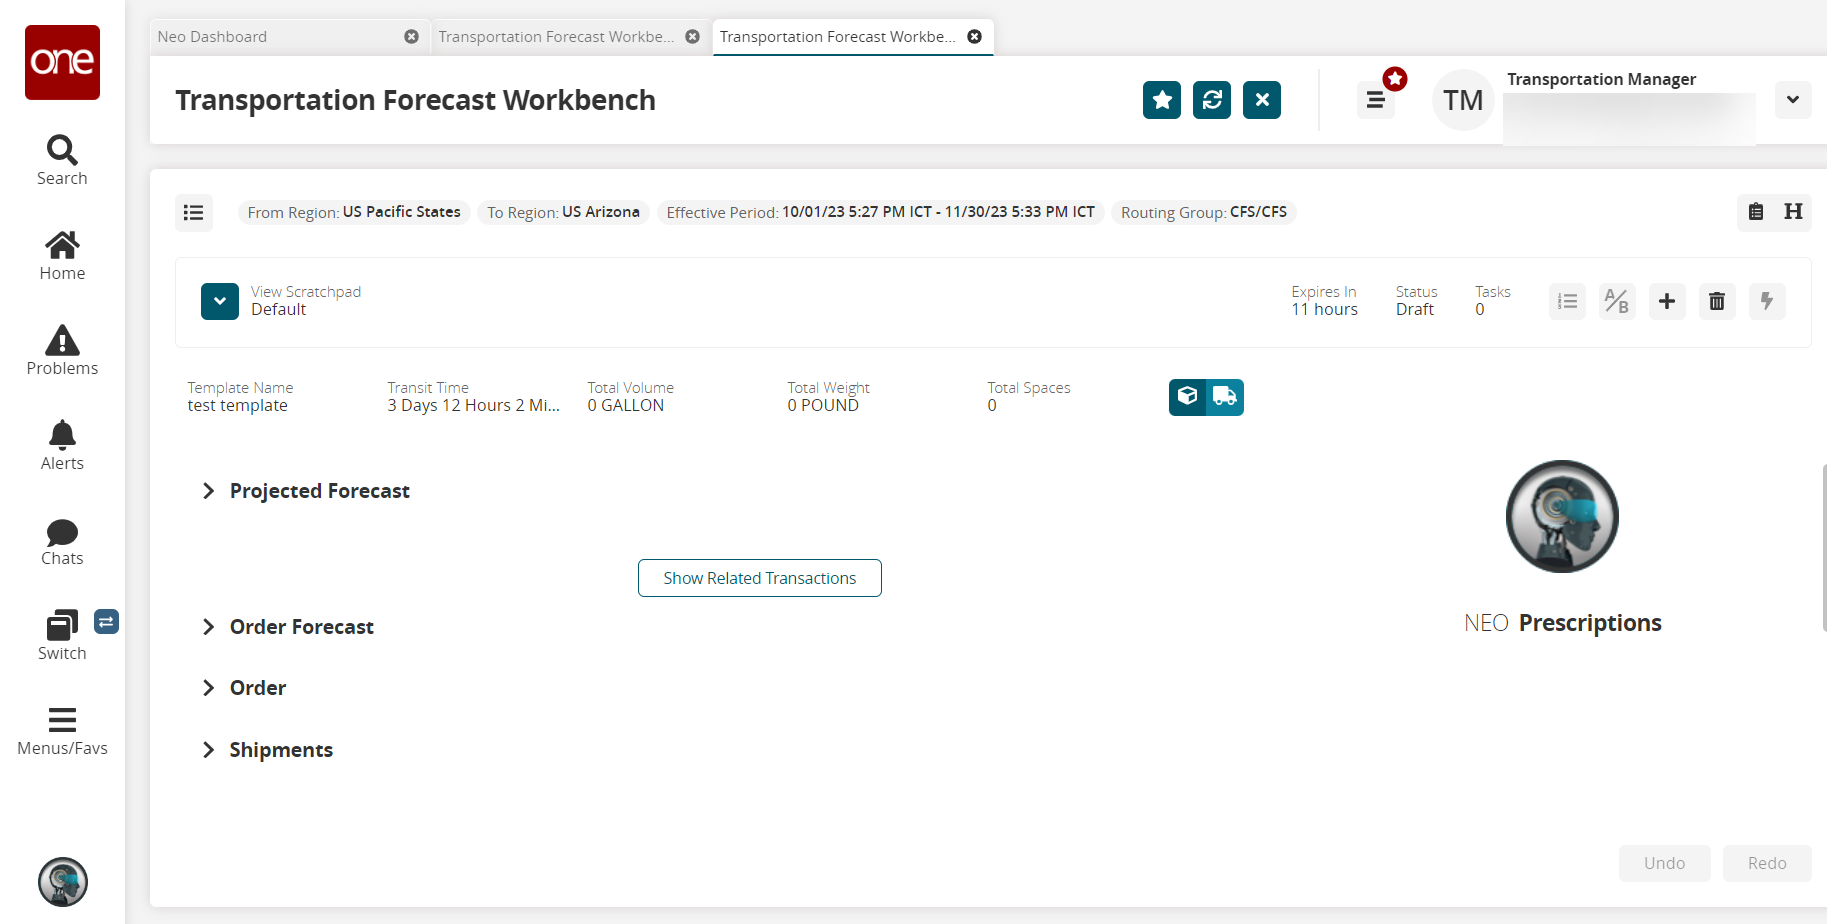
Click the Show Related Transactions button to view the related transactions.