Updating Receipts
This section describes how to update the existing receipts.
Complete the following steps to update receipts:
Log in to the ONE system.
Click Menus/Favs > Warehouse Mgmt > Receipts.
The Receipts screen appears, displaying the Explorer pane.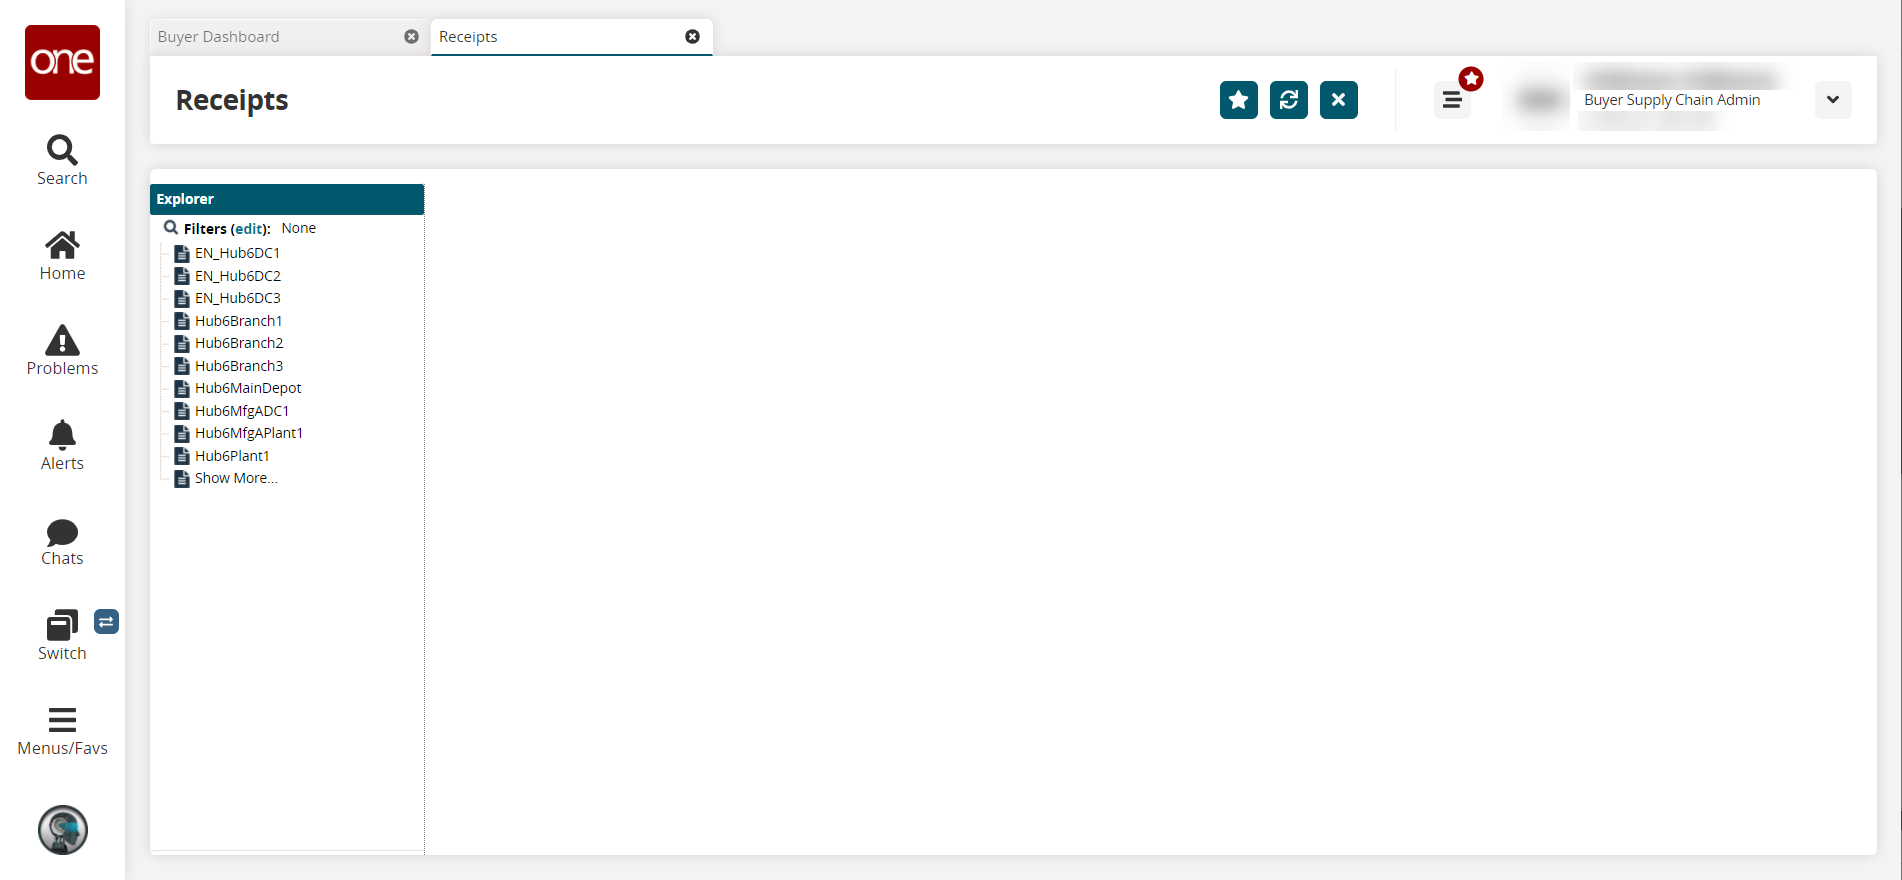
In the Explorer pane, click a site name to view the Receipts Lists Report for that site.
A list of receipts displays to the right.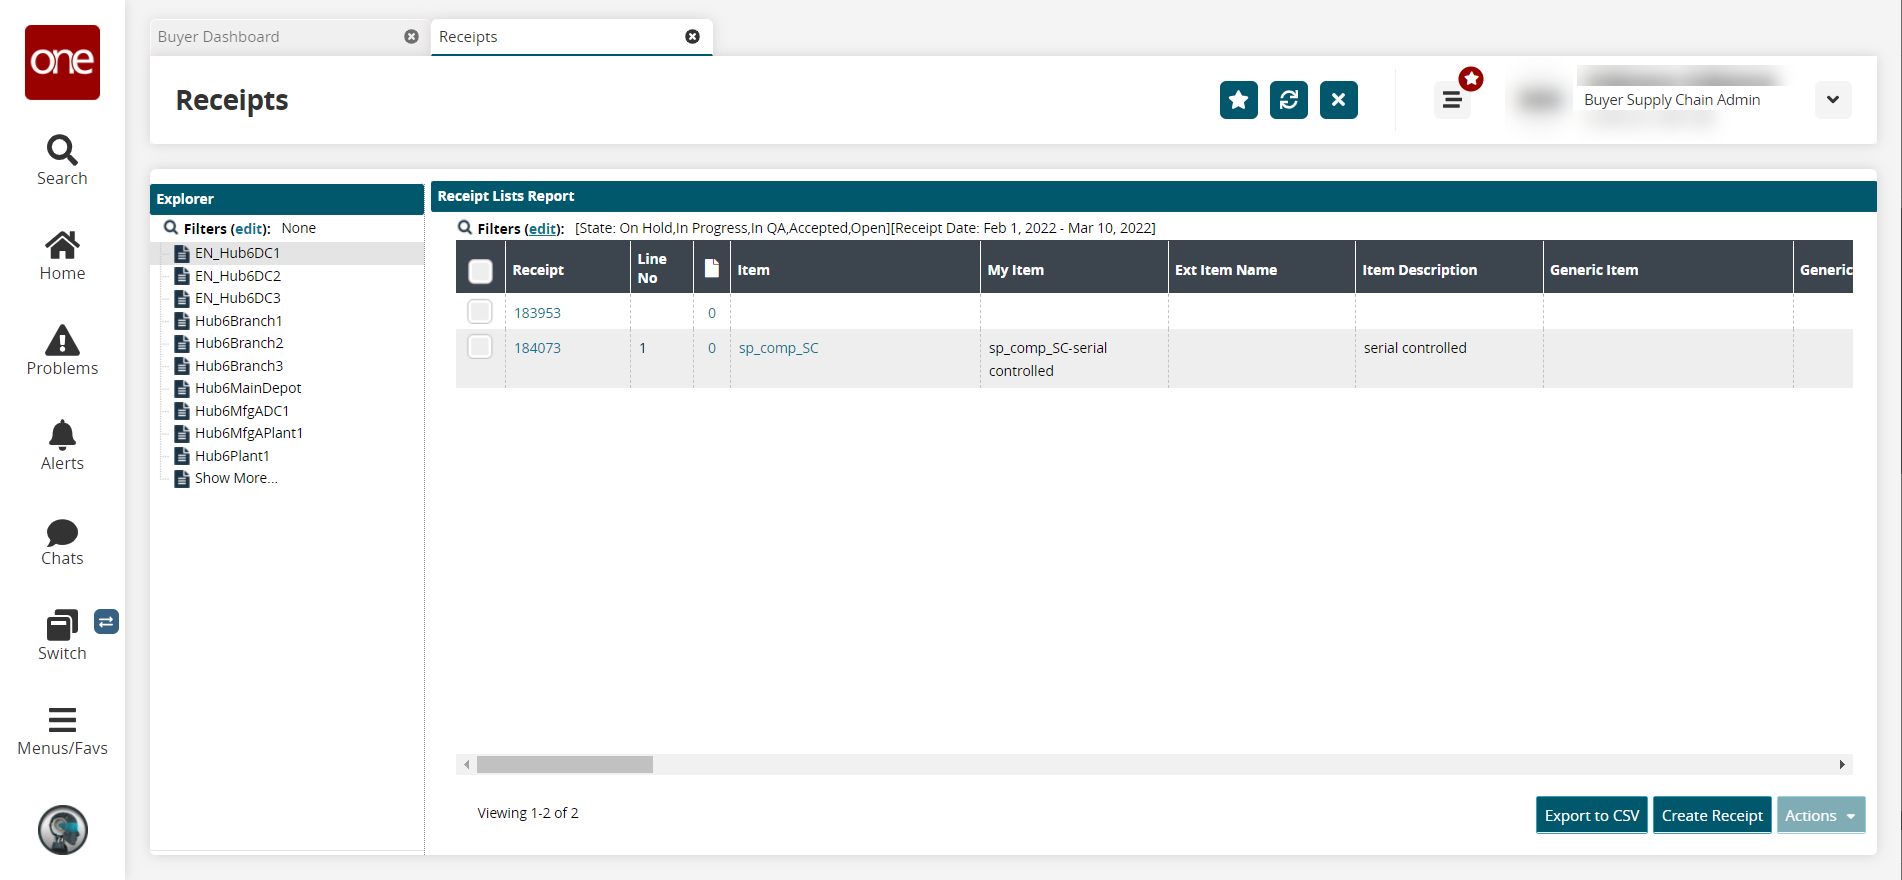
In the Receipt column, click a receipt number link.
The receipt details screen opens.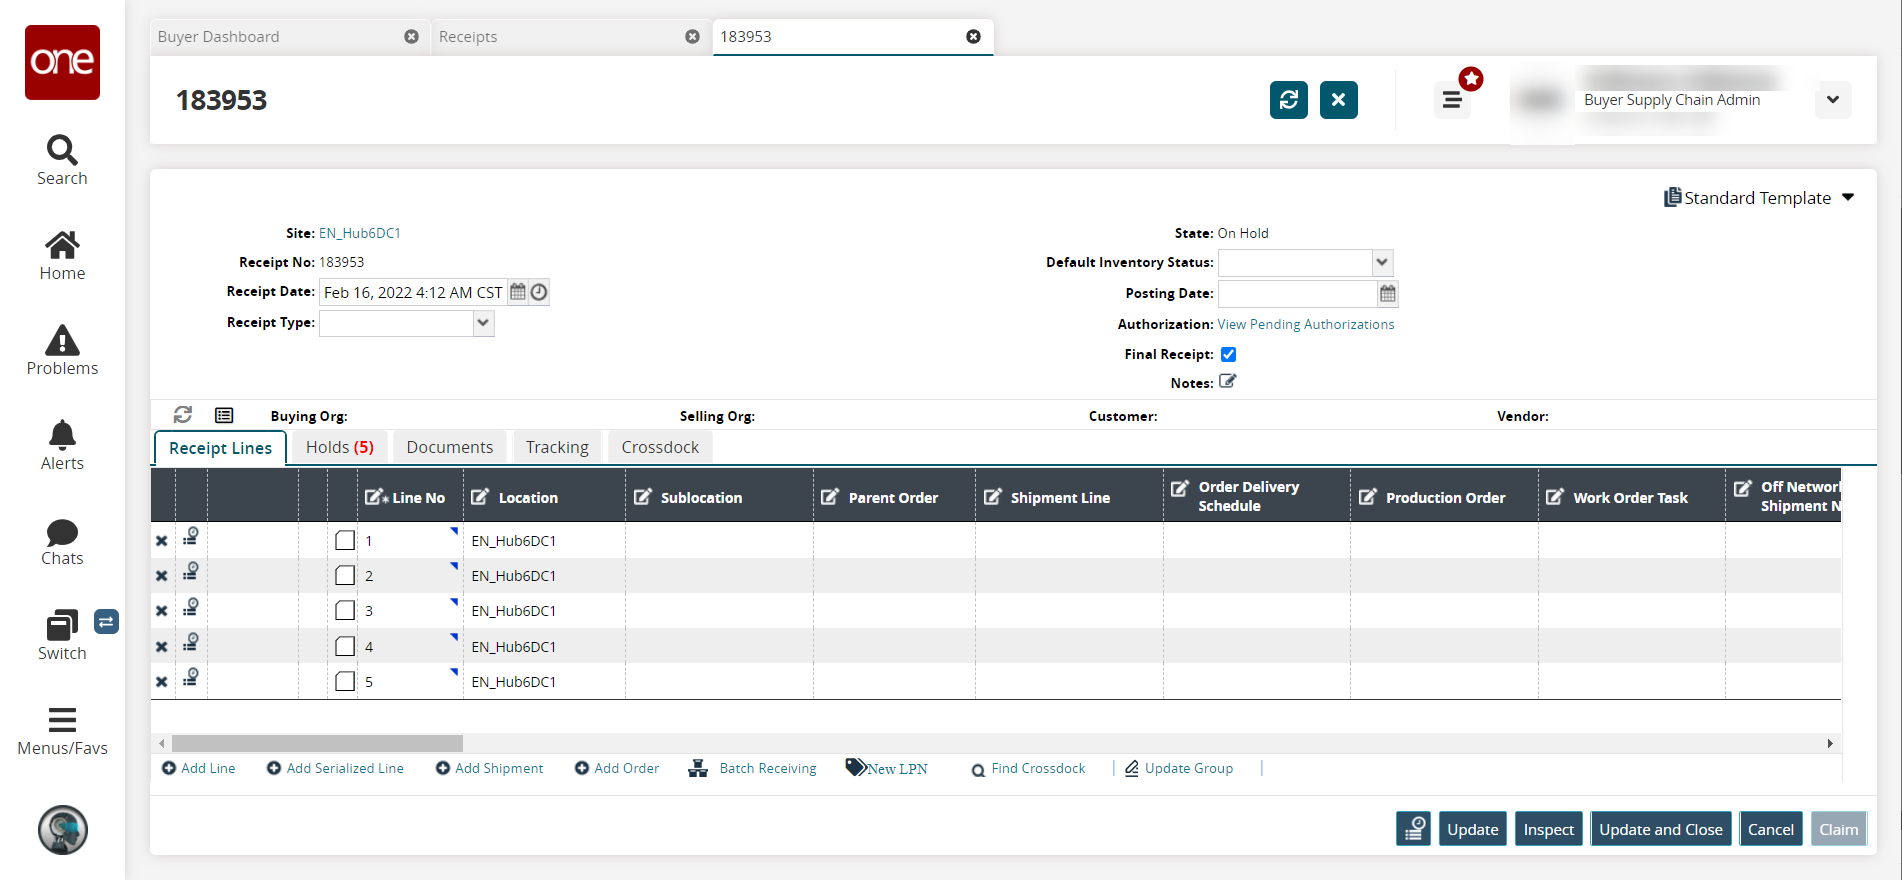
Update the desired fields. For information on the available fields, see the "Creating Receipts" section in Online Help.
Click the Add Line link to add a line to the receipt.
Click the Add Serialized Line link to add a serialized line to the receipt.
Click the Add Shipment link to add a shipment to the receipt.
Click the Add Order link to add an order to the receipt.
Click the New LPN link to create a new LPN.
The New LPN popup appears.Click the Find Crossdock link to find a crossdock for the receipt.
Click Update to update the receipt and leave the tab open, or click Update and Close to update the receipt and set the receipt to a Closed state.
A success message appears.