Updating Sites
Complete the following steps to update sites:
L og in to the ONE system.
Click Menus/Favs > Administration > Site > Search Site.
In the NEO UI, users can click on the Menus/Favs icon on the left sidebar and type in the name of the screen in the menu search bar. For more information, see "Using the Menu Search Bar."
The Search Site screen opens.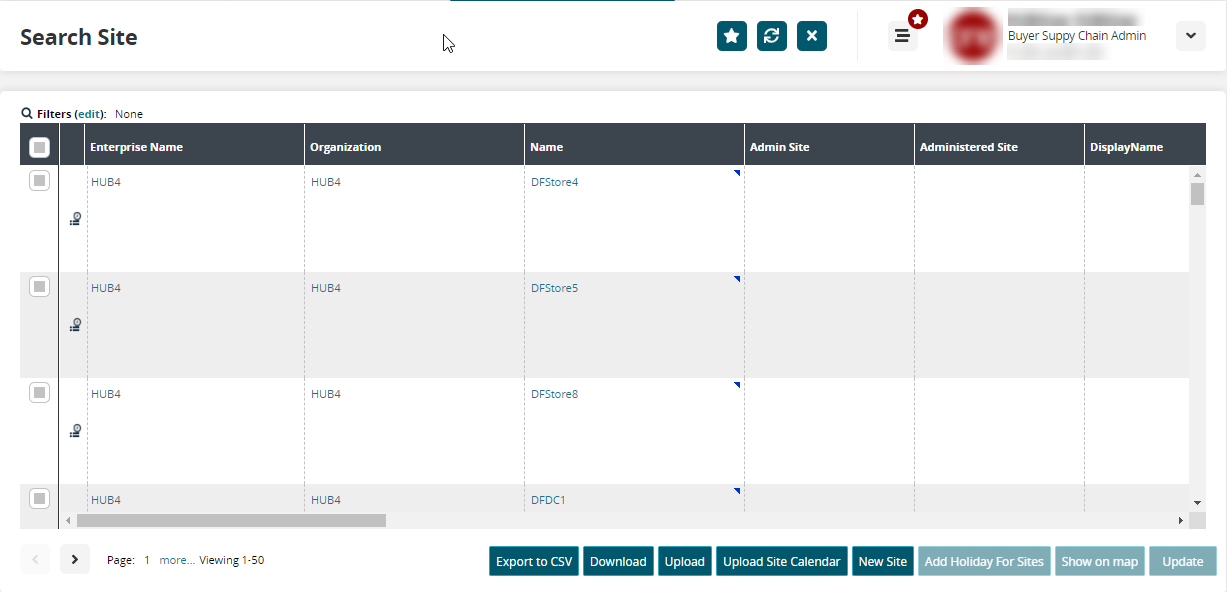
Click the Name link to open the site details screen.
The site details screen opens.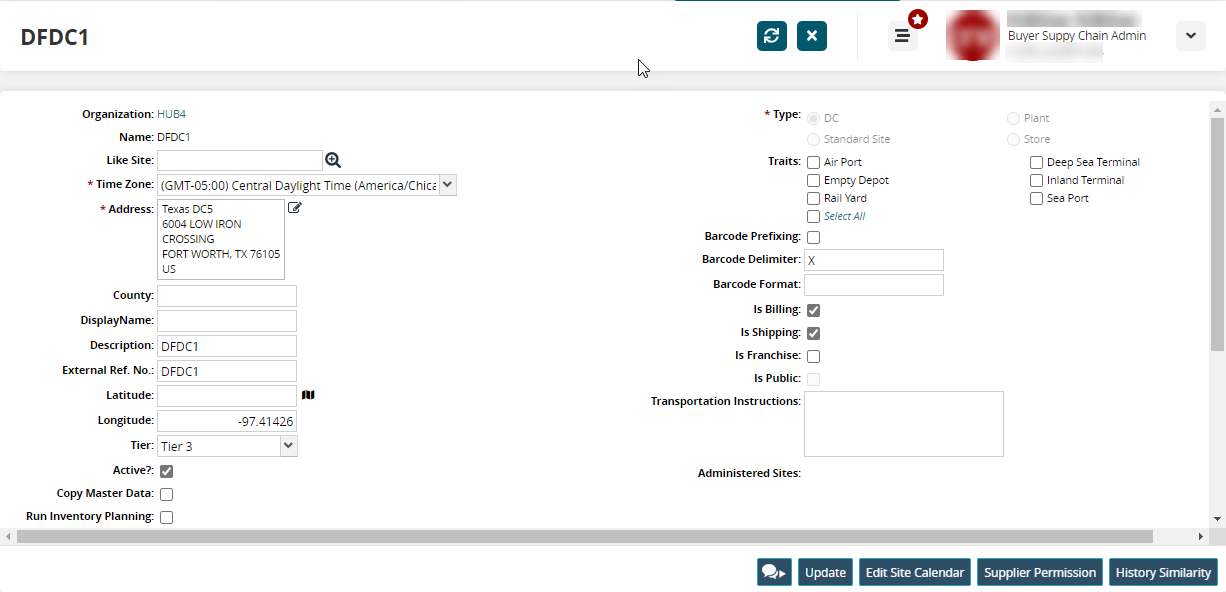
Fill out the following fields. Fields with an asterisk ( * ) are required.
|
Field |
Description |
|
* Organization |
Select an organization using the picker tool. |
|
* Name |
Enter a site name. |
|
Like Site |
Select a like site using the picker tool. |
|
* Time Zone |
Select a time zone from the dropdown menu. |
|
* Address |
Enter an address. |
|
County |
Enter a county. |
|
Display Name |
Enter a display name. |
|
Description |
Enter a description. |
|
External Ref. No. |
Enter an external reference number. |
|
Latitude |
Enter a latitude. |
|
Longitude |
Enter a longitude. |
|
Tier |
Select a tier from the dropdown menu. |
|
Active? |
Select this checkbox if the site is active. |
|
Copy Master Data |
Select this checkbox to copy master data. |
|
Run Inventory Planning |
Select this checkbox to run inventory planning. |
|
Do Not Stock |
Select this checkbox to specify the system not to run safety stock calculations. |
|
Run Rebalance |
Select this checkbox to run rebalance. |
|
Weekend |
Select days of the week this site has weekends for their schedule. This may alter deliveries and different cost calculations. |
|
* Type |
Select a site type. |
|
* Traits |
Select the traits that apply to the new site. Click the Select All checkbox to apply all traits. |
|
Barcode Prefixing |
Select this checkbox to enable barcode prefixing. |
|
Barcode Delimiter |
Enter a barcode delimiter. |
|
Barcode Format |
Enter a barcode format. |
|
Is Billing |
Select this checkbox if the site bills. |
|
Is Shipping |
Select this checkbox of the site ships. |
|
Is Franchise |
Select this checkbox if the site is franchised. |
|
Is Public |
Select this checkbox if the site is public. |
|
Transportation Instructions |
Enter any transportation instructions. |
|
Administered Sites |
This field is auto-populated. |
|
Free Storage Days |
Enter any free storage days. |
|
Run Demand Translation |
Select this checkbox to run demand translation. |
|
Switch To Shipment Screen |
Select this checkbox to switch to the shipment screen. |
Contacts
Under the Contacts tab, you can enter billing, shipping, and receiving contact information.
Select a Contact using the picker tool.
Fill out the following fields. Fields with an asterisk ( * ) are required.
Field
Description
* Contact Description
Enter a name description of the contact.
U sers can populate the Bill To Address of a purchase order (PO) or a deployment order (DO) with an address other than the Bill To Address of the buying organization.
When the Populate Bill To Address As Per Ship To Site policy is enabled, the Bill To Address of the PO or DO is populated from a specified contact on the Ship To site. If a contact has a prefix of BILL TO, the system will use the address of the BILL TO contact as the Bill To Address for the PO or DO. If a BILL TO contact is not provided, the PO or DO will default to the Bill To Address of the buying organization and behave as if the policy was not enabled. If multiple contacts have a BILL TO prefix for a given Ship To site, the first will be used. This allows orders to have a Bill To Address that reflects where the goods are being shipped rather than where the buyer is.
Title
Enter a title for the contact.
First Name
Enter a first name for the contact.
Last Name
Enter a last name for the contact.
Middle Name
Enter a middle name for the contact.
Address
Enter an address for the contact.
Phone
Enter a phone number for the contact.
Mobile
Enter a mobile phone number for the contact.
Fax
Enter a fax number for the contact.
Email
Enter an email address for the contact. Click the Add link to add multiple email addresses.
Person
Use the picker tool to select an existing person.
User
Use the picker tool to select an existing user.
Public
Select this checkbox if the contact is public.
Click Create.
Life-Cycle
From the Life-cycle tab, you can enter forecast dates for lifecycles.
Click the Life-cycle tab.
Use the calendar and clock tools to enter Forecast Begin Date and Forecast End Date values.
Enter a numerical value in the first field and select a unit of measurement in the second field for Phase-In Duration.
Attributes
The Attributes tab contains custom attributes that can be added through an implementation configuration of master data. Any number of attributes can be added to a site. For more information, see the "Item Attributes" section of Online Help.
Documents
See the "Managing Document Types" section of Online Help. Not all user roles will see the Documents tab.
Inventory Policy
Under the Inventory Policy tab, you can set auto-pick and auto-receipt options for different types of orders.
Click the Inventory Policy tab.
In the Auto-Receipt section, select the order types that automatically generate receipts.
In the Auto-Pick/Consume section, select the order types that will automatically pick and consume items.
Customs
The Customs tab includes information about Schedule K and Schedule D port codes. These five-digit codes denote seaports that handle waterborne shipments involving foreign trade with the United States.
Click the Customs tab.
In the Schedule K field, enter or select a geographic port code. Schedule K codes are used for worldwide ports.
In the Schedule D field, enter or select a geographic port code. Schedule D codes are used for US ports.
Click the Create button at the bottom of the screen.
The site is added to the system.