Uploading Client Invoices as CSV Files
Users can upload client invoices using a CSV file.
Complete the following steps to use the template to upload client invoices as CSV files:
L og in to the ONE system.
Click Menu/Favs > Tools > Upload > Client Invoice.
In the NEO UI, users can click on the Menus/Favs icon on the left sidebar and type in the name of the screen in the menu search bar. For more information, see "Using the Menu Search Bar."
The Client Invoice screen displays with the Select File to Upload popup.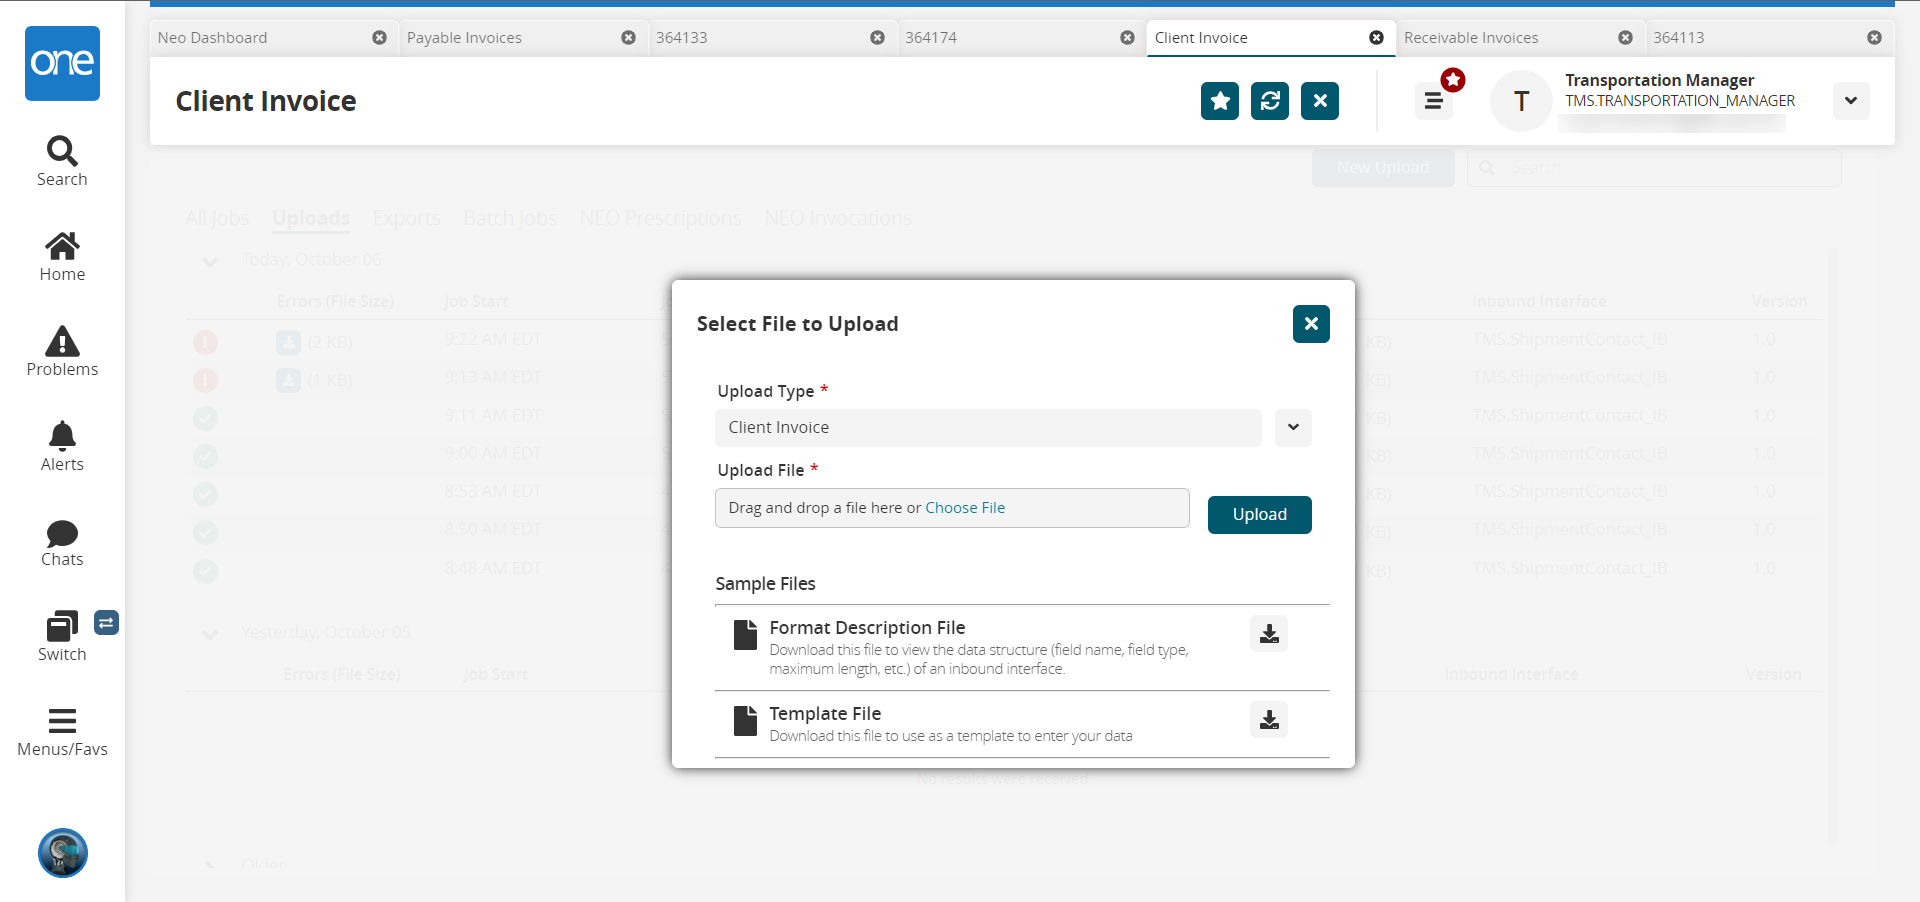
Click the download icon next to Template File to download the CSV template for client invoices.
Navigate to the downloaded template, and open the file.
Enter the desired information for the client invoices.
The CSV file template has a Reject Invoice Line column. Marking the field with a 1 rejects the invoice. If all invoice lines are marked with a 1 in the new field on the invoice lines CSV file, the invoice is rejected upon upload.
Save the CSV file.
Return to the Client Invoice screen. The Upload Type dropdown menu defaults to Client Invoice.
Click the Choose File link and navigate to the saved CSV file.
Alternatively, drag and drop the file in the Upload File field.Click Upload.
A success message appears. If a problem occurs with the upload, click the Job Status Perspective link to view the upload status.
See the "Uploading Files" section of Online Help for more information.