Uploading Documents to Movements and Shipments
Users can upload documents to movements and shipments to provide proof of events or additional information. The Documents tab on both the movement and shipment details pages offers multiple sections for types of document uploads, and the upload process is the same for all document types. The instructions below describe uploading documents to movements, but uploading to shipments is the same process.
Uploading Documents (Attachments) from the Search Movements/Search Shipments Screens
From the Search Movements and Search Shipments screens, users can upload documents from the Actions menu or the contextual menus (blue icons).
Complete the following steps to upload documents to movements or shipments from the Search Movements screens using the Actions menu:
L og in to the ONE system.
Click Menus/Favs > Transportation > Search Movements. The process is the same for the Search Shipments screen.
The Search Movements screen displays.
Check the boxes for multiple movements.
Please note that if only one movement checkbox is selected, then the Add/Remove Attachments option and Upload link displays the popups as described in the instructions for attaching documents using the contextual menu below.
Click the Actions menu and select Add/Remove Attachments.
The Add/Remove popup displays.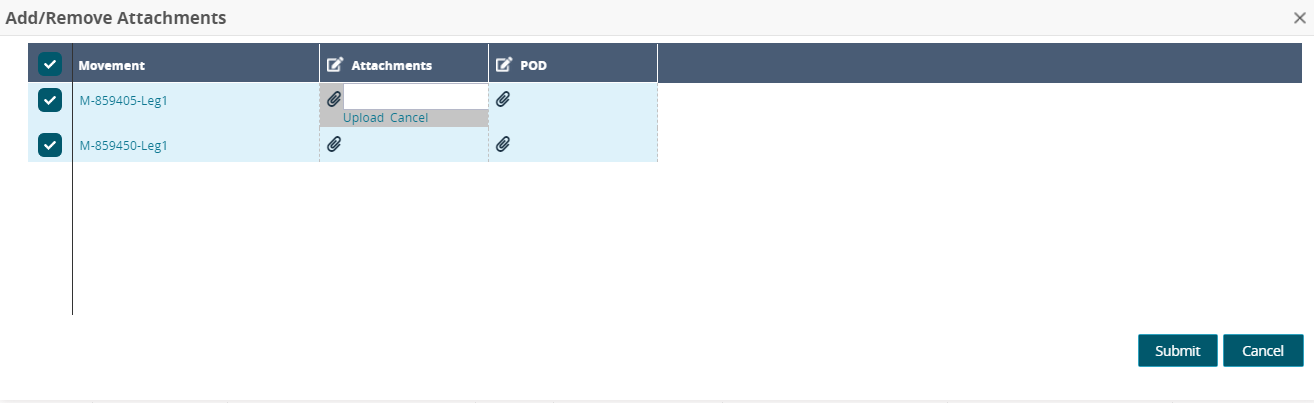
Click any cell with the paperclip icon, and click the Upload link.
Select a file from your computer, and click the Open button.
Click the Submit button.
A green success message displays.Click the Close and Refresh button.
The attachments are associated with the movement and display on the Docuements tab of the details page.
Complete the following steps to upload documents to movements from the Search Movements screens using the contextual menu:
L og in to the ONE system.
Click Menus/Favs > Transportation > Search Movements. The process is the same for the Search Shipments screen.
The Search Movements screen displays.
Click the contextual menu (blue triangle), and select Add/Remove Attachments.
The Add/Remove popup displays. This popup also displays when one movement checkbox is selected and Add/Remove Attachments is selected from the Actions menu.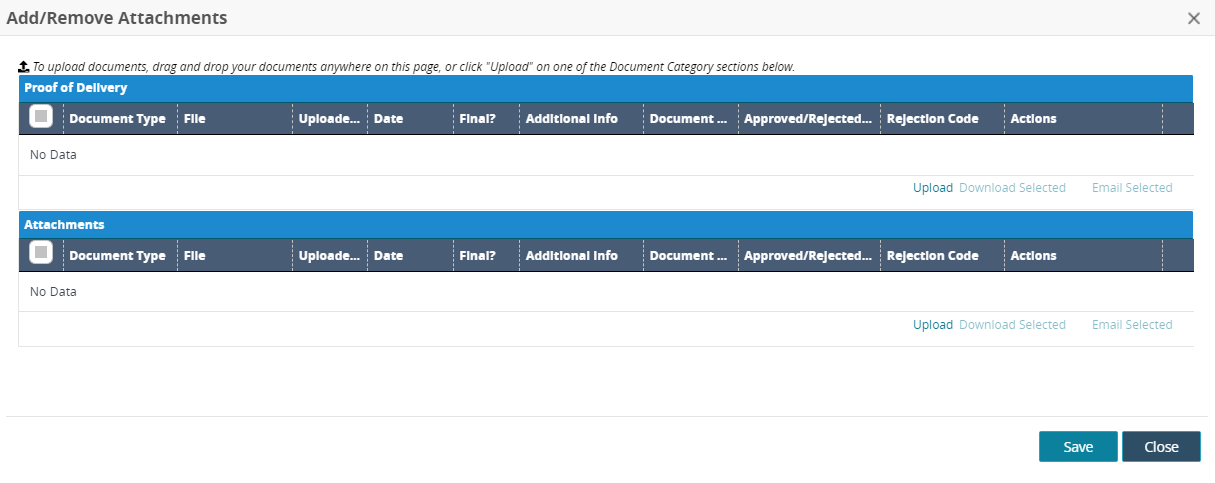
Click the Upload link.
The Upload popup displays.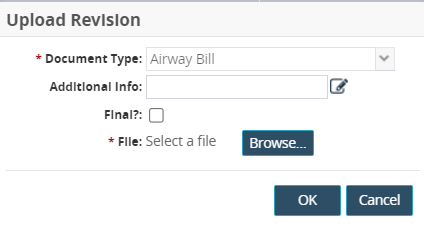
Select the appropriate type from the * Document Type dropdown menu. Fields with an asterisk ( * ) are required.
Enter text for the Additional Info field.
Check the Final? box if this is the final version of this document, and no other updates will be accepted.
Click the Browse button and upload a file from your computer.
Click the OK button.
A green success message displays.Click the Save button.
A green success message displays.
Uploading Documents (Attachments) from the Documents Tab for Movements or Shipments
Complete the following steps to upload documents to movements from the Documents tab on the details pages:
L og in to the ONE system.
Search for a movement or shipment using the process described in the "Searching Movements," "Searching Shipments," or the "Global Search" sections of the Online Help. Using the Search Movements/Searching Shipments pages delivers a report of movements matching the criteria; using the global search opens the movement's details page directly.
Select the movement ID link from the list of results (if using the Search Movements or Searching Shipments page).
The shipment's details page displays.
Click the Documents tab.

Click the Upload link the under the Actions column.
The Upload popup appears.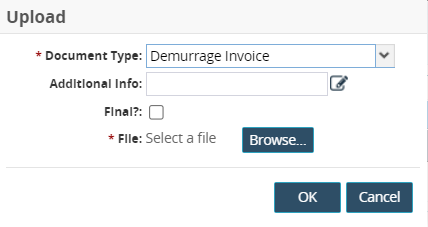
Select the appropriate type from the * Document Type dropdown menu. Fields with an asterisk ( * ) are required.
Enter text for the Additional Info field.
Check the Final? box if this is the final version of this document, and no other updates will be accepted.
Click the Browse button and upload a file from your computer.
Click the OK button.
A green success message displays.Click the Save button.
A green success message displays.
Uploading Documents (Attachments) from the Content Tab for Shipment Lines
L og in to the ONE system.
Search for a shipment using the process described in the "Searching Shipments" or the "Global Search" sections of the Online Help. Using the Searching Shipments page delivers a report of shipments matching the criteria; using the global search opens the shipment's details page directly.
Select the movement ID link from the list of results (if using the Searching Shipments page).
The shipment's details page displays.
Click the Content tab.
The Content tab displays.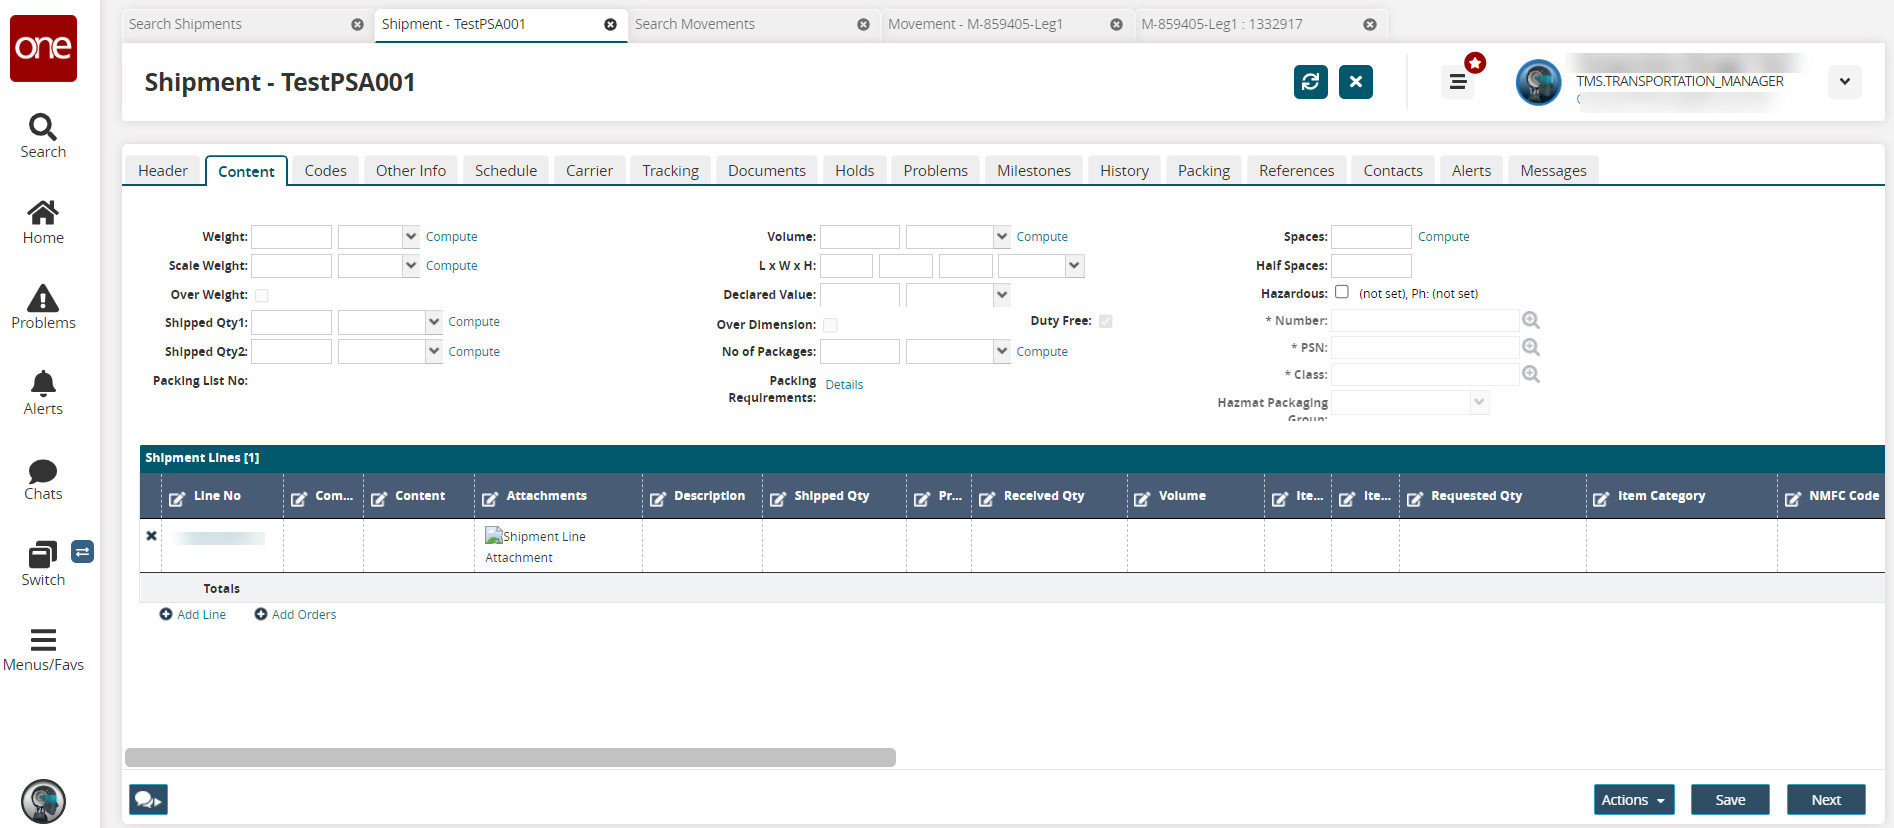
Click the Shipment Line Attachment link under the Attachments column.
The Documents popup displays.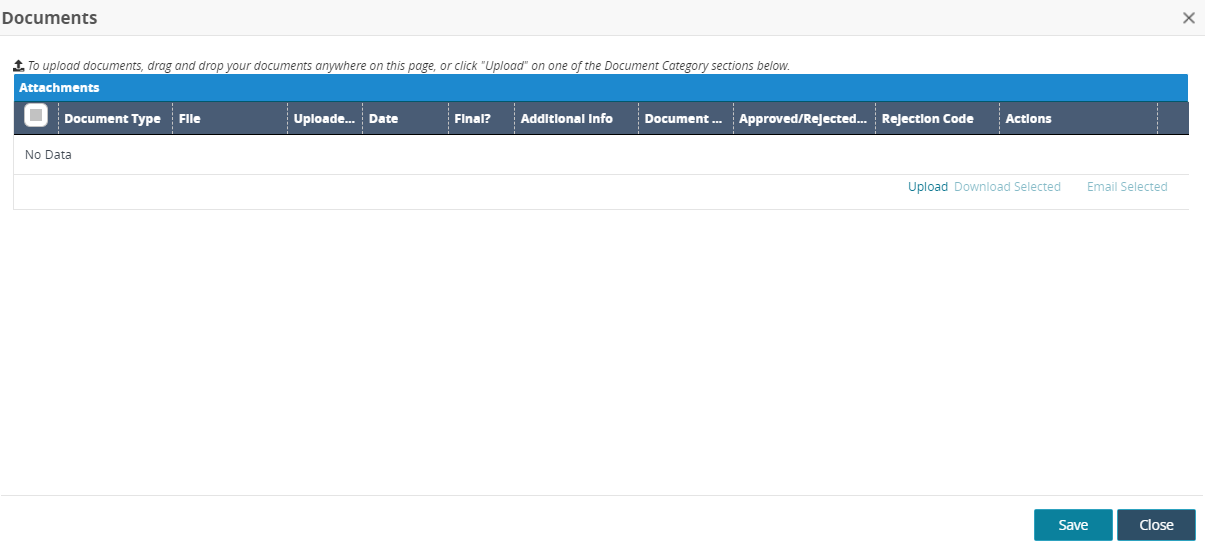
Click the Upload link.
The Upload popup displays.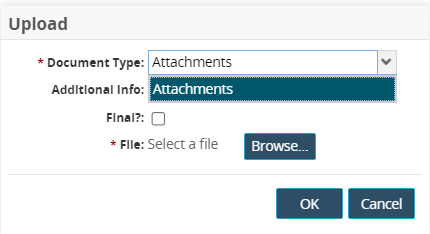
Select the appropriate type from the * Document Type dropdown menu. Fields with an asterisk ( * ) are required.
Enter text for the Additional Info field.
Check the Final? box if this is the final version of this document, and no other updates will be accepted.
Click the Browse button and upload a file from your computer.
Click the OK button.
A green success message displays.Click the Save button.
A green success message displays.Click the Close button.
Click the Save button.
A green success message displays.