Uploading Files
You can upload files using the Upload function in the Tools menu and providing a One Network comma-separated value (CSV) formatted file. You can download a sample CSV file to use as a template. To understand what information is needed in each file field, click the Format Description File link to download and view the data structure of an inbound interface. This file identifies required fields and provides specifications for each field (field name, field type, maximum length, etc.). Additionally, you can view the status of uploaded files or export the status report to a spreadsheet.
Note
One Network Logistics only displays upload options for your organization's subscription and those allowed by permissions based on the user role.
Complete the following steps to upload files:
L og in to the ONE system.
Click Menus/Favs > Tools > Upload > (your specific upload file type).
The Select File to Upload popup displays on top of the file type screen. The Upload Type * field displays the type based on what you selected. Fields marked with an asterisk ( * ) are required.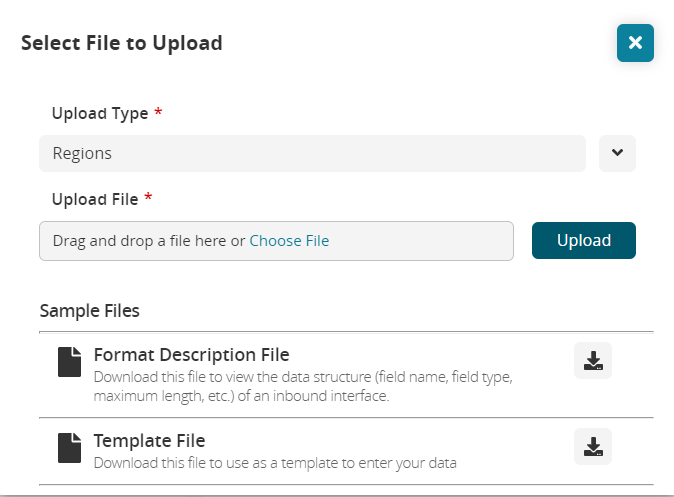
Drag and drop the CSV file you want to upload, or click the Choose File link.
If you select the link, an Open dialog box opens.Select the file to upload from your computer.
Click the Open button.
The file name displays in the Upload File * field.Click the Upload button.
A status message displays as follows: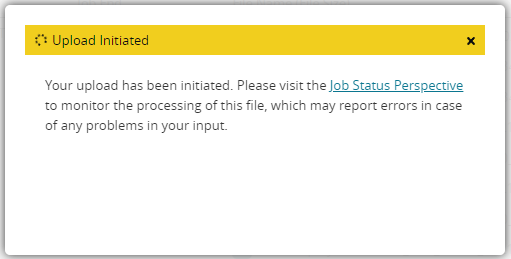
If the upload was successful, the following message is shown.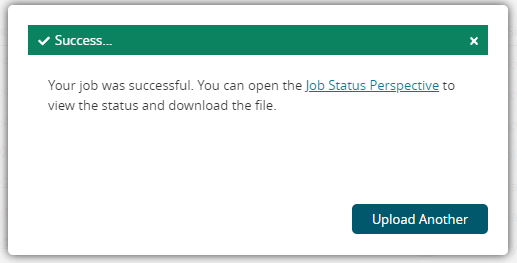
If the upload encounters an error, follow the instructions in the message to resolve any issues with your CSV file and repeat the upload process.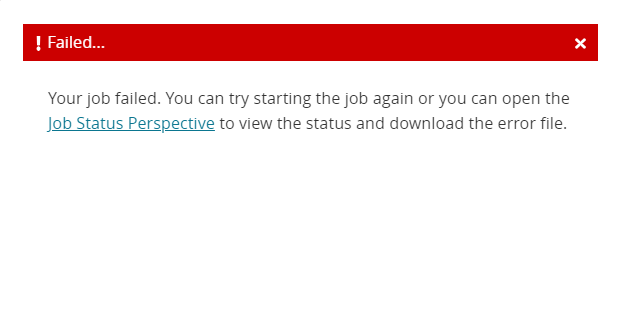
Click the X to close the popup message.
The upload screen for the upload type selected displays. Red icons with an exclamation mark indicate failed uploads. Green icons with a checkmark indicate successful uploads.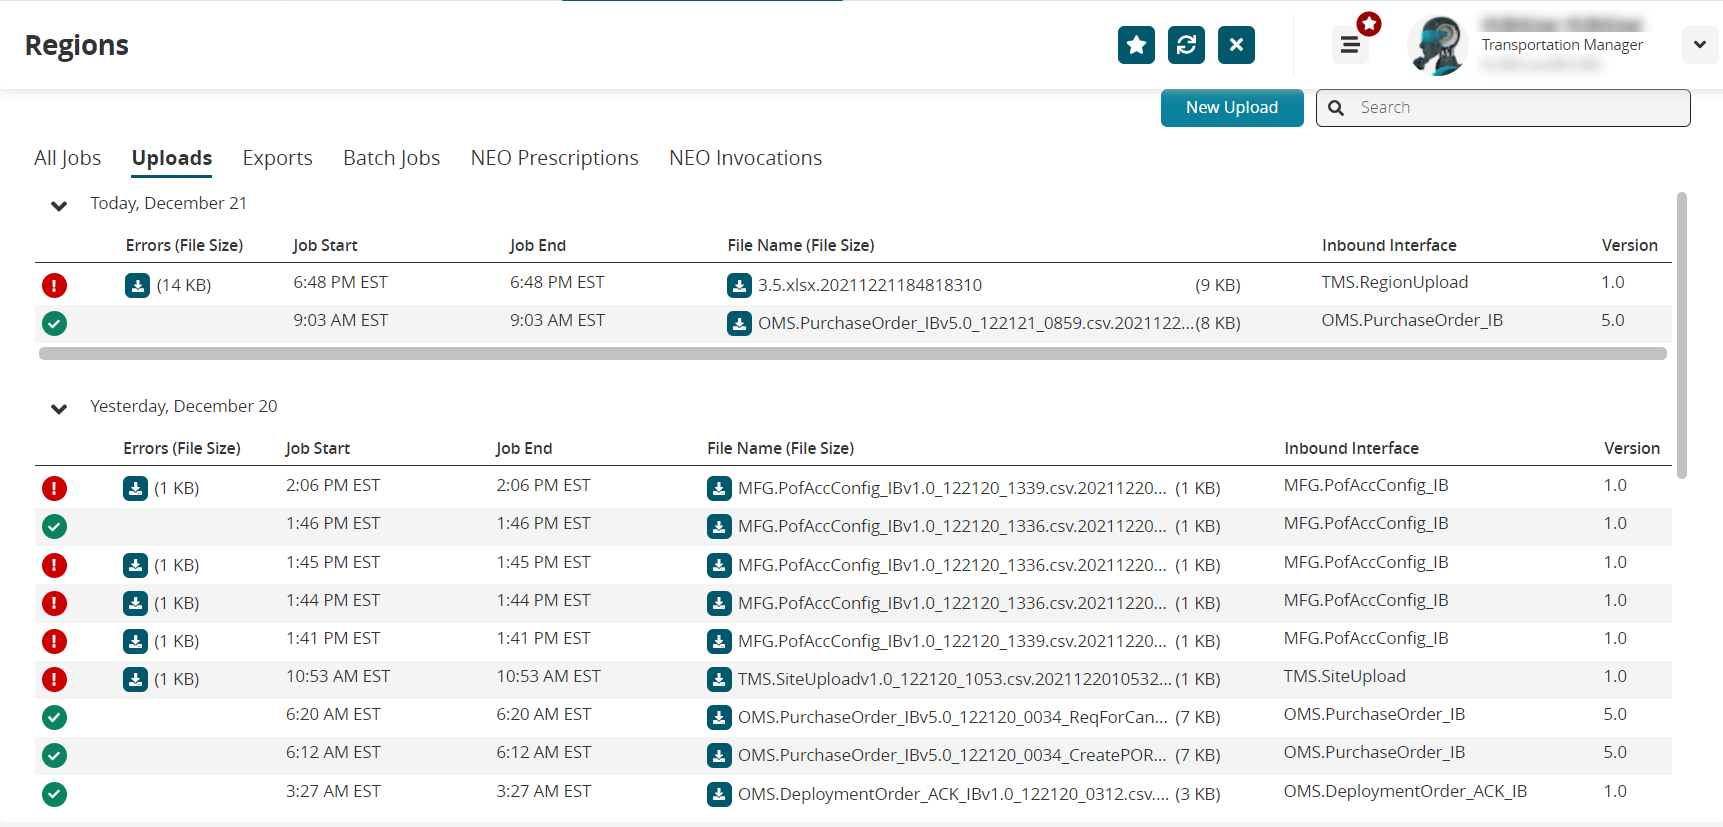
Click on the tabs across the top of the screen to view different types of system jobs.
Click the download button under Errors (File Size) to download a file of the errors generated when attempting to upload a file.
Click the download button under File Name (File Size) to download the uploaded file.
Click the arrows on the side of the screen to collapse and expand the data display for the day.
Complete the following steps to view a file that describes the fields and data required for this upload:
Click the download arrow for Format Description File.
The file downloads to your computer.Open the downloaded file.
An Excel file is used to provide field names and the details for the values needed, as shown below.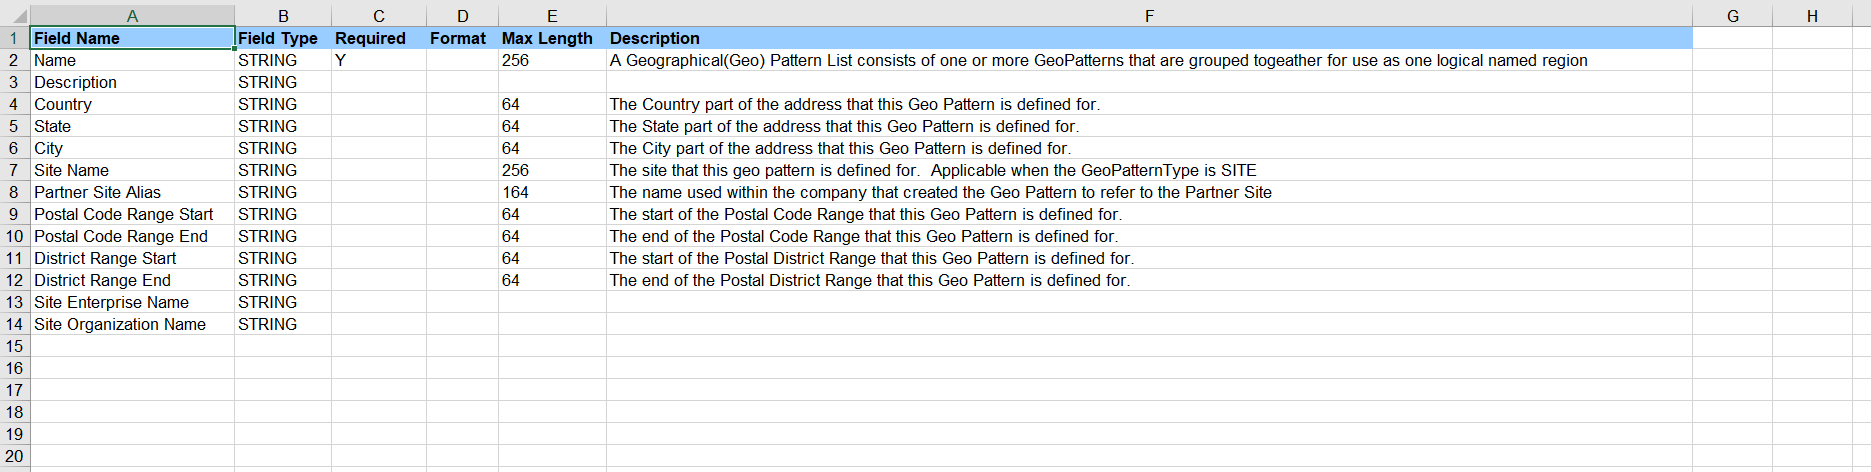
Complete the following steps to download and use a template for the specific file type needed for your download:
Click the Template File download button.
The file downloads to your default browser download location.Open the downloaded file.
For most templates, an Excel file is used to provide field names and the details for the values needed, but the file may open in other CSV editing software.
Edit the file by replacing "SampleValue" with the required data. Fields with an asterisk ( * ) are required.
Save the file when finished editing.
Returning to the Select File to Upload popup, click the Choose File link and select your edited file from your computer.
Click the Upload button.
The system displays a status message as described above.