Using Zone Based Carrier Rating
Users can create zone-based ratings across standard rating metrics such as per Space, per Transit Time, Flat, etc. instead of only allowing the rating for the entire client contract.
Complete the following steps to upload zones.
Log into the ONE system.
Click on Menu/Favs > Tools > Uploads > Zone.
The Zone screen displays with the Uploads popup window.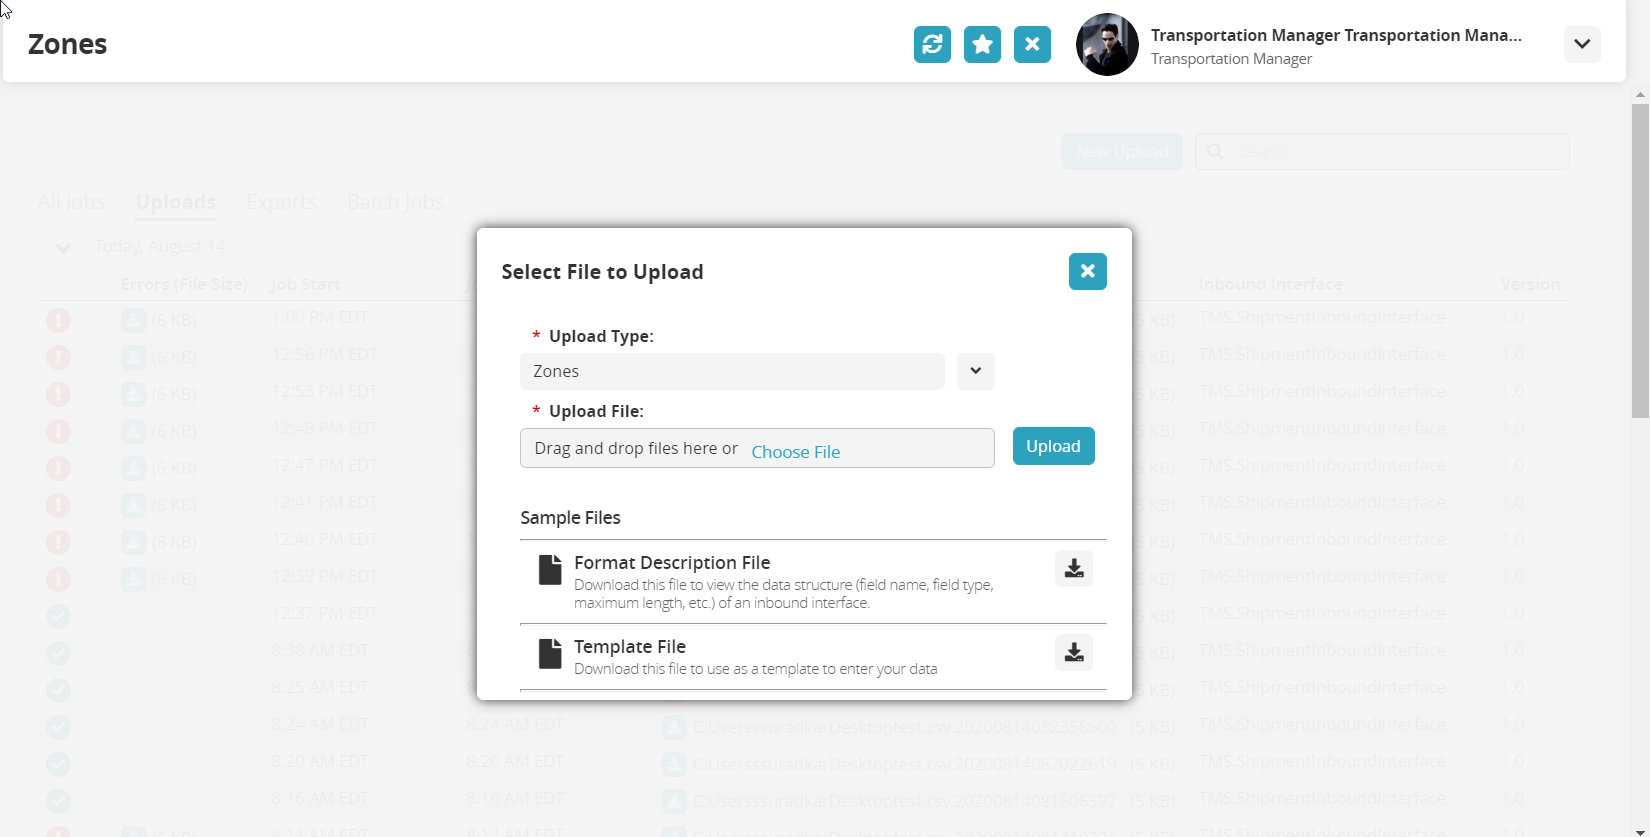
Fields with an asterisk ( * ) are required.Click the download button to view a description for the file format.
Click the download button to download a template used for uploading the data.
Select the value from the dropdown menu for the * Upload Type field. It should default to Zones.
Click the Choose File link to browse for the file on your computer or drag and drop it into the *Upload File field.
Click the Upload button.
The Zones screen displays with the file upload.
Complete the following steps to apply zone-based rating to a base rating for a carrier.
Log into the ONE system.
Click on Menu/Favs > Contract Mgmt > Carrier Contracts.
The Carrier Contracts screen displays.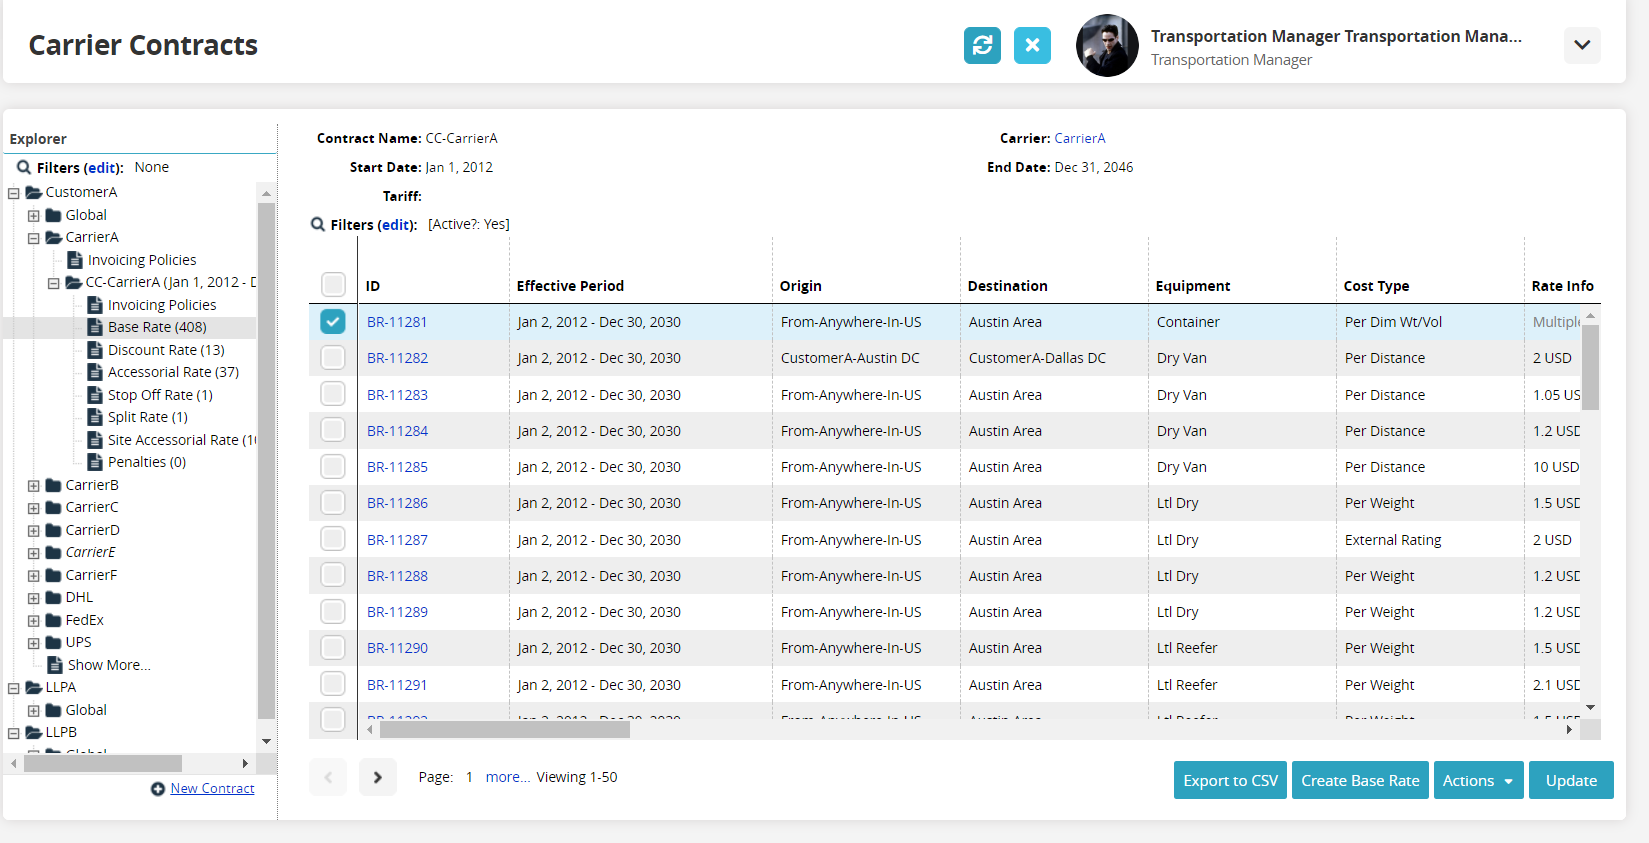
Select Base Rate under the appropriate carrier.
The list of base rates for that carrier displays.Click on the ID link for the base rate.
The base rate details screen displays.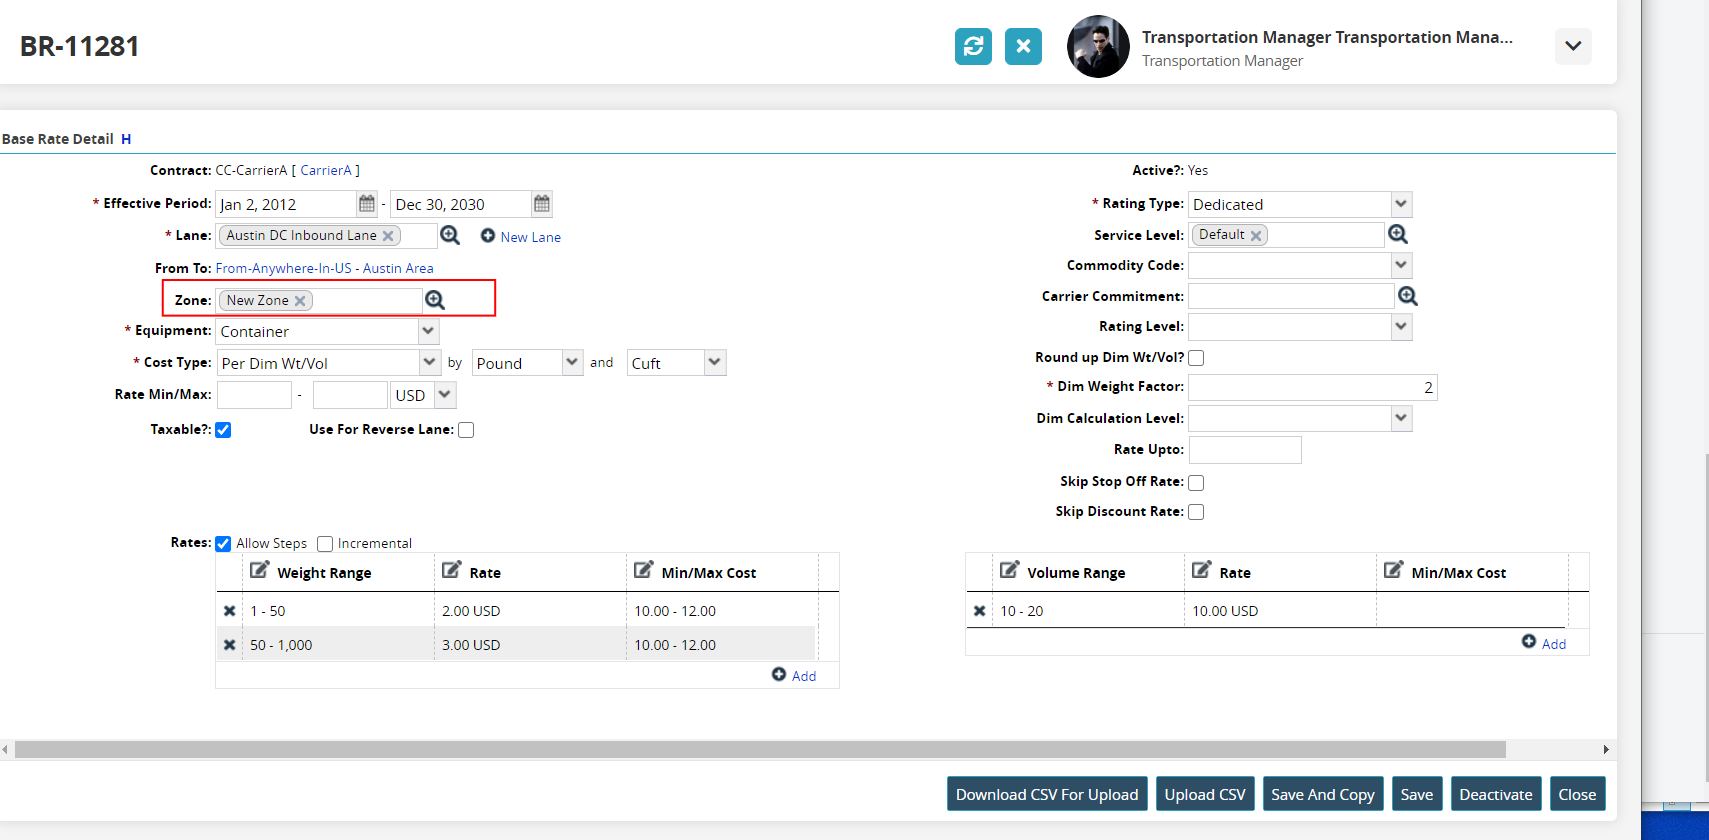
Click the picker tool for the Zone field and select the zone to apply.
The list of zones available displays.Click on the Ok button.
The zone displays in the field.Click on the Save button.
A green success bar displays.