Vendor Stockout Problem Workbench
The Vendor Stockout Problem Workbench allows buyer roles to view and repair order problems.
Complete the following steps to use the Vendor Stockout Problem Workbench:
L og in to the ONE system.
Click the Problems icon on the left sidebar from any screen.
The Problems slideout opens.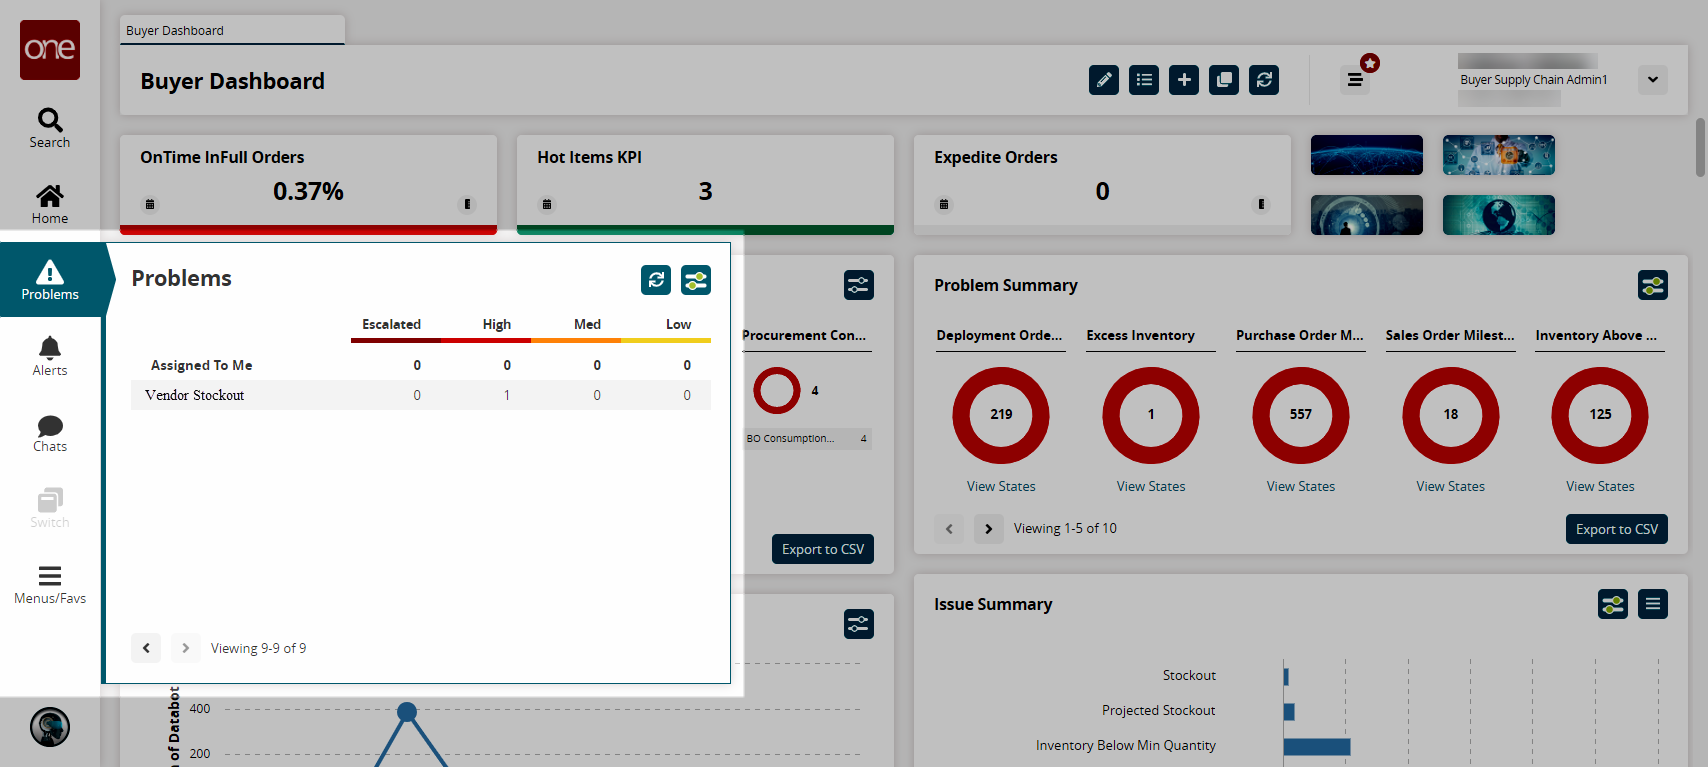
Select a Vendor Stockout problem by clicking a number.
The Vendor Stockout screen displays.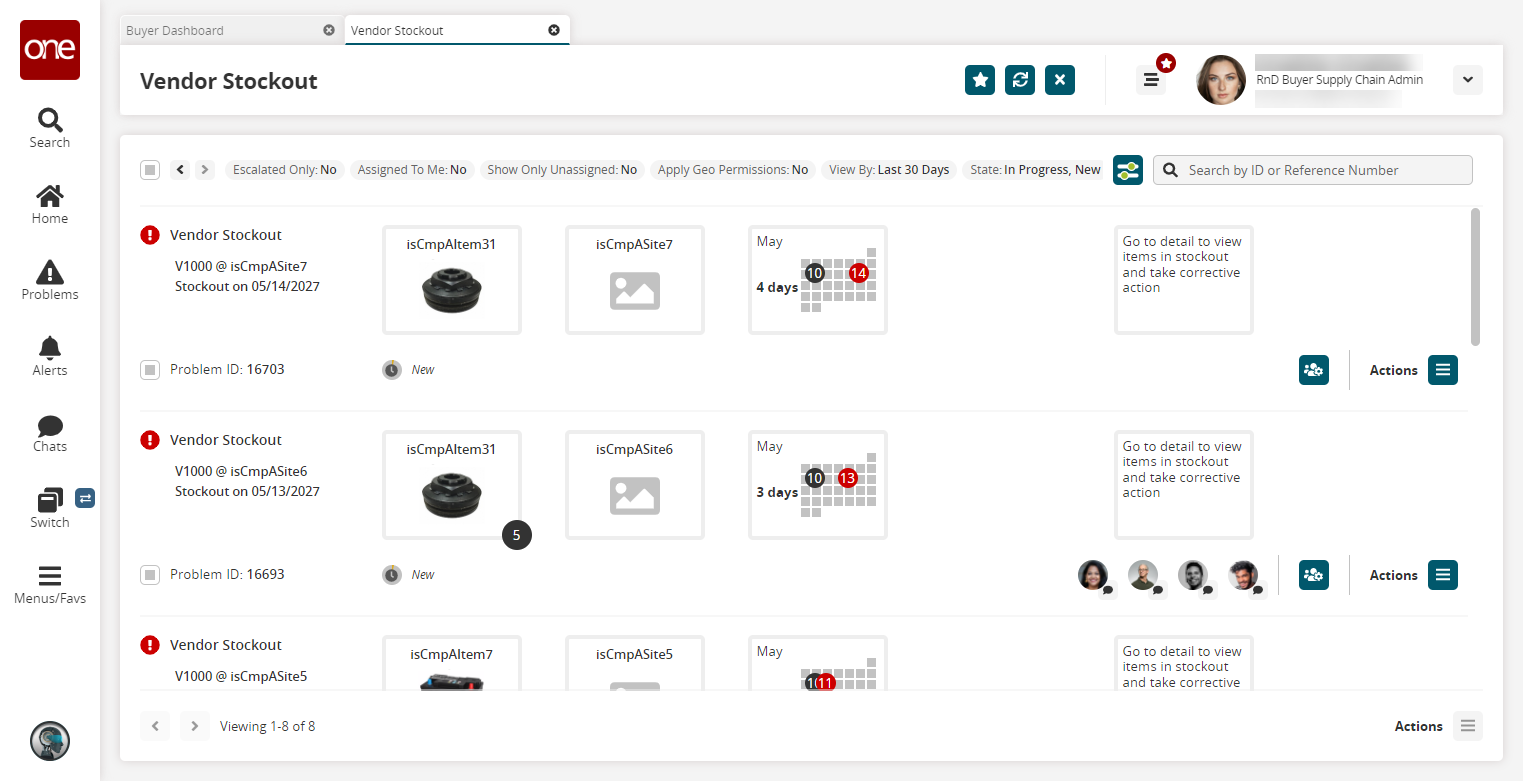
Click Actions > Start Work. (Or click Resume if you have already started working on the problem.)
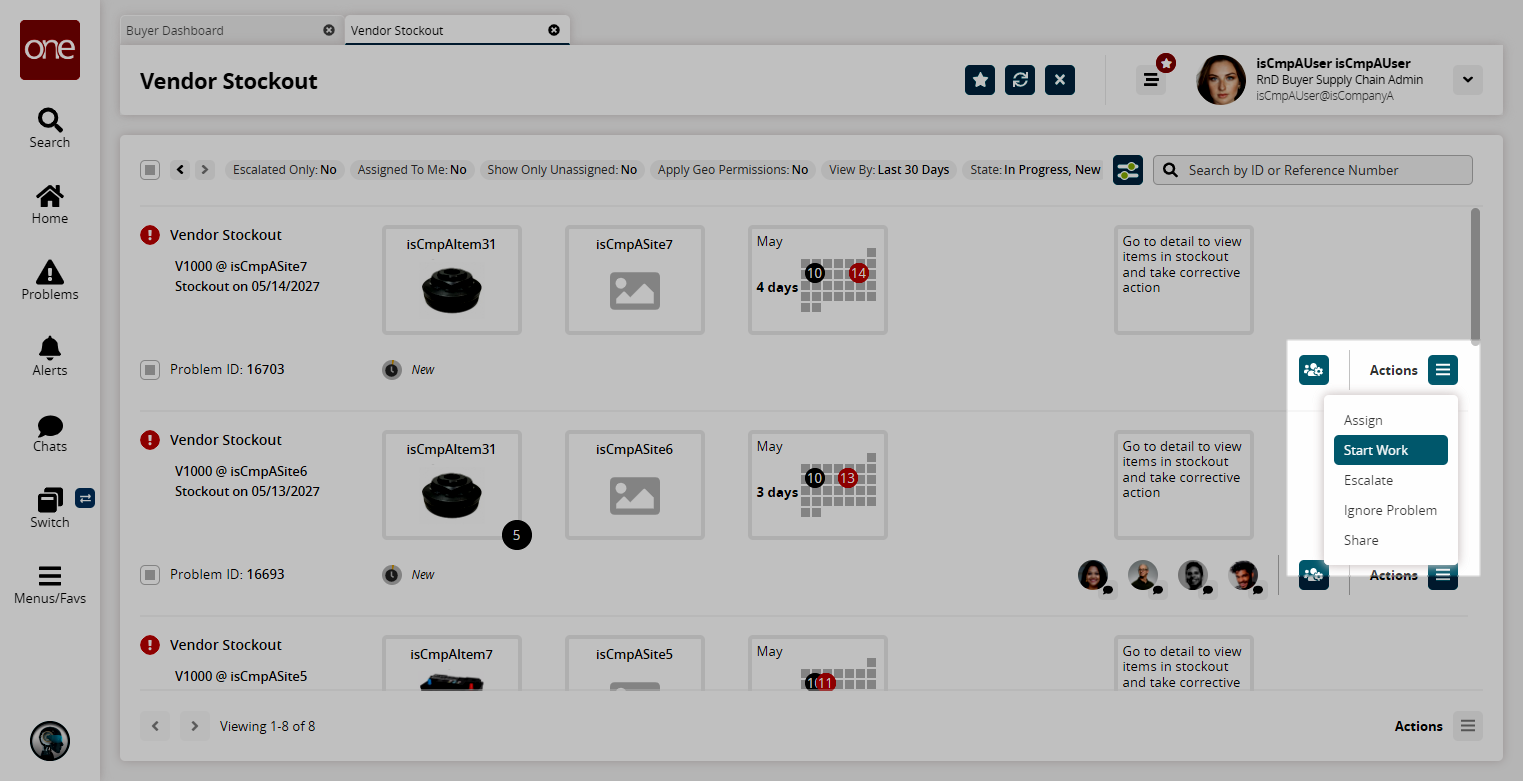
The problem status changes from New to In Progress.Click a Problem Name link to expand the details for that particular problem.
The problem details screen displays.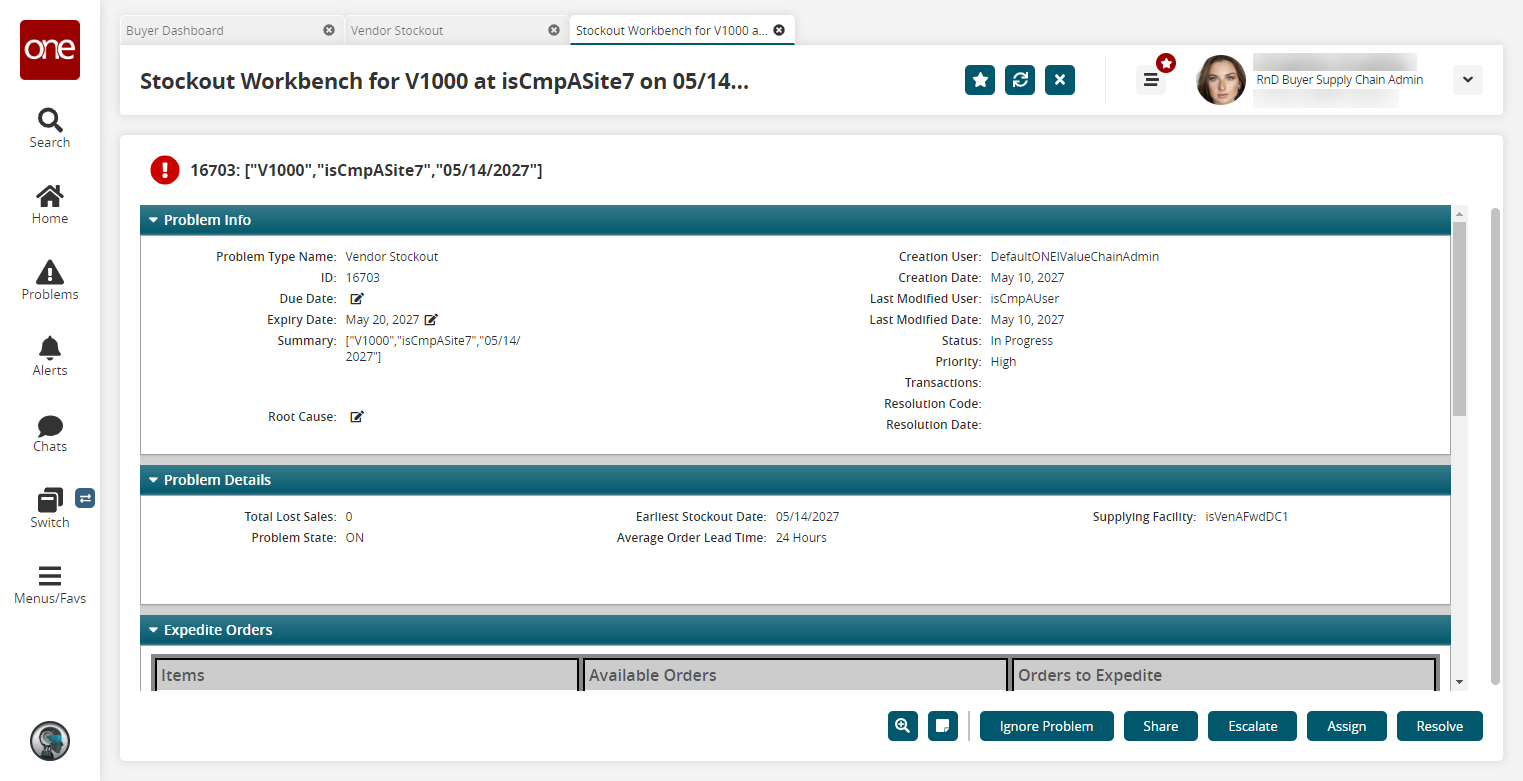
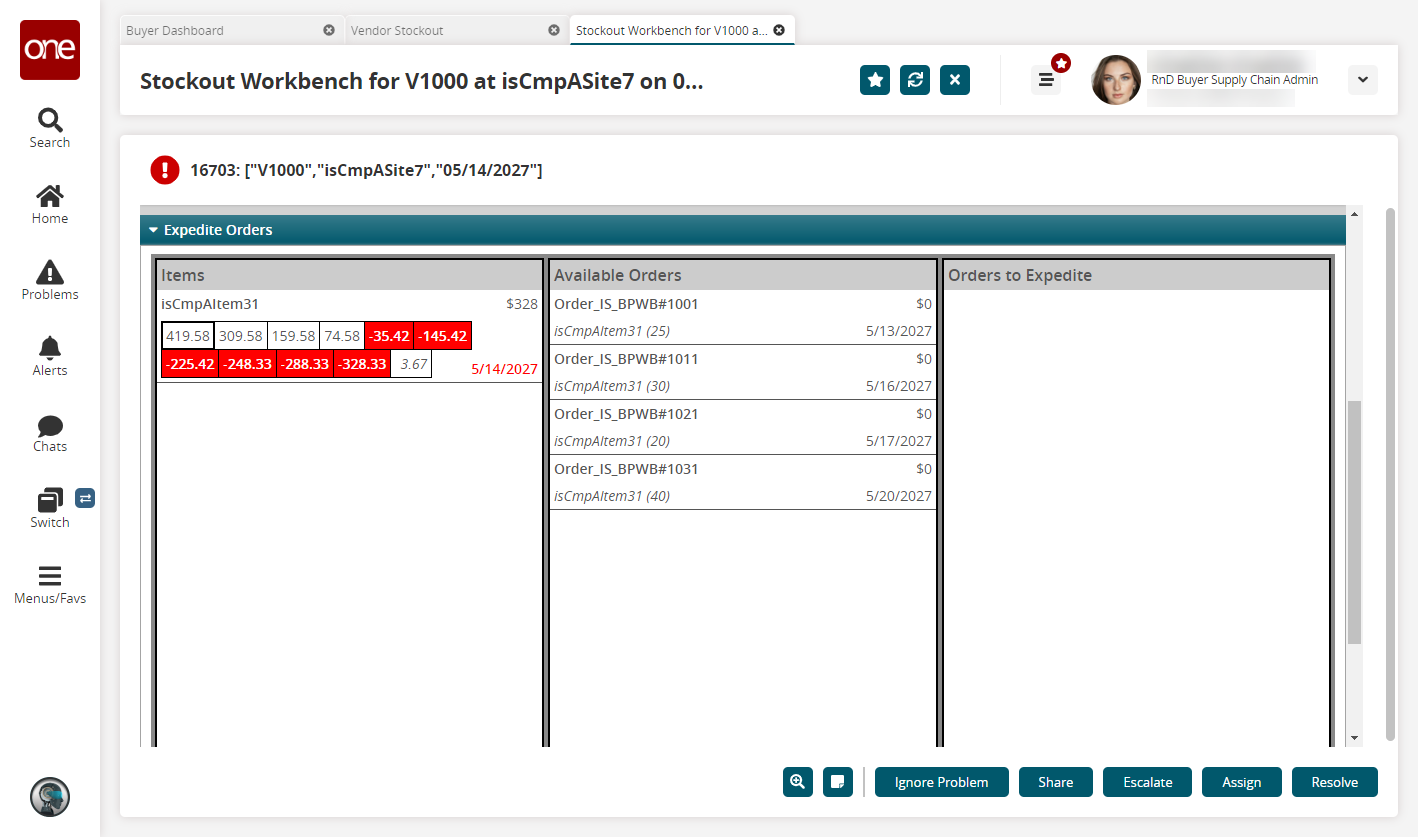
The red blocks in the first column of the Expedite Orders section indicate the item will be out of stock on those dates. Hover the cursor over a block to view the stockout date. The first stockout date is red in the bottom-right corner of the first column.In the Available Orders section, double-click an order.
The Expedite Order popup opens.
Click an Expedite by (Days) number. In this example, either 1 or 2.
The Expedited Delivery Date field updates accordingly.Click the Expedite button.
The order moves to the Order to Expedite column and the PIV in the Items column updates.Click the Submit Request button.
The Orders to Expedite section is now empty.Click the Resolve button.
The issue is marked resolved.