Viewing and Adding Tracking Events from the Tracking Event Report
You can view tracking event reports from the Search Shipments, Search Movements, and Multi-Modal screens. From the tracking event screens or from the shipment detail screens, you can create tracking events.
Complete the following steps to view tracking event reports:
L og in to the ONE system.
Click Menus/Favs > Transportation > Search Shipments.
In the NEO UI, users can click on the Menus/Favs icon on the left sidebar and type in the name of the screen in the menu search bar. For more information, see "Using the Menu Search Bar."
The Search Shipments screen opens with the filters displayed.Enter values in the filter fields as desired. Fields with an asterisk ( * ) are required.
Click the Search link.
The list of shipments matching the filter criteria displays.In the Links column, click the Tracking link.
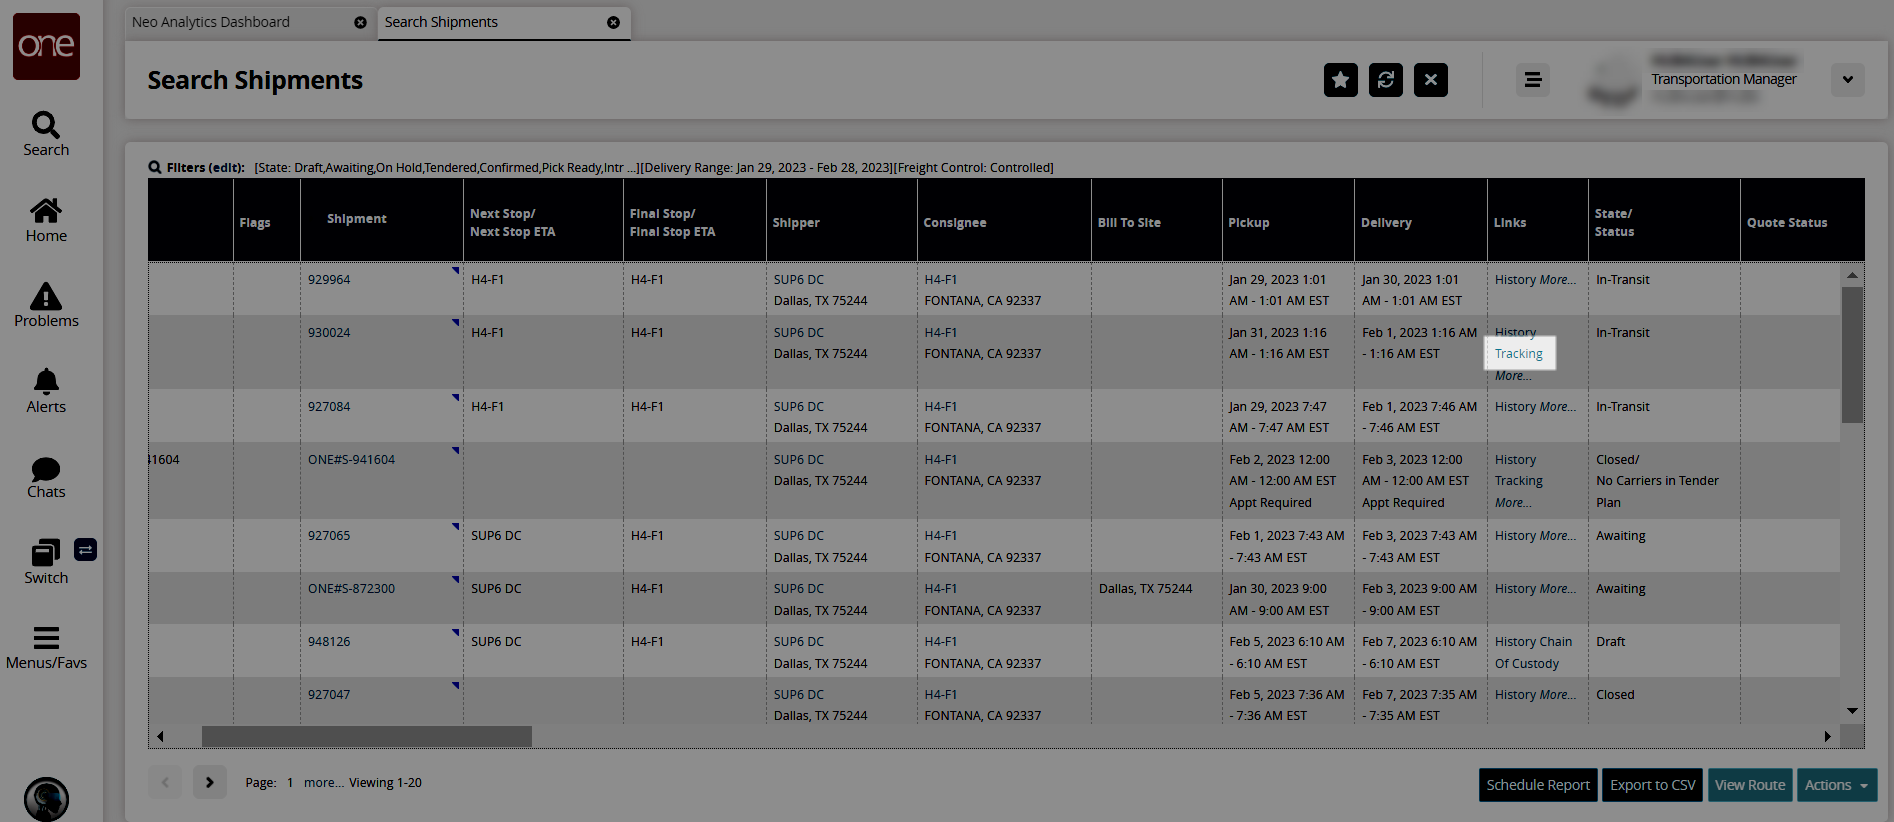
The Shipment Tracking report for the shipment opens.
Click the Filters (edit) link to apply search criteria to reduce the number of entries shown.
The Filters menu displays.Fill out the filters as desired, and click the Search link.
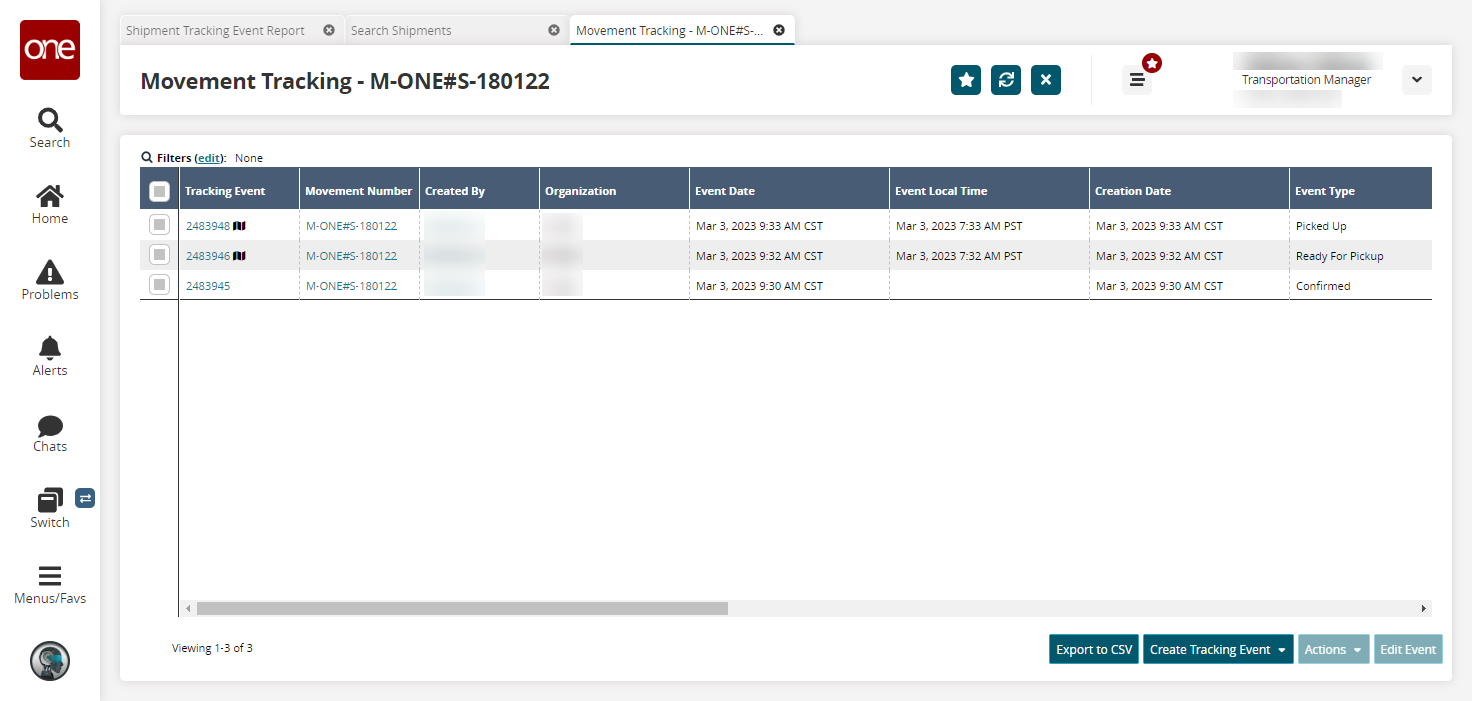
The search results display.Click the Export to CSV button to export the report to a CSV file.
Click the Create Tracking Event button to create a tracking event. See the instructions below for information about this step.
Select a tracking event checkbox, and then click the Edit Event button to edit a tracking event.
The screen refreshes with the selected event(s); fields with an edit icon (pencil) are editable.Edit as desired.
Click the Submit button.
A success message appears.
Complete the following steps to create a tracking event:
Follow the steps above to events.
Click the Create Tracking Event button.
The tracking event options display in a menu.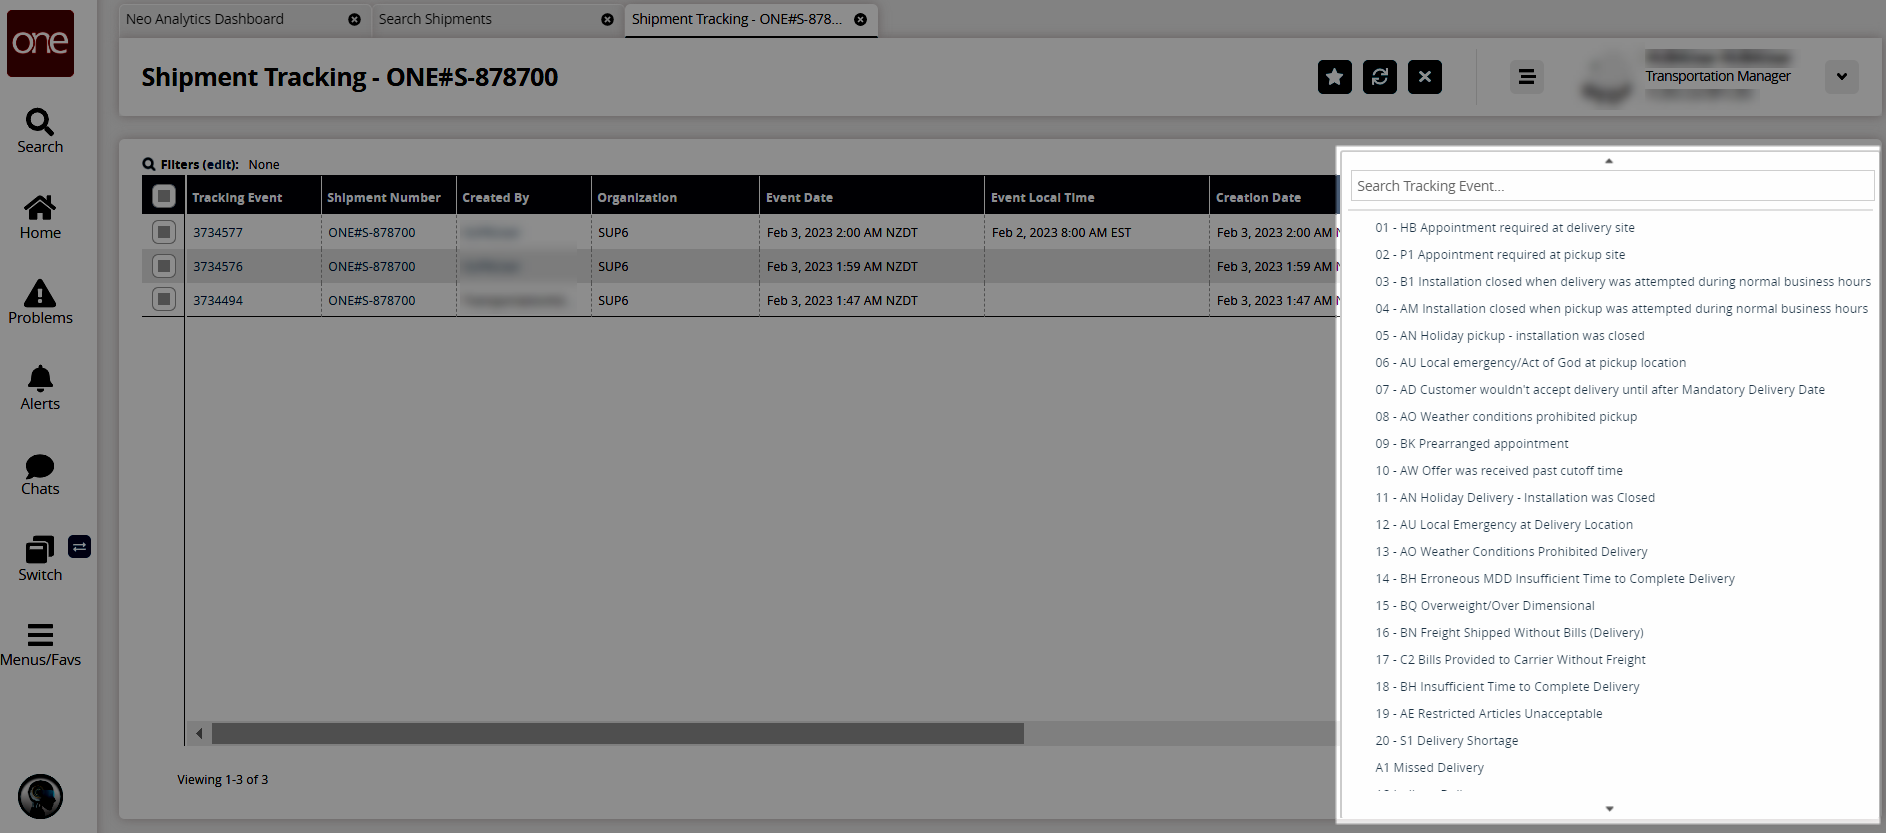
Scroll or use the Search Tracking Event field to locate the type of tracking event you want to create.
The Create Shipment Tracking Event popup window displays.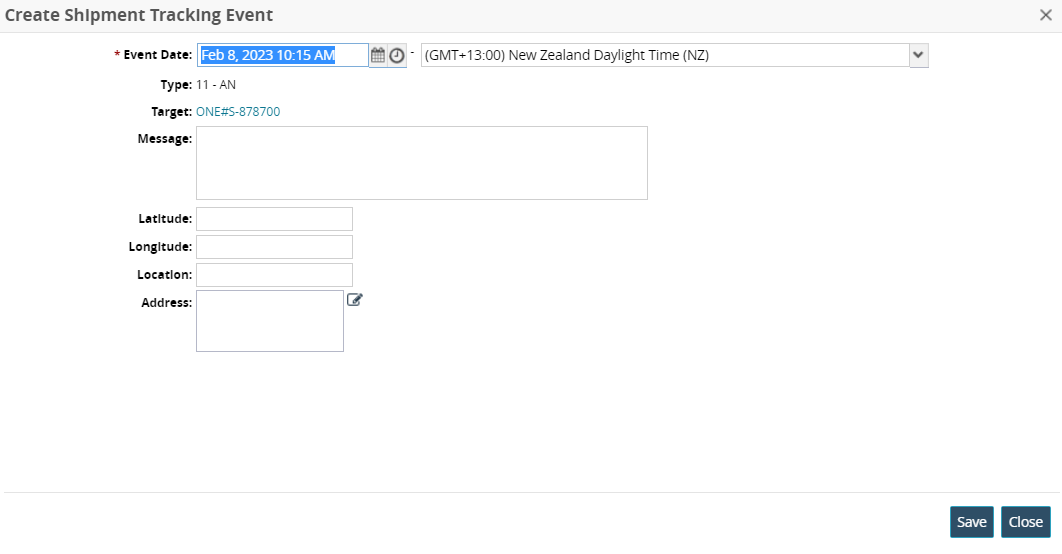
Fill out the following fields. Fields with an asterisk ( * ) are required.
Field
Description
* Event Date
Click the calendar and clock icons to enter the tracking event date. Select the time zone from the dropdown list. This field defaults to the current date.
Type
This field auto-populates based on the type of tracking event selected.
Target
This field auto-populates.
Message
Enter a message about the tracking event if desired.
Latitude
Enter the latitude.
Longitude
Enter the longitude.
Location
Enter a location.
Address
Click the field or the edit icon to enter an address.
Click the Save button.
A green success message appears.Click Close and Refresh.
The popup window closes, and the page refreshes to include the new tracking event.
Complete the following steps to create a tracking event from the shipment detail page:
Click Menu/Favs > Transportation > Search Shipments.
In the NEO UI, users can click on the Menus/Favs icon on the left sidebar and type in the name of the screen in the menu search bar. For more information, see "Using the Menu Search Bar."
The Search Shipments screen opens with the filters displayed.Enter values in the filter fields as desired. Fields with an asterisk ( * ) are required.
Click the Search link.
The list of shipments matching the filter criteria appears.In the Shipment column, click the link for the shipment you want to create a tracking event.
The Shipment detail screen opens in a new tab.Click the Tracking tab.
The shipment tracking events are listed.
Click the Create Tracking Event button.
The tracking event options display.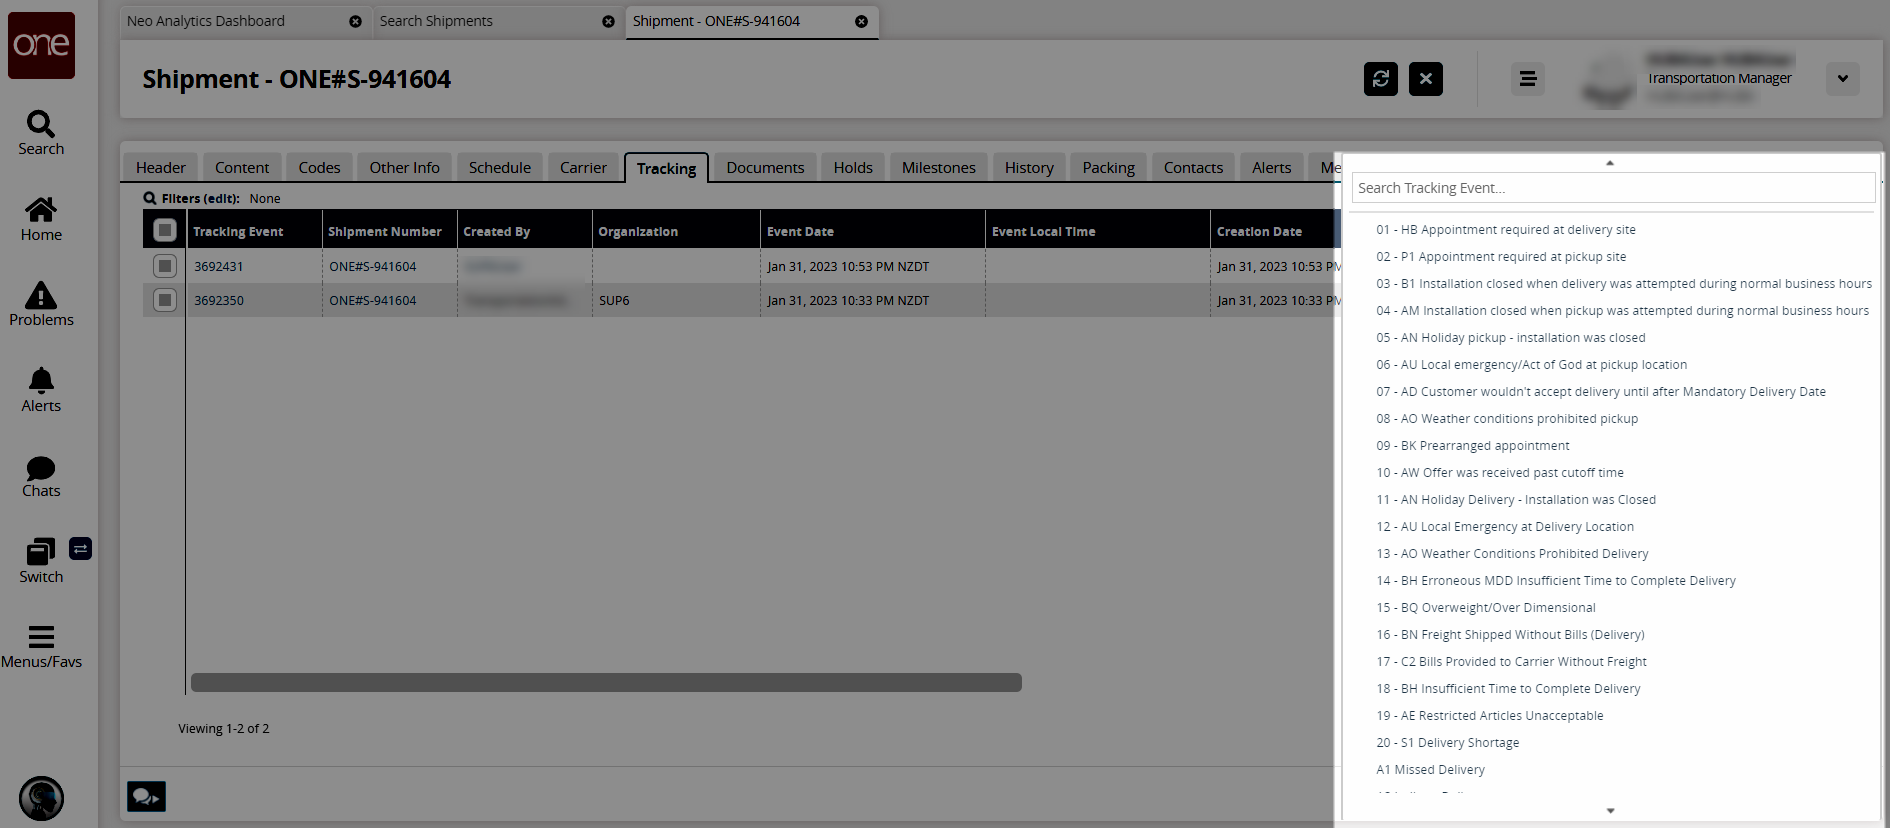
Scroll or use the Search Tracking Event field to locate the type of tracking event you want to create.
The Create Shipment Tracking Event popup window displays.
Fill out the following fields. Fields with an asterisk ( * ) are required.
Field
Description
* Event Date
Click the calendar and clock icons to enter the tracking event date. Select the time zone from the dropdown list. This field defaults to the current date.
Type
This field auto-populates based on the type of tracking event selected.
Target
This field auto-populates.
Message
Enter a message about the tracking event if desired.
Latitude
Enter the latitude.
Longitude
Enter the longitude.
Location
Enter a location.
Address
Click the field or the edit icon to enter an address.
Click the Save button.
A green success message appears.Click Close and Refresh.
The popup window closes, and the details page refreshes to include the new tracking event.