Working with Shipment Problems
Users can perform various actions on problems such as Share, Escalate, Start Work, and Assign. This section describes each action in detail.
Complete the following steps to perform actions on the shipment problems:
Log in to the ONE system.
Open the problem details screen using the procedure described in the Viewing Shipment Problem Details section.
The Problem details screen appears.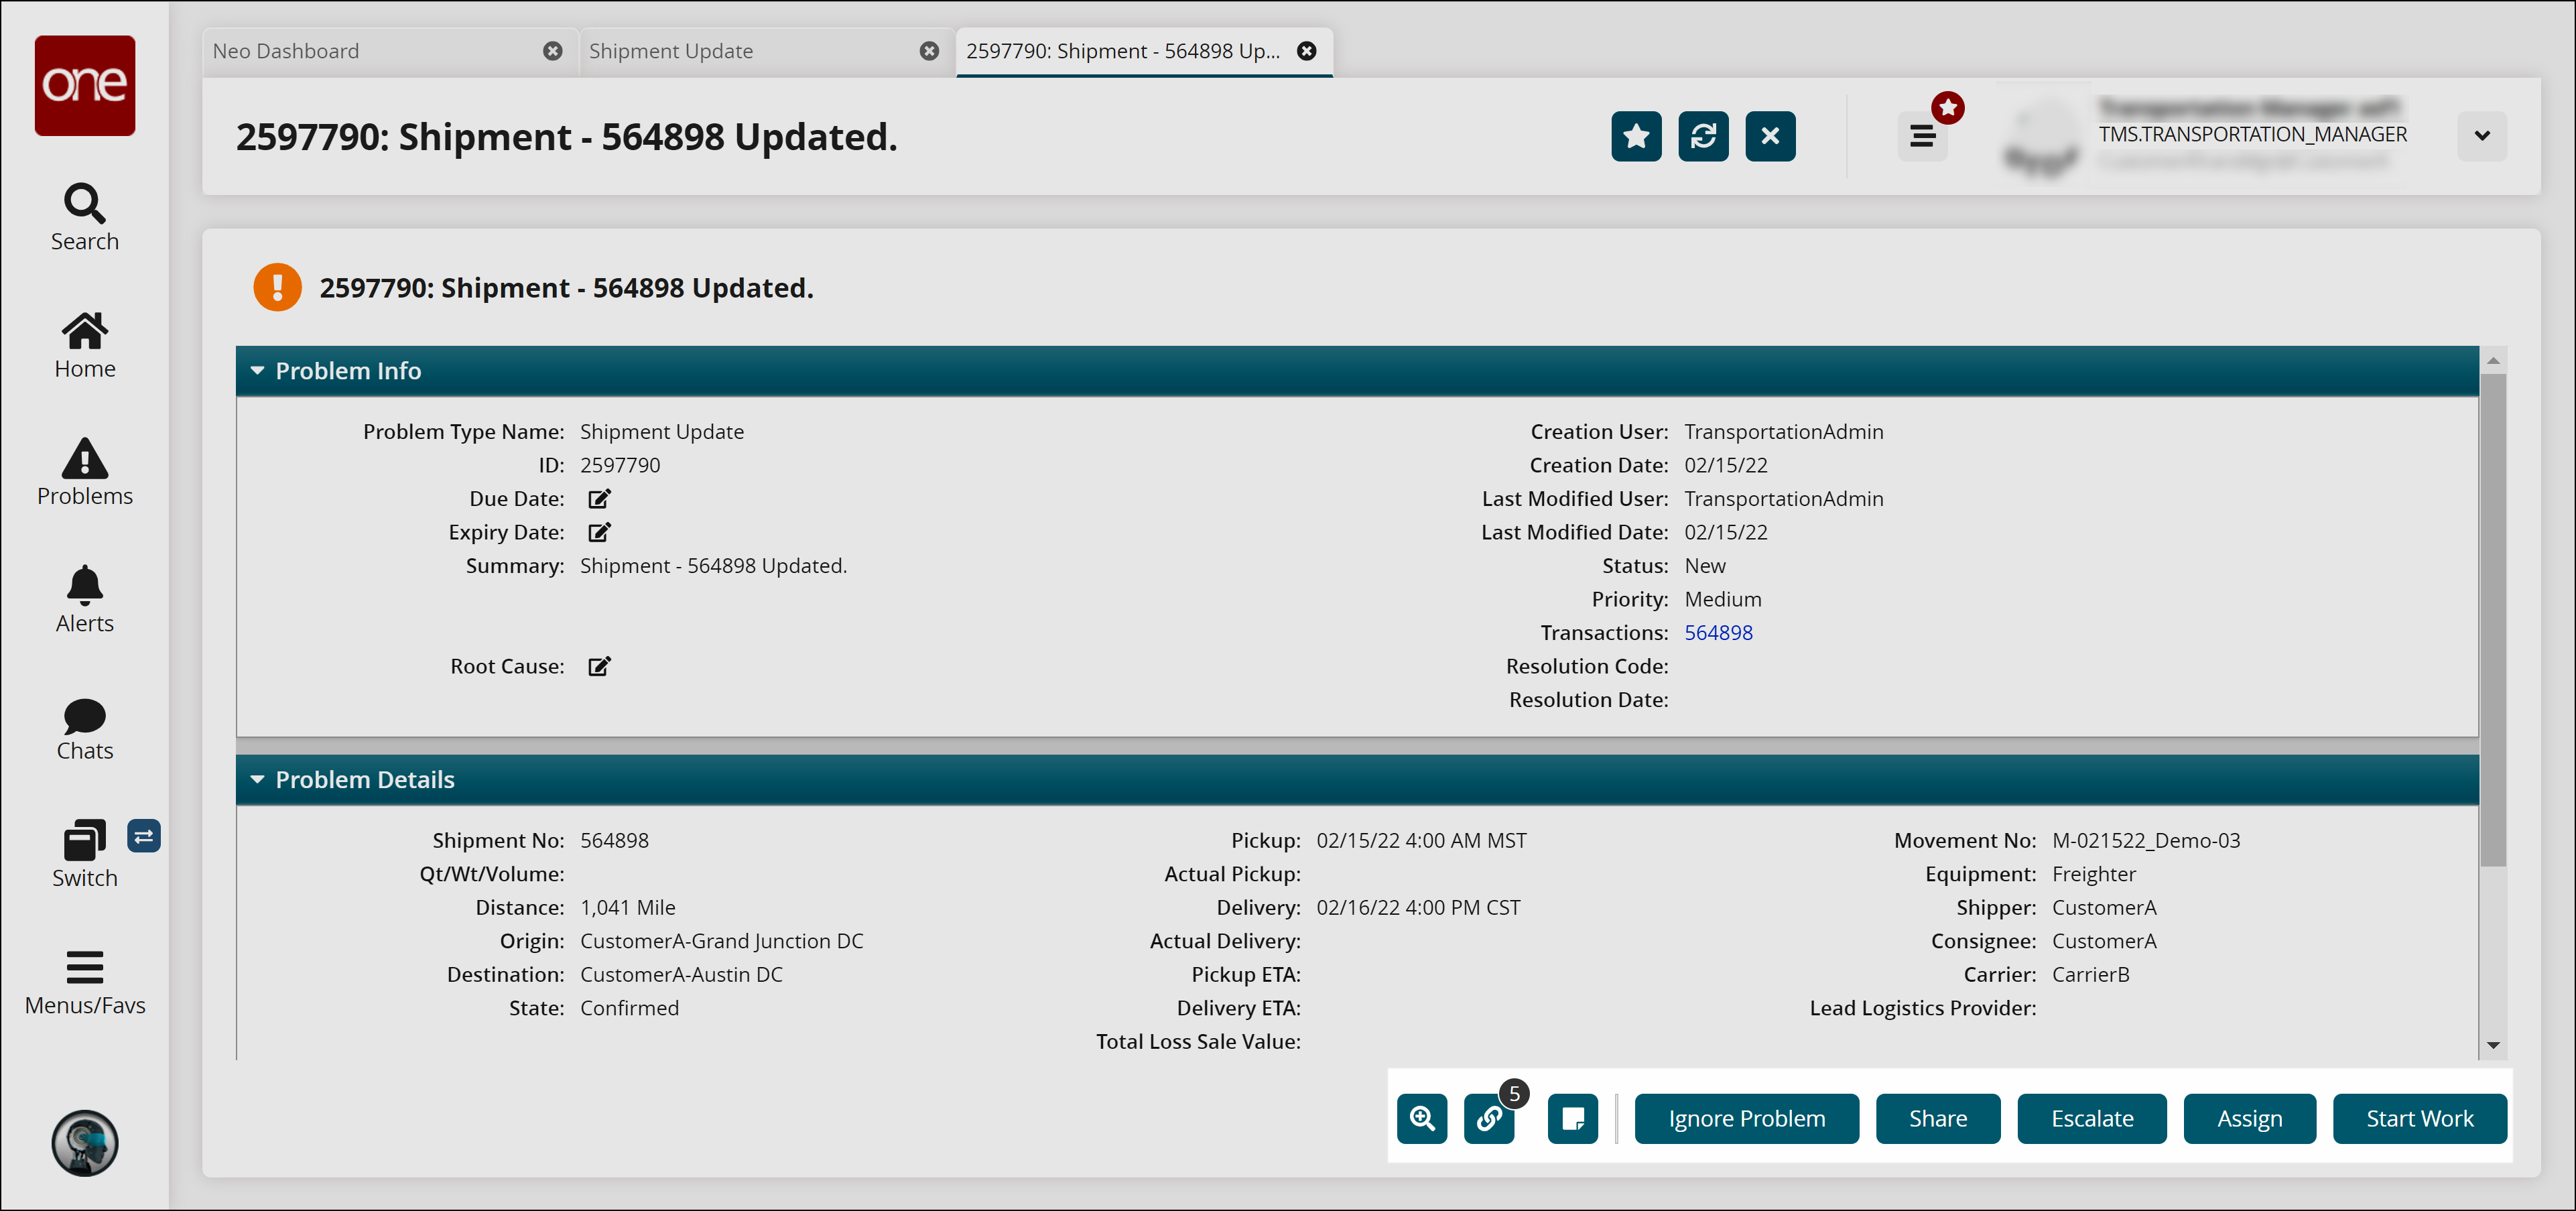
Click the Audit button (
 ) to view the audit trail of the problem.
To close the problem, click Ignore Problem.
Click the Share button to share the problem with other organizations.
The Share Problem with Other Organizations pop-up window appears.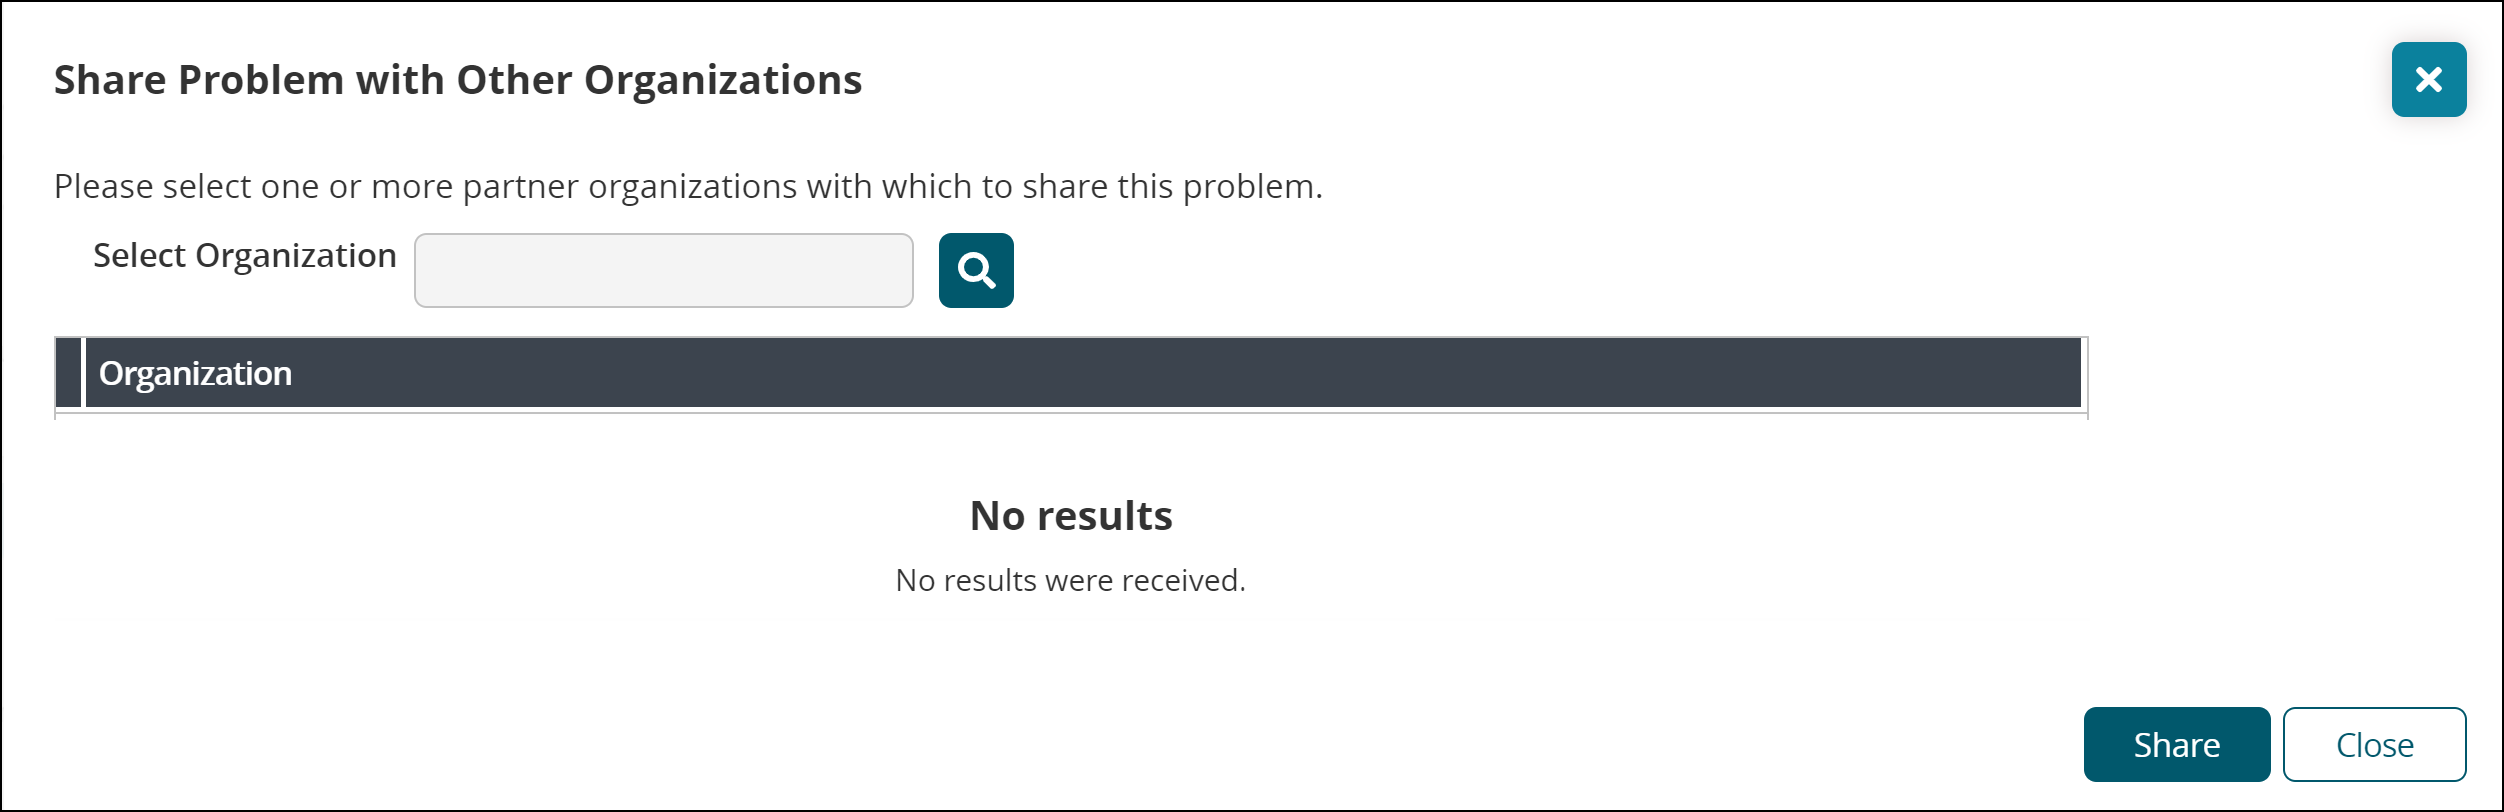
Select the desired organizations using the picker tool.
Click Share.
The Collaboration section appears for each organization on the Problem details screen.
Click Escalate to escalate the problem.
The Escalate Problem pop-up window appears.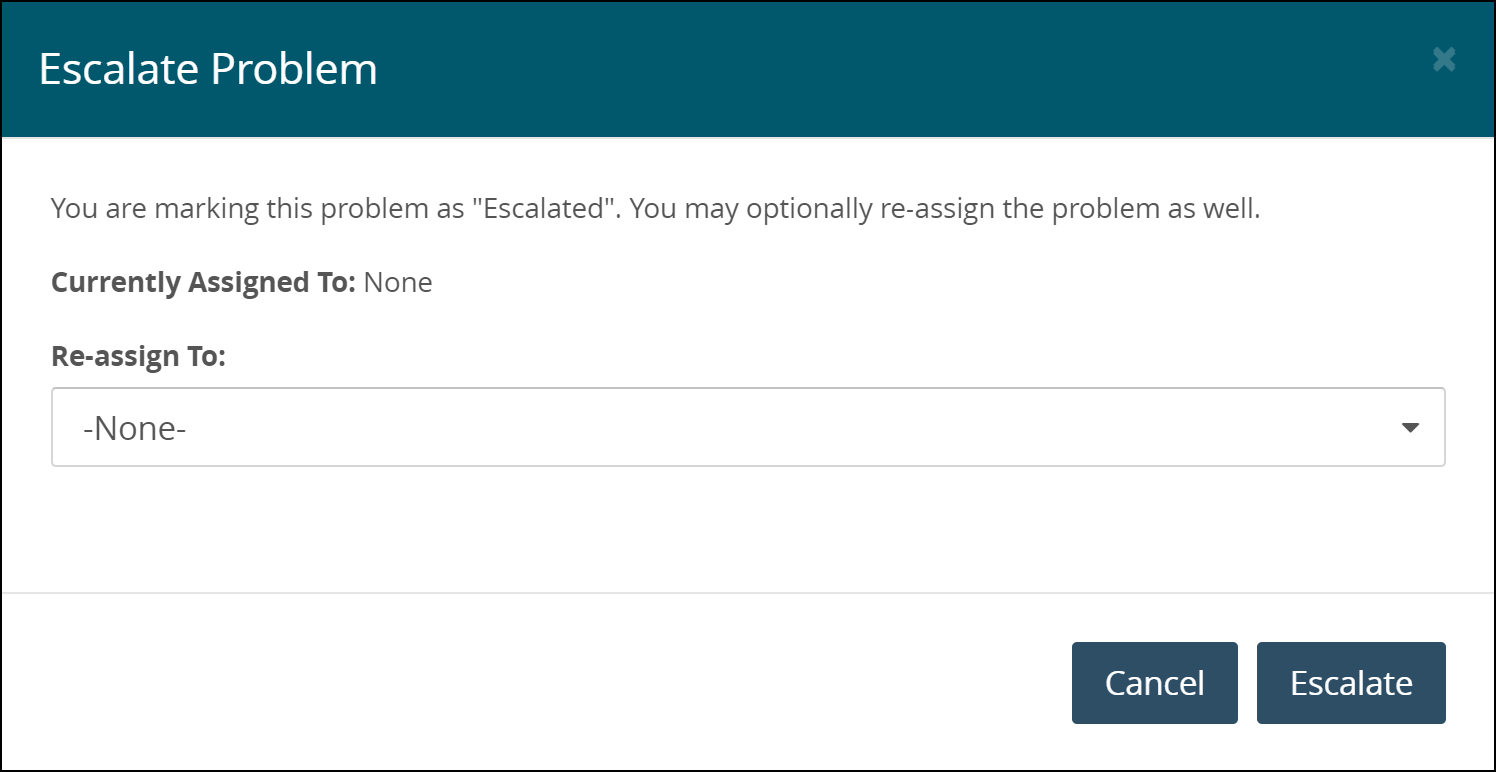
Optionally, re-assign the problem to another user by selecting their username from the dropdown list.
Click Escalate.
Click De-Escalate to cancel the escalation process.
The De-Escalate Problem pop-up window appears.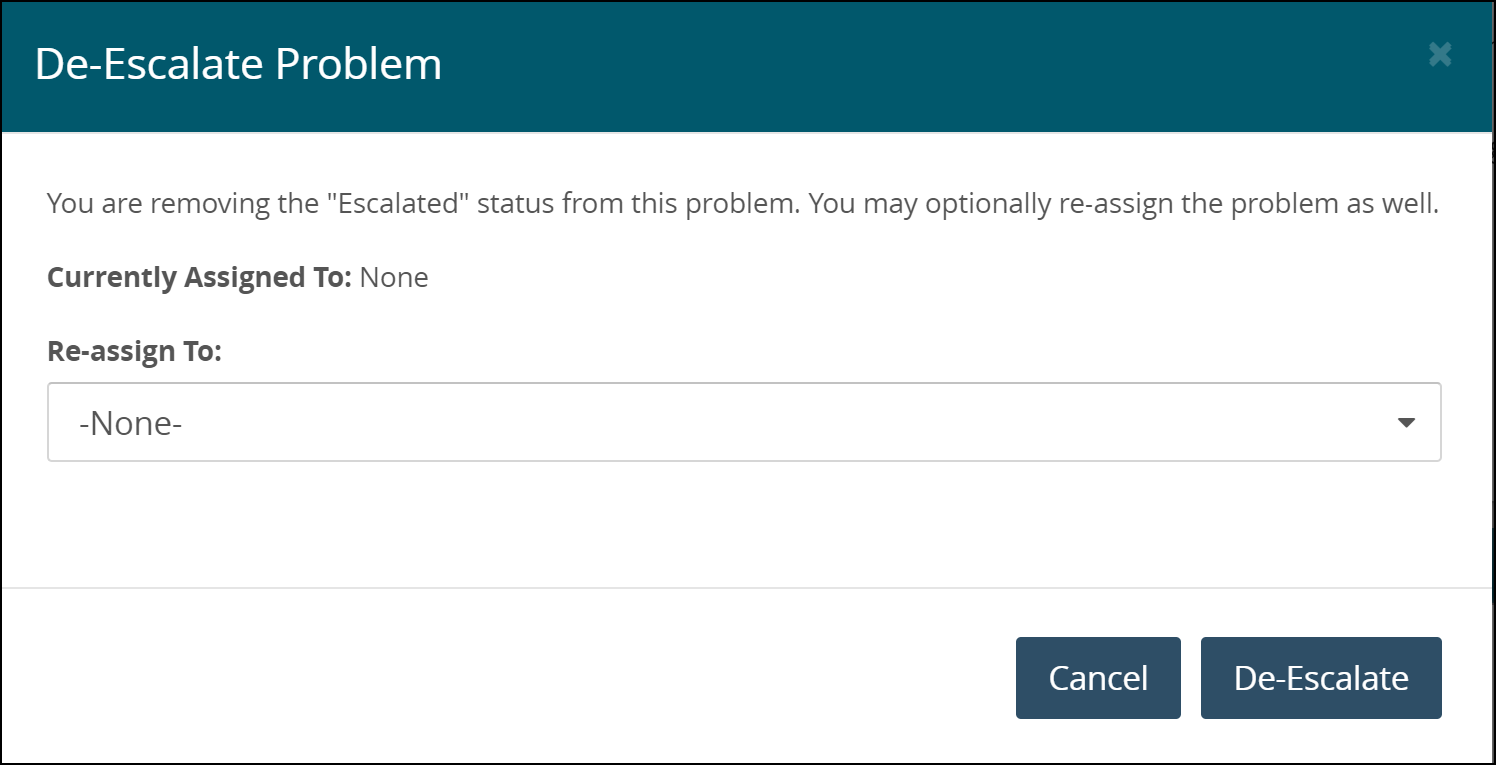
Optionally, re-assign the problem to another user by selecting their username from the dropdown list.
Click De-Escalate.
Click Assign to assign the problem to the desired user.
The Assign Problem pop-up window appears.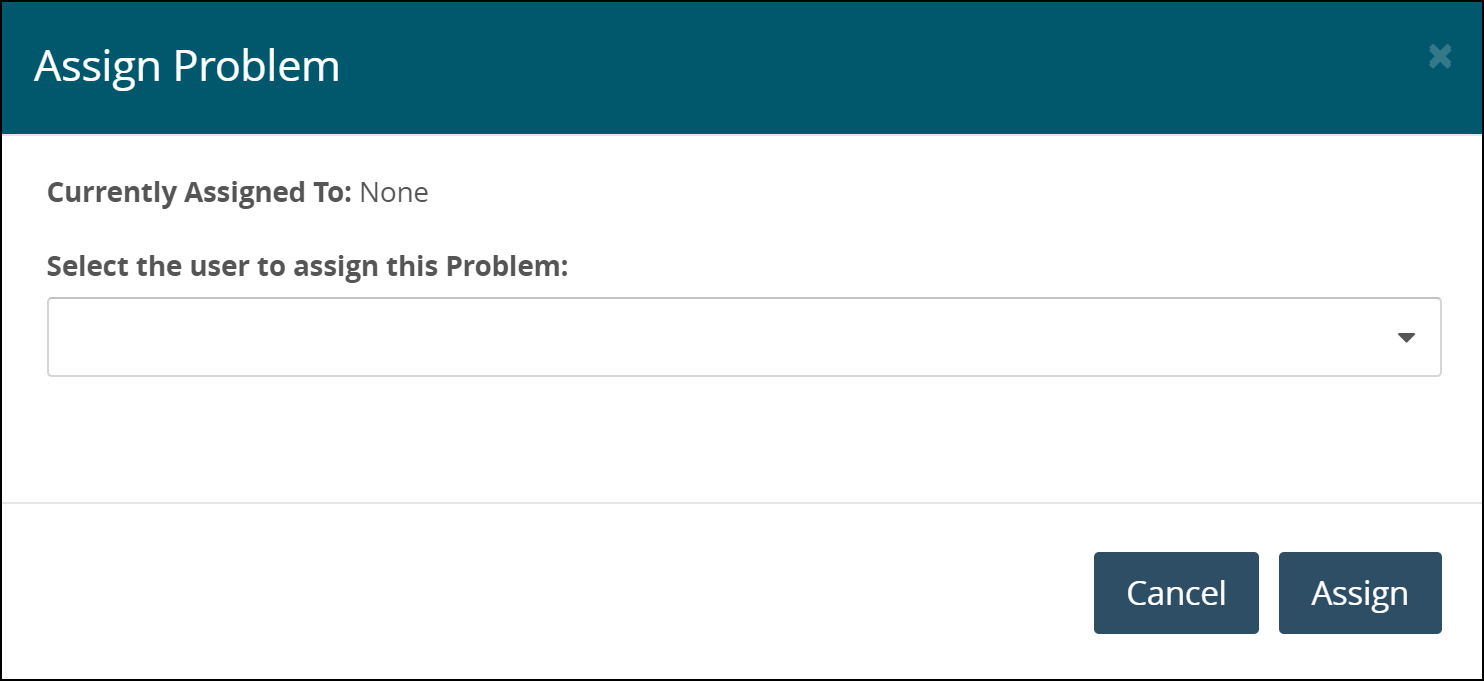
Select the desired user from the dropdown list.
Click Assign.
The Problem details page updates with the new information.
Click Start Work to start working on the problem.
Click Resolve to resolve the problem.
The Resolve Problem pop-up window appears.
For the Root Cause and Resolution Code fields, select the desired values from the dropdown list.
Enter description of the root cause and resolution code in the Root Cause Explanation and Resolution Code Explanation fields.
Click Resolve.
The Problem updates.