Working With The Alert Summary Table Widget
The Alert Summary Table mirrors the Alert slideout found in the left navigation menu of the
NEO UI. However, with this new widget added to a dashboard, users no longer have to open
the slideout each time to view alerts, which saves high-frequency users a significant amount
of time and clicks.
To add the Alert Summary Table widget to a dashboard, please see the "Working with
Widgets" section of the Online Help.
Complete the following steps to use and configure the Alert Summary Table widget:
Log in to the ONE system.
The Alert Summary Table widget displays on a dashboard.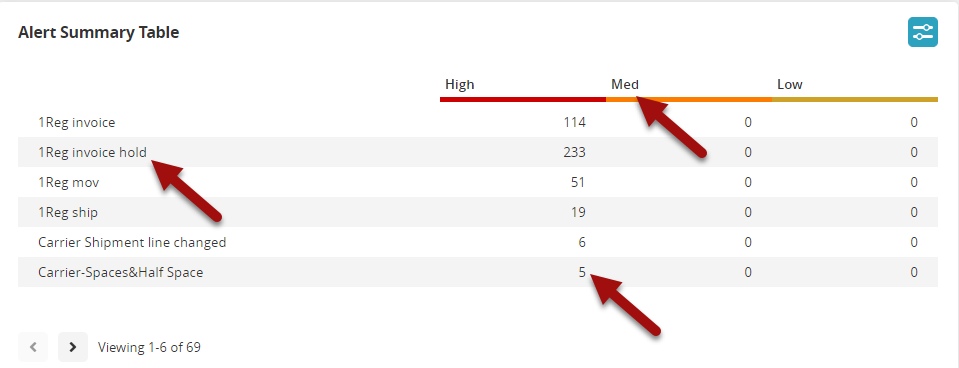
Click the active links for the alert name, the alert status (high, medium, or low), or
the specific number for an alert.
The Alert Inbox screen displays the information.Click the Filter Options button in the top right corner of the widget.
The Alert Summary Table settings popup window displays.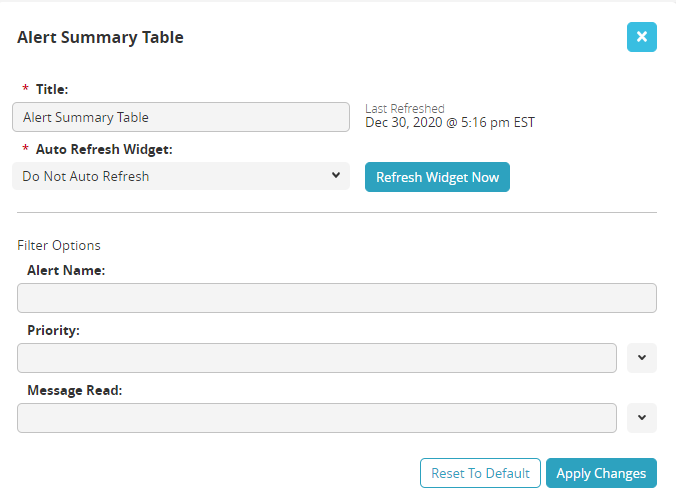
The following customization and filter options are available for this widget. All
fields with an asterisk ( * ) are required.Type in a customized title for the widget in the * Title field.
Select a time duration in the * Auto Refresh Widget field.
Type in a name to filter for a specific alert in the Alert Name field.
Select a value from the Priority dropdown menu.
Select a value from the Message Read dropdown menu.
Click the Apply Changes button.
The widget refreshes with the new filter options.