Working With The Favorite Report Widget
Users can create a Favorite Report Widget in their dashboards to easily refer to their most commonly used reports directly from the dashboard. Users have
customization privileges for the widget and for the filters applied to the widget.
Complete the following steps to add the Favorite Report widget.
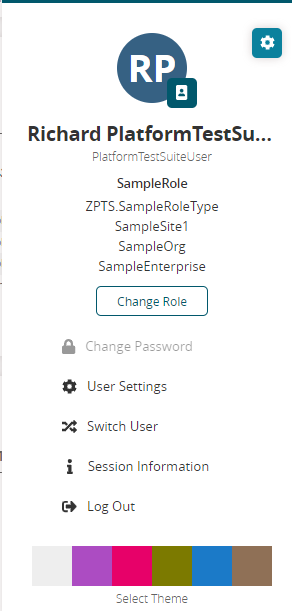
Log in with your user
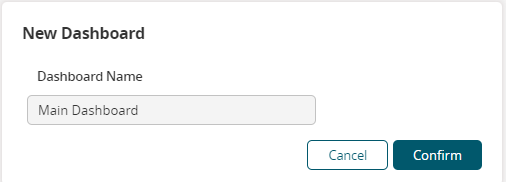
Click the “New Dashboard” button
Provide the name for the dashboard. Click “Confirm”
Add a Columnar or Fixed Layout by clicking their respective button

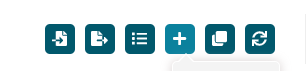
Click the “+” sign to add a new widget

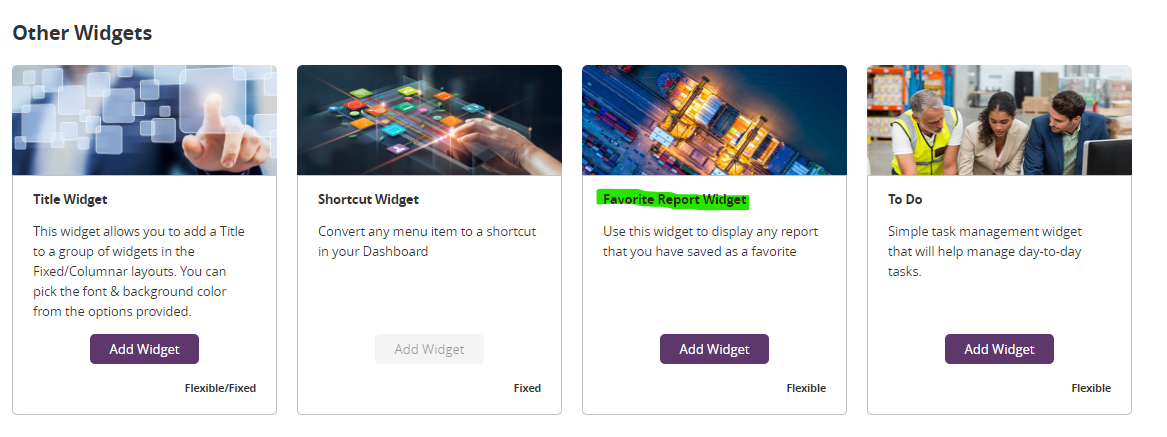
Under the “Other Widgets” section, locate “Favorite Report Widget” and click the button “Add Widget”
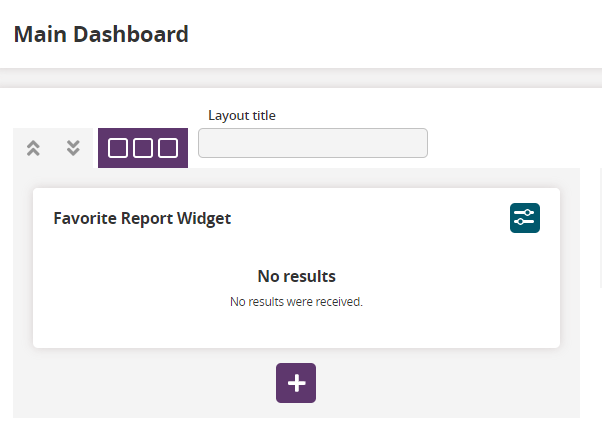
At this point, your Favorite Report widget will be visible on your Dashboard
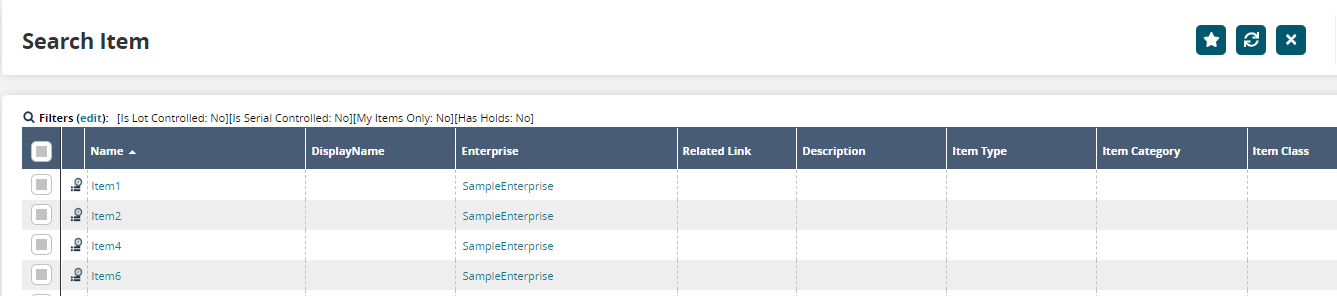
Now we need to favorite our report so that we can select it within our widget. Navigate to the report you want to favorite. In our example, we will use the report “Search Item.” With the report open, select the “Save as Favorite” button at the top of the page.
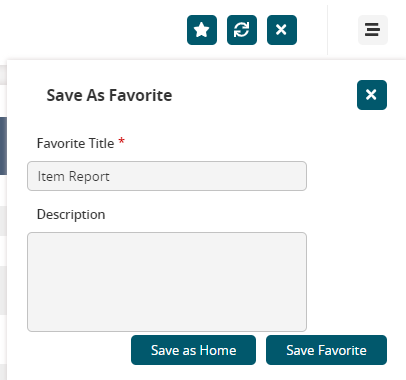
Provide your saved favorite report with a name for future reference. Click “Save Favorite,” then click “OK” on the pop-up confirmation
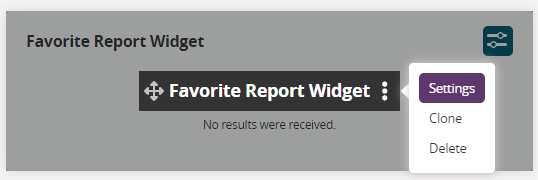
Navigate back to your dashboard and the Favorite Report widget. Hover over the widget and select the 3 vertical dots and select “Settings” to configure your widget.
Within the “Favorite Report Widget” popup, select the report you favorited, in this example “Item Report.”
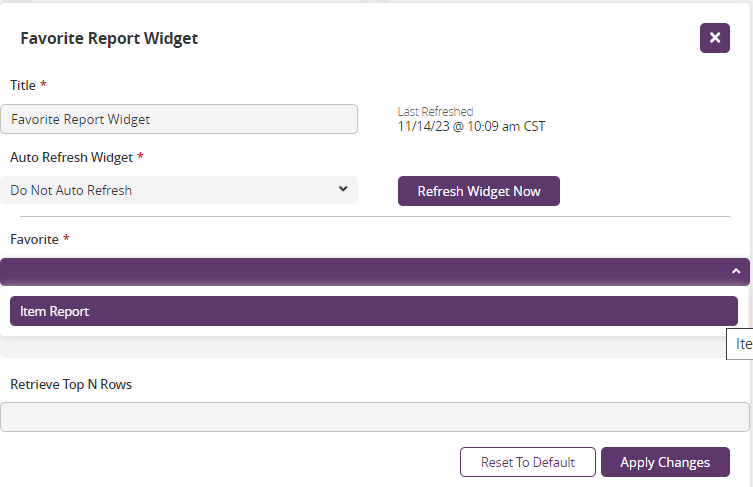
Once the favorited report has been selected, choose the columns you want displayed within your widget. You can configure any other attributes you would like to set for this widget at this point as well. Click “Apply Changes” button to save your widget configuration.

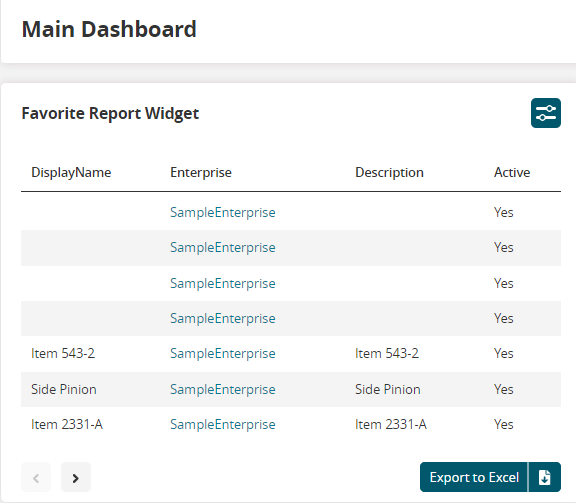
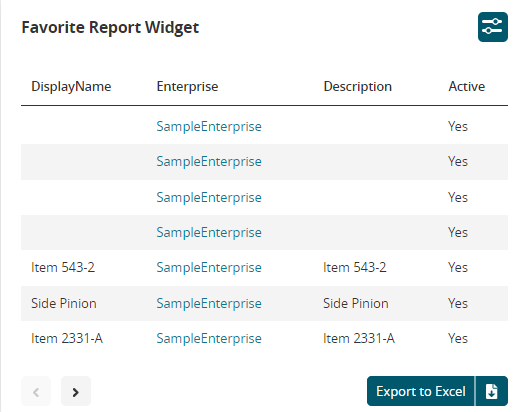
We can now see our report widget showing the columns from our favorited report
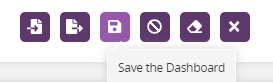
We can now save our dashboard with the changes we have made by clicking the “Save the Dashboard” button at the top of the page.
Once saved, we can see our widget displayed within our dashboard