Adding Custom Data Measures to the Forecast Book
Users can customize their forecast book, including additional data measures as desired.
Complete the following steps to add additional data measures to a forecast book:
L og in to the ONE system.
Click Menus/Favs > Demand Planning > Forecast Book. In the NEO UI, users can click on the Menus/Favs icon on the left sidebar and type in the name of the screen in the menu search bar. For more information, see "Using the Menu Search Bar."
The Forecast Book screen opens with the Filters header open by default.Enter values for the fields. Fields with an asterisk ( * ) are required. See the "Viewing the Forecast Book" section in the Online Help for more information.
Click the Search link.
The search results display.Click the Customize button.
The data measure lines are now editable.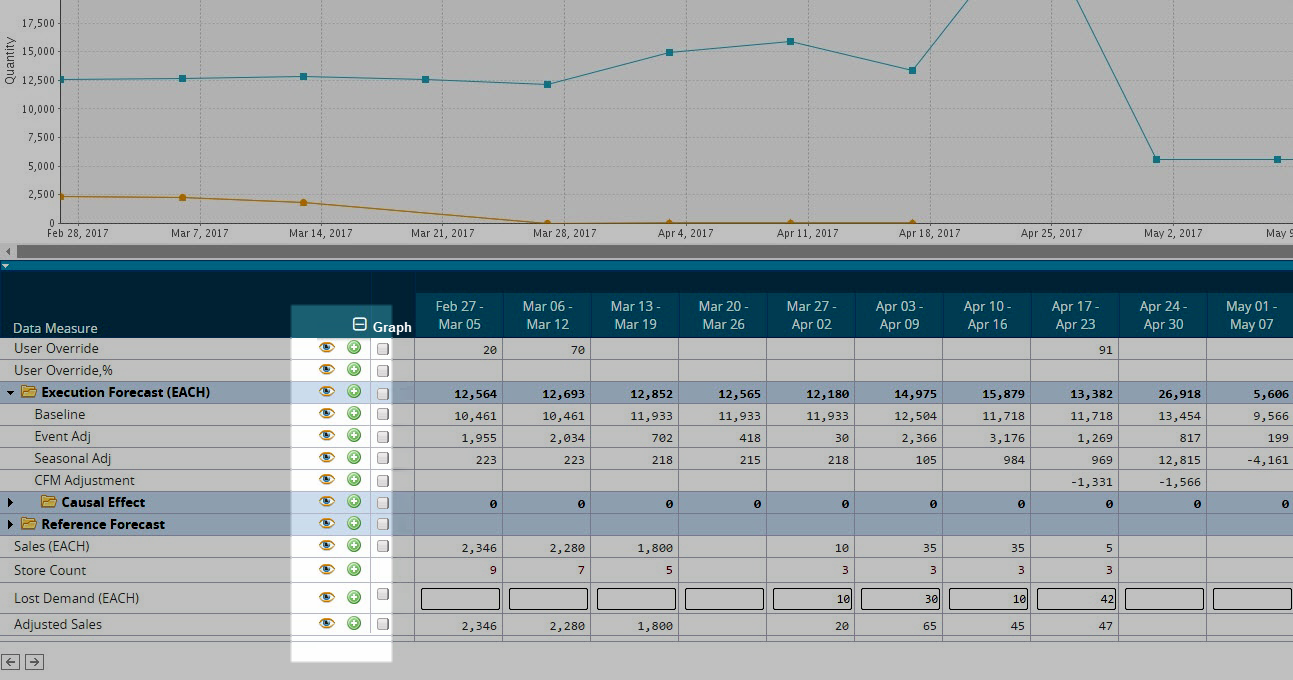
To add a data measure from the book, click the green plus icon.
The Add Data Measure pop-up window displays.Use the list on the right side of the window to choose a data measure to add.
Additionally, you can add Expressions to the data measure in the expressions field. Expressions can include numbers, mathematical operators, predefined functions, comparators, data measure values, and parentheses.
Enter a name for the new data measure in the Name field.
Click the Group checkbox if you want to allow child data measures to be added to the new data measure that you are creating.
When all information has been entered, click the Add button.
The Forecast Book displays the new data measure.To save the changes made to the Forecast Book, click the Finish Customizing button, and then click the Save button.