Cloning and Editing Custom Analytic Widgets
Complete the following steps to clone custom analytic widgets:
L og in to the ONE system.
The user's dashboard displays.Click the Edit the Dashboard button. (Users may need to navigate to the correct dashboard first. See the "Switching Between Dashboards" section in the Online Help for more information.)
The dashboard's edit mode displays.Click the three dots in the top right of the custom widget you wish to clone.
A menu appears.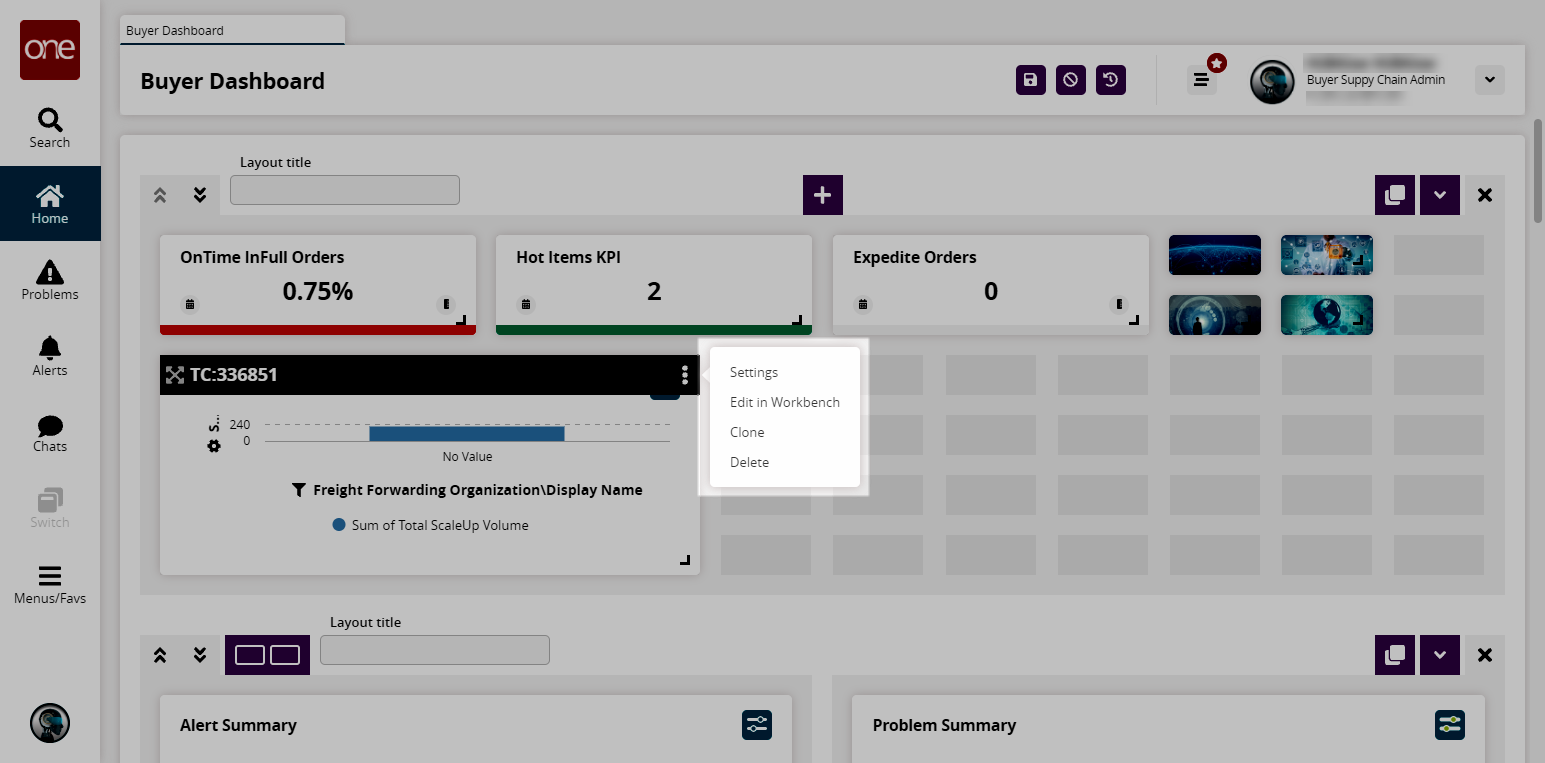
Click Clone.
An exact clone of the widget is created on the dashboard.
Complete the following steps to edit an existing custom analytic widget:
Ensure that you are in the edit dashboard mode as described above.
Click the three dots in the top right of the custom widget you wish to edit.
A menu displays.Click Edit in Workbench.
The Modify a Widget - (widget name) screen appears.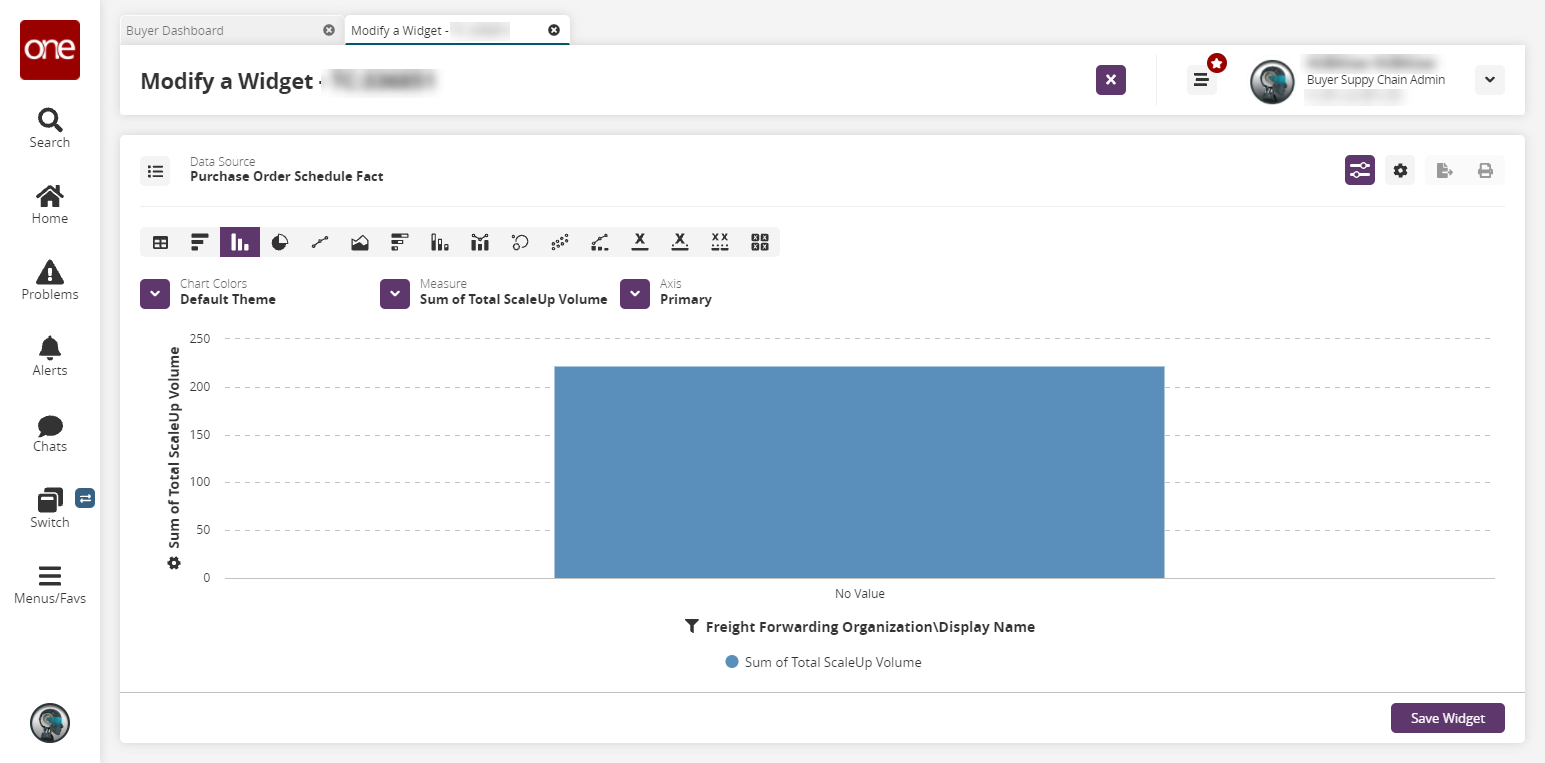
Make any desired changes. See the "Adding and Creating Custom Analytic Widgets" section in the Online Help for more information on customization options.
Click the Save Widget button.
A popup displays.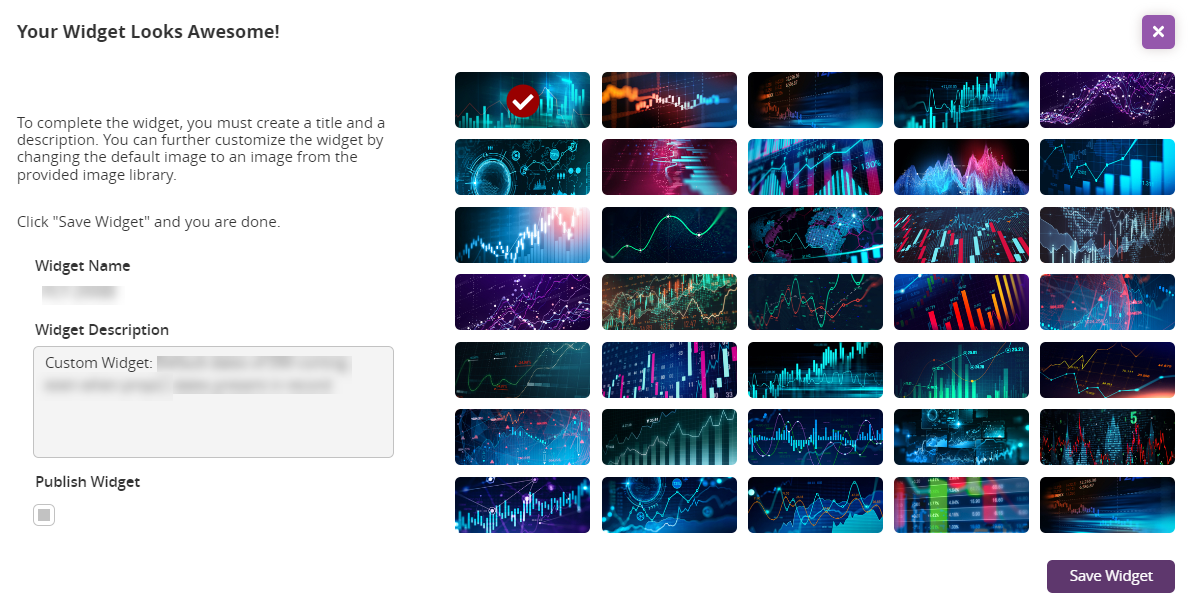
Add or modify the Widget Description.
Check the Publish Widget box if you want this widget published for use by other users.
Click on a graphic if desired.
Click the Save Widget button.
The changes are saved.Click the save icon for the dashboard.
The updated widget appears on the dashboard.