Viewing Custom Analytic Widgets in the Workbench
Complete the following steps to view custom analytic widgets in the workbench:
L og in to the ONE system.
The Dashboard displays with a custom analytic widget. To add a custom analytic widget, see the "Adding and Creating Custom Analytic Widgets" section in Online Help for more information.
Right-click on a custom analytic widget.
A popup window displays.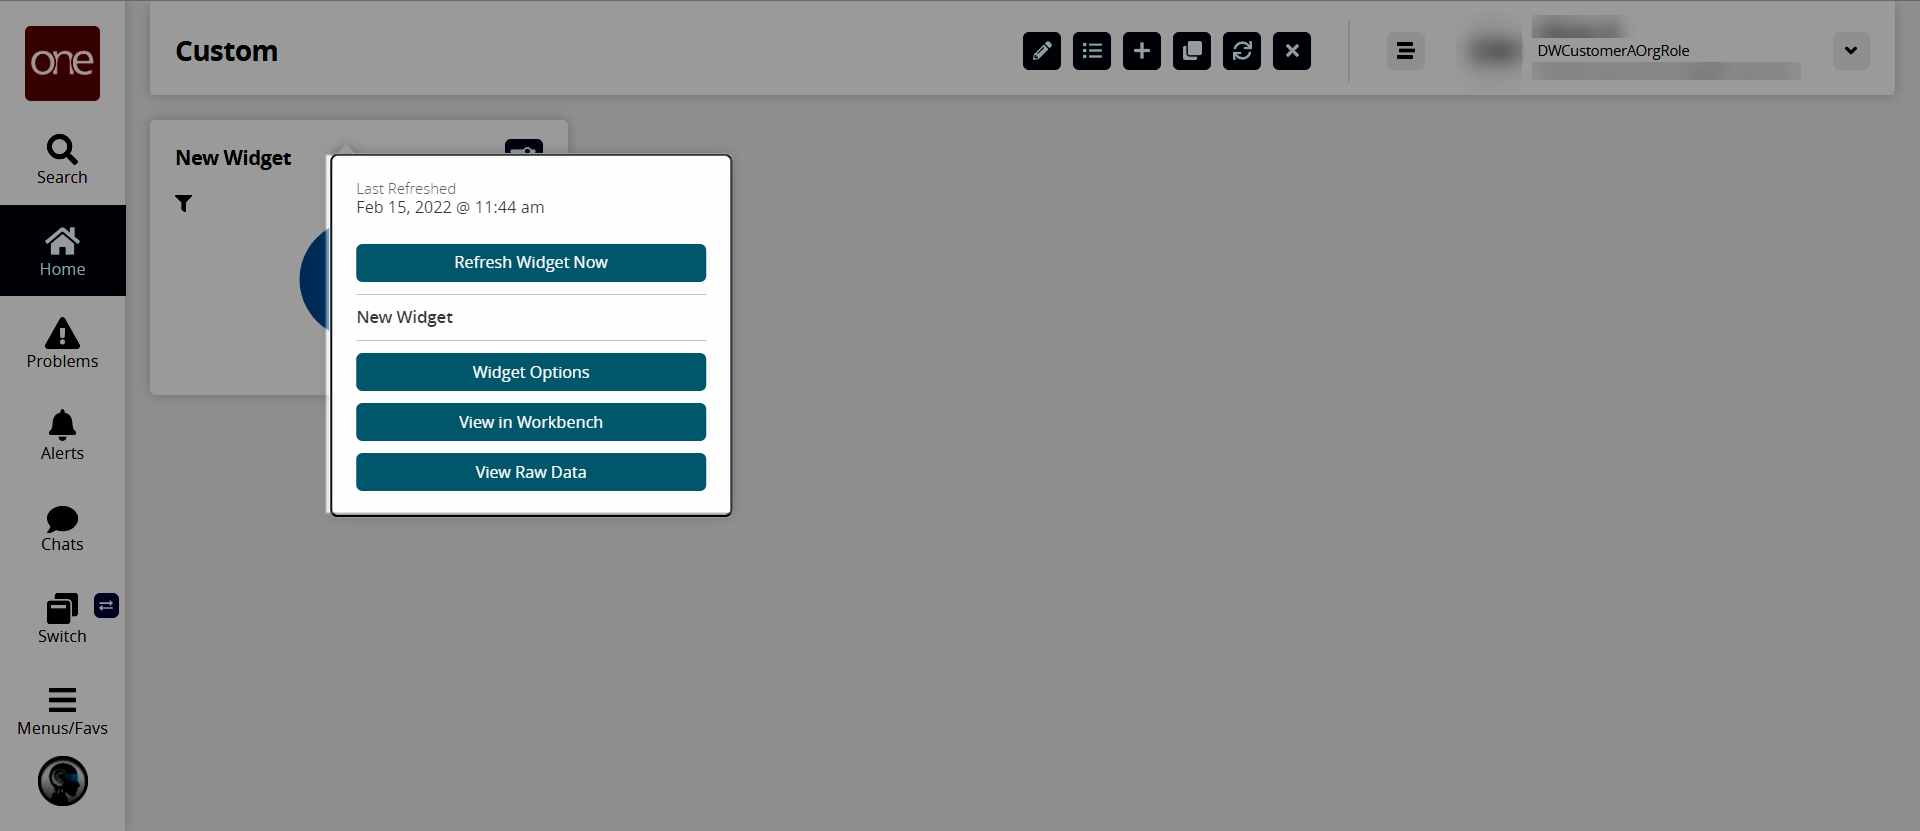
Click the View in Workbench button.
The workbench displays the widget information.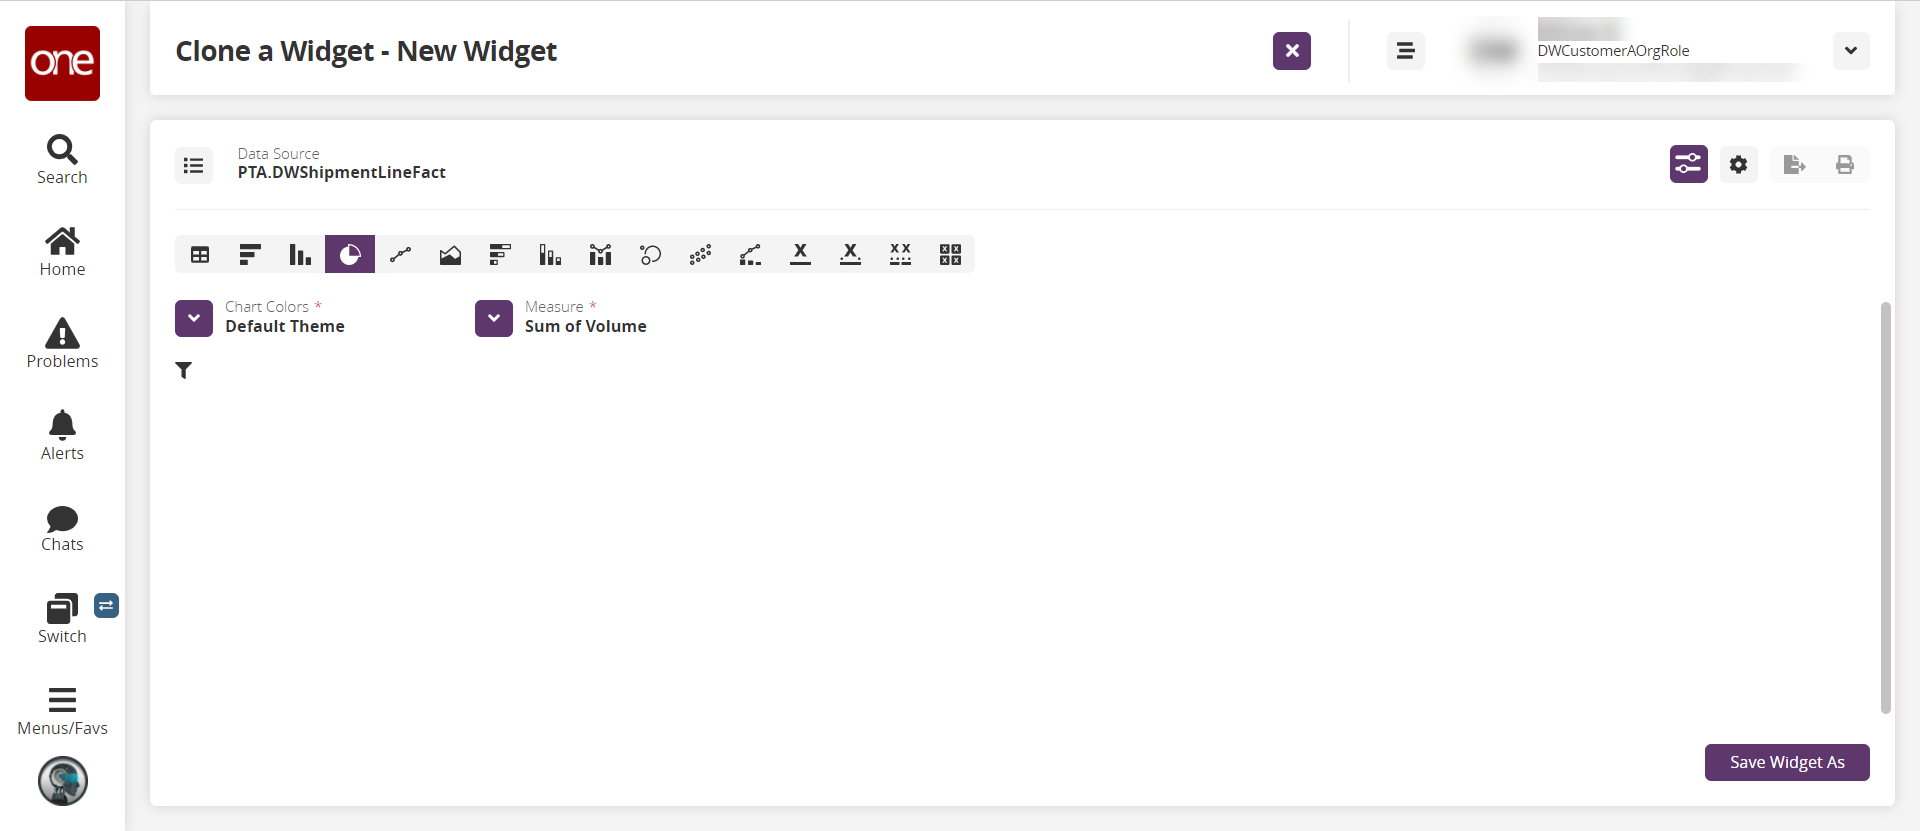
Edit the widget as desired. See the "Adding and Creating a Custom Analytic Widget" section in Online Help for information on the fields and options for widgets.
Once the options for the new widget have been set, click the Save Widget As button.
A popup window appears.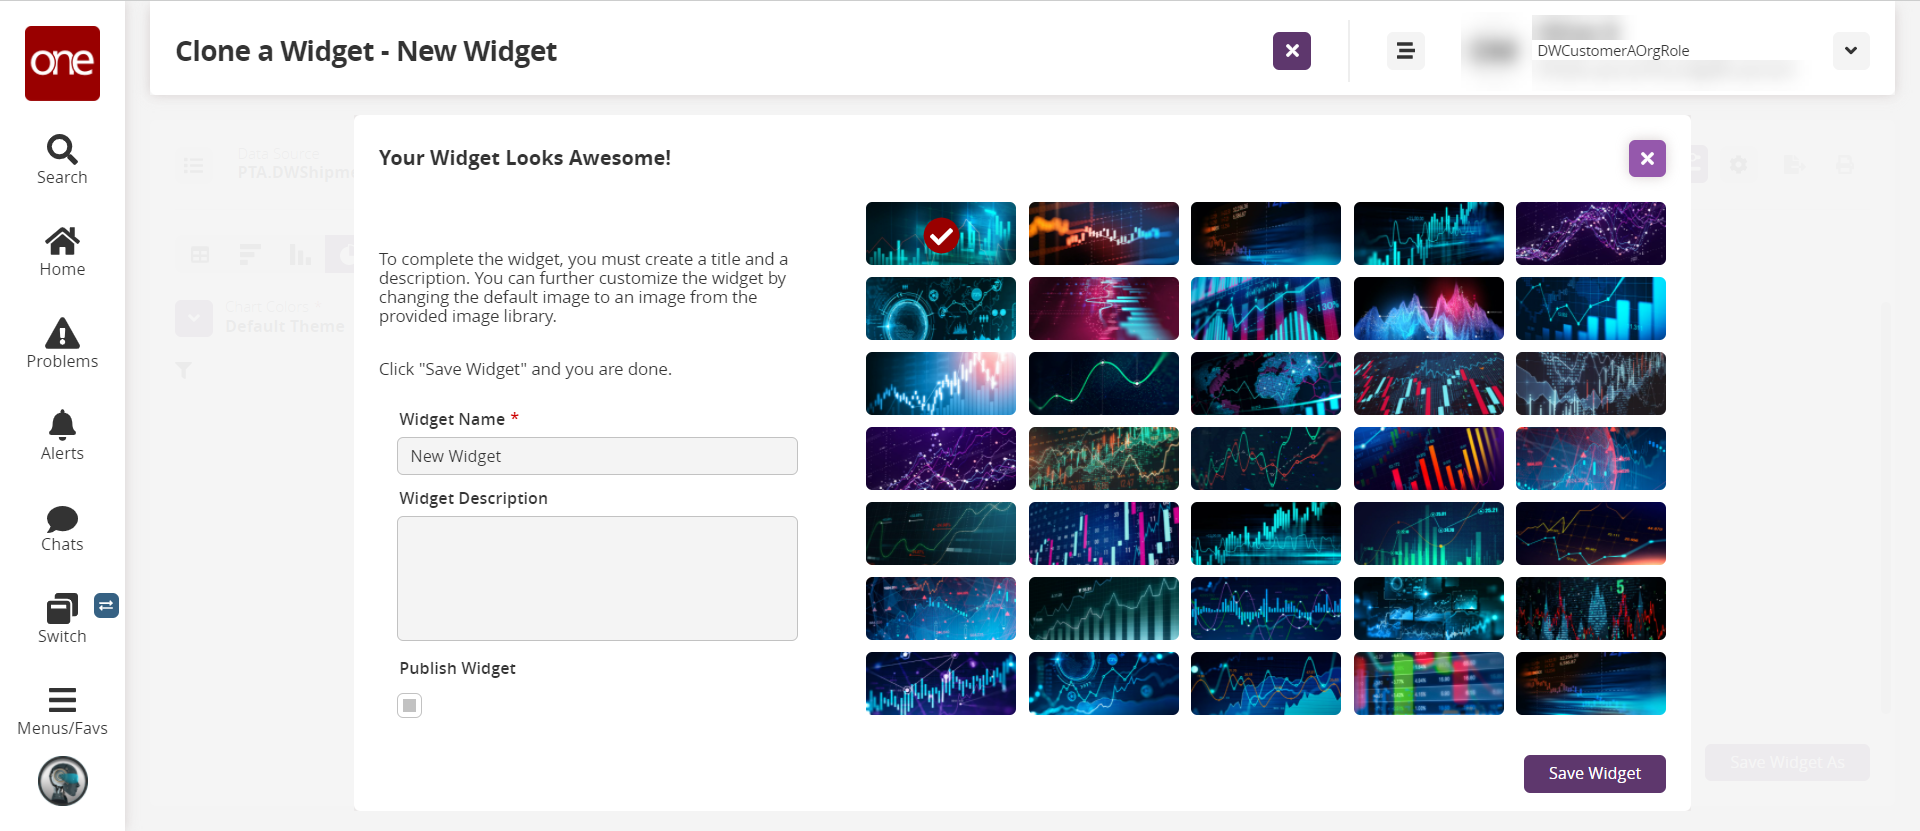
In the * Widget Name field, enter a name for your widget. This field is required.
In the Widget Description field, enter a widget description if desired.
Check the Publish Widget checkbox if you want the widget available to others to add to their dashboards.
Click one of the images to the right to select a graphic for your widget.
Click the Save Widget button.
The new widget is now available to add when you edit a dashboard. See the "Adding Widgets" section in Online Help for more information.