Creating and Assigning Assembly Work Orders
Complete the following steps to create assembly work orders:
L og in to the ONE system.
Click Menu/Favs > Assembly > New Assembly Work Order.
In the NEO UI, users can click on the Menus/Favs icon on the left sidebar and type in the name of the screen in the menu search bar. For more information, see "Using the Menu Search Bar."
The New Assembly Work Order screen appears.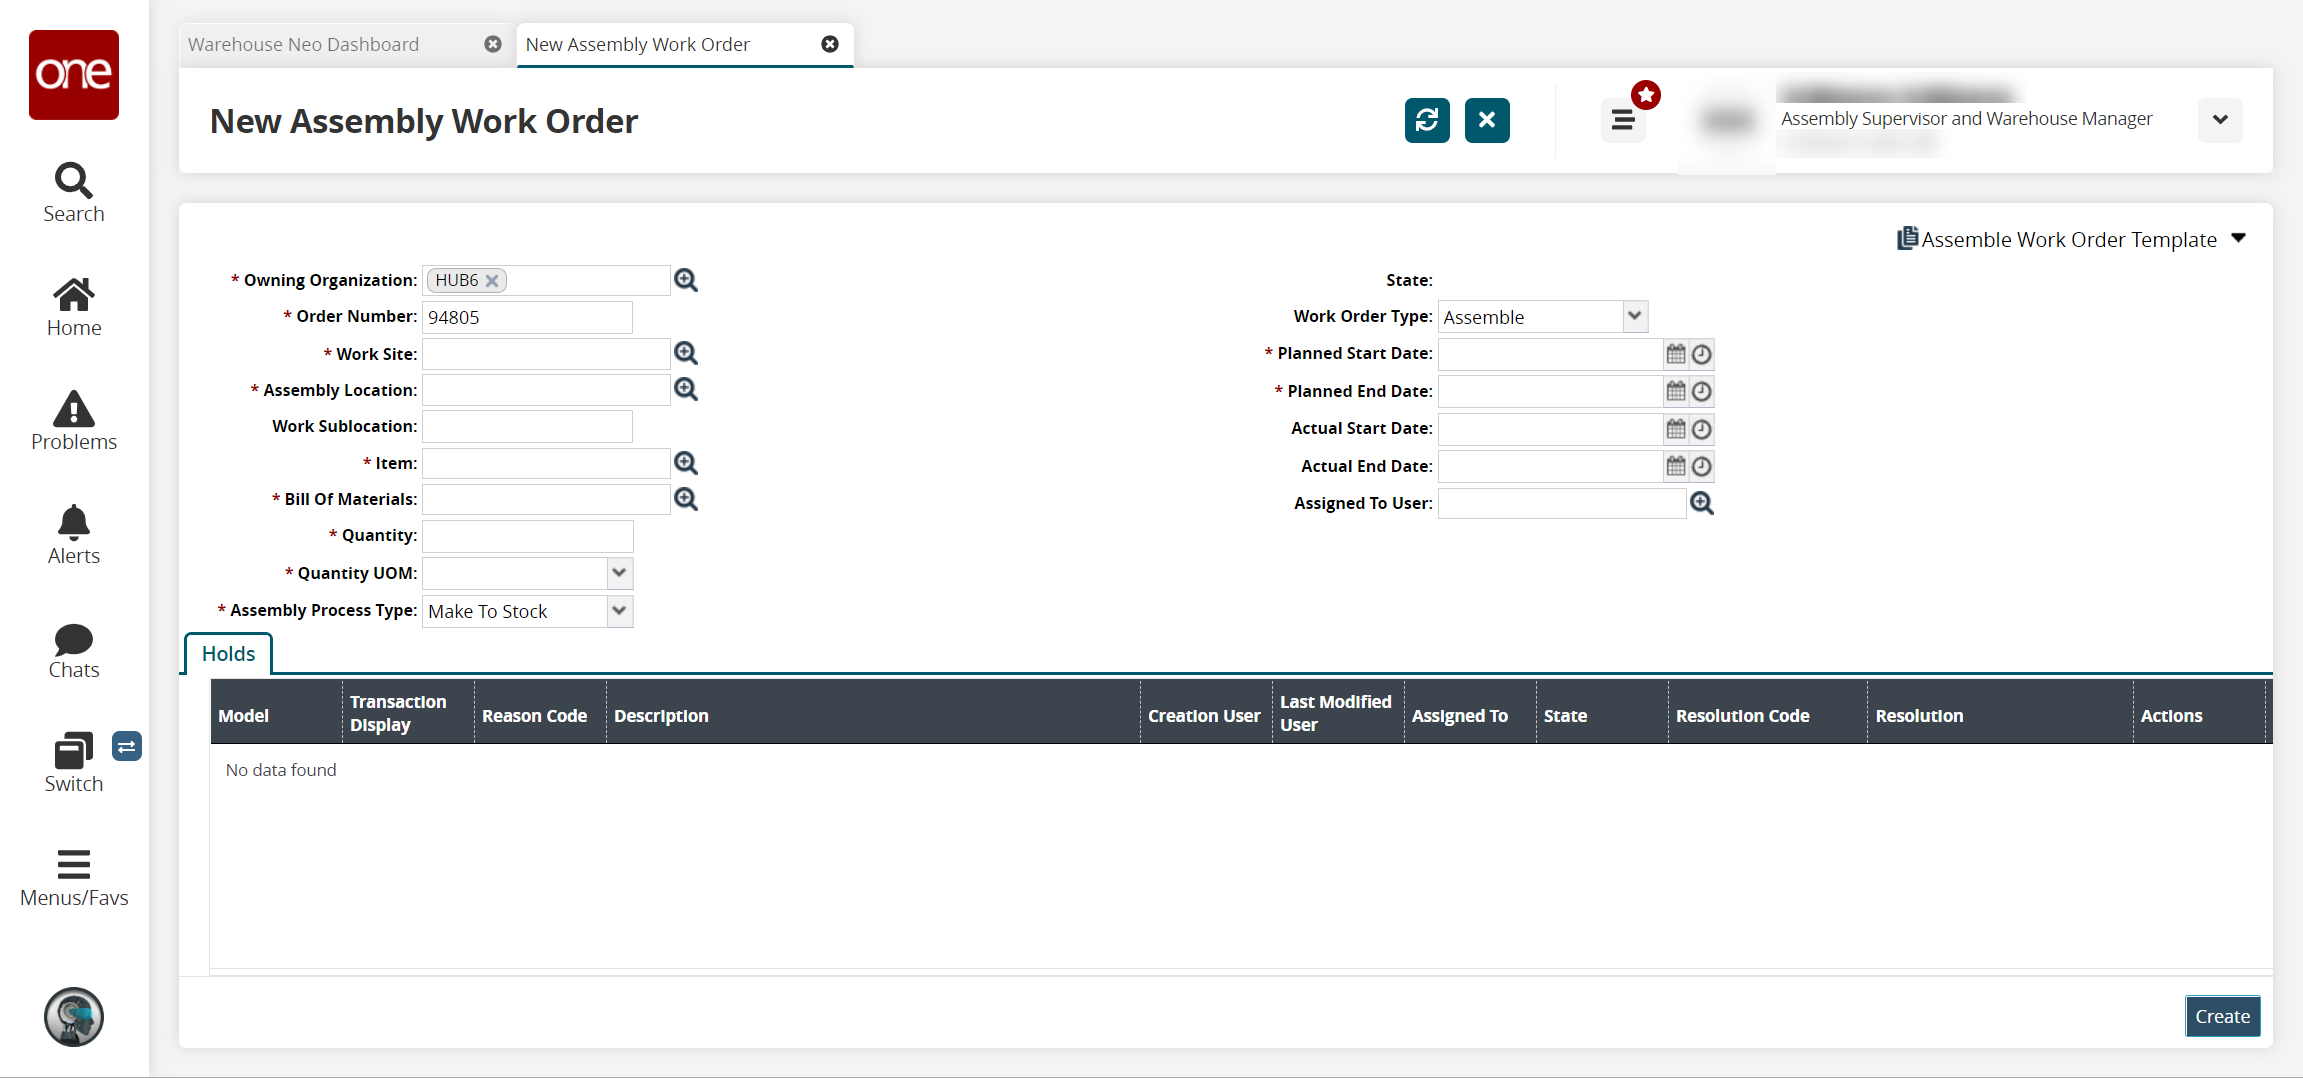
Fill out the following fields. Fields with an asterisk ( * ) are required.
Field
Description
* Owning Organization
Use the picker tool to select the owning organization.
* Order Number
This number is generated by the system, but it can be edited if desired.
* W ork Site
Use the picker tool to select the work site.
* Assembly Location
Use the picker tool to select the assembly location.
Work Sublocation
Enter the work sublocation.
* Item
Use the picker tool to select the item.
* Bill of Materials
Use the picker tool to select the bill of materials.
* Quantity
Enter the quantity.
* Quantity UOM
Select the quantity unit of measurement (UOM) from the dropdown list.
* Assembly Process Type
Select the assembly process type from the dropdown list.
State
This field is auto-populated.
Work Order Type
Select the work order type from the dropdown list.
* Planned Start Date
Click the calendar and clock icon to select the date.
* Planned End Date
Click the calendar and clock icon to select the date.
Actual Start Date
Click the calendar and clock icon to select the date.
Actual End Date
Click the calendar and clock icon to select the date.
Assigned To User
Use the picker tool to select the user to whom you want to assign the assembly work order.
Click the Create button to create the work order.
A success message appears.
Assign Assembly Work Orders
If a work order has not been assigned to a user, users can perform that action from the Work Orders screen.
Log in to the ONE system.
Click Menu/Favs > Assembly > Work Orders.
In the NEO UI, users can click on the Menus/Favs icon on the left sidebar and type in the name of the screen in the menu search bar. For more information, see "Using the Menu Search Bar."
The Work Orders search screen appears.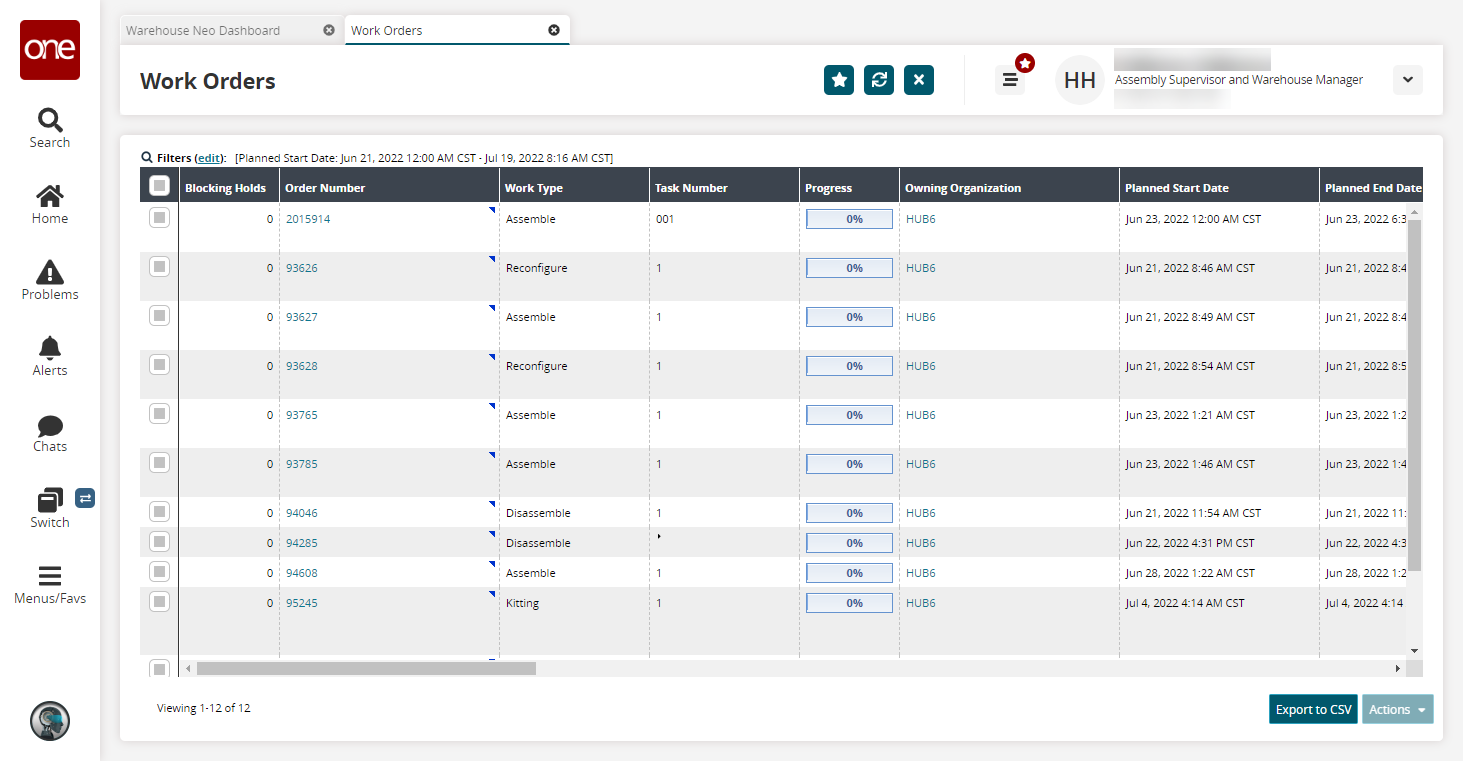
Click the Filters (edit) link to apply search criteria to reduce the number of entries shown.
The Filters menu displays.Complete the fields to search for the work order. Most often, work orders in the New state have no assigned user. For more information, see the "Searching Assembly Work Orders" section in the Online Help.
Fill out the filters as desired, and click the Search link.
The search results display.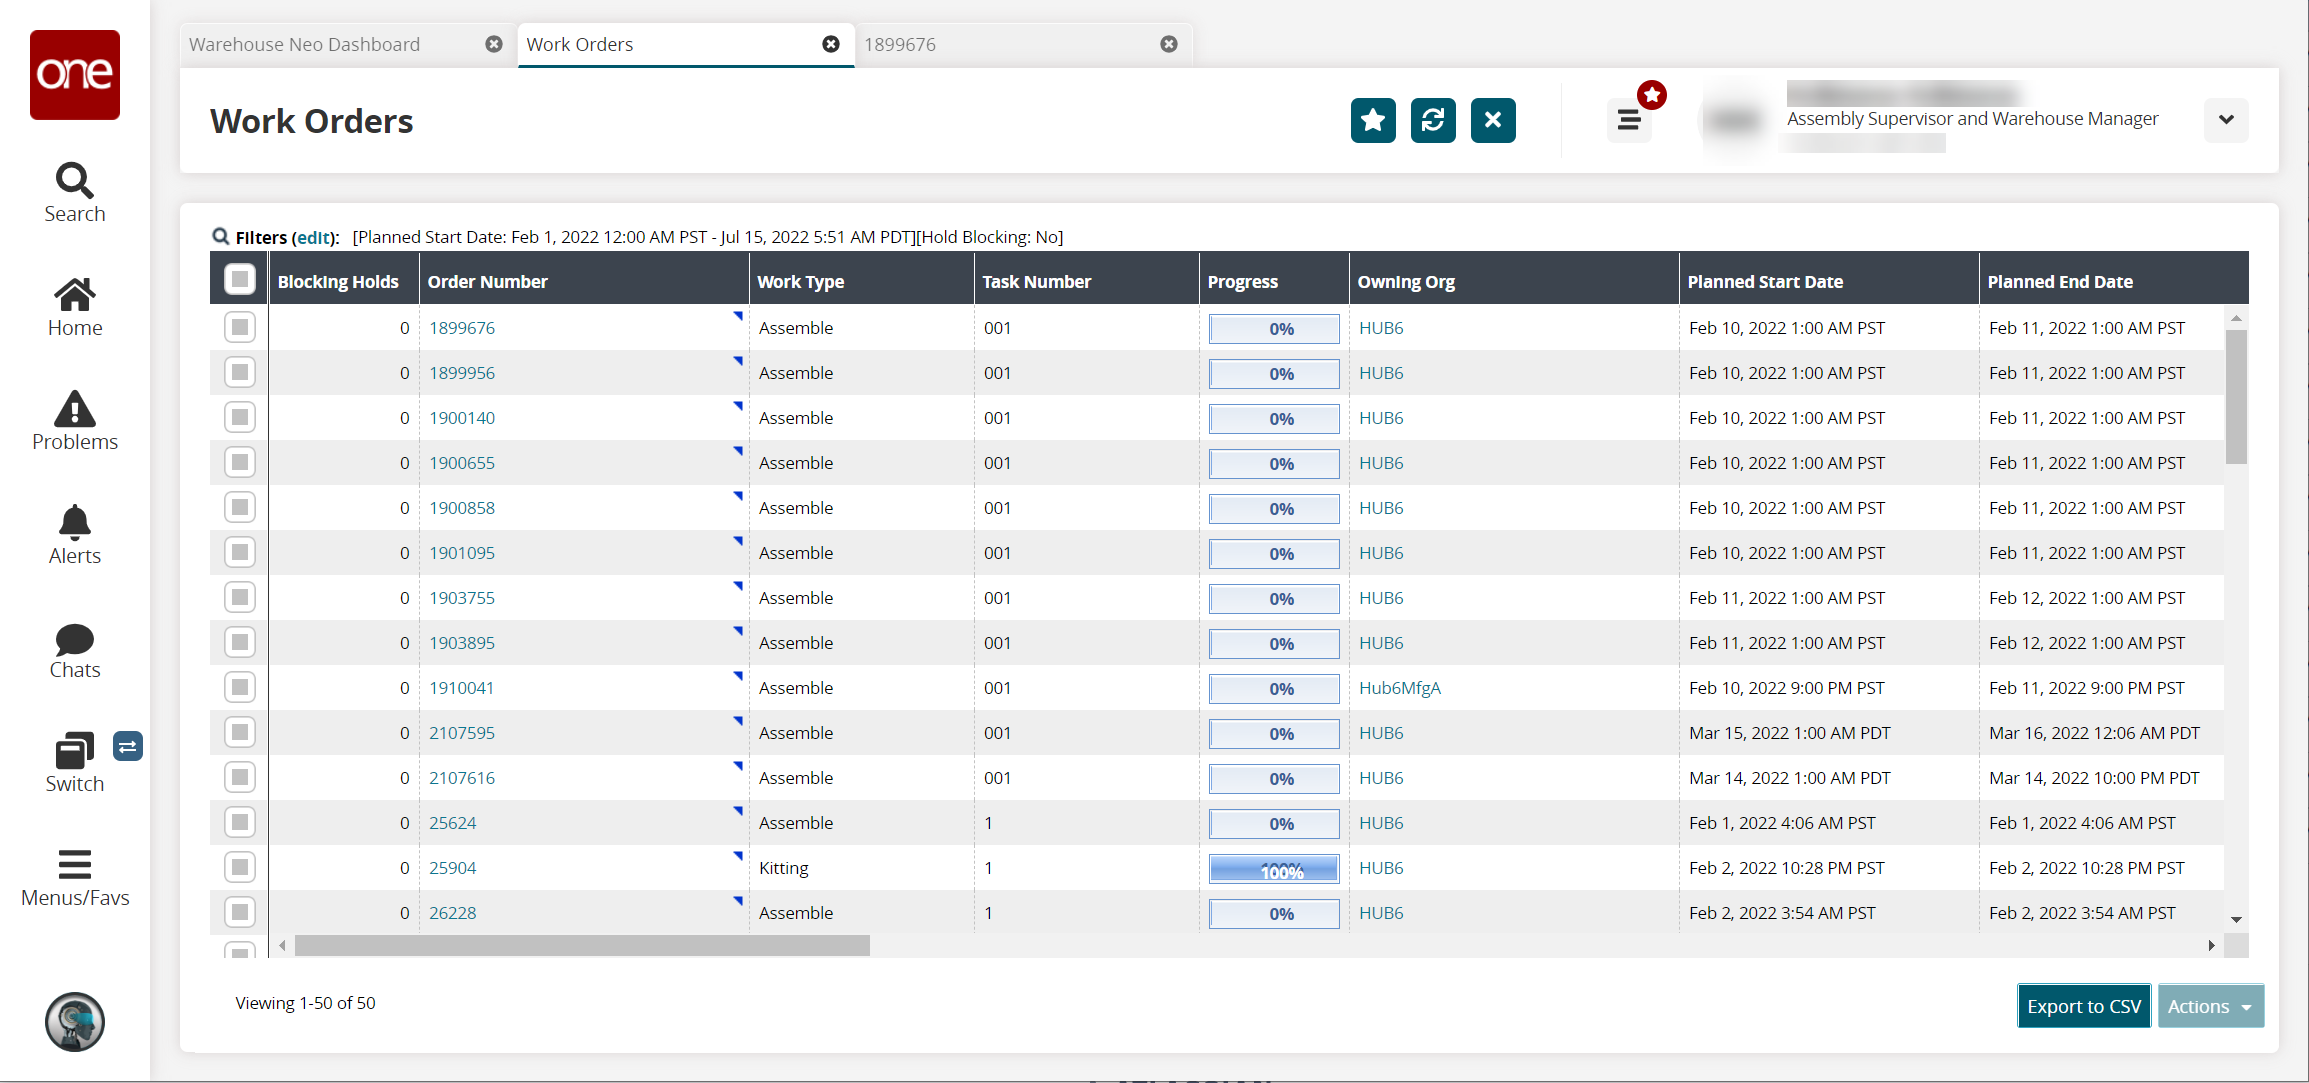
In the Order Number column, click the link for the desired order number.
The work order details appear in a new tab.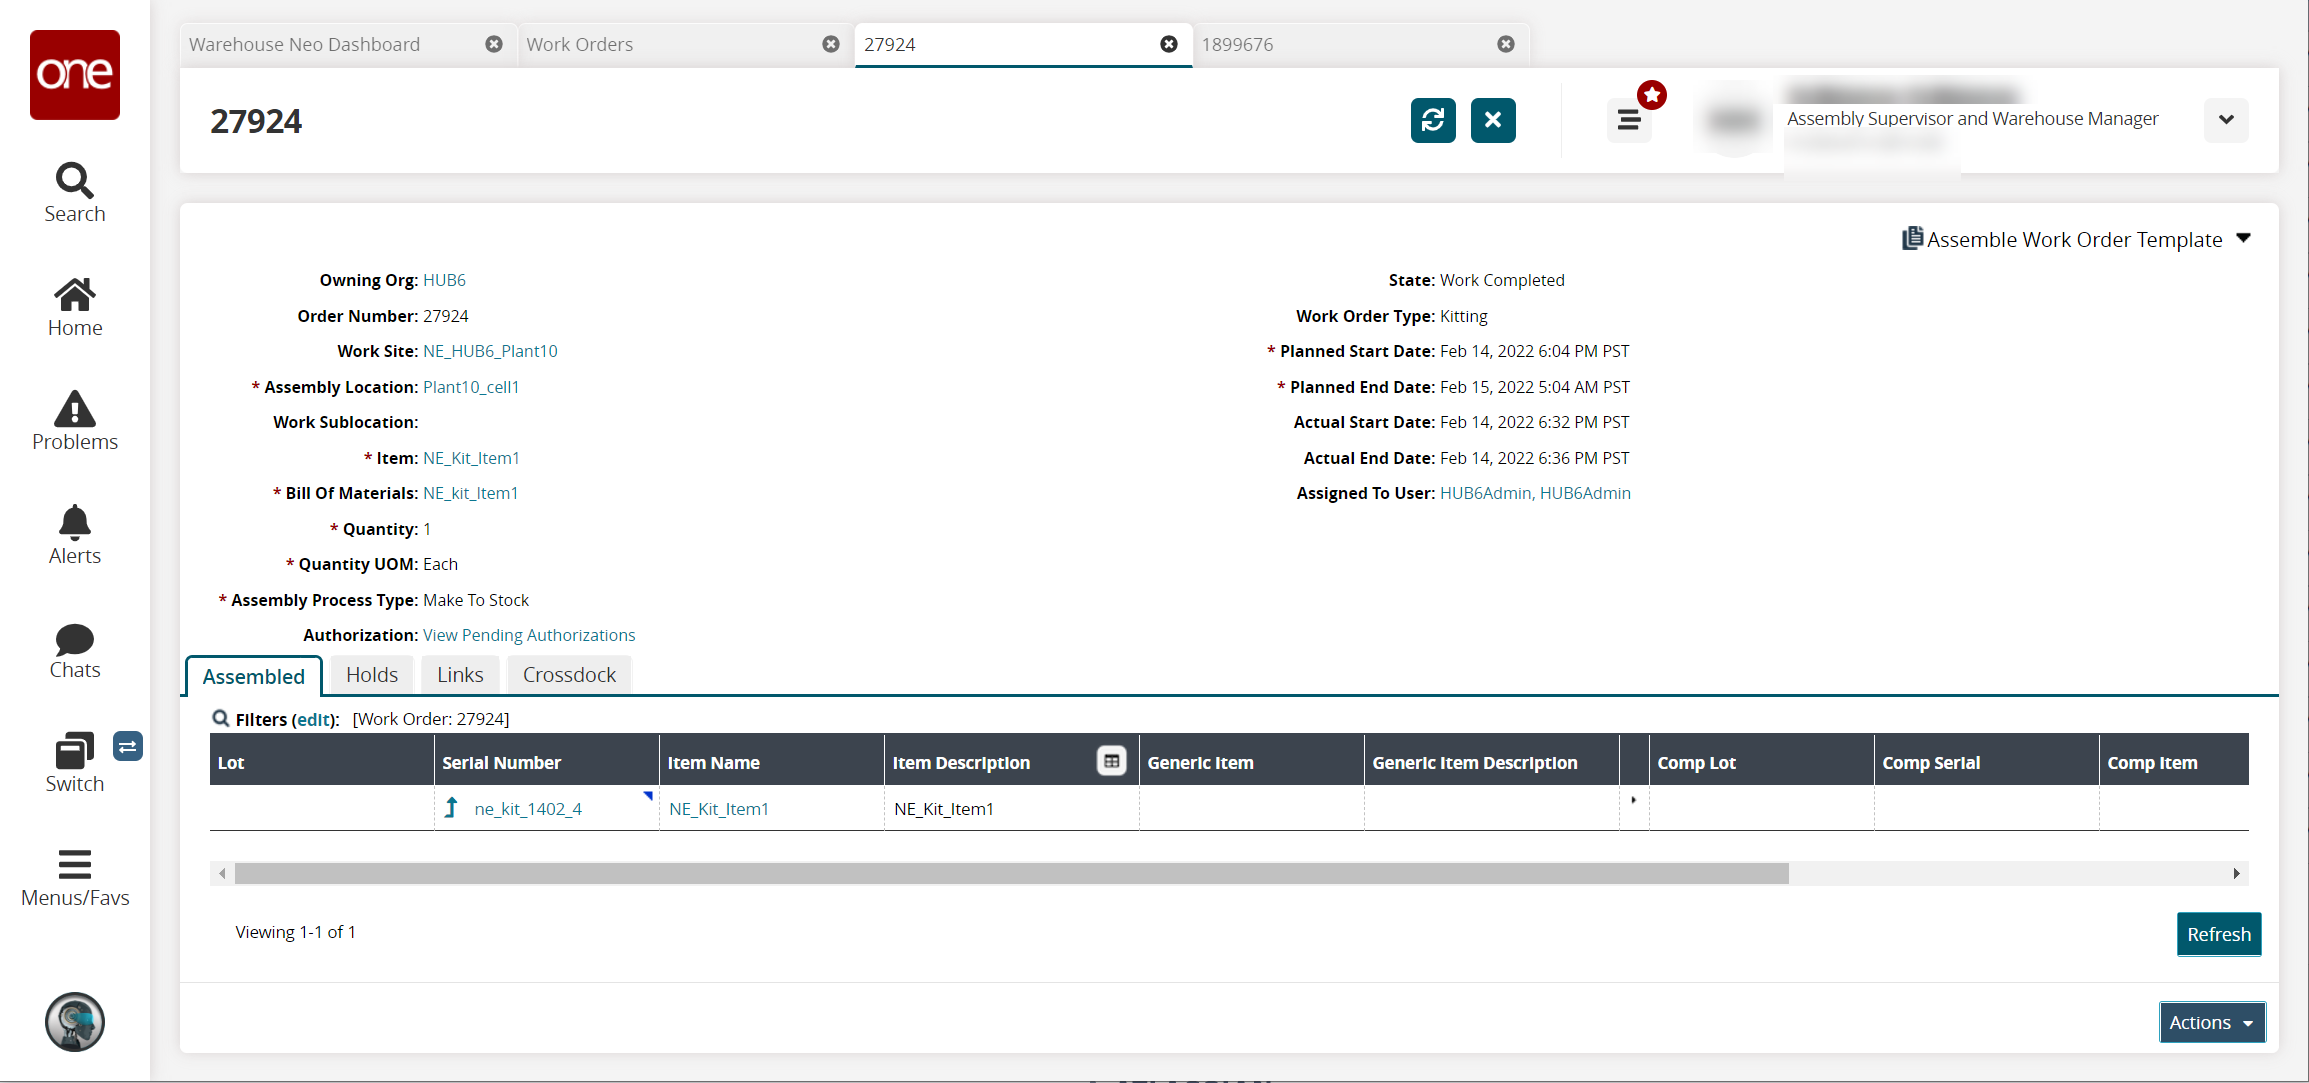
Click the Actions button at the bottom of the screen, and click Assign.
The Assigned to User field becomes editable.Use the picker tool to select a user.
Click OK.
Click Submit.
The work order is assigned to the selected user.
View Related Links for a Work Order
Work Orders have a Links tab that displays different items like Issue Inventory, Pick List, Receipts, and Putaway List to help users access and update those screens related to the work order. The Links tab is available on Assemble, Disassemble, and Reconfigure work order detail screens.