Joining Existing Alert Subscriptions
Complete the following steps to join an existing alert subscription:
Log in to the ONE system.
Click Menus/Favs > Tools > Alert Subscriptions. In the NEO UI, users can click on the Menu/Favs icon on the left sidebar and type in the name of the screen in the menu search bar. For more information, see "Using the Menu Search Bar."
The Alert Subscriptions screen displays.
For some users and roles, alert subscriptions are called issue subscriptions.
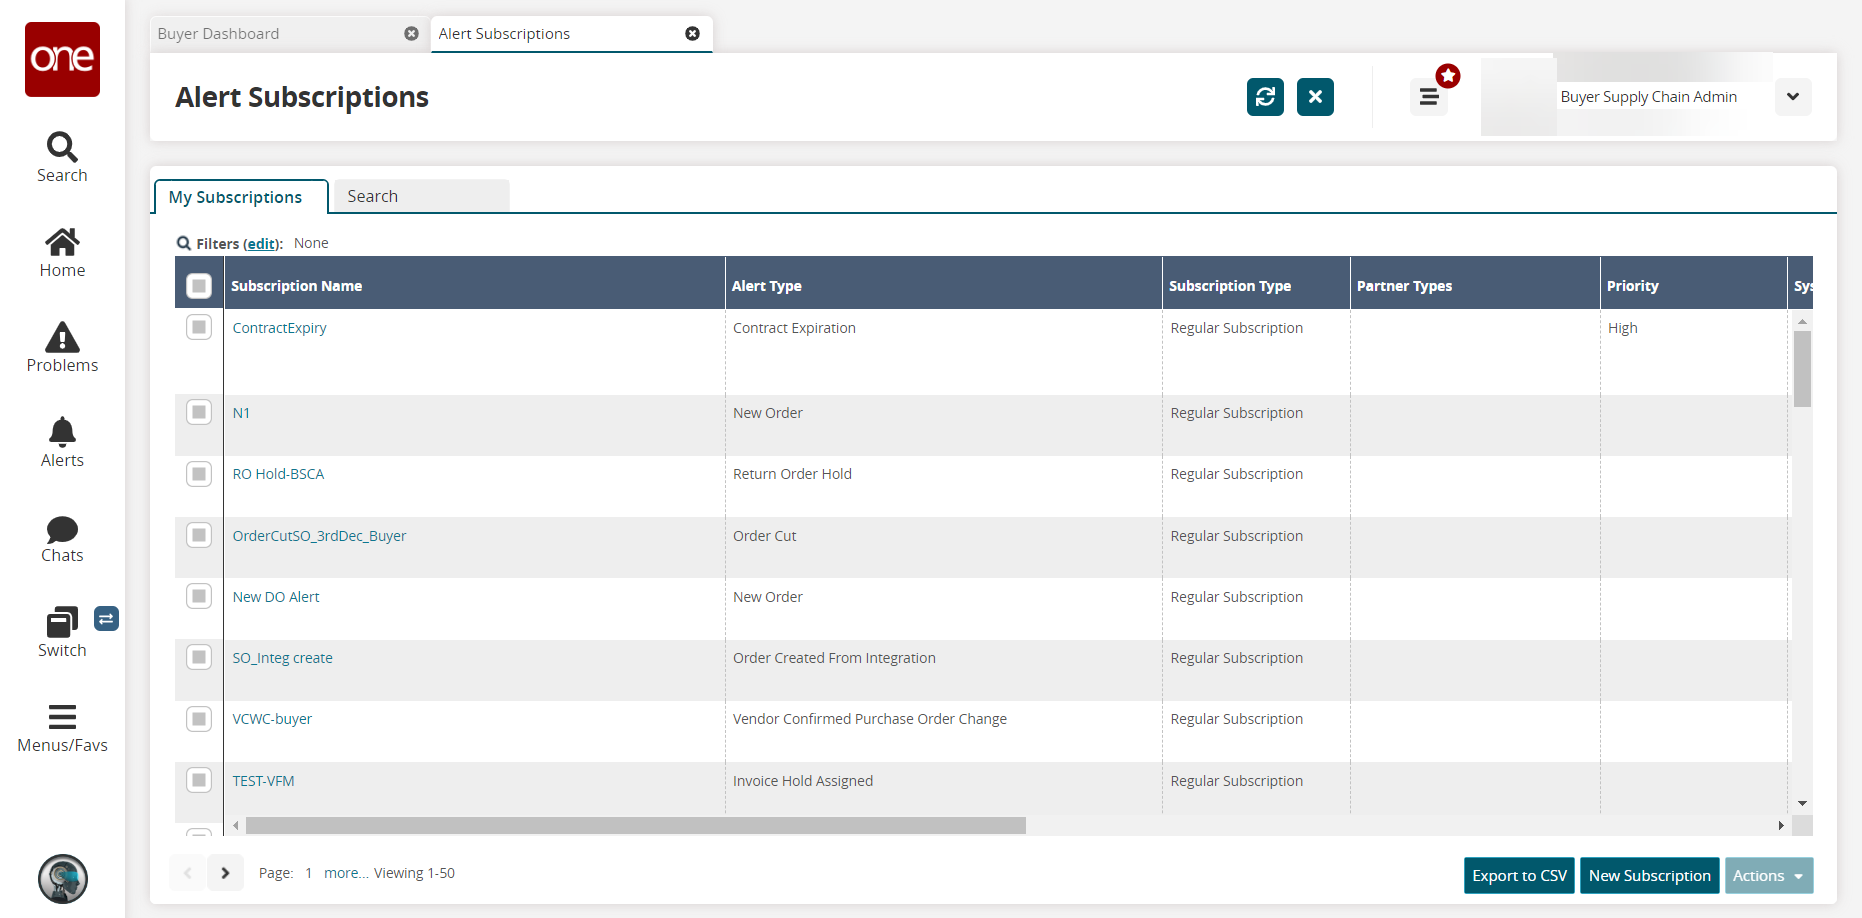
Click the Search tab.
A list of existing subscriptions displays.
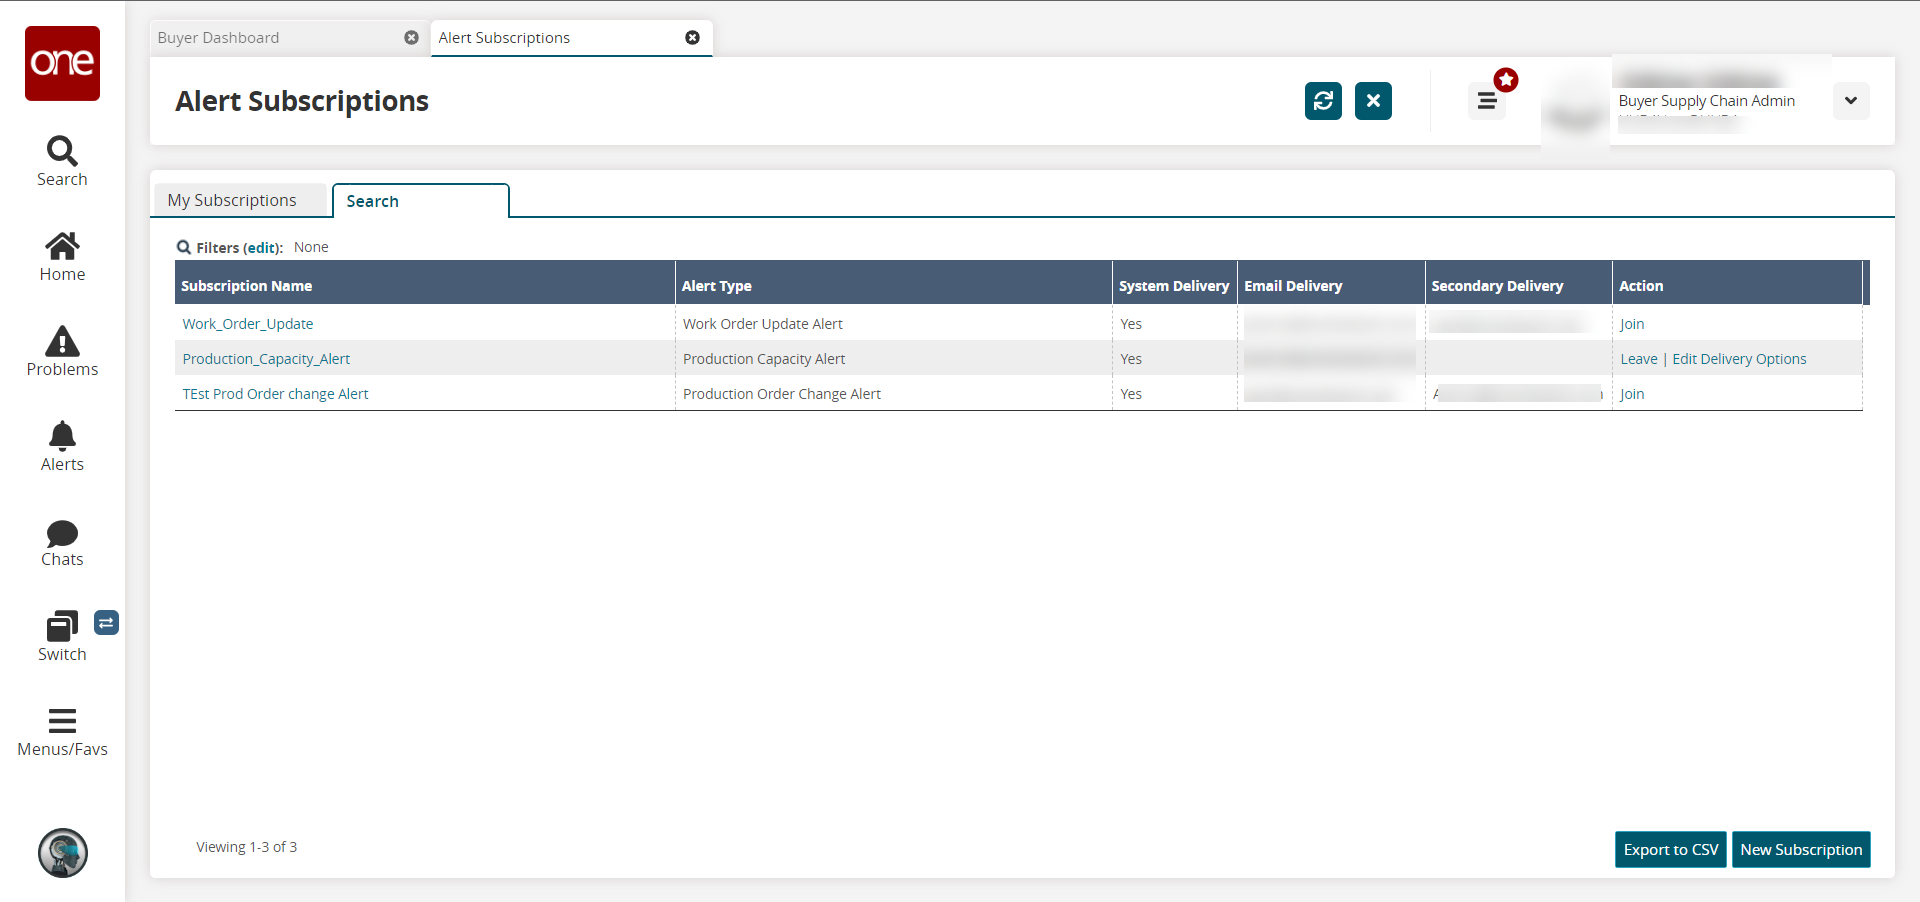
Click the Filters (edit) link if you want to search for a subscription by name or by alert type.
In the Action column, click the Join link.
The Join Issue Subscription popup window opens.
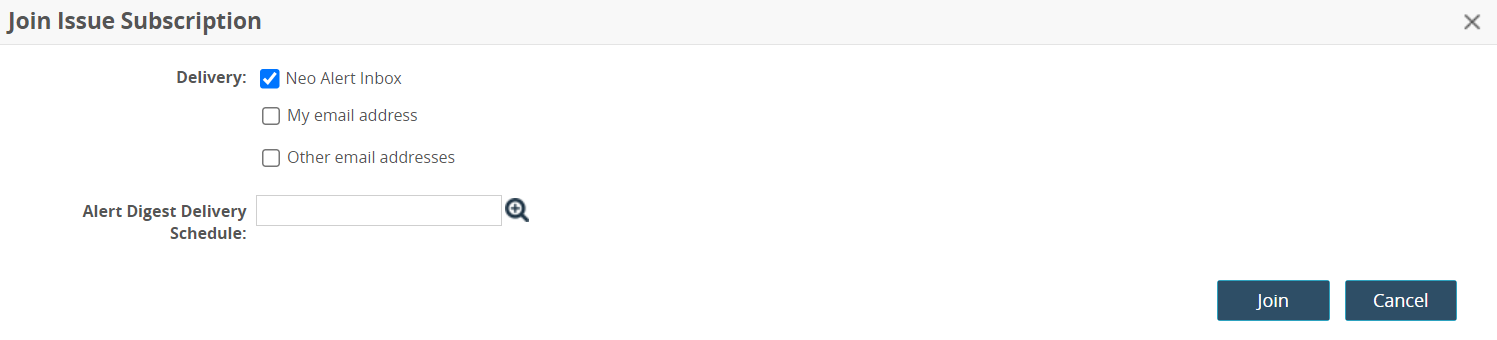
In the Delivery field, select the desired options.
Neo Alert Inbox - Select the checkbox to deliver the notification to your Neo Alert Inbox.
My email address - Select the checkbox to deliver the notification to your email address.
When you select the checkbox, a dropdown list appears along with your ONE user email that's associated with your system profile. If you select the Other email addresses option from the dropdown, a text box appears where you may enter a different email address where you want to receive the notification.Other email addresses - Select the checkbox to send notifications to other email addresses.
When you select this checkbox, a new text field appears where you can enter multiple email addresses, separated by a comma.
In the Alert Digest Delivery Schedule field, click the picker tool icon.
The AlertDigestDeliverySchedule popup window opens.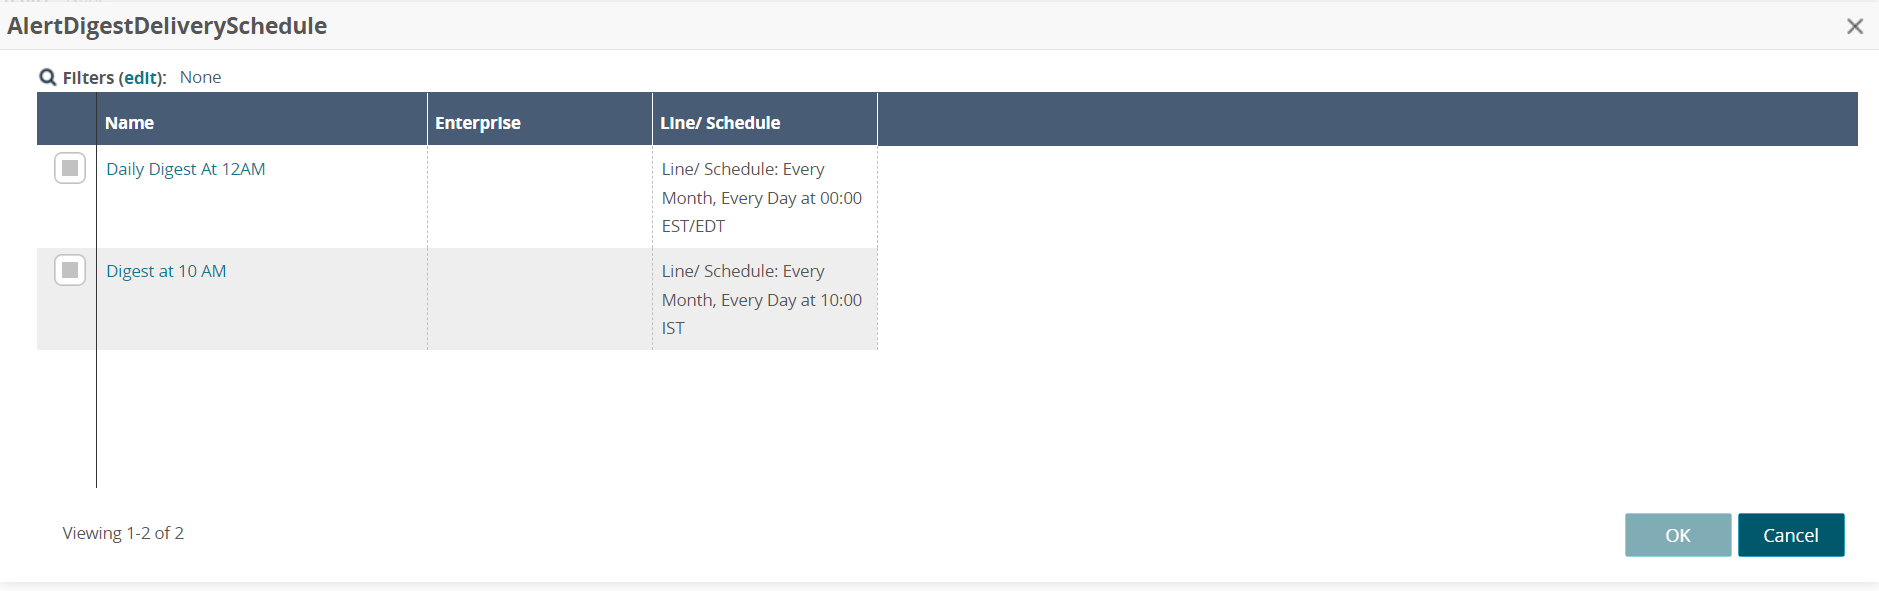
Click a checkbox to select a delivery schedule.
Click OK.
The Alert Digest Delivery Schedule popup window closes.Click the Join button.
The Alert Subscriptions screen updates with new options in the Action column.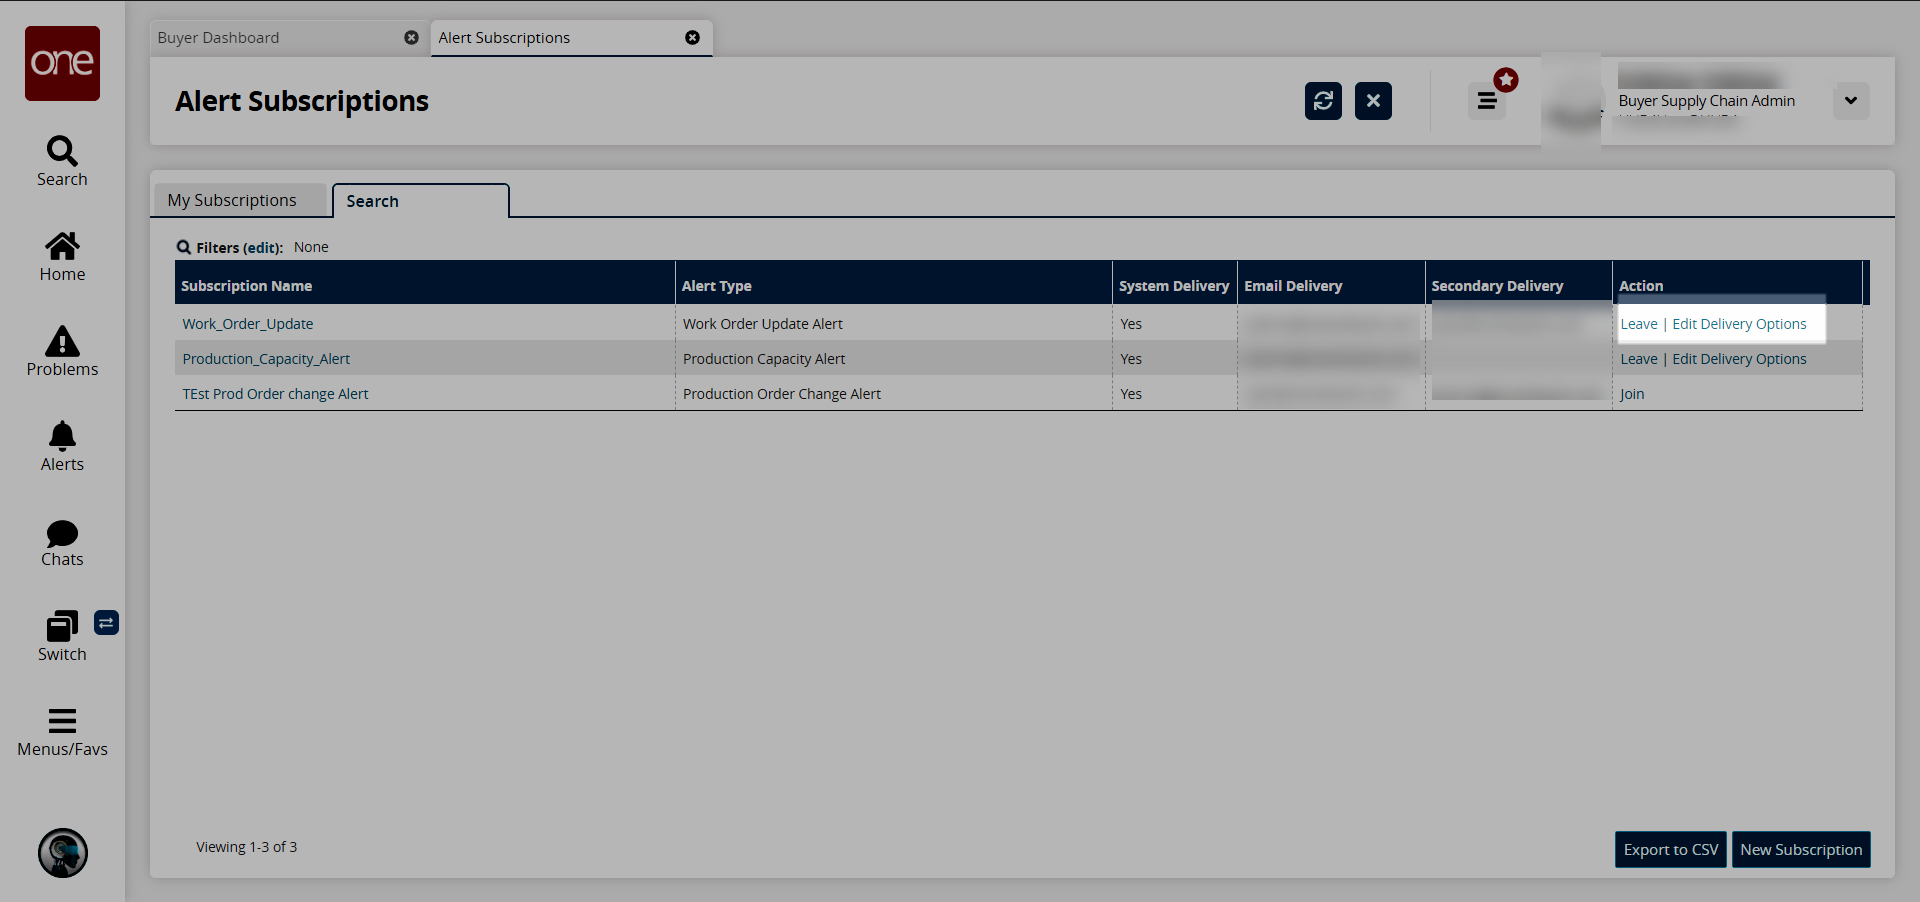
Click the Leave link to cancel the subscription and stop receiving notifications.
Click the Edit Delivery Options to edit the delivery options.