Managing Static Routes
You can view existing static routes or create new ones. Afterward, you can edit details about a specific route, apply actions, or export the search results to an Excel spreadsheet.
Complete the following steps to manage static routes:
L og in to the ONE system.
Click Menus/Favs > Contract Mgmt > Static Routes.
In the NEO UI, users can click on the Menus/Favs icon on the left sidebar and type in the name of the screen in the menu search bar. For more information, see "Using the Menu Search Bar."
The Static Routes screen displays.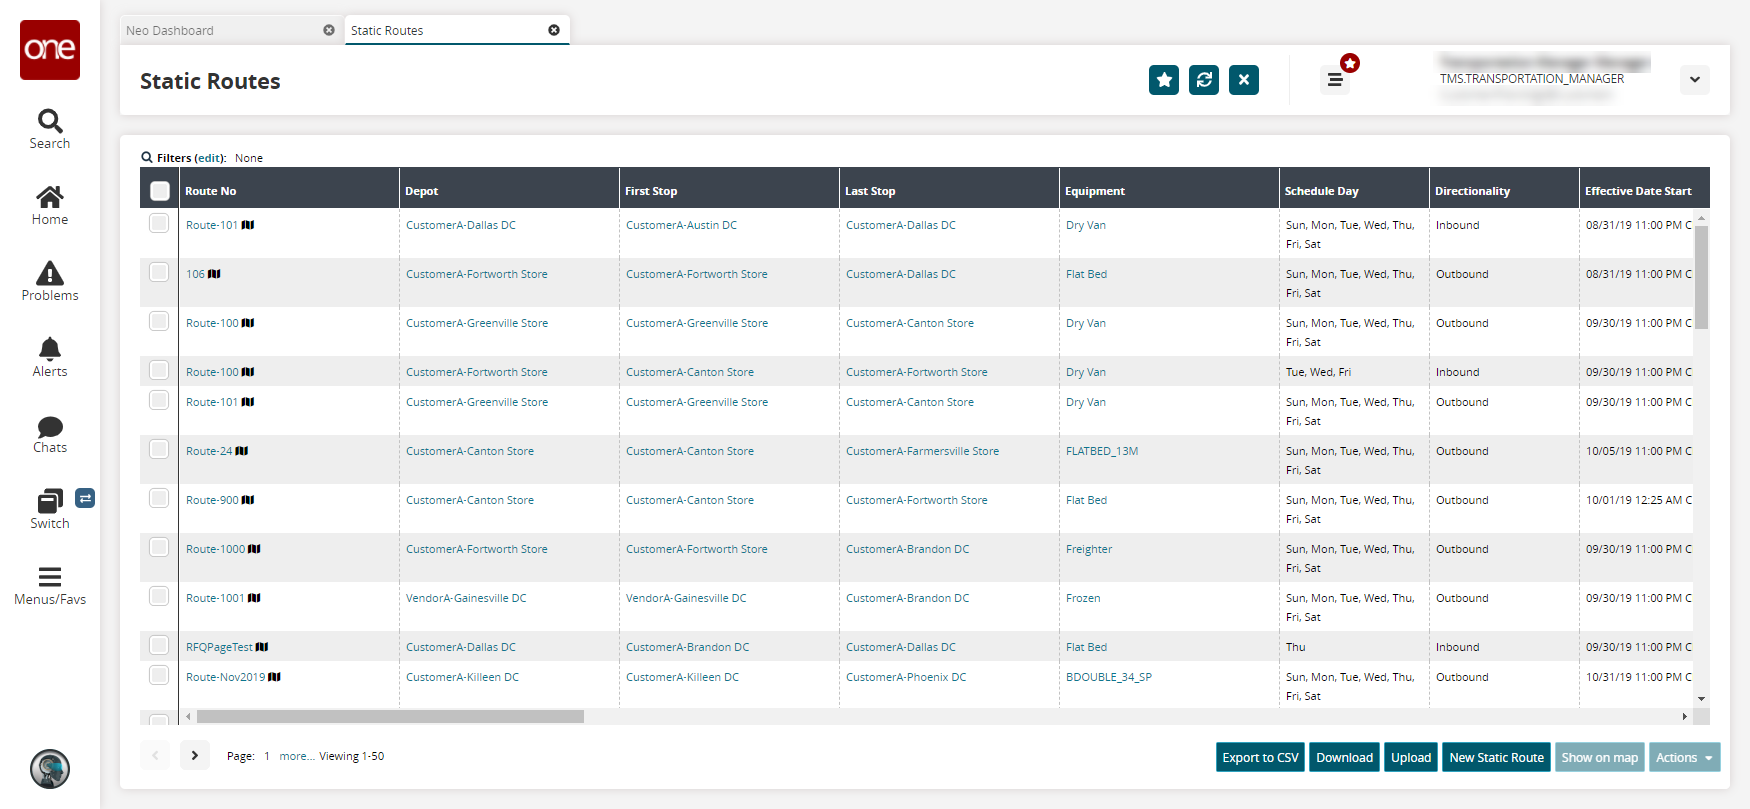
Click the Filters (edit) link to apply search criteria to reduce the number of entries shown.
The Filters menu displays.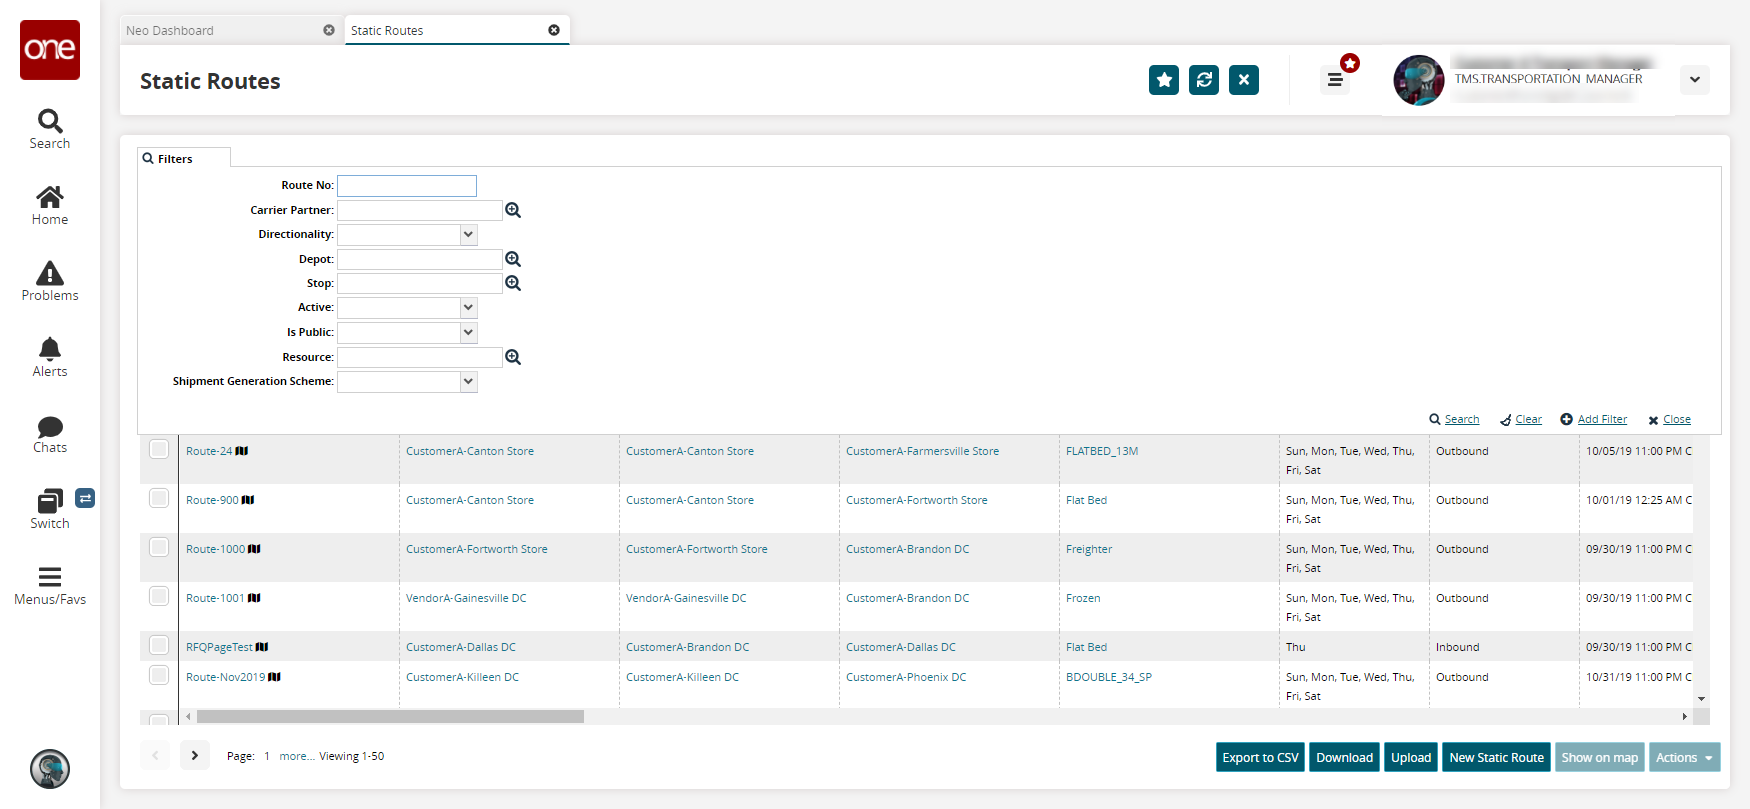
To add more search filters, click the Add Filter link, and then click one or more filter options from the Add Filter list.
Enter values for fields described in the table below. Fields with an asterisk ( * ) are required.
Field Name
Description
Route No
Enter a route number.
Carrier Partner
Select a partner carrier using the picker tool.
Directionality
Select the desired option from the dropdown menu. The available options are Inbound and Outbound.
Depot
Use the picker tool to select a depot.
Stop
Use the picker tool to select a stop.
Active
Select the desired option from the dropdown menu to set the static route in the active state.
Is Public
Select the desired option from the dropdown menu
Resource
Use the picker tool to select a resource.
Shipment Generation Scheme
Select the desired shipment generation scheme from the dropdown menu. The available options are Daily, Monthly, and Weekly.
Fill out the filters as desired, and click the Search link.
The search results display.Click the Export to CSV button to export the report to a CSV file.
Click the Download button to download the lists of static routes.
Click the Upload button to upload a list of static routes.
Click the New Static Route button to create a new static route. See the "Creating Static Routes" section for more information.
To view details about a static route, click a Route No link in the Route No column.
The static route details screen opens.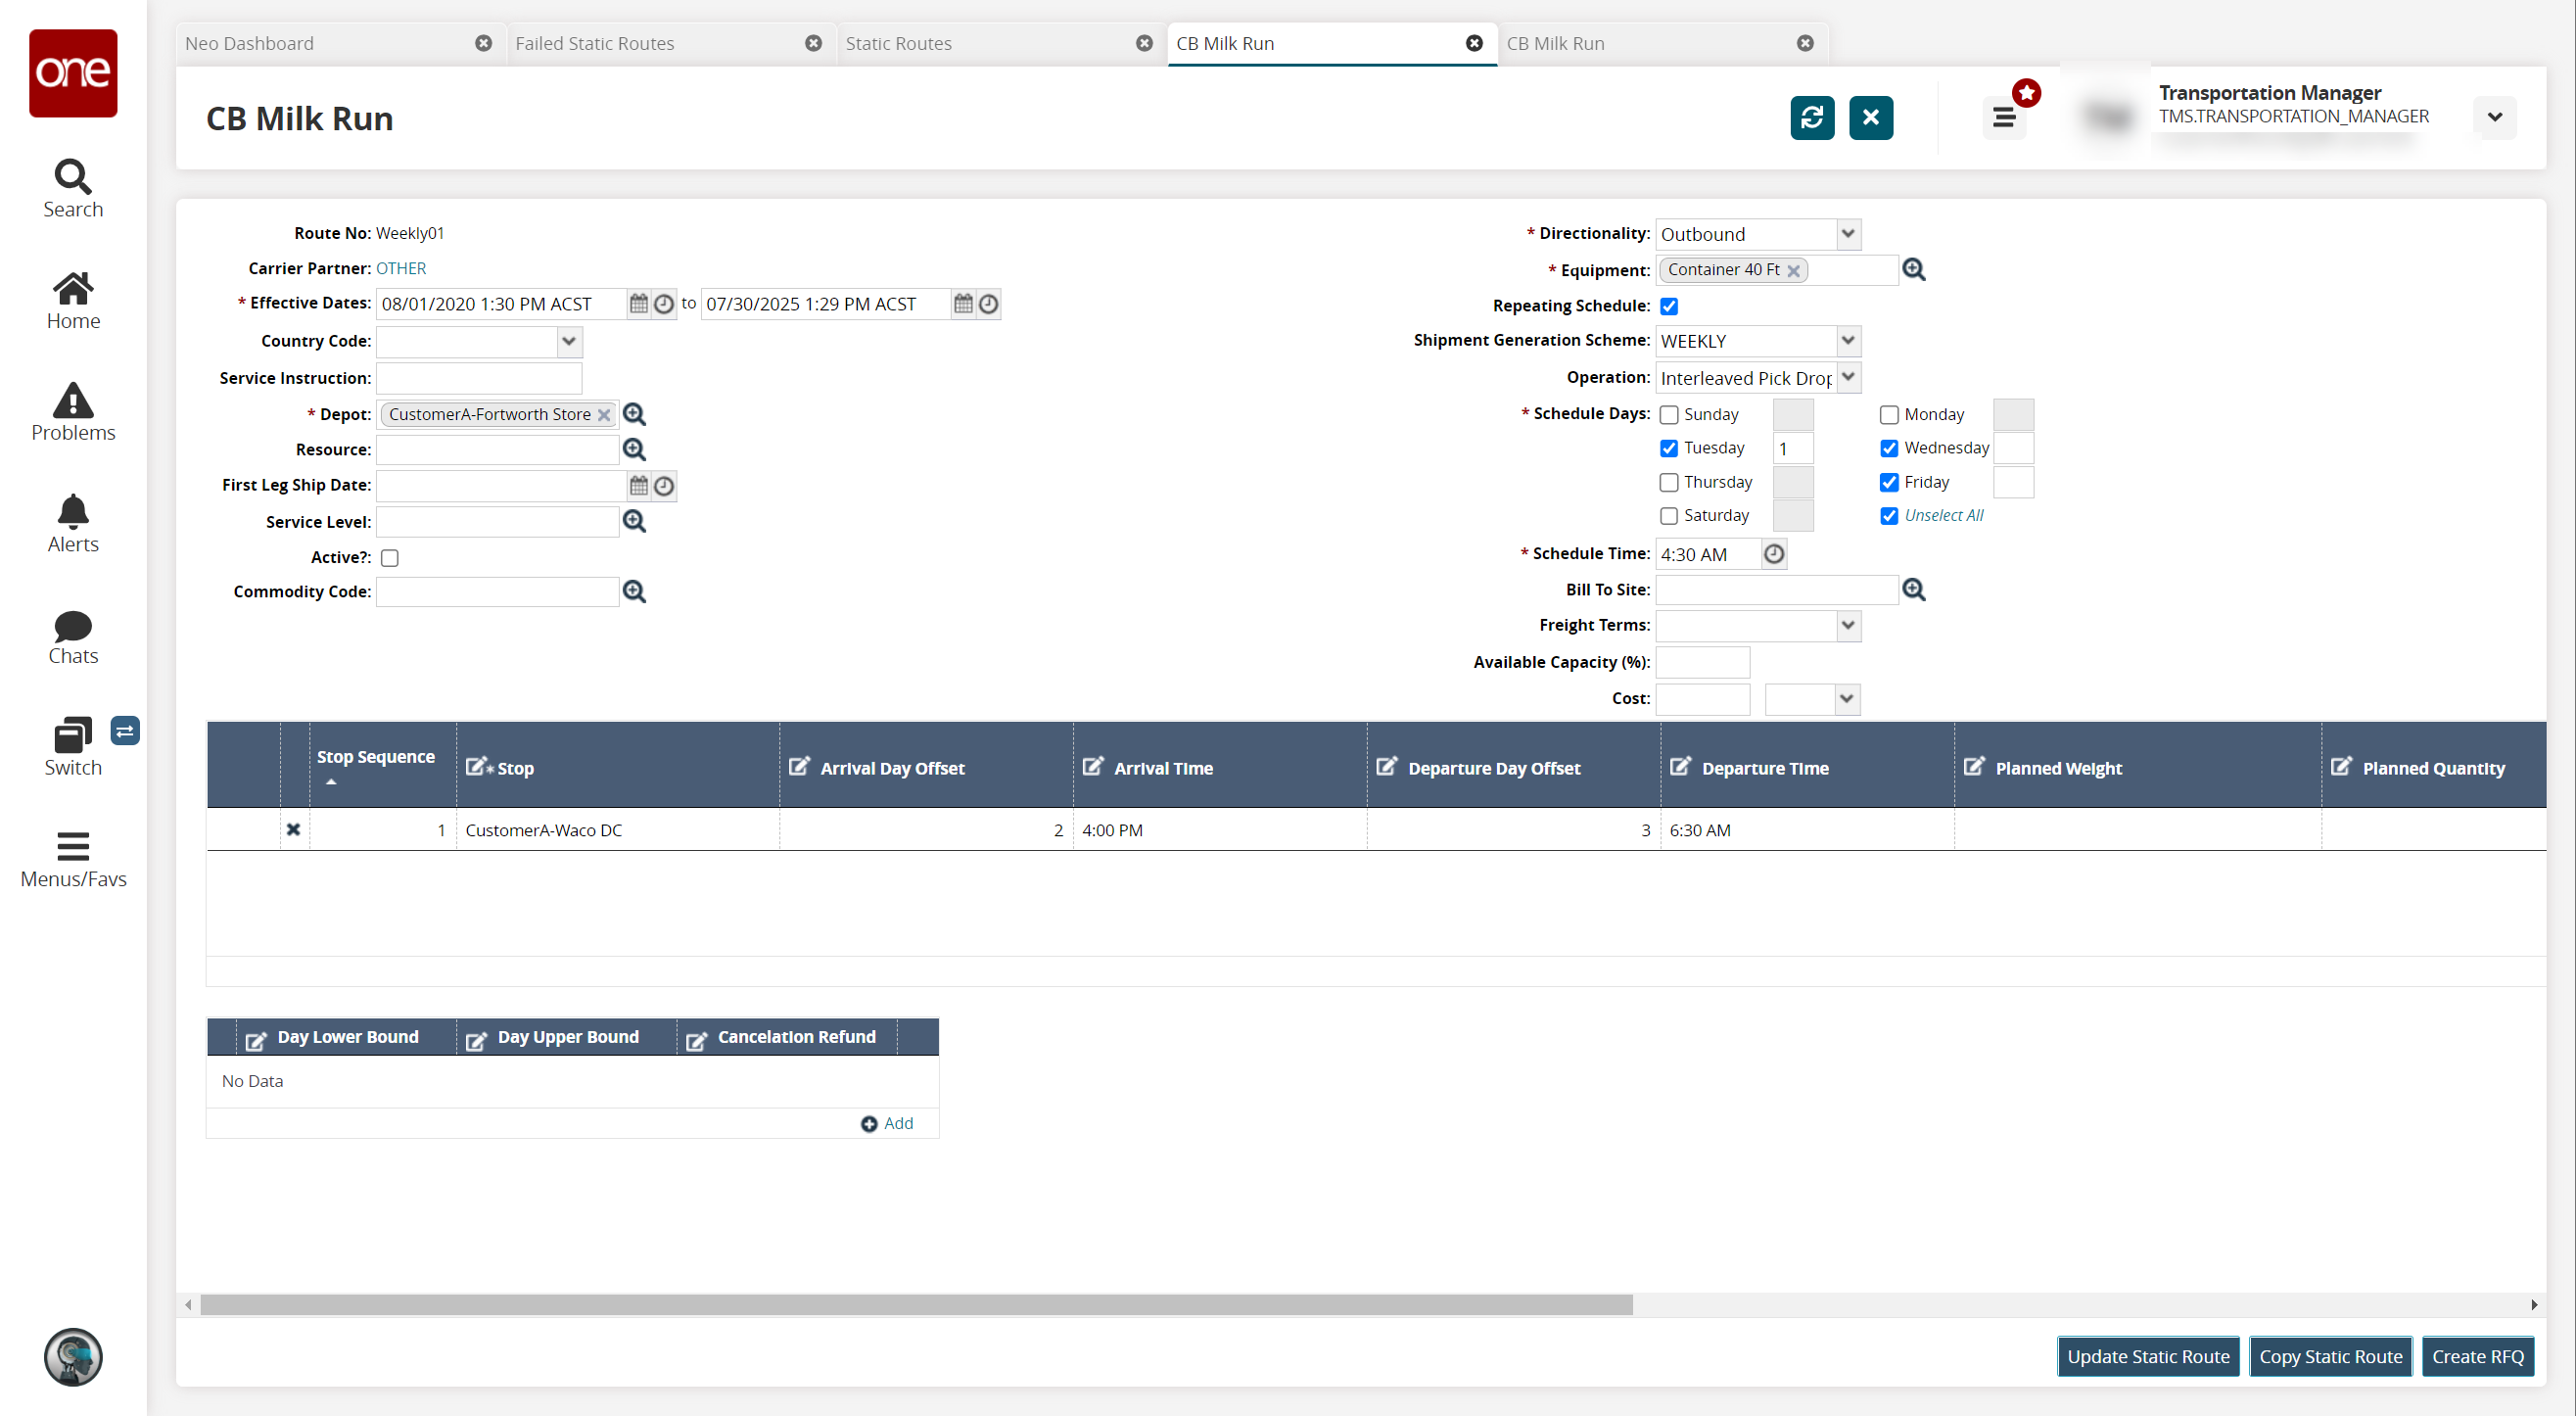
Make changes as desired and click the Update Static Route button to save your changes. See the "Creating Static Routes" section for more information on each field.
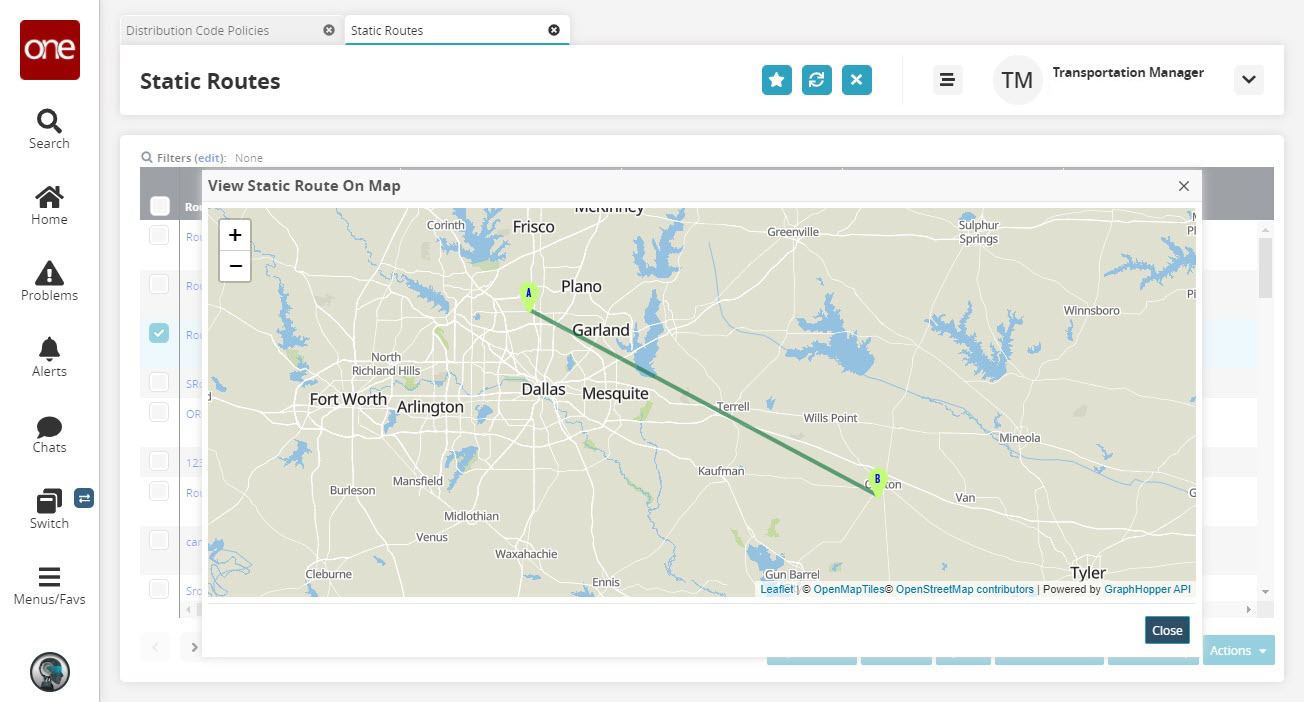
Back on the Static Routes report, select a Route No checkbox and click the Show on map button to view the static route on the map.
Select a Route No checkbox, and click the Actions button to perform additional actions.
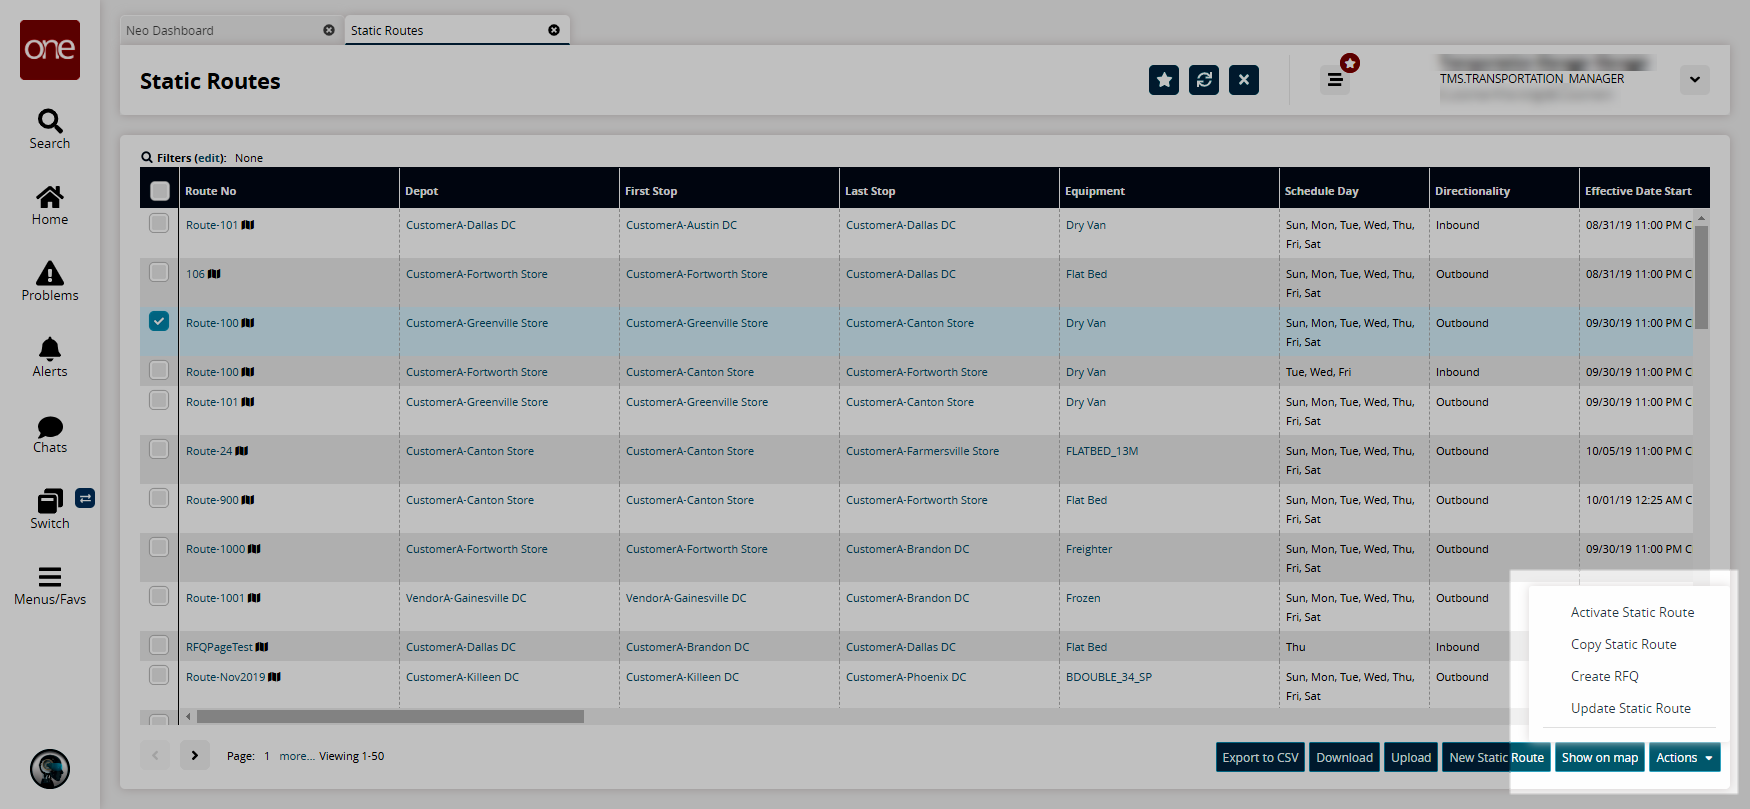
The actions are described below.
Action
Description
Activate Static Route
In the Activate Static Route popup window that appears, enable the *Active? column and click Submit.
Deactivate Static Route
In the Deactivate Static Route popup window that appears, disable the *Active? column and click Submit.
Copy Static Route
In the Copy Static Route popup window that appears, change the fields as desired and click Submit.
Create RFQ
In the Create RFQ popup window that appears, enter an RFQ Name and click Submit.
Update Static Route
In the Update Static Route popup window that appears, update the fields as desired and click Submit.