Participants Tab
This topic describes how to add participants to a databot.
Complete the following steps to add participants:
Click the Participants tab to add participants to the databot.
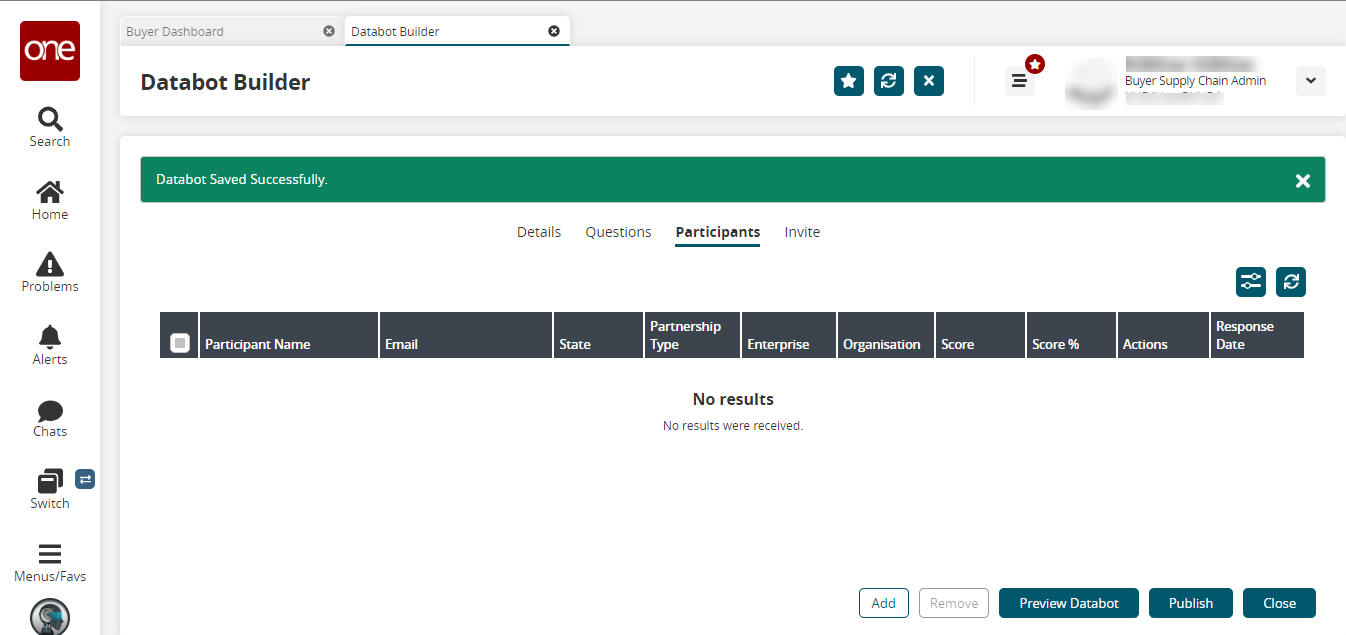
Click the Add button at the bottom of the screen to add participants.
The Add Participants pop-up window appears with the New header tab visible by default.

In the First Name * , Last Name * , and Email * fields, enter the first name, last name, and email address of the participant. Fields with an asterisk ( * ) are required.
Click the Lookup tab on the Add Participants window to add an existing user from the system as a participant.
Click the Add Participant button to add the participant.
The participant is added to the table and a success message appears.
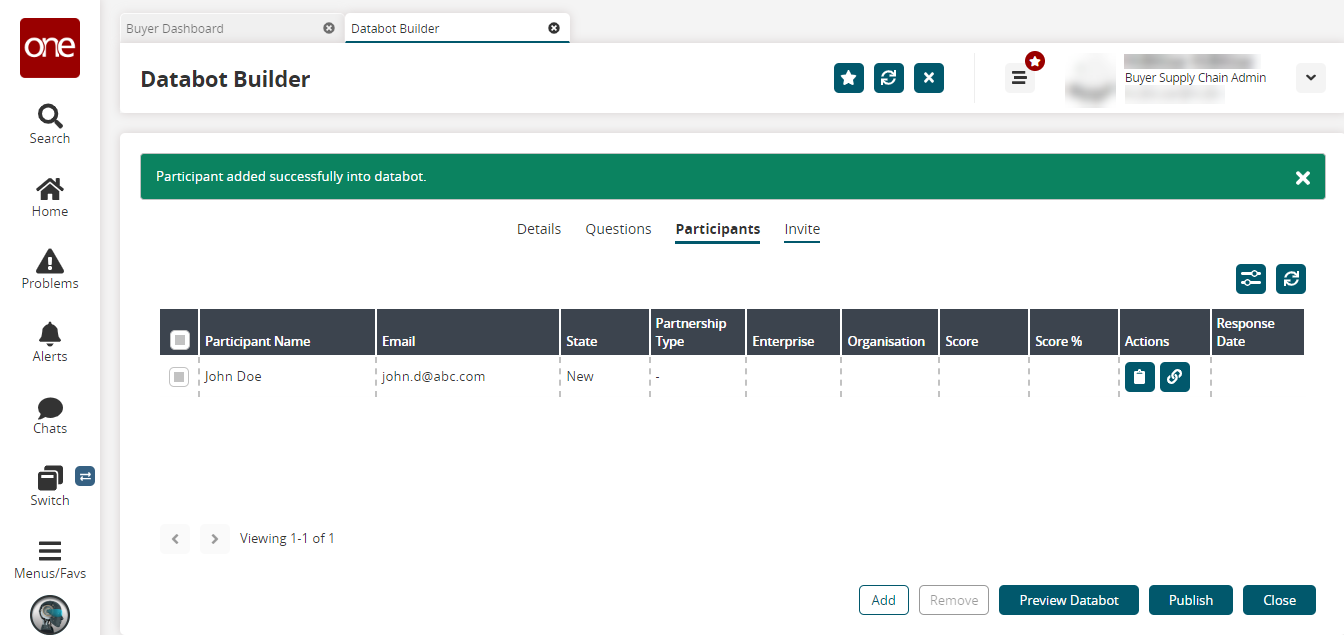
Select a participant and click the Add Notes (
 ) icon to add notes on the participant.
The Notes popup window appears.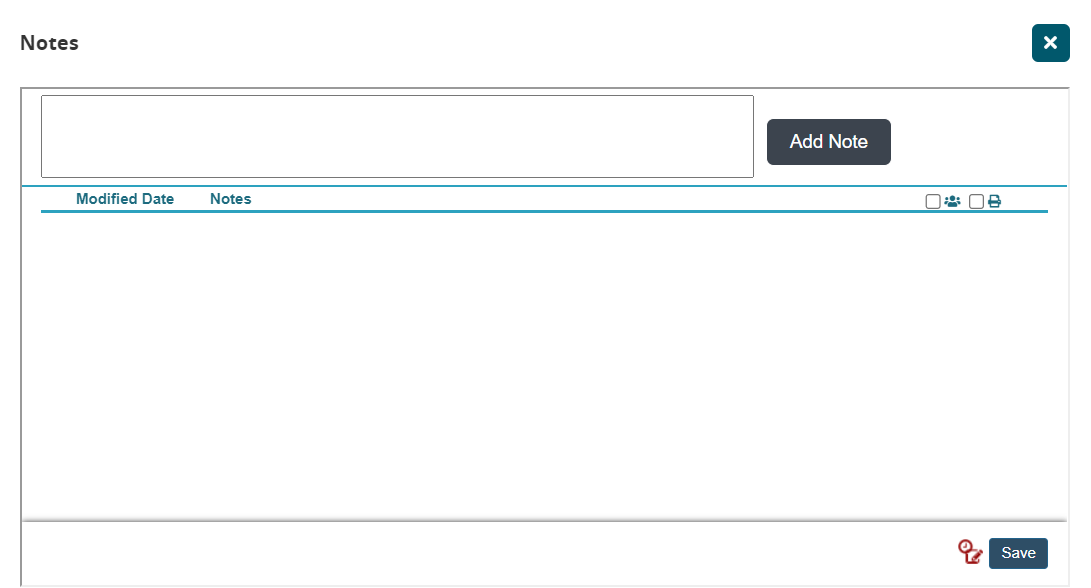
Enter the note in the text box and click the Add Note button.
A success message displays and the note is added to the popup window.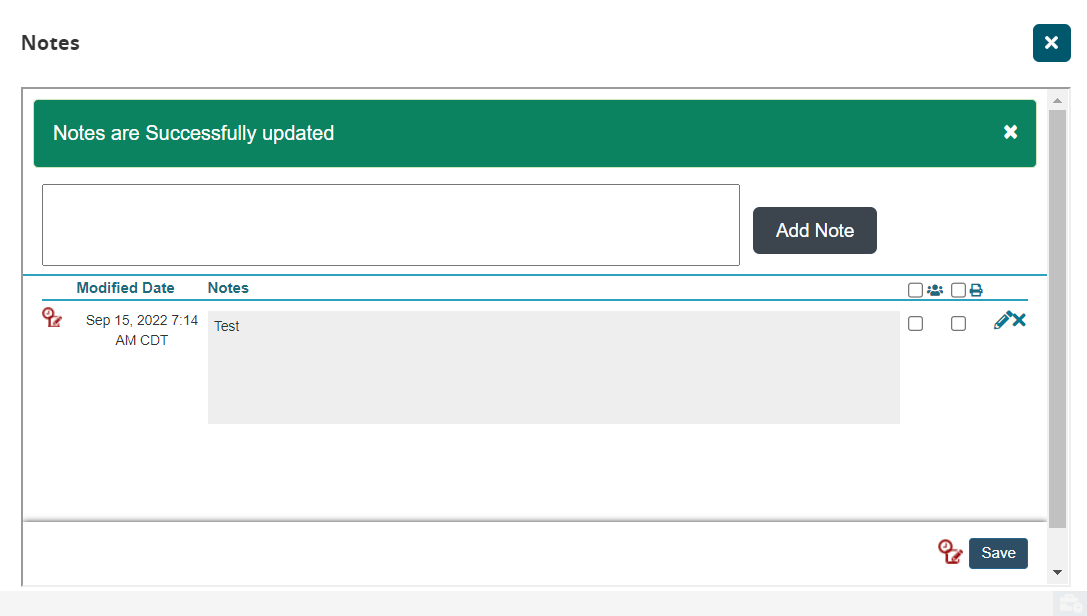
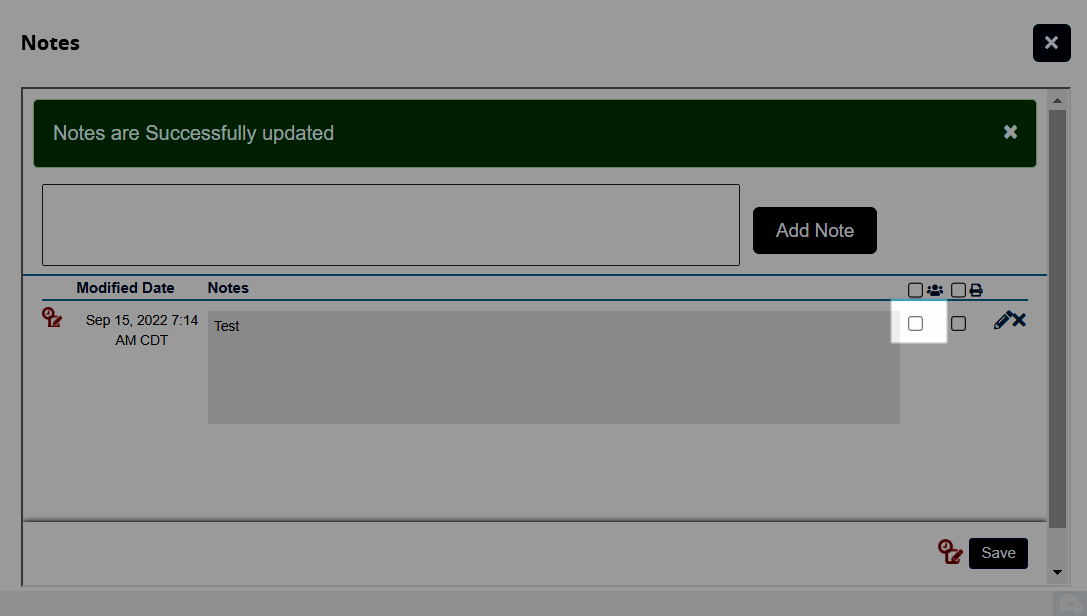
Click the pencil icon to edit a note.
Click the x icon to the right of the note to delete a note.
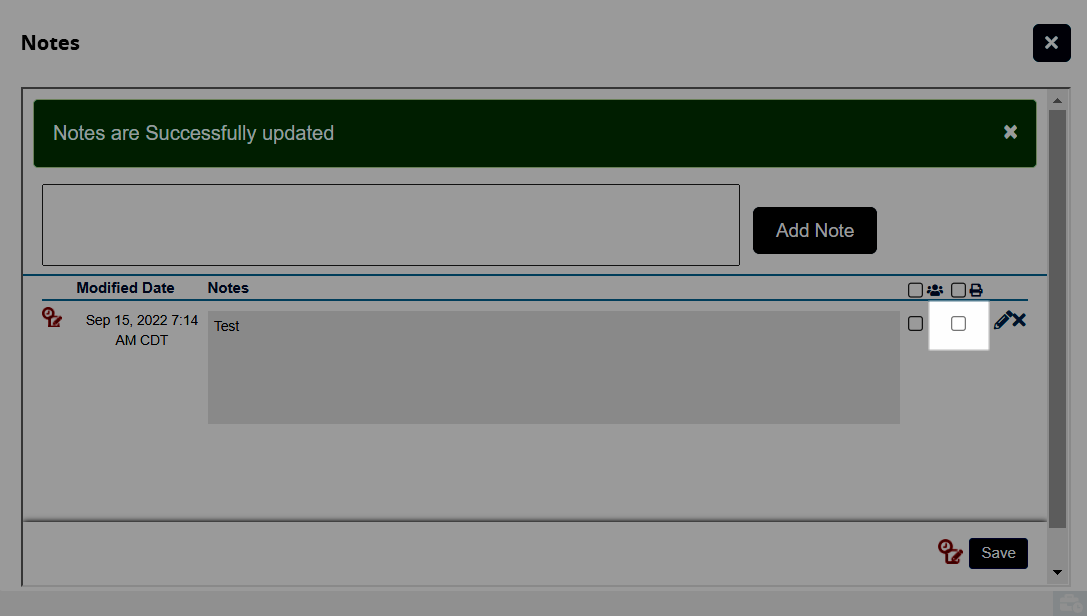
Click the all participants checkbox for a note to include the note for all participants.
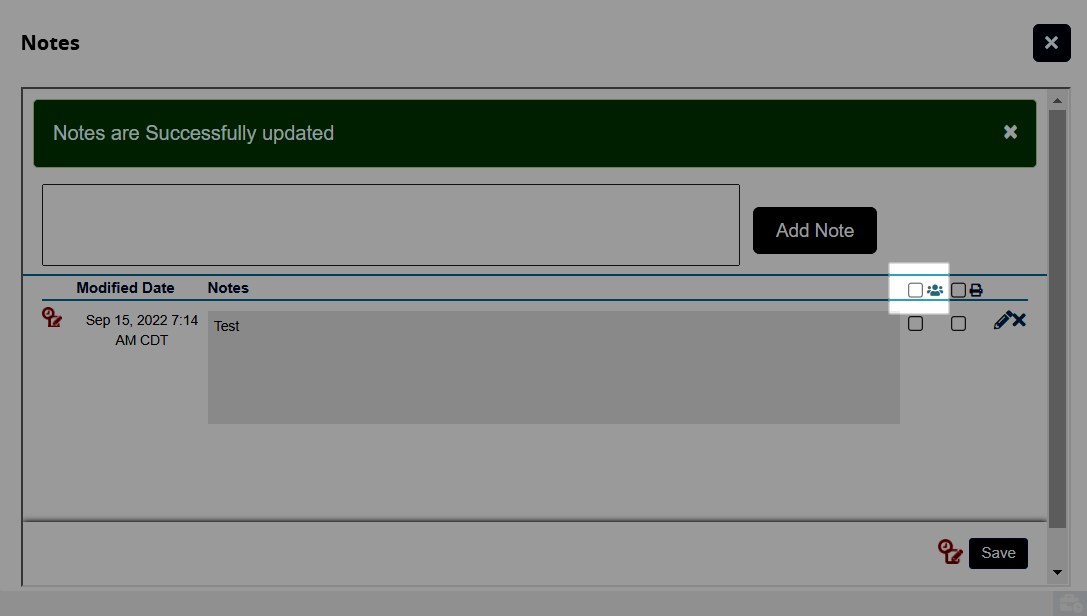
Click the all particpants icon checkbox at the top of the Notes section to include all notes for all participants.
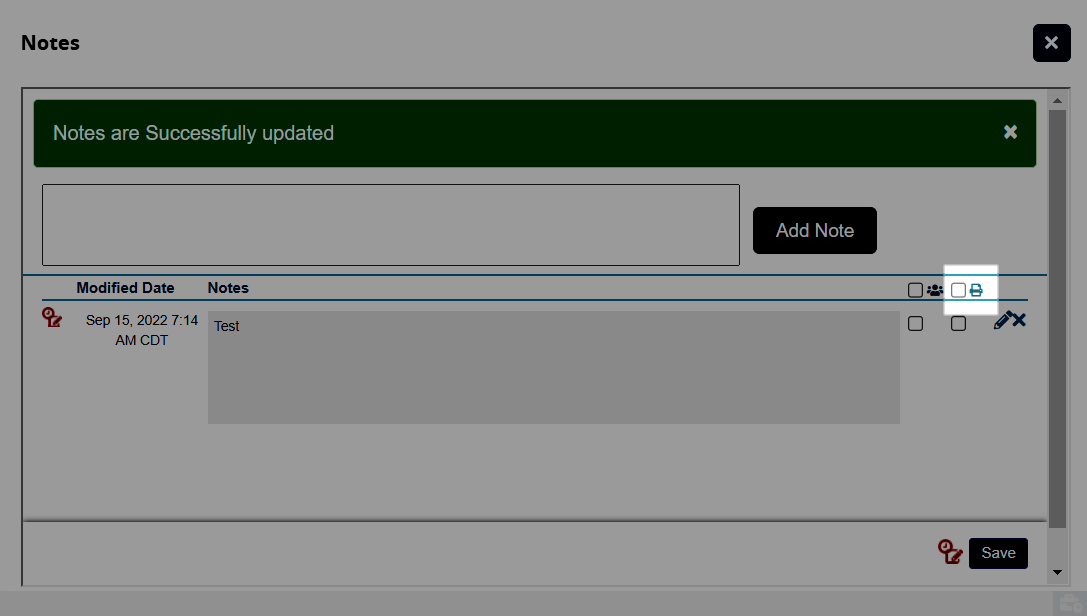
Select the print icon to the right of a note to print the note.
Select the print all icon to print all notes for this databot.
Click one of the audit trail icons to view the audit trail for the notes added to the databot.
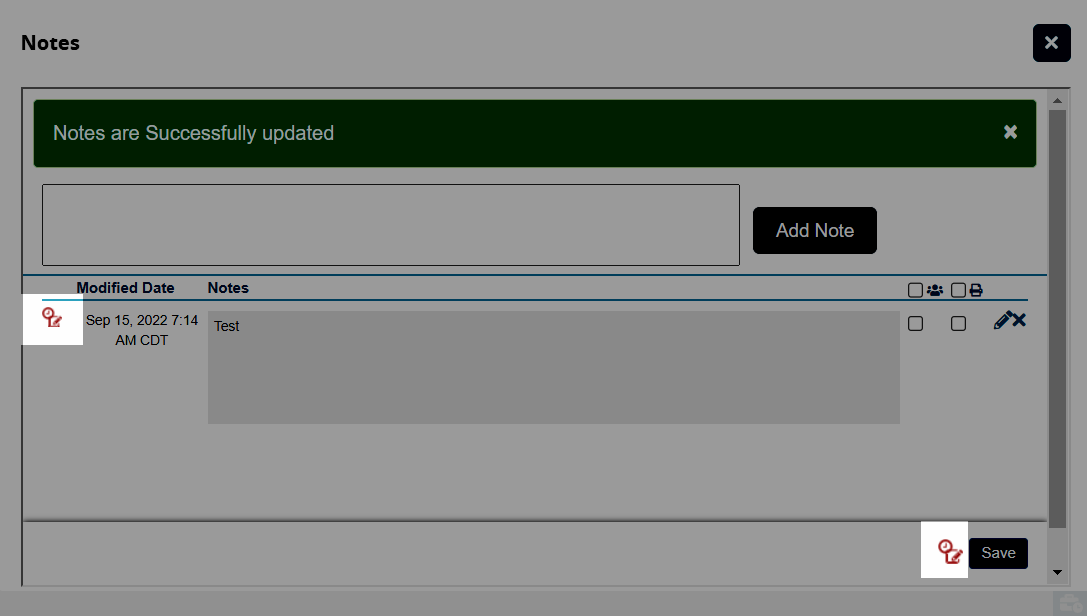
The audit trail screen appears in a new tab.Add additional notes as desired.
Click the Save button to save the added notes.
A success message appears.Click the x button to close the Notes popup window.
Select a participant and click the Add Documents (
 ) icon to add documents for the participant.
The Documents popup window appears.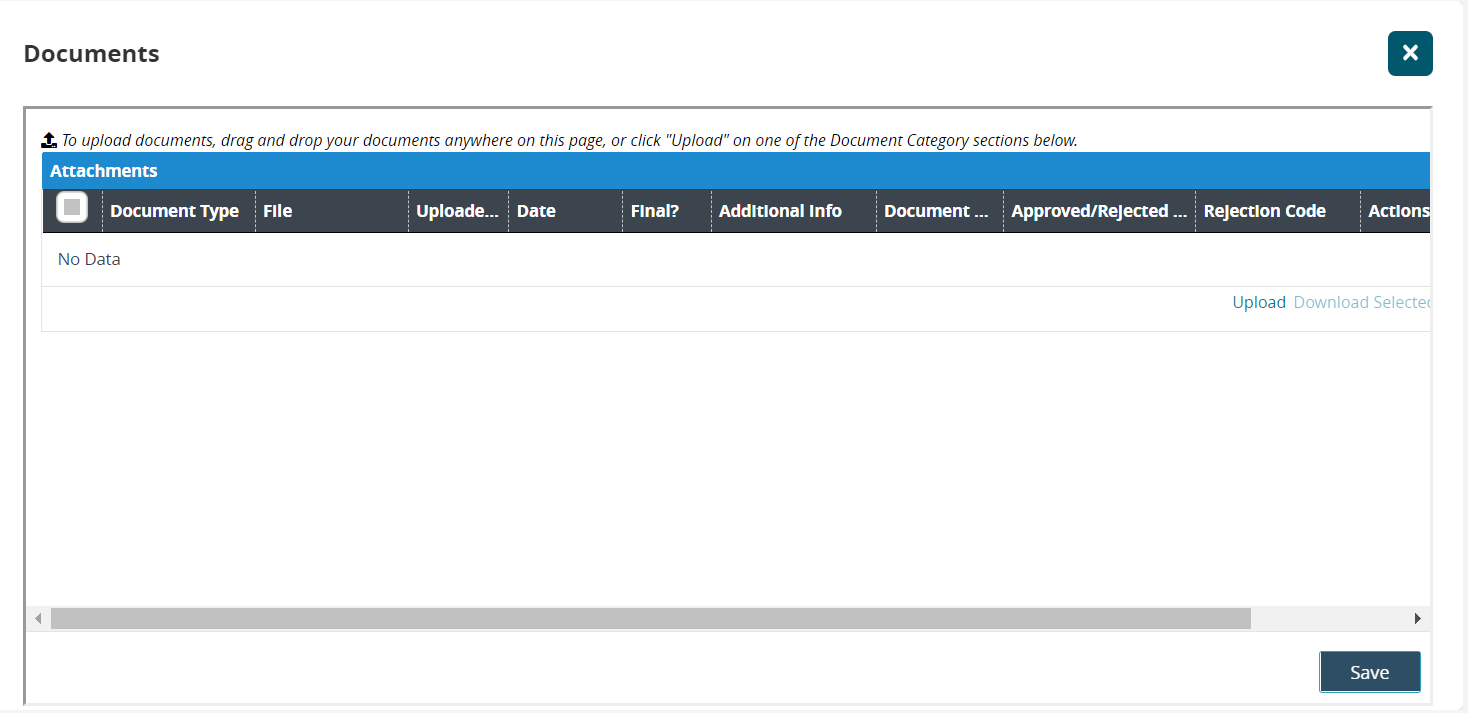
Drag and drop the documents you want to add anywhere on the popup window.
The document appears in the popup window.Alternatively, click the Upload link.
The Upload popup window appears.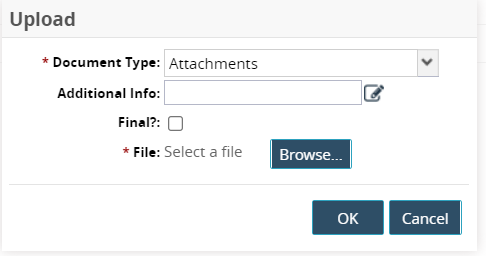 {
{
Fill out the following fields. Fields with an asterisk ( * ) are required.
Field
Description
* Document Type
This field defaults to Attachments.
Additional Info
Click the pencil icon to add additional information about the document.
Final?
Click the checkbox to mark the document as final.
* File
Click the Browse button to select the document from your computer.
Click OK.
The document appears in the Documents popup window.In the Actions column, click the Delete link to delete a document.
Click the checkbox to select a document and click the Download Selected link to download the document.
Click Save to save the added document.
A success message appears.Click the x icon to close the Documents window.
Click Add to add another participant and follow steps 2-5.
Select a participant and click Remove to remove the participant.
Click Preview Databot to preview the new databot in a separate tab.
Click Publish to publish the databot.
A Send Reminder icon ( ) now displays in the Actions column.
Click the Send Reminder icon to send a reminder to the participant about the databot.
A popup confirmation displays a message that a reminder has been sent.Click the OK button.
Select participants and click the Close button to stop the databot for the selected participants.
A popup confirmation displays a message asking if you are sure you want to close the databot.Click the Yes button.
If the databot type is With Reviewer, click the Reviewers tab. See the "Reviewers Tab" subsection in the Online Help for more information. For all other databot types, click the Invite tab. See the "Invite Tab" subsection in the Online Help for more information.
If the databot type is With Audit, see the "Creating a Databot with Auditors" section in Online Help for the steps to add auditors to participants.