Searching Approved Customer Lists (ACLs)
Users can search Approved Customer Lists (ACLs) and upload or download information from the ACLs screen. From this screen, users can also view an audit trail and details for the ACL.
Complete the following steps to search for ACLs:
L og in to the ONE system.
Click Menus/Favs > Administration > ACLs.
In the NEO UI, users can click on the Menus/Favs icon on the left sidebar and type in the name of the screen in the menu search bar. For more information, see "Using the Menu Search Bar."
The ACLs screen opens.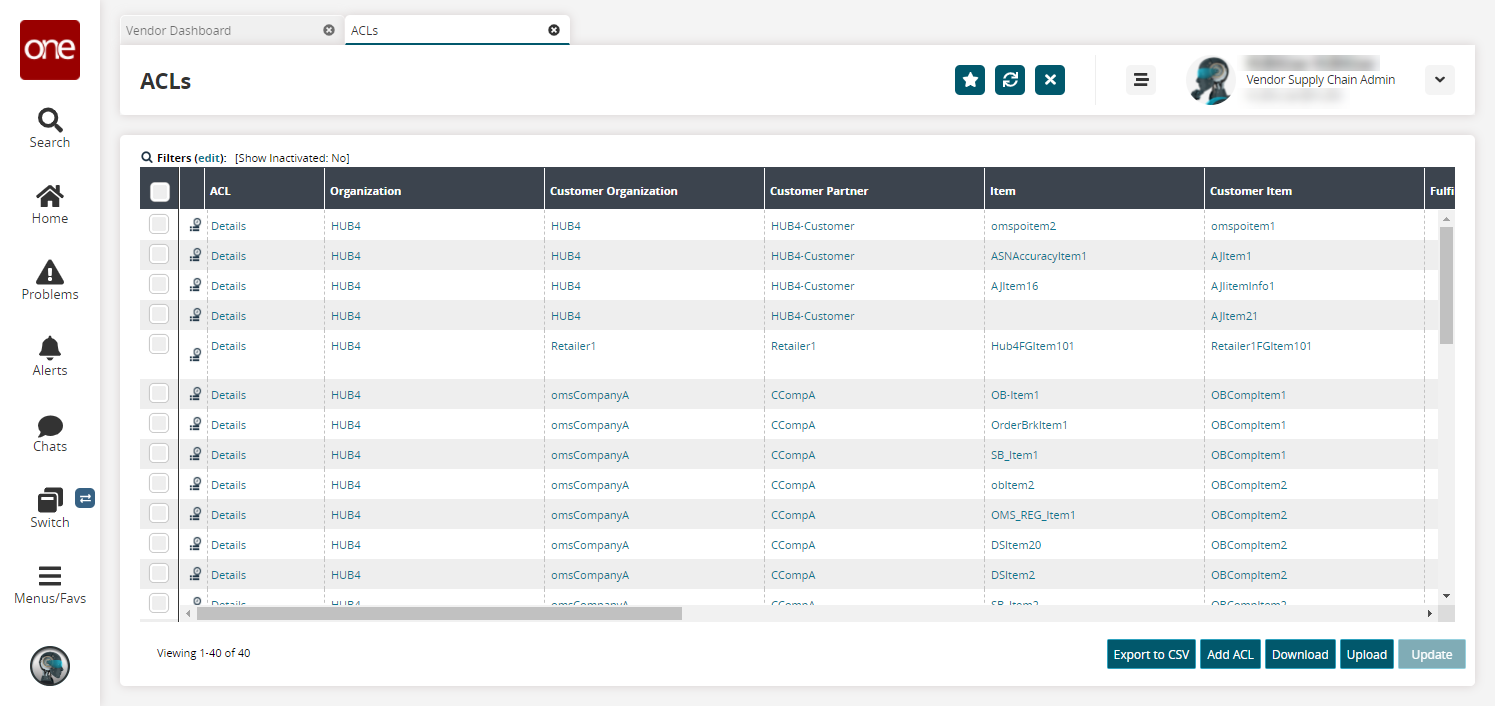
Click the Filters (edit) link to apply search criteria to reduce the number of entries shown.
The Filters menu displays.
Fill out the following fields. Fields with an asterisk ( * ) are required.
Field
Description
Organization
User the picker tool to select an organization.
Customer Partner
Use the picker tool to select a customer partner.
Fulfillment Org
Use the picker tool to select a fulfillment organization.
Managing Org
Use the picker tool to select a managing organization.
Customer Organization
Use the picker tool to select a customer organization.
Customer Item
Use the picker tool to select an item associated with the customer.
Show Inactivated
Check the box to show any ACLs that have been inactivated in the search results.
To add more search filters, click the Add Filter link, and then click one or more filter options from the Add Filter list.
Fill out the filters as desired, and click the Search link.
The search results display.Click the Export to CSV button to export the report to a CSV file.
Click the Download button to download the ACLs.
Click the Upload button to upload a new ACL. For more information, please see the "GLG: Uploading Documents" section of the Online Help.
Click the Audit Info icon (located in the column to the left of the ACL column) to view the audit details for that ACL.
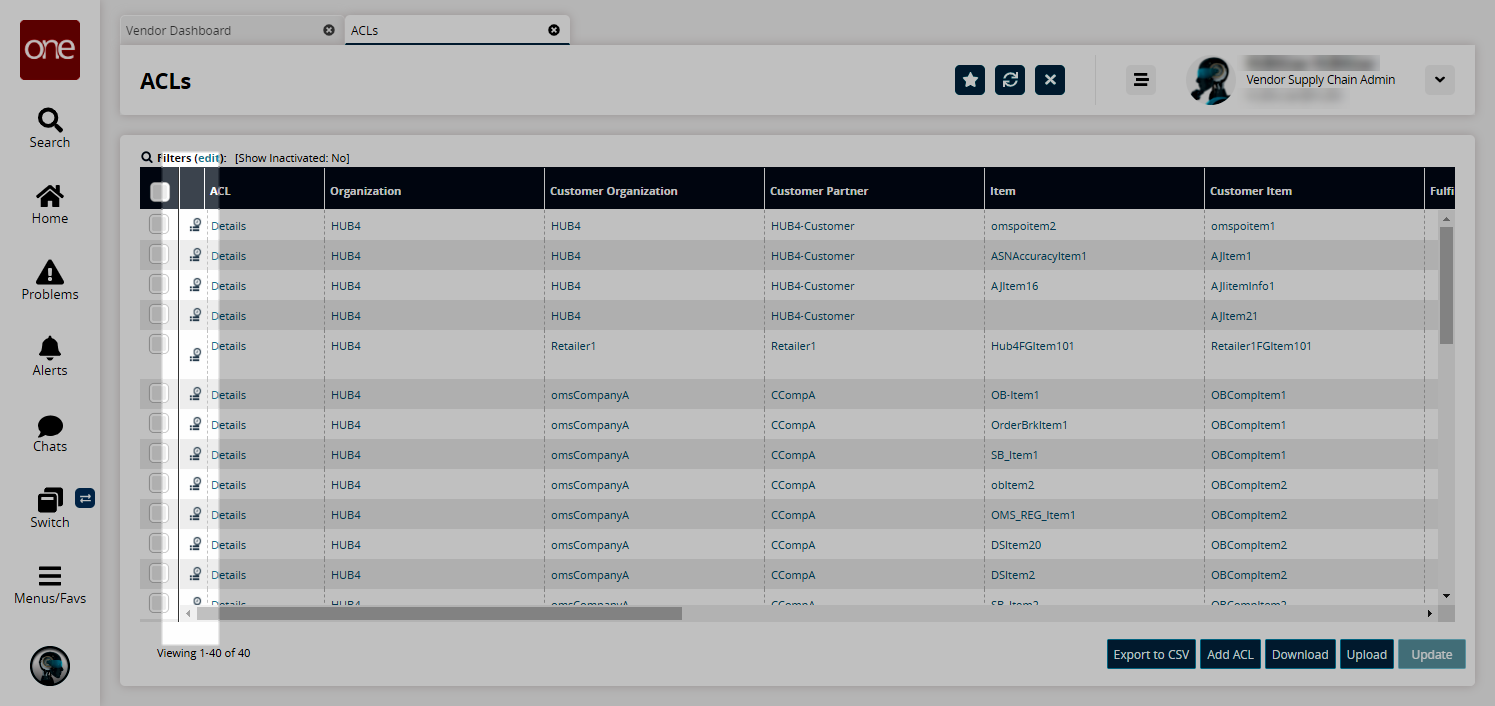
The Audit Trail screen opens.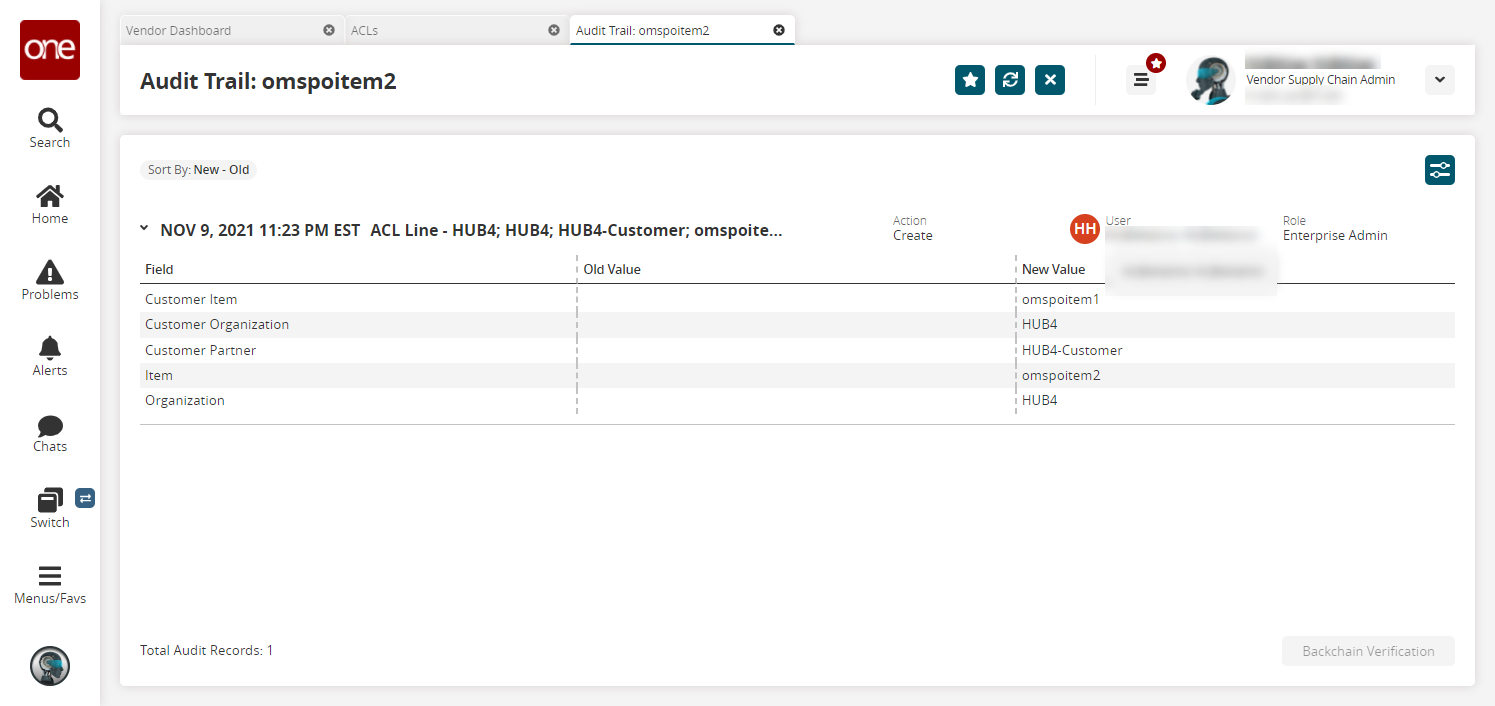
On the ACLs screen, click the Details link under the ACL column.
The ACL details screen opens.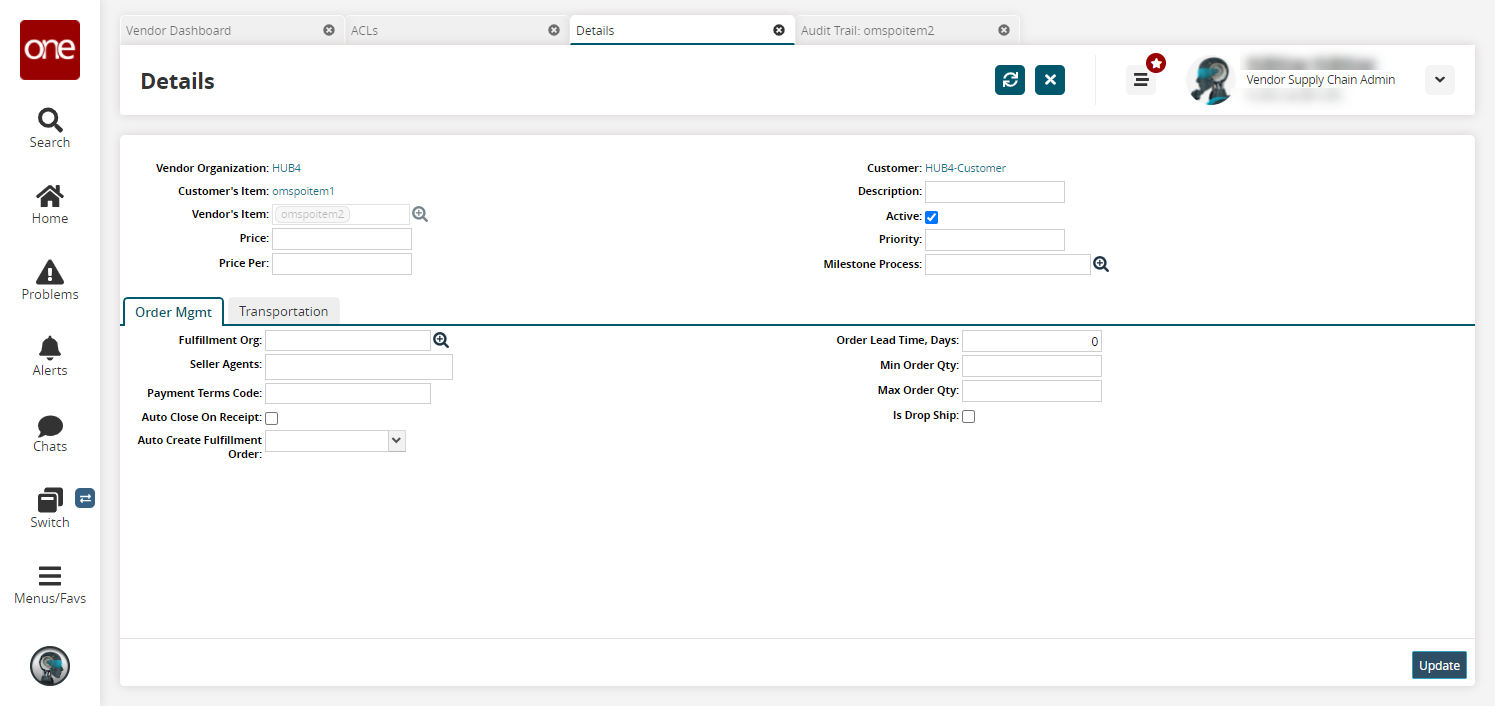
Update the fields as needed and click Update. See the "Creating Approved Customer List Customers (ACLs)" section of the Online Help for more information.
A success message appears.