Using the Movement Details Load Tab
The instructions on this page are a continuation of the "Using the Movements Details Screen" in the Online Help.
Click on the Load tab.
The Load tab displays the following details:
* Number of shipments and stops
* Weight, volume, quantity, and space
* Transportation mode
* Shipment details
* Stop details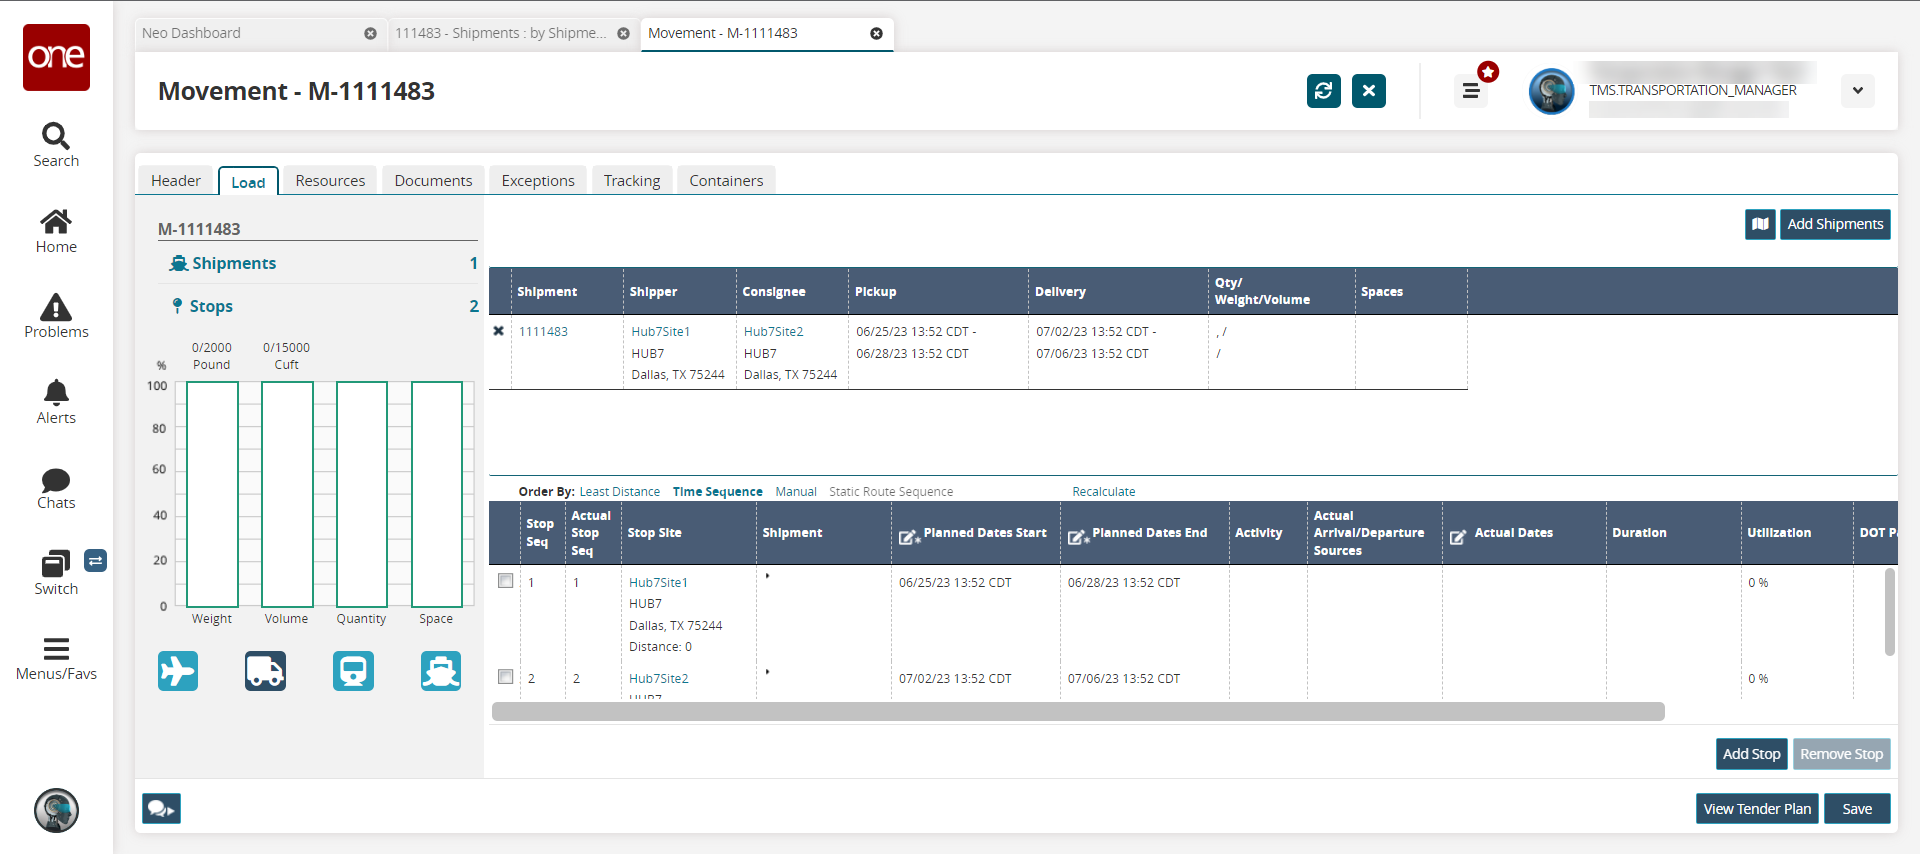
Click the map icon to view a map of the movement and stops.
A map of the movement route displays.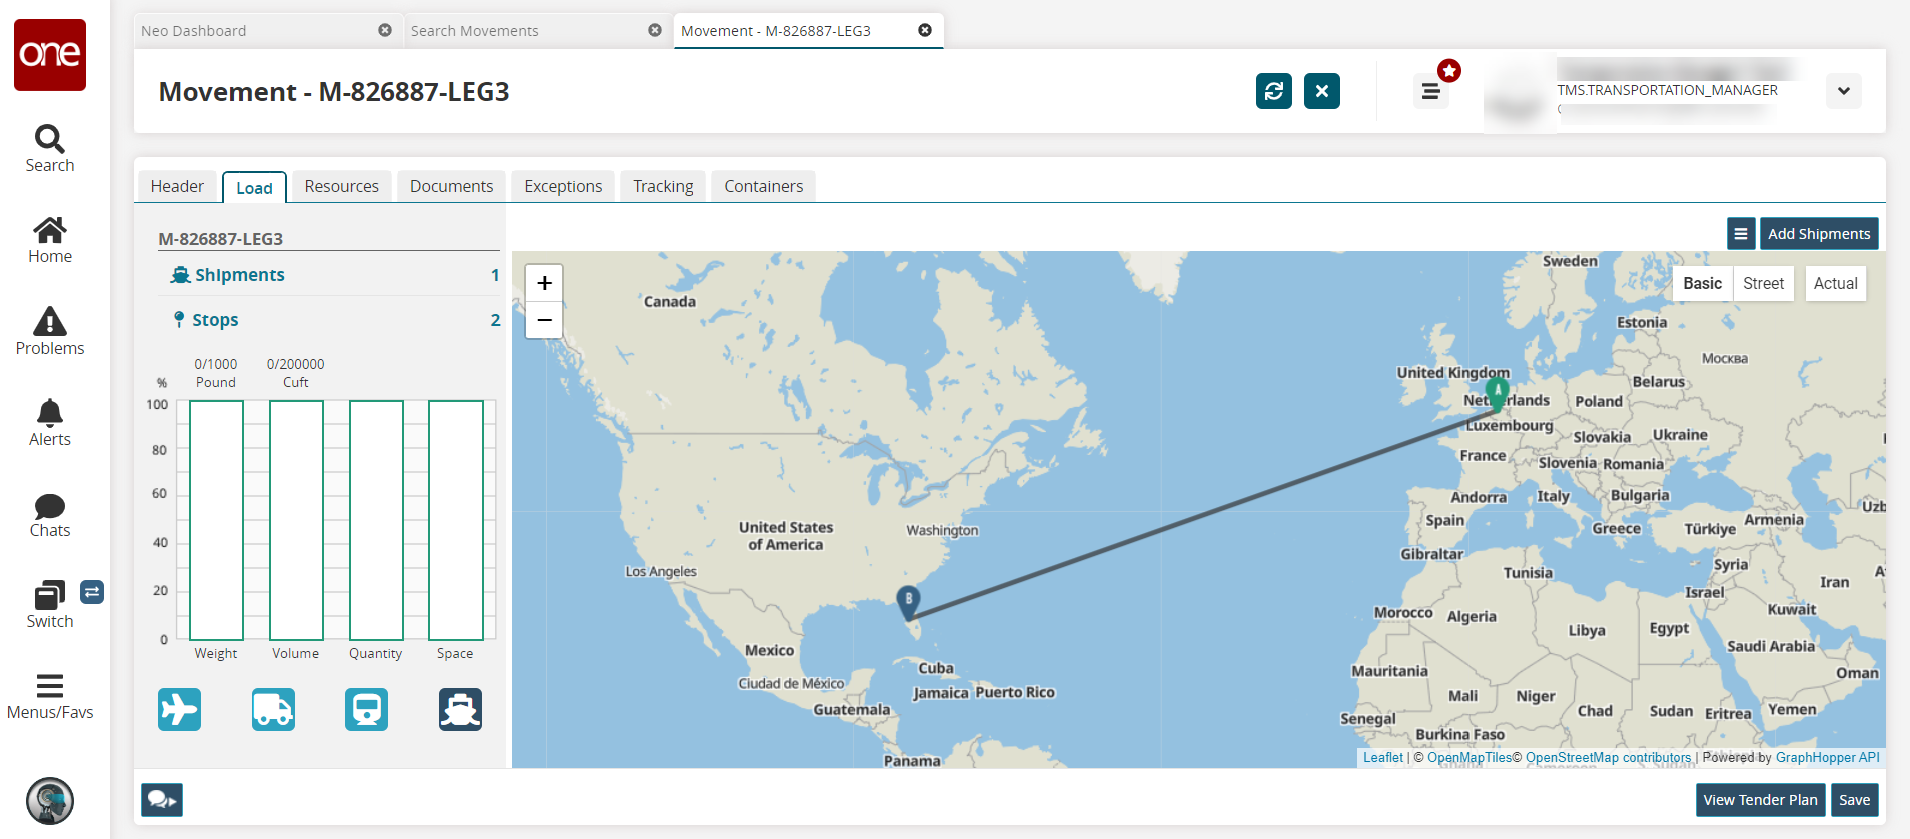
Click a point (stop) on the map to view shipment-level details.
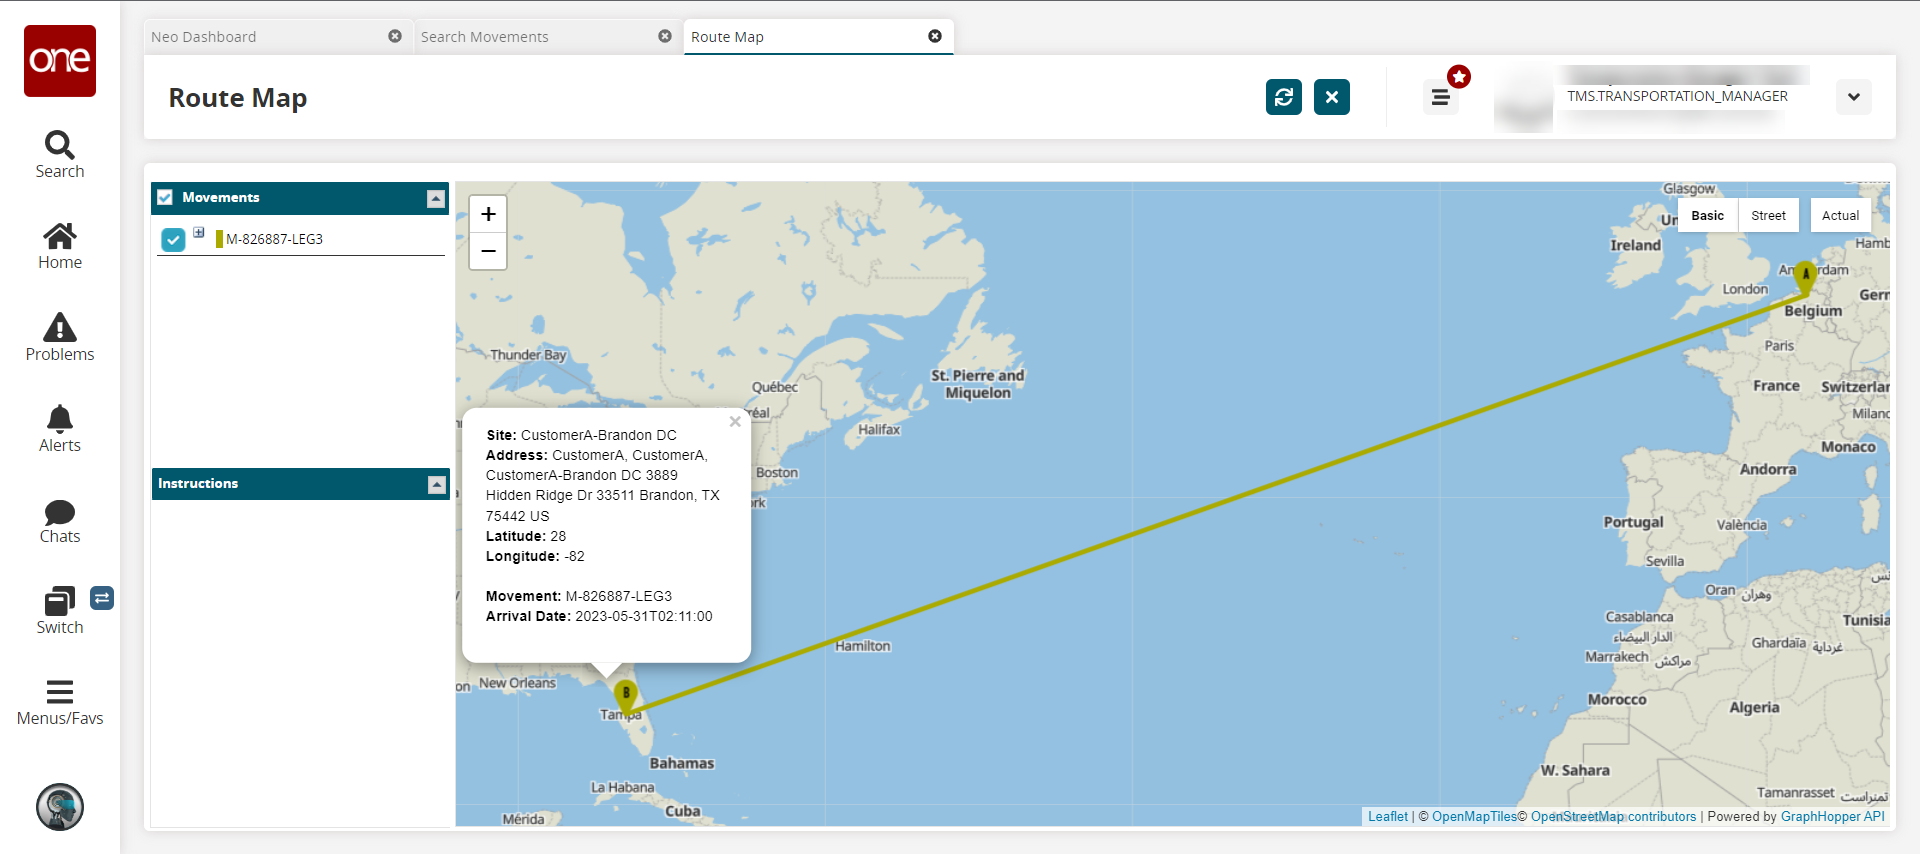
Click the list view icon to return to the original view.
Click the Add Shipments button to add a shipment.
The Add Shipment Candidates popup displays.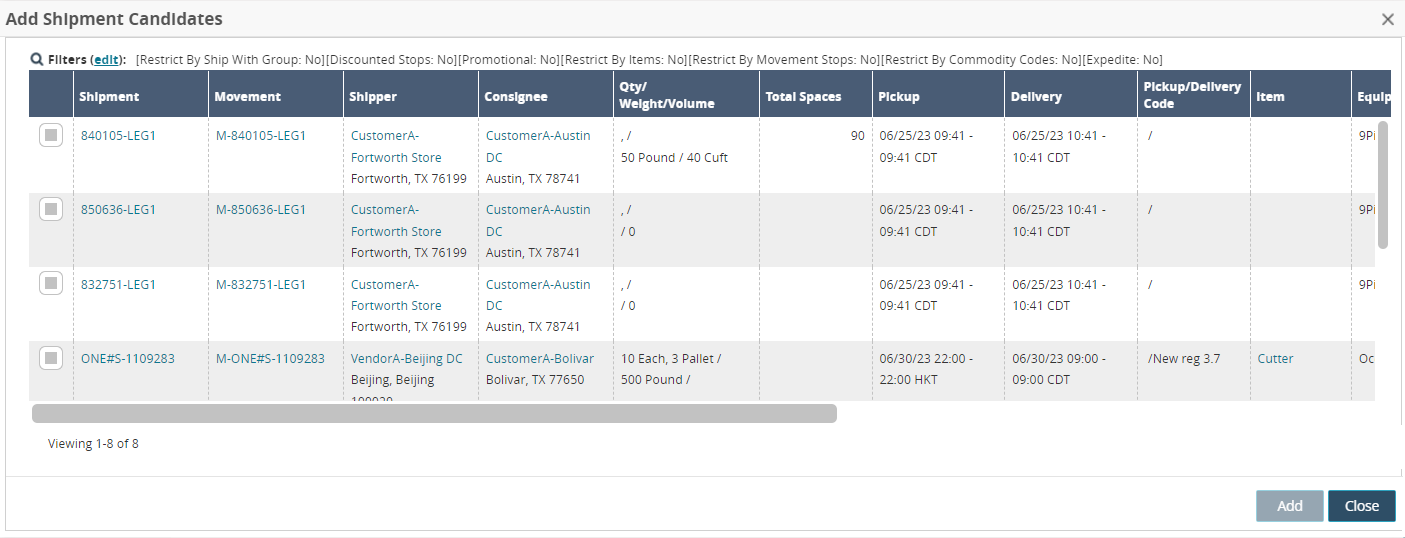
Click the checkbox for one or more shipments, and click the Add button.
The shipment is added to the table.
Click the Add Stop button to add a new stop.
The Add Movement Stop popup displays.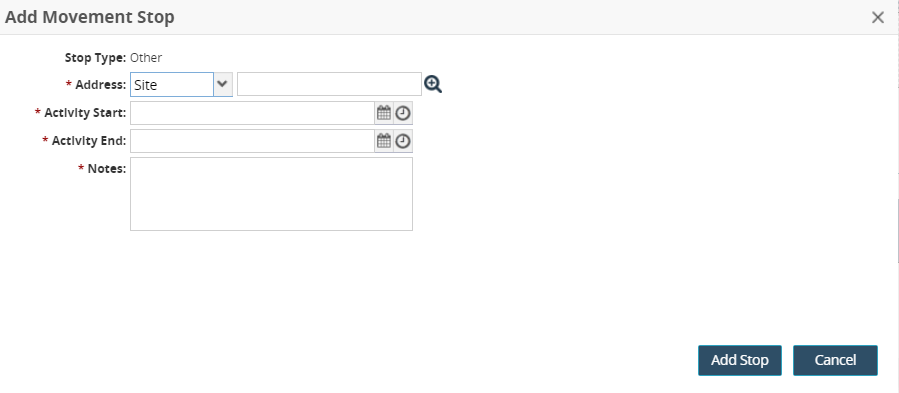
Enter values for fields described in the table below. Fields with an asterisk ( * ) are required.
Field
Description
Stop Type
This field auto-populates.
* Address
Select the location type from the dropdown list in the first field, and use the picker tool to select a specific location in the second field.
* Activity Start
Use the calendar and clock tools to set the activity start date and time.
* Activity End
Use the calendar and clock tools to set the activity end date and time.
* Notes
Enter any notes.
Click the Save button.
A green success message displays.Click the Resources tab to view and add resources. See the "Using the Movement Details Resources Tab" section of the Online Help for more information.