Using the Movement Details Screen
Movements are automatically created when shipments are created in the ONE system, and details for the movement are found on various tabs in the movement's details screen.
Complete the following steps to use the Resources tab for movements:
L og in to the ONE system.
Search for the desired movement using the global search method or click Menu/Favs > Transportation > Search Movements. Movements can also be accessed from the Search Shipment screen. In the NEO UI, users can click on the Menus/Favs icon on the left sidebar and type in the name of the screen in the menu search bar. For more information, see "Using the Menu Search Bar."
Click the movement link if you are on the Search Movements or Search Shipments screen.
The Header screen for the movement details page displays by default.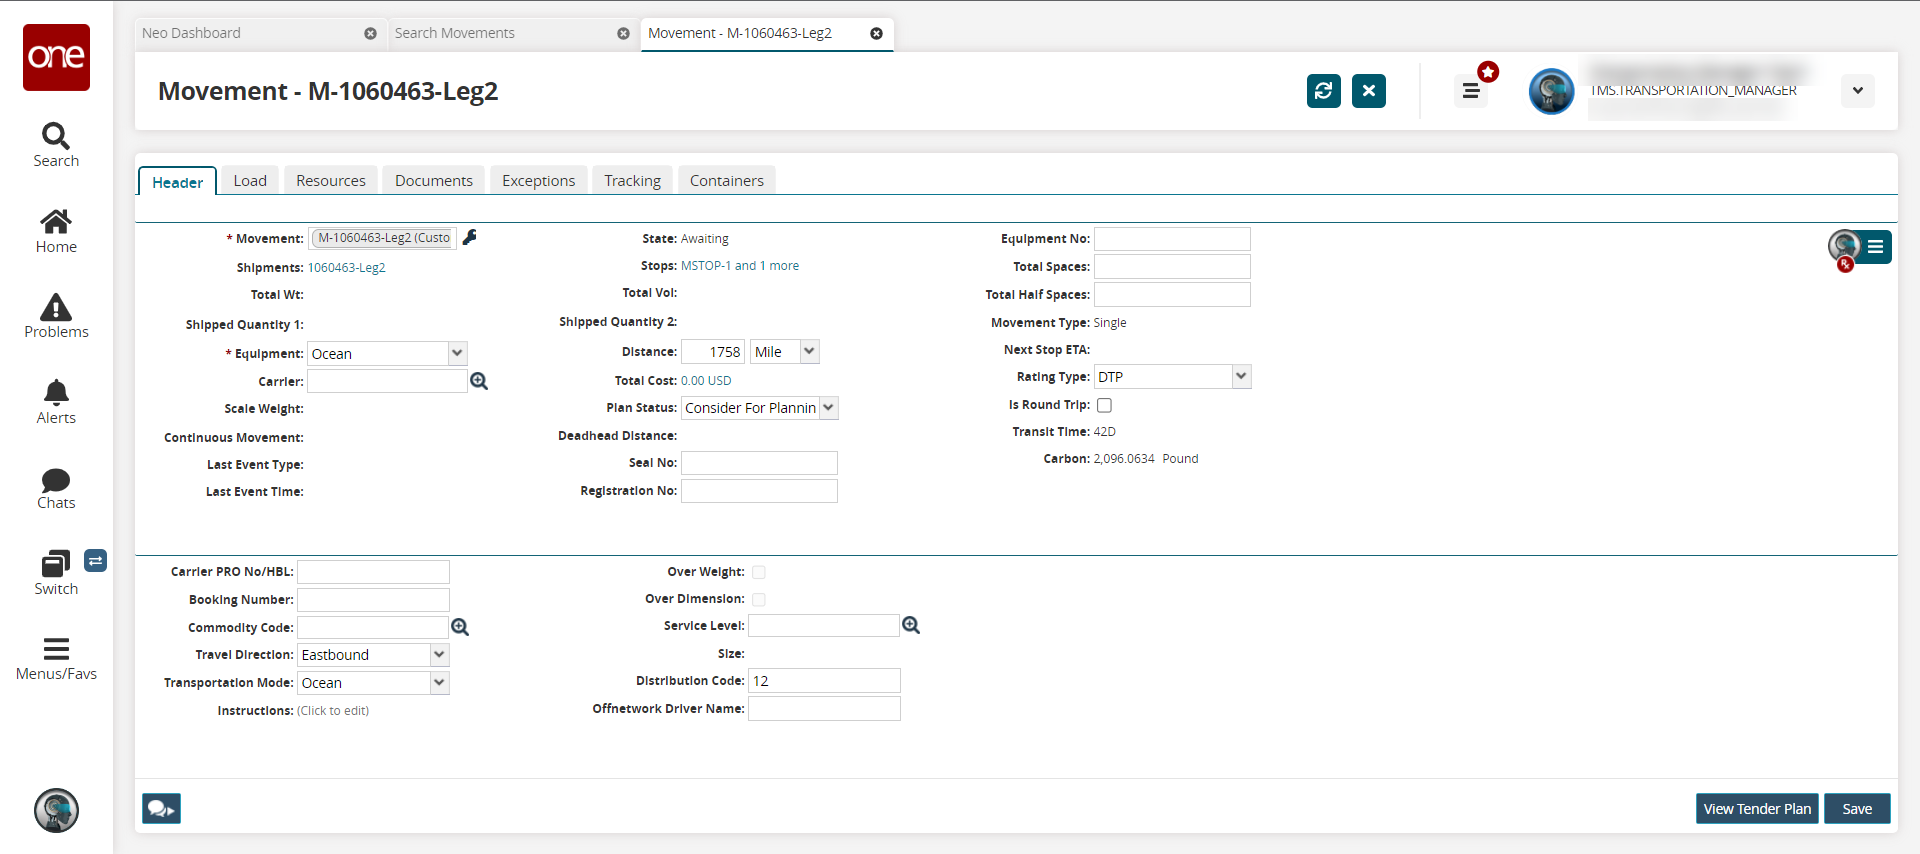
Enter values for fields described in the table below. Fields with an asterisk ( * ) are required. Many of the fields pull their data from the shipment(s) details associated with the movement.
Section
Field
Description
First section
* Movement
This field is auto-populated.
Click the key icon
Shipment
This field is auto-populated.
Total Wt
This field is auto-populated based on equipment and container information.
Shipped Quantity 1
This field is auto-populated.
*Equipment
Select the equipment required from the dropdown list.
Carrier
Use the picker tool to select the carrier.
Scale Weight
This field is auto-populated.
Continuous Movement
This field is auto-populated.
Last Event Type
This field is auto-populated based on event tracking established for the movement.
Last Event Time
This field is auto-populated based on event tracking established for the movement.
State
This field is auto-populated.
Stops
This field is auto-populated based on stops created in the shipment.
Total Vol
This field is auto-populated.
Quantity Shipped 2
This field is auto-populated.
Distance
Enter a numerical value in the first field, and select a UOM from the dropdown menu in the second field.
Total Cost
This field is auto-populated.
Deadhead Distance
This field is auto-populated.
Seal No
Enter the seal number.
Registration No
Enter the registration number.
Equipment No
Enter the equipment number.
Total Spaces
Enter the total number of spaces available.
Total Half Spaces
Enter the total number of half spaces available.
Movement Type
This field is auto-populated.
Next Stop ETA
This field is auto-populated.
Rating Type
Select the rating type from the dropdown menu.
Is Round Trip
Check the box if this movement is a round trip.
Transit Time
This field is auto-populated.
Carbon
This field is auto-populated.
Second section
Carrier PRO No/HBL
Enter the carrier PRO or HBL number.
Booking Number
Enter the booking number.
Commodity Code
Use the picker tool to select a commodity code.
Travel Direction
Select the travel direction from the dropdown menu.
Transportation Mode
Select the transportation mode from the dropdown menu.
Instructions
Click the Click to edit link to add instructions.
A text box displays.Type in instructions.
Click outside the box.
Over Weight
Check the box if the movement is over the expected weight.
Over Dimensions
Check the box if the movement is over the expected dimensions.
Service level
Use the picker tool to select the service level.
Size
This field will auto-populate based on equipment or container information.
Distribution Code
Enter the distribution code.
Offnetwork Driver Name
Enter the name of the off-network driver.
Click the NEO icon.
The Movement Prescriptions slideout displays any available prescription suggestions.Click on a prescription to select it.
Click the Chat button.
The Start A New Chat slideout displays. See the "Chats, Collaborations, and Conversations" section in the Online Help for more information.Click the View Tender Plan button.
The movement's tender plan details screen displays.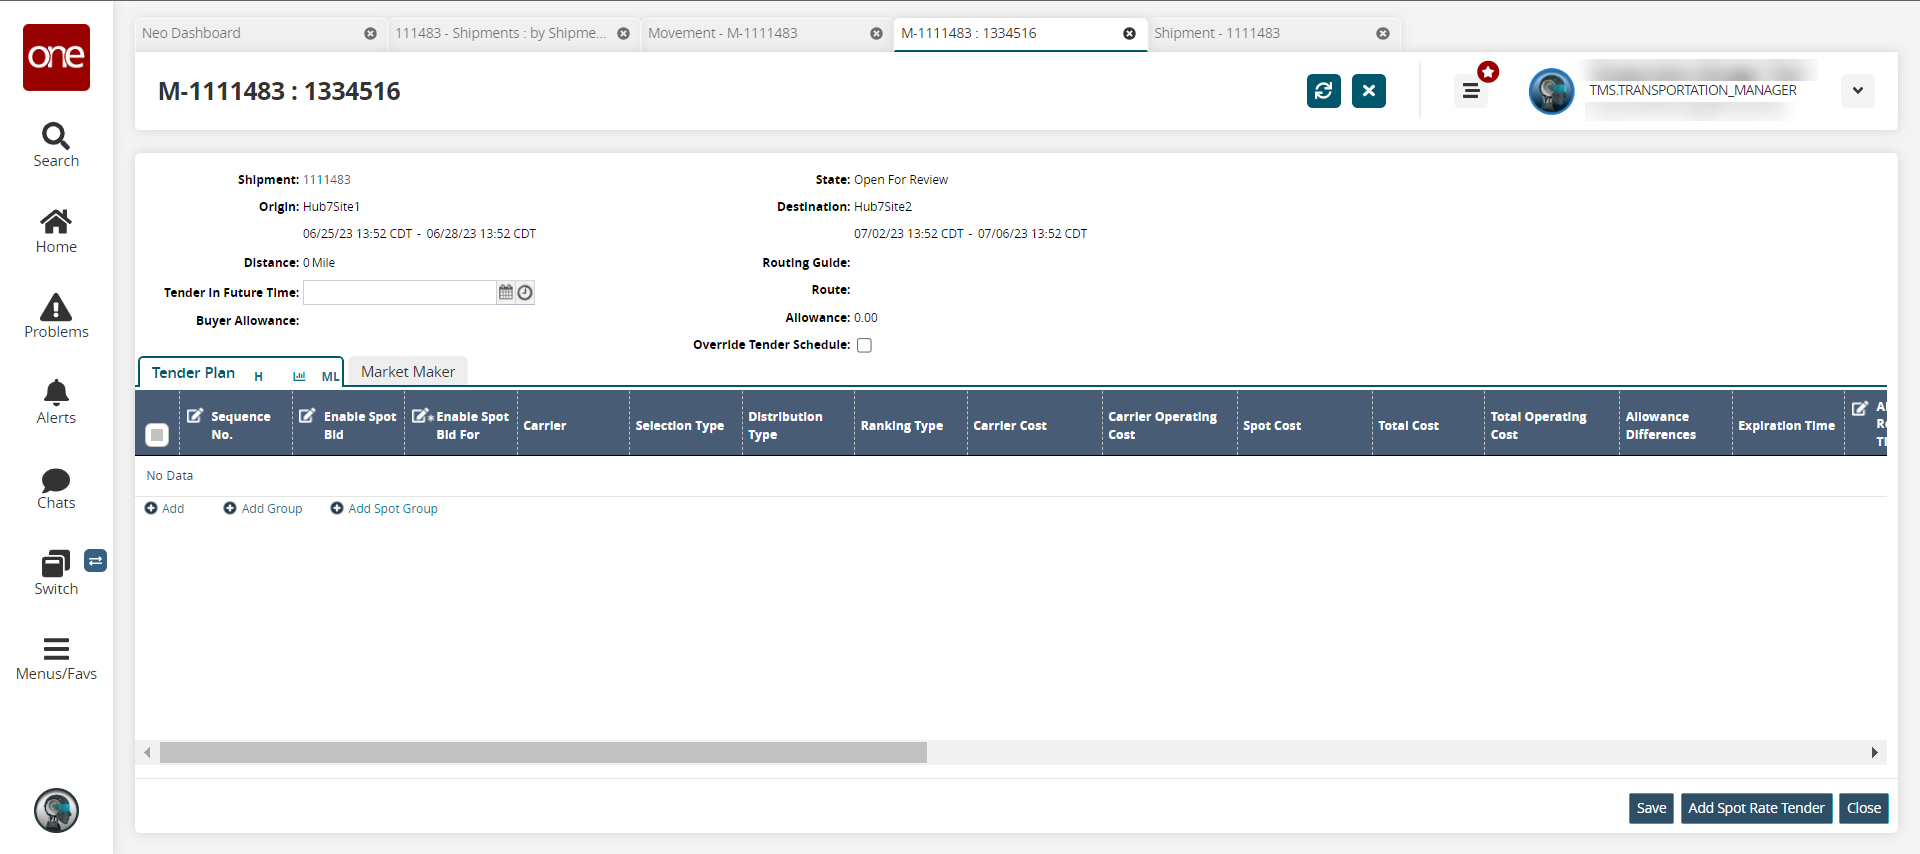
Click the Save button to save any updates. This is optional if you need to make updates to fields on other tabs. You can move between tabs without losing data and click the Save button once all changes have been made.
A green success message displays.Click the Load tab.
The Load tab displays. Please see the "Using the Movement Details Load Tab" section in the Online Help for more information.