Using the Yard Explorer to Manage Site Yards
The Yard Explorer allows users to manage site yards, slots, and trailer moves. This section describes using the Yard Explorer to manage sites. Please see the "Yard Slots," "Moving Trailers in a Yard," and "Checking in New Trailers" sections in the Online Help for more information.
Complete the following steps to manage yard locations:
L og in to the ONE system.
Select Menus/Favs > Yard Management > Yard Explorer. In the NEO UI, users can click on the Menus/Favs icon on the left sidebar and type in the name of the screen in the menu search bar. For more information, see "Using the Menu Search Bar."
The Yard Explorer screen displays, showing all sites in the organization in the left Explorer pane.
Click the name of a site in the left Explorer pane.
Site details display in the right pane.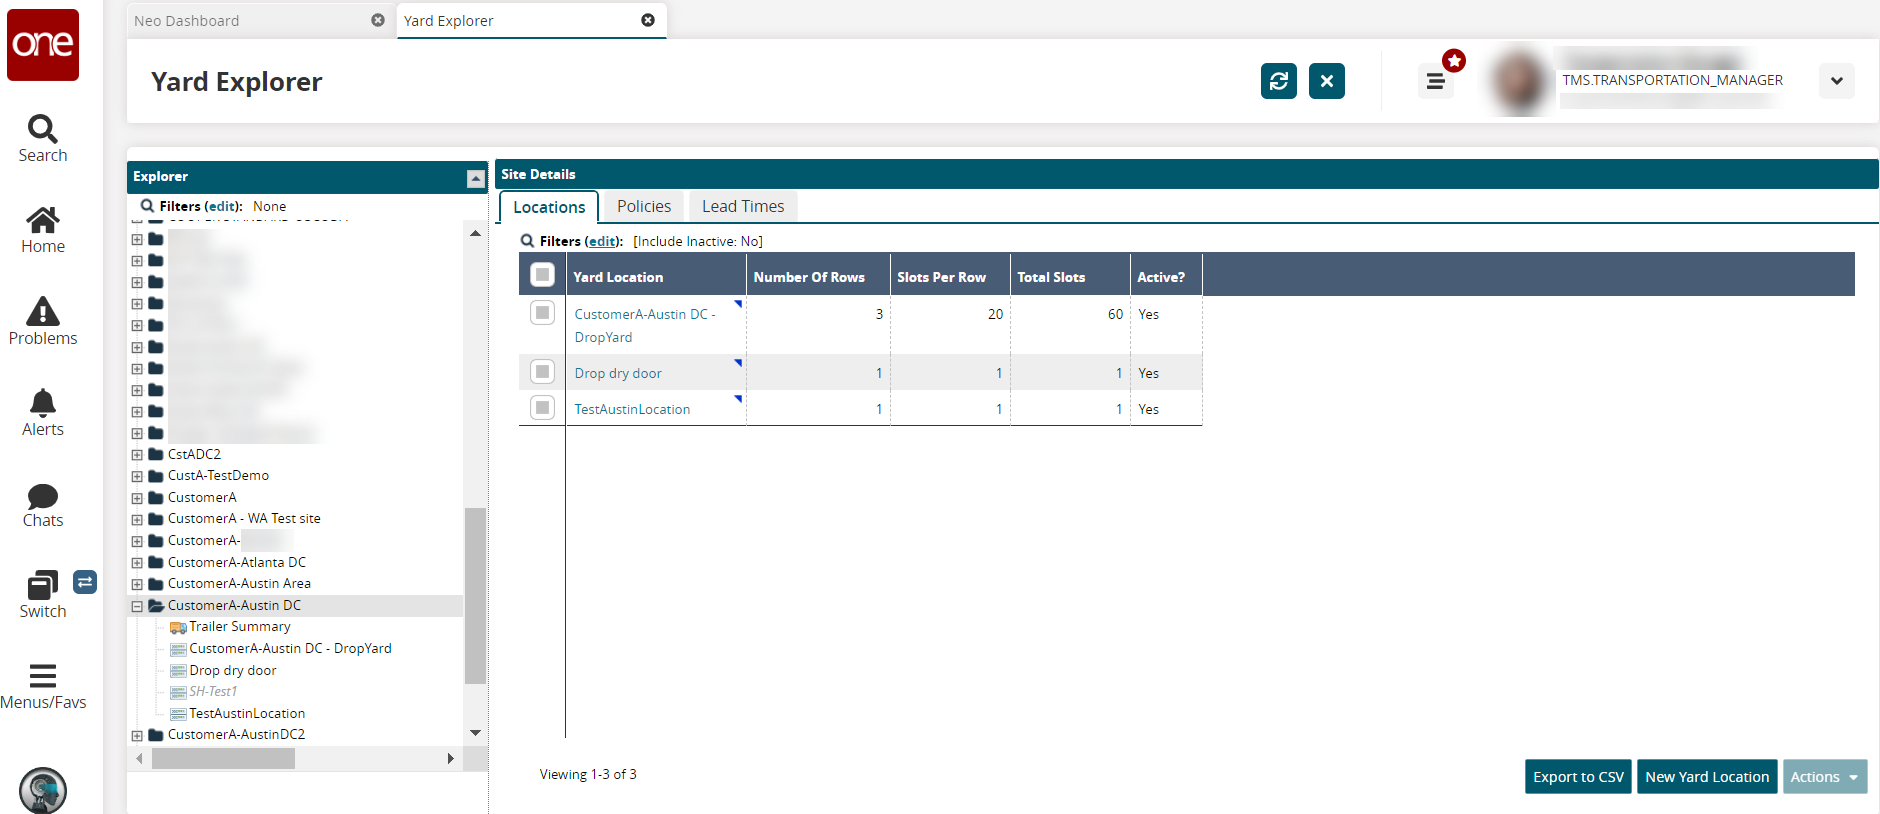
Click the + (plus) sign next to a site.
Any yard associations display.
Click a site.
The Locations tab on the Site Details pane displays current yard locations.Click the Yard Location link on the Locations tab to view details for slots and the yard.
Click the blue triangle in a Yard Location cell and select Update, or click the checkbox for multiple locations, and click Actions > Update to update an existing yard location.
The Update popup box displays a table with editable cells.Click the cell under the Name column to rename the yard location.
Click the Site name link to open the site's detail page from the Update popup.
Click the Number of Rows cell, and enter a numerical value for the number of rows of slots in the location.
Click the Slots Per Row cell, and enter a numerical value for the number of slots per row for the location.
Click the Submit button.
A success button displays.Click the Export to CSV button to export the report to a CSV file.
Similarly, click the blue triangle in a Yard Location cell and select Deactivate Location, or click the checkbox for multiple locations, and click Actions > Deactivate Location to set an existing yard location status to inactive.
You can reactivate locations in the same manner.Click the Policies tab to view time-based policies set for the site.
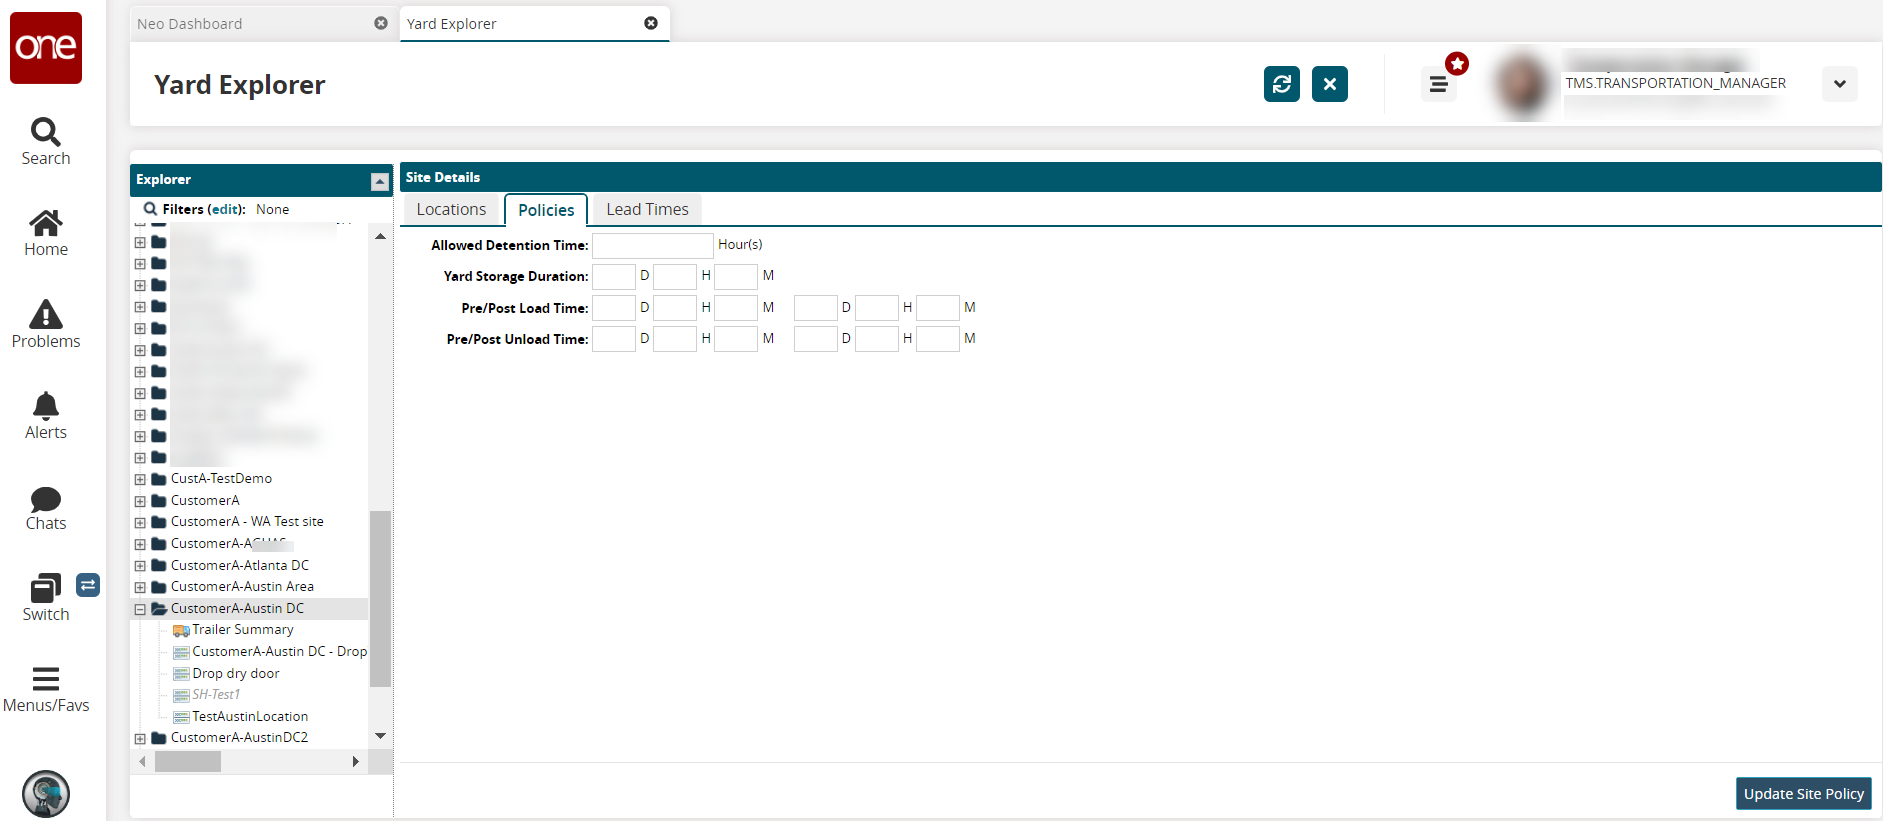
Enter a numerical value for the hours in the Allowed Detention Time field.
Enter numerical values for (D)ays, (H)ours, (M)inutes for Yard Storage Duration.
Enter numerical values for (D)ays, (H)ours, (M)inutes for the Pre/Post Load Time.
Enter numerical values for (D)ays, (H)ours, (M)inutes for the Pre/Post Unload Time.
Click the Update Site Policies button to save the above time policies.
A green success message displays.Click the Lead Times tab.
Any existing lead times for the site display.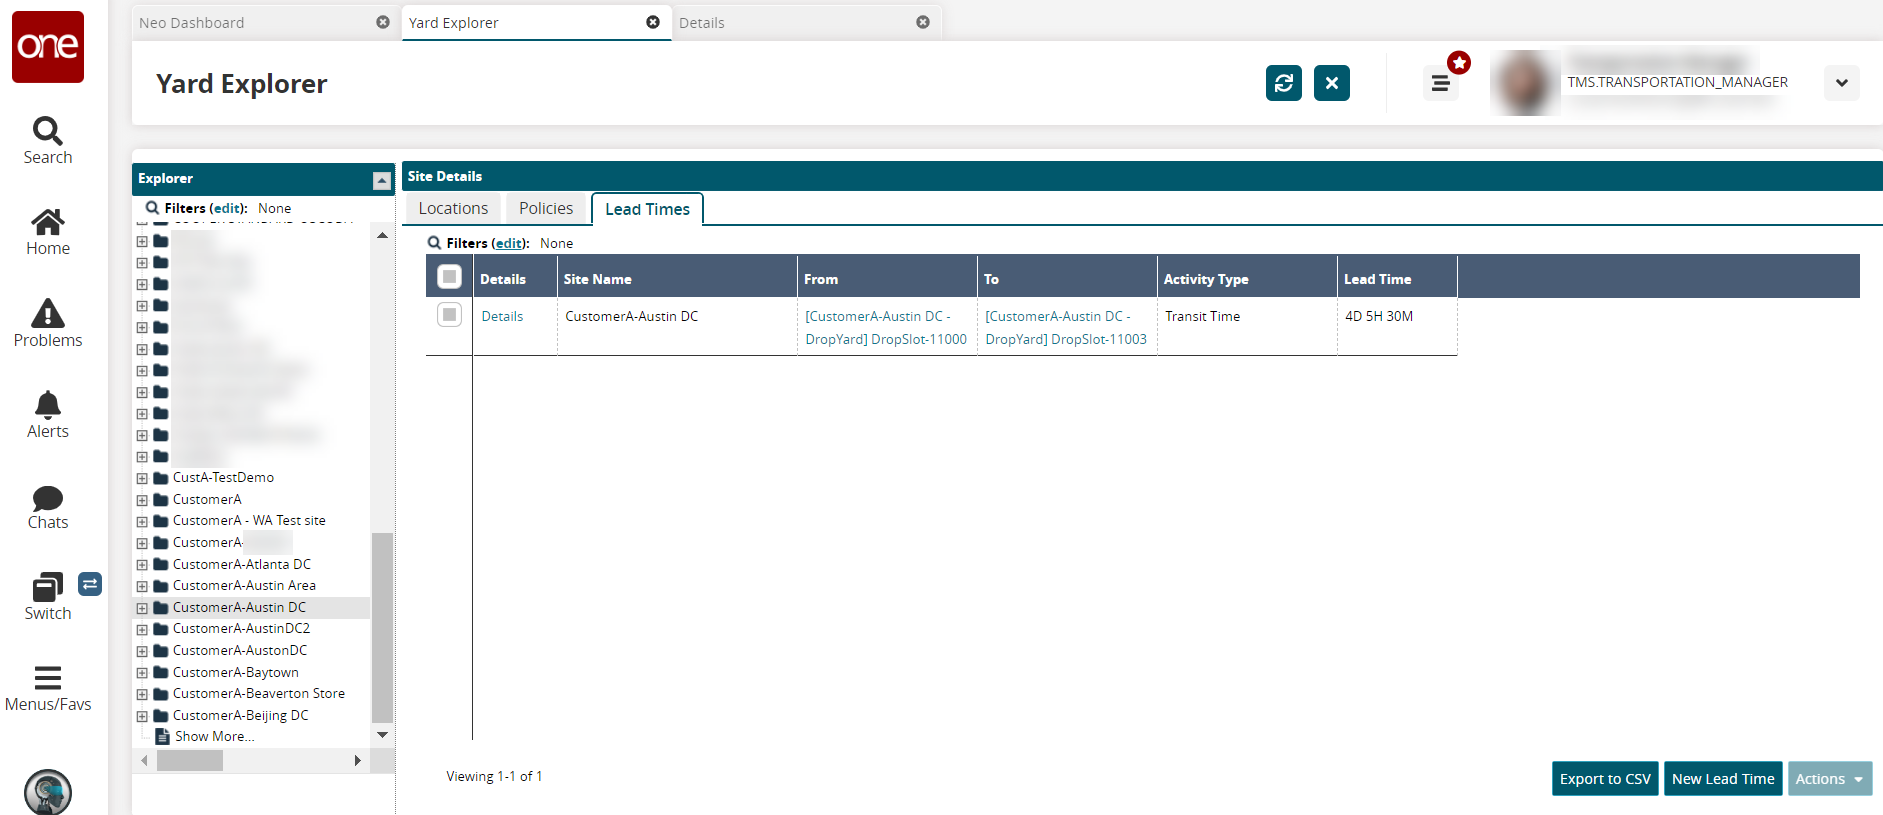
Click the Details link to update lead time details.
The Details page for the lead time display.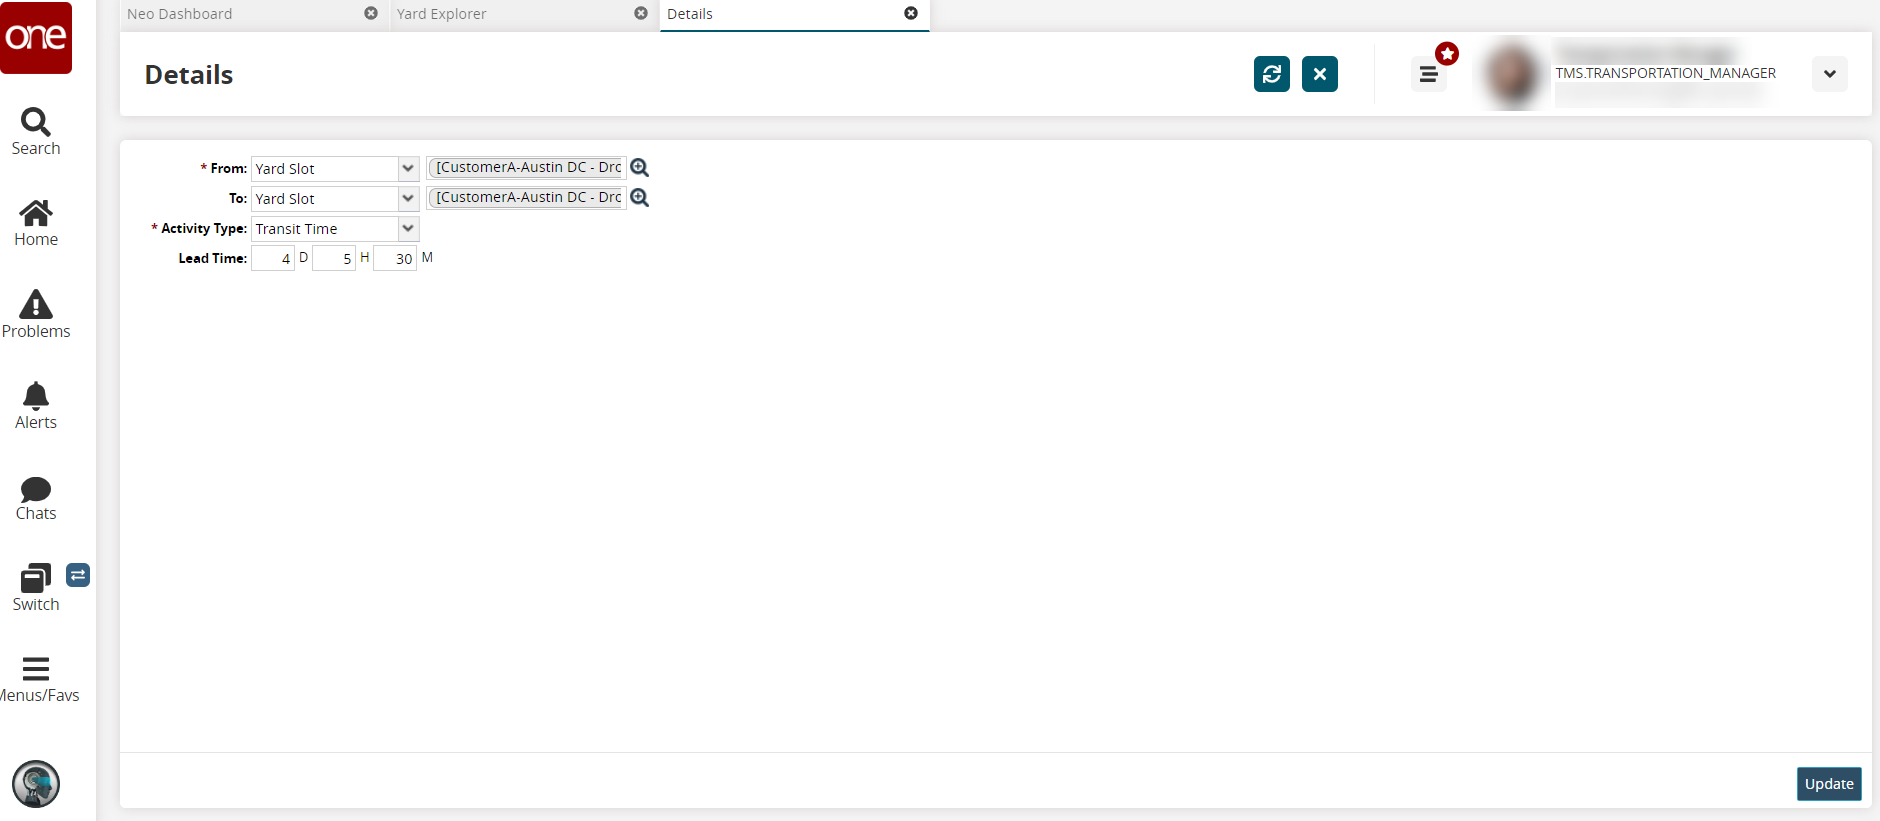
Update values for the * From, To, *Activity Type, and Lead Time fields. Instructions for these fields are found below for creating lead times.
Click the Update button.
A green success message displays.Click the Yard Explorer tab (or click the Switch icon on the left navigational panel to change perspectives), and click the Refresh icon to refresh the lead time changes.
The data is updated.Click the checkbox for one or more lead times on the Yard Explorer's Lead Times tab, and click Actions > Delete to delete the lead times.
The Delete popup displays.Click the Submit button.
A success message displays.Click the Export to CSV button to export the report to a CSV file.
Complete the following steps to create a new yard location within a site:
Click the New Yard Location button from the Yard Explorer's Locations tab
The New Yard Location popup displays.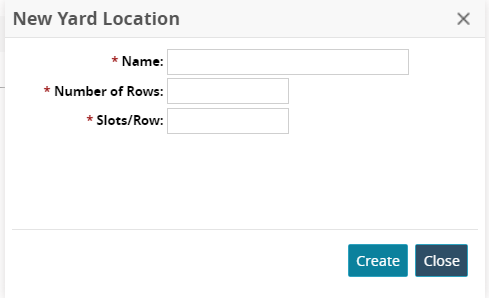
Enter values in the * Name, * Number of Rows, and * Slots/Row fields. Fields with an asterisk ( * ) are required.
Click the Create button.
A success message displays in the popup.Click the Close button on the popup.
The new yard displays in the Locations tab with a default status of Active. Instructions for deactivating a yard location are described above.
Complete the following steps to create a new lead time:
Click the New Lead Time button from the Yard Explorer's Lead Times tab.
The New Lead Time screen displays.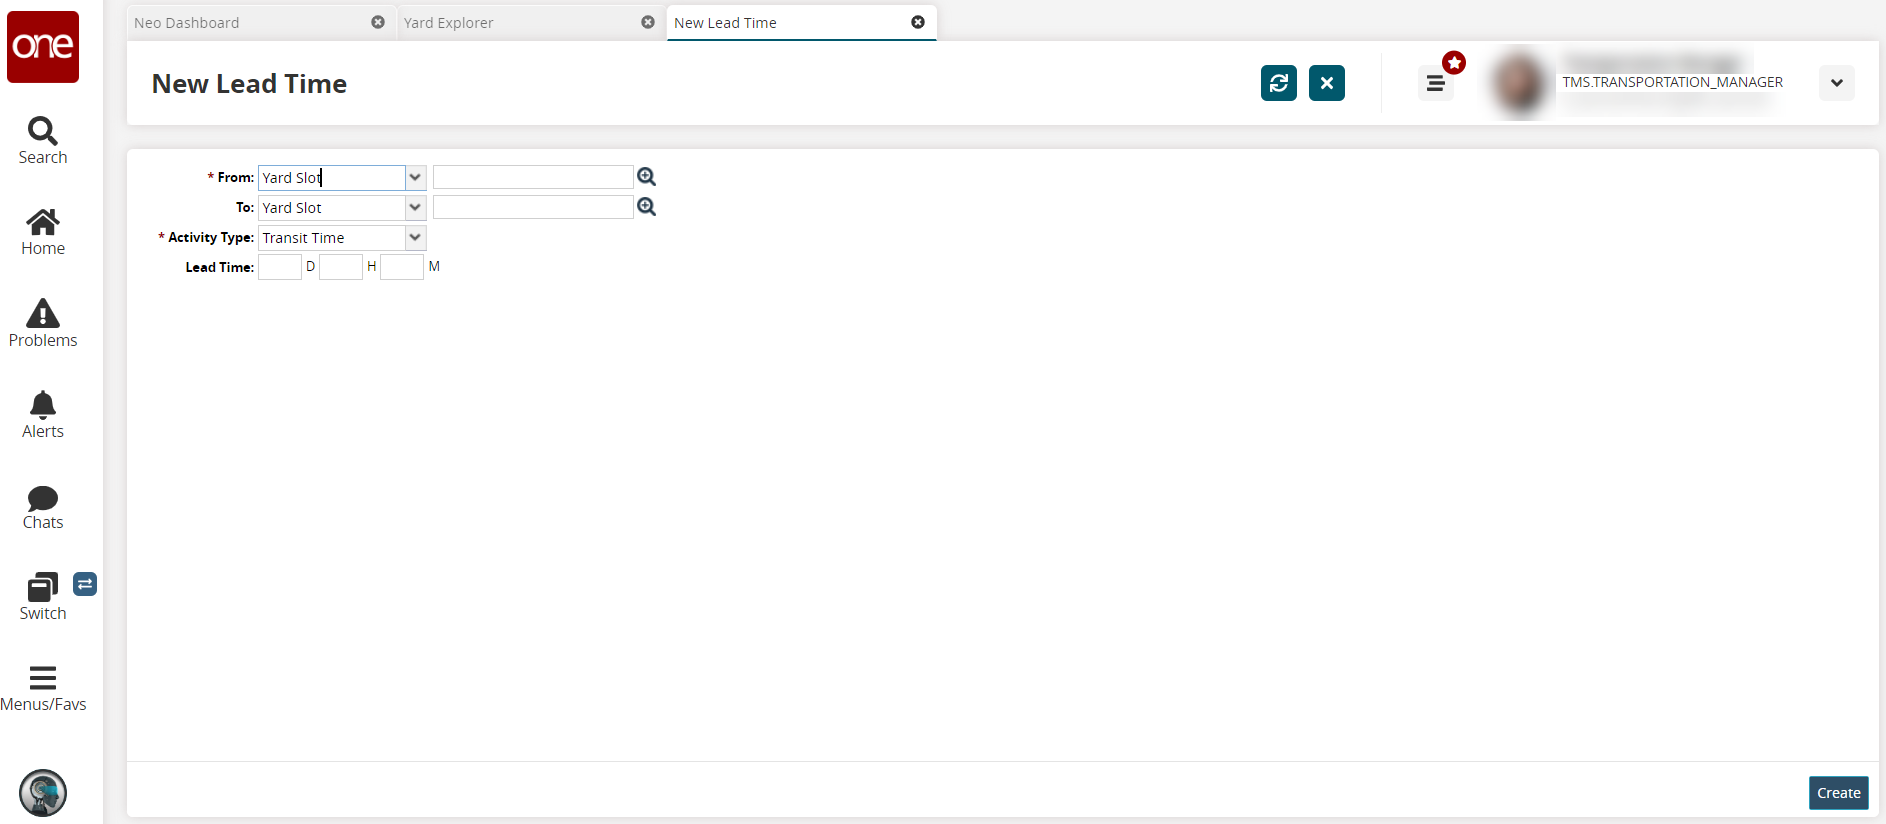
Select a value from the dropdown list for the first * From field, and use the picker to select a specific yard location or site resource in the second field.
Fields with an asterisk ( * ) are required.Please note that the From and To fields are shown by default with the Transit Time in the Activity Type field. If the activity type is changed, the From and To fields change to a single Location field.
Select a value from the dropdown list for the first To field, and use the picker to select a specific yard location or site resource in the second field.
Select a value from the dropdown list for the * Activity Type. Selecting a different value will change the fields as described in the Note above.
Enter numerical values for the (D)ays, (H)ours, (M)inutes fields for Lead Time.
Click the Create button.
A success message displays, and the new lead time displays on the Lead Times tab.Click the Yard Explorer tab (or click the Switch icon on the left navigational panel to change perspectives), and click the Refresh icon to refresh the lead time changes.
The data is updated with the new lead time.