Collaborating on a Problem
The Collaborations screen is divided into different tabs: Chats, Teams, Discussions, and Invitations.
Complete the following steps to collaborate on a Problem:
Log in to the ONE system.
Select Problems in the left sidebar of the NEO UI.
The Problems Workbench tray appears.Click the Collaborations icon at the end of each problem.
The Collaboration panel appears.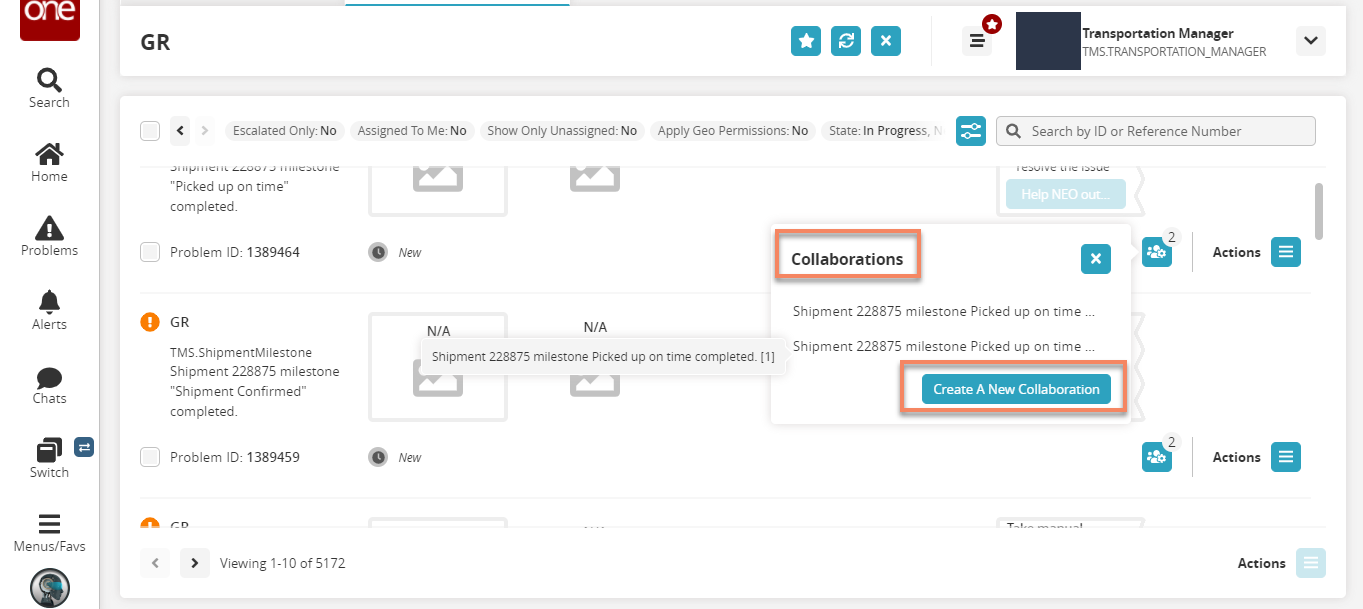
Select the existing collaboration from the list of collaborations or click Create A New Collaboration.
The Create A Group Chat screen appears.
Chats
Click the Create Group Chat button to create a new collaboration.
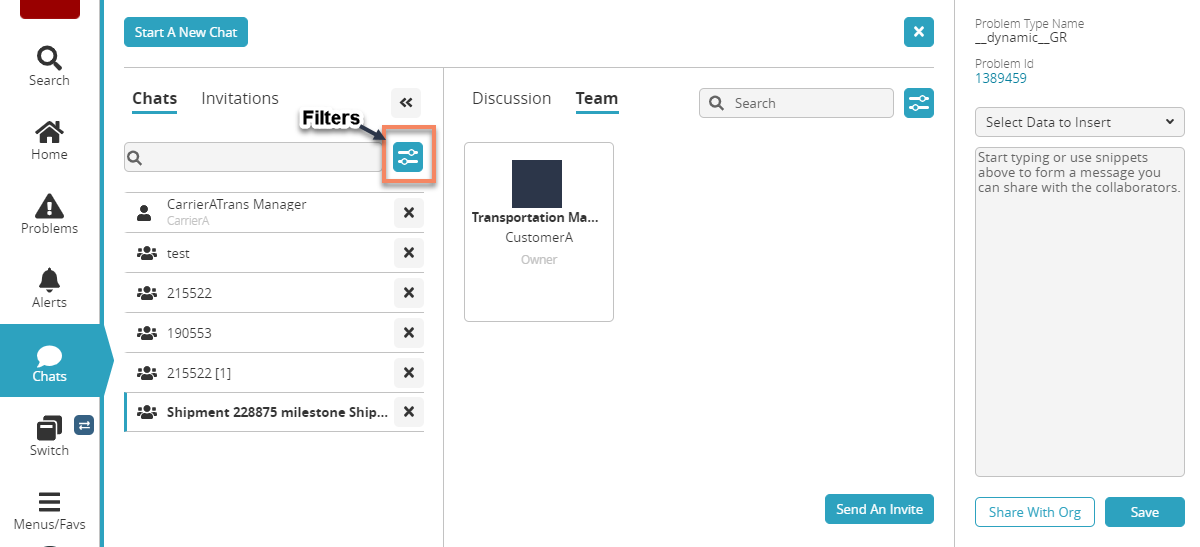
The Start A New Chat window appears with existing chats and invitations.Enter the chat group name or person name in the Search box for chats to search chats.
Click the Filters icon to filter the chats by Group Chats, Coworkers, or Partner Colleagues and click Apply or Reset to apply the filter or reset the filter.
Click the
 icon to cancel the chats.
Click the Start A New Chat button to start a new chat.
The Personal Chat and Group Chat screen appears.
Click the Create A Personal Chat button to create a personal chat.
The Create A Personal Chat screen appears.
Enter the Name, Username, or Email Address in the search box to search for a personal chat.
Click the Chat Now button to chat with the existing members.
From the Personal Chat and Group Chat screen, click the Create A Group Chat button to create a group chat.
The Create A Group Chat screen appears.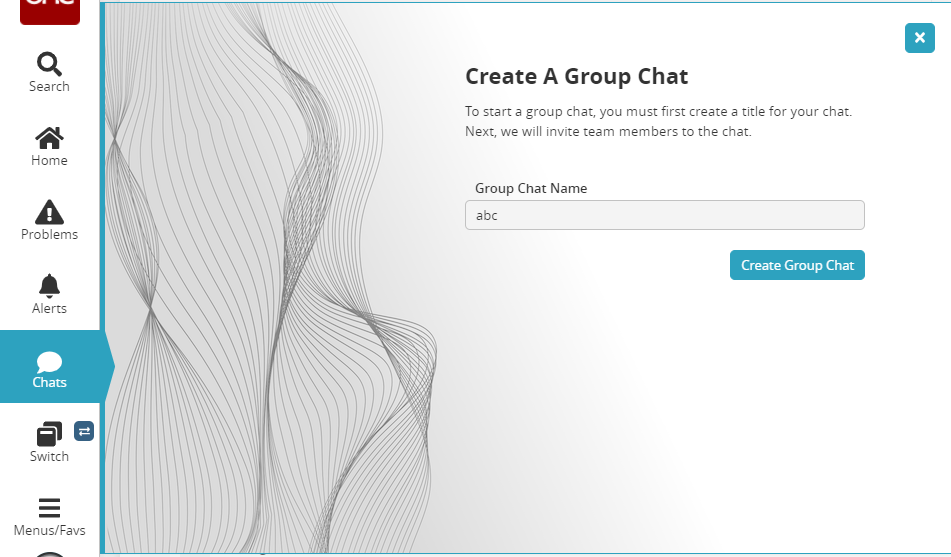
Enter the group chat name in the Group Chat Name box and click the Create Group Chat button. The group chat is created.
Invitations
Click the Invitations tab to view the Sent and Received invitations.
Click the arrow icon of the sent and received invitations.
The list of sent and received invitations appear.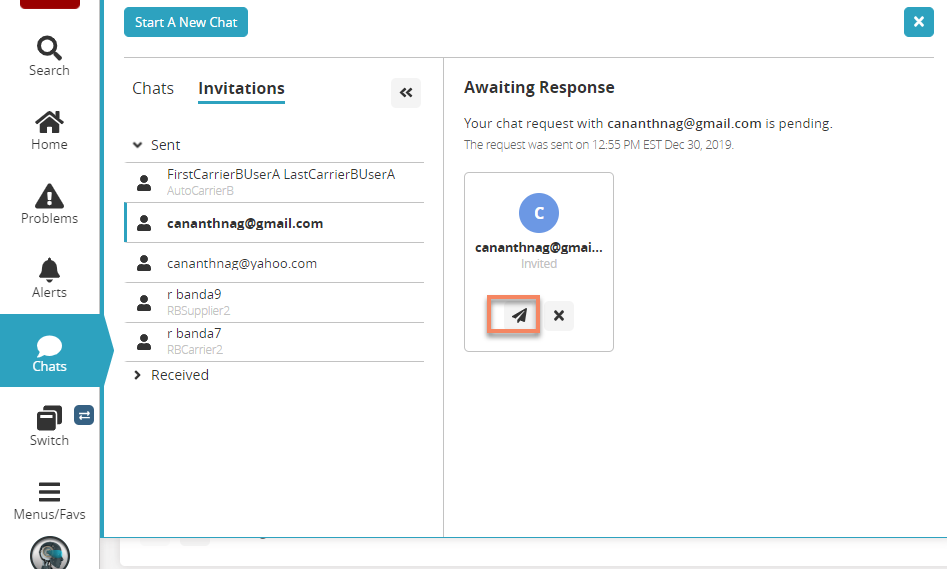
Select a sent or received invitation from the list.
The details of the invitation appear on the right.Click the Invite Again icon on the details to invite the member again or the cross icon to cancel the invite.
Team
Click the Filters icon to filter the team by Invited, Accepted Invitation, or Coworkers and click Reset to reset the filters. By default, all are selected.
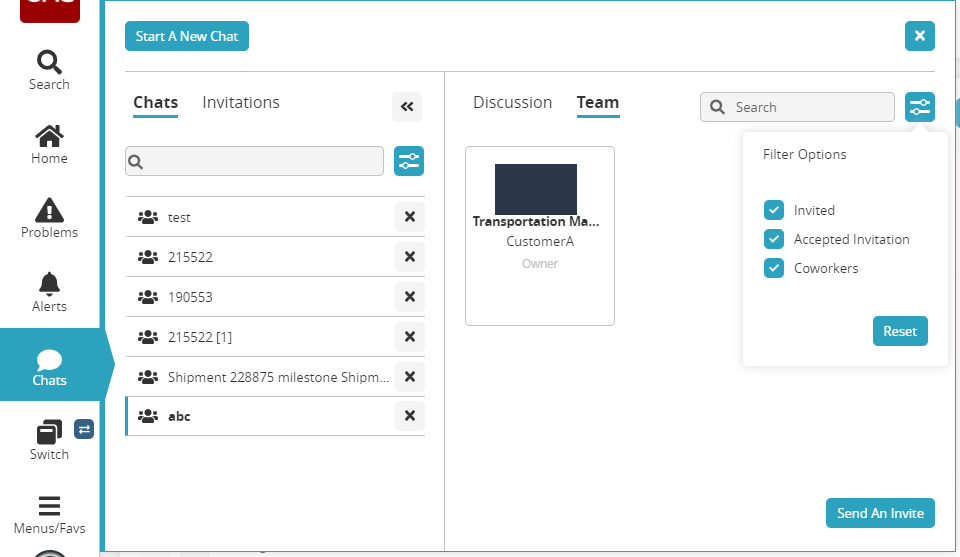
Enter the name of the team in the Search box to search a team.
Click the Send An Invite button to send an invitation to the members.
The Invite Users To Your Group Chat screen appears.Enter the Name, Username, or Email Address of the member in the search box to send an invitation.
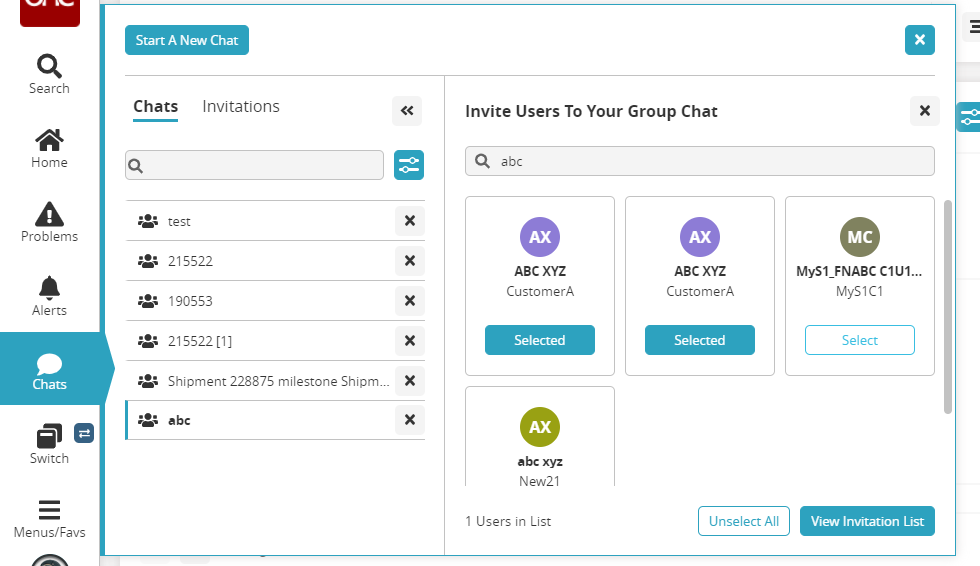
Click View Invitation List for the select name to view the invitation list and click the Invite Selected Members button or select Unselect All to unselect all.
Discussion
Click the Discussion tab to start a discussion with the team.
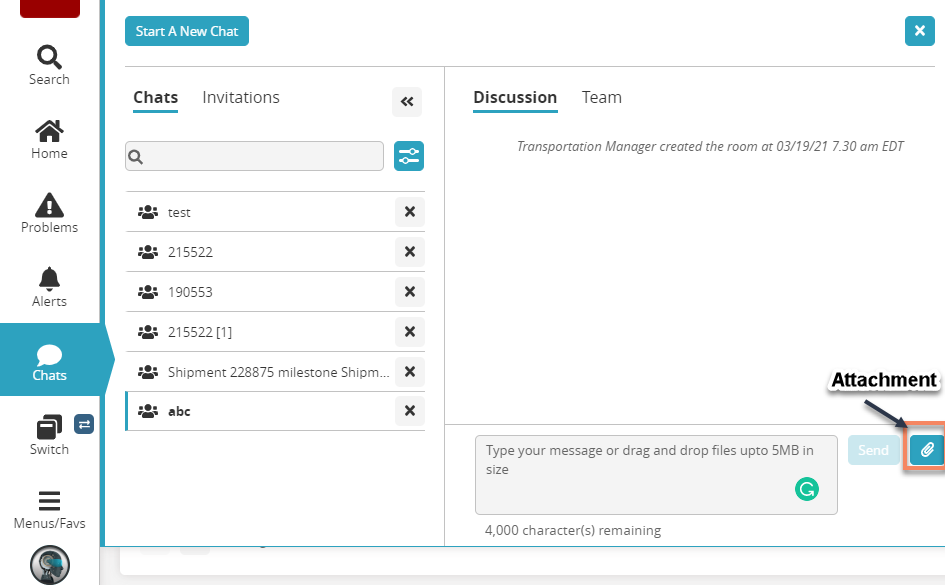
Enter a message in the message box and click Send.
Click the Attachment icon to send an attachment from the computer to the team.
Problem Type Name
Select the data from the drop-down lists in the Select Data to Insert in the drop-down lists.
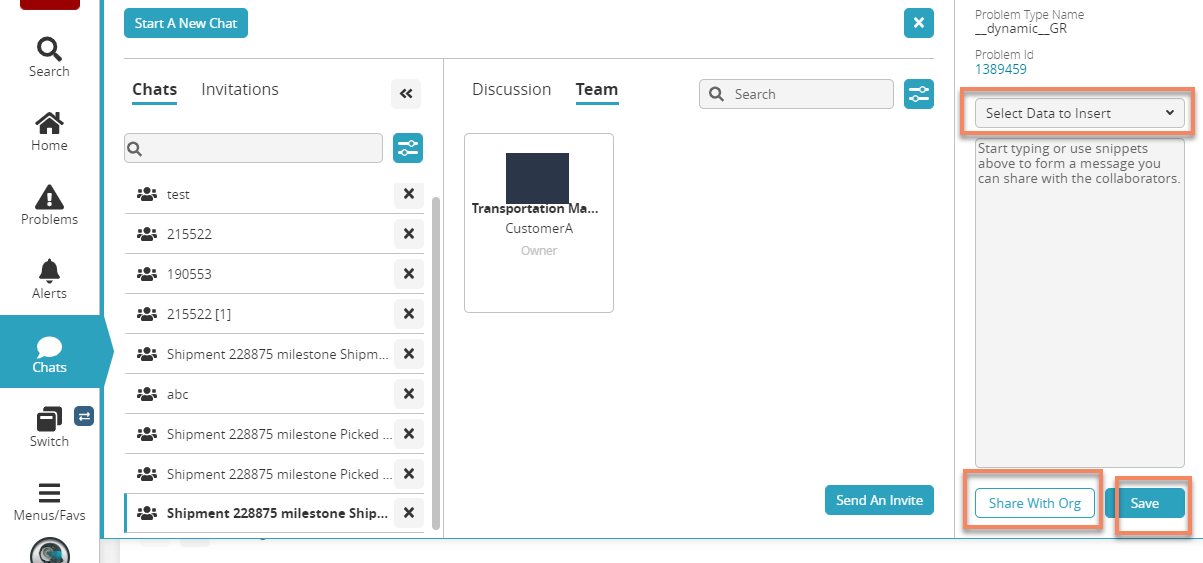
Type a message in the message box below the Select Data to Insert drop-down lists
Click the Share With Org to share the problem details and message with the organization.
Click the Save button to save the selection and message.